Introduction
If you've recently acquired a Rockbirds camcorder and are eager to start capturing unforgettable moments, ensuring that the device is adequately charged is the first step to embark on your filming journey. Understanding how to charge a Rockbirds camcorder is pivotal in maintaining a seamless filming experience, allowing you to capture precious memories without interruption. This guide will walk you through the simple yet essential process of charging your Rockbirds camcorder, ensuring that you can power up your device efficiently and effectively.
Ensuring that your Rockbirds camcorder is fully charged before embarking on any filming endeavors is crucial for uninterrupted recording sessions. By following the straightforward steps outlined in this guide, you can effortlessly power up your camcorder, guaranteeing that it is ready to capture all the special moments that come your way. Whether you are a novice in the realm of videography or a seasoned filmmaker, mastering the art of charging your Rockbirds camcorder is an essential skill that ensures you are always equipped to document life's most treasured moments. So, let's dive into the process of charging your Rockbirds camcorder and get ready to unleash your creativity through the lens of this remarkable device.
Step 1: Gather the necessary equipment
Before commencing the process of charging your Rockbirds camcorder, it is essential to gather the requisite equipment to facilitate a smooth and efficient charging experience. The following items are crucial for the charging process:
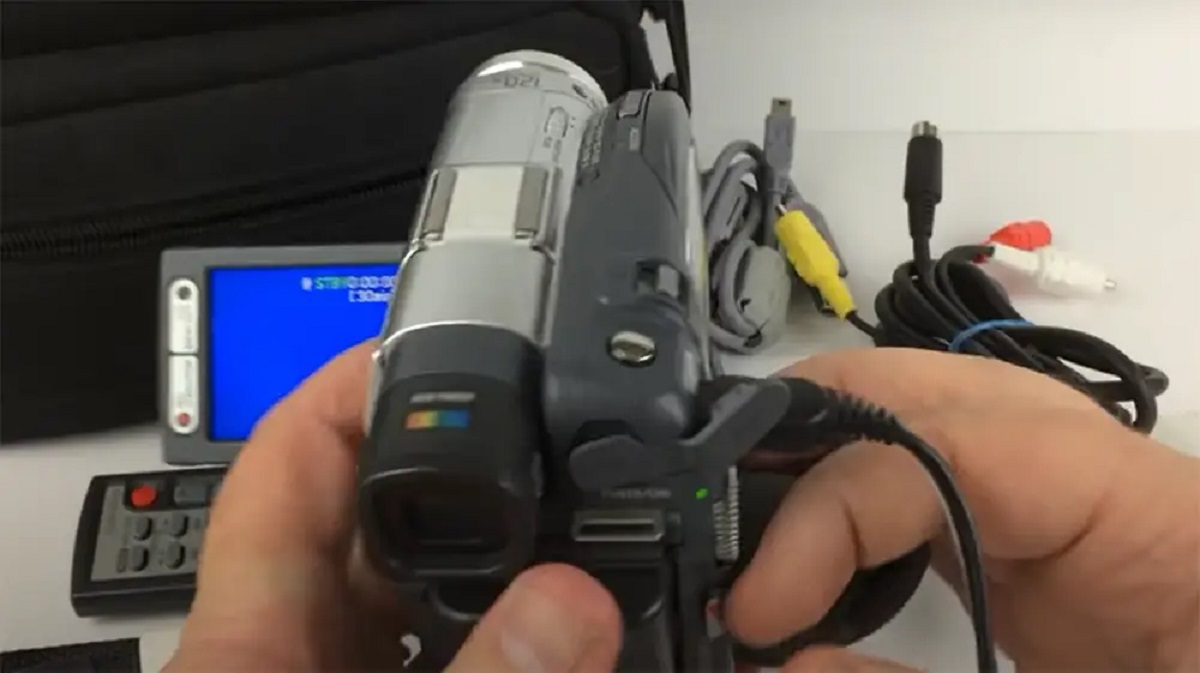
- Rockbirds camcorder: Ensure that the camcorder is readily available and accessible for the charging process. Familiarize yourself with the device’s physical features, including the location of the charging port, to expedite the charging process.
- Charging cable: The specific charging cable designed for the Rockbirds camcorder is indispensable for initiating the charging process. Locate the compatible charging cable that accompanies the camcorder to proceed with the next steps.
- Power source: Identify a suitable power source, such as a wall outlet or a portable power bank, to connect the charging cable and initiate the charging process. Ensuring access to a reliable power source is essential for uninterrupted charging.
Gathering these essential items sets the stage for a hassle-free charging experience, allowing you to seamlessly power up your Rockbirds camcorder and embark on your filming endeavors without any delays or interruptions. With these items at your disposal, you are well-prepared to proceed to the subsequent steps and initiate the charging process for your Rockbirds camcorder.
Step 2: Locate the charging port on the Rockbirds camcorder
Before initiating the charging process, it is imperative to familiarize yourself with the physical attributes of your Rockbirds camcorder, particularly the location of the charging port. The charging port serves as the point of connection for the charging cable, facilitating the transfer of power to the camcorder’s battery. To locate the charging port on your Rockbirds camcorder, follow these steps:
- Refer to the user manual: The user manual that accompanies the Rockbirds camcorder provides comprehensive information about the device’s features and functionalities. Refer to the manual to identify the specific location of the charging port. The manual typically includes detailed illustrations or descriptions to guide you to the charging port’s precise location.
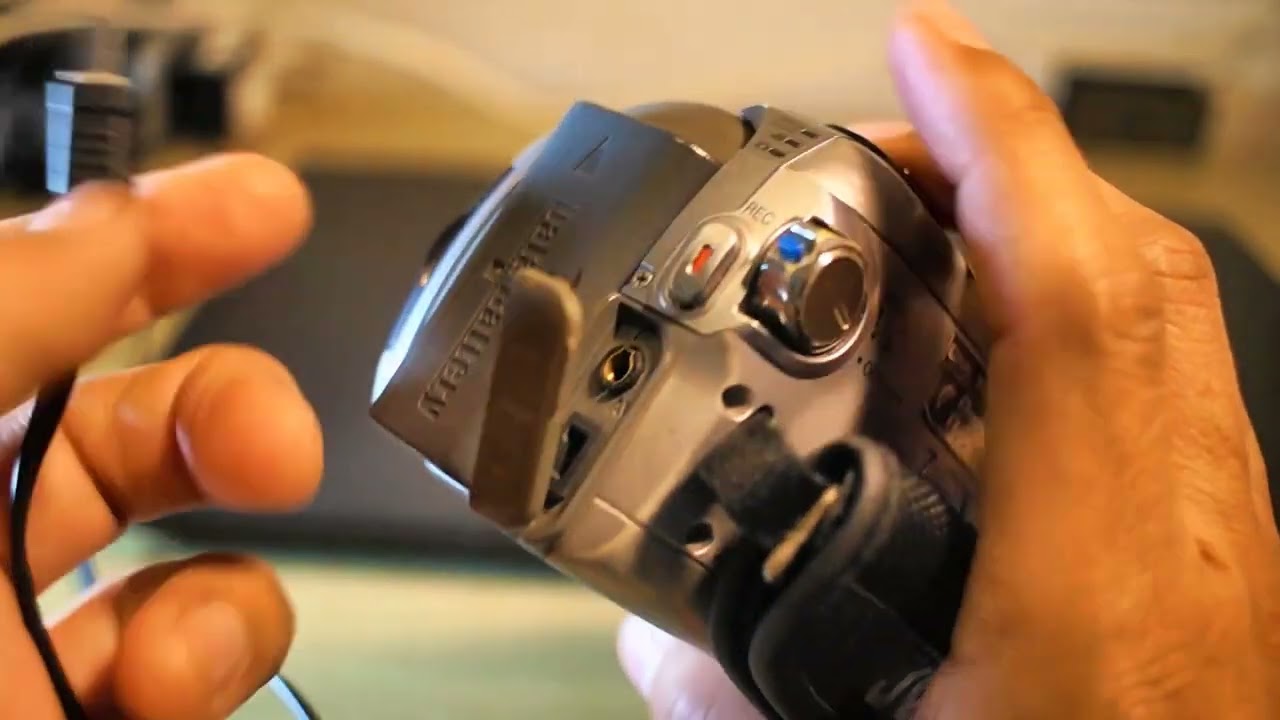
- Inspect the camcorder’s exterior: Carefully examine the exterior of the camcorder, paying close attention to the sides or rear of the device. The charging port is commonly located in a readily accessible area to facilitate convenient charging. Look for a small, recessed opening with corresponding symbols or labels that indicate it as the charging port.
- Utilize built-in indicators: Some Rockbirds camcorder models feature built-in LED indicators or markings that highlight the location of the charging port. These indicators may illuminate when the charging cable is connected, providing visual cues to assist in locating the port.
By successfully identifying the charging port on your Rockbirds camcorder, you are one step closer to initiating the charging process. Familiarizing yourself with the precise location of the charging port ensures that you can seamlessly connect the charging cable, setting the stage for a successful and efficient charging experience.
Step 3: Connect the charging cable to the camcorder
Once you have located the charging port on your Rockbirds camcorder, the next step is to connect the charging cable securely to the device. This crucial step ensures that the power from the charging source is effectively transmitted to the camcorder’s battery, initiating the charging process. Follow these simple yet essential guidelines to connect the charging cable to your Rockbirds camcorder:
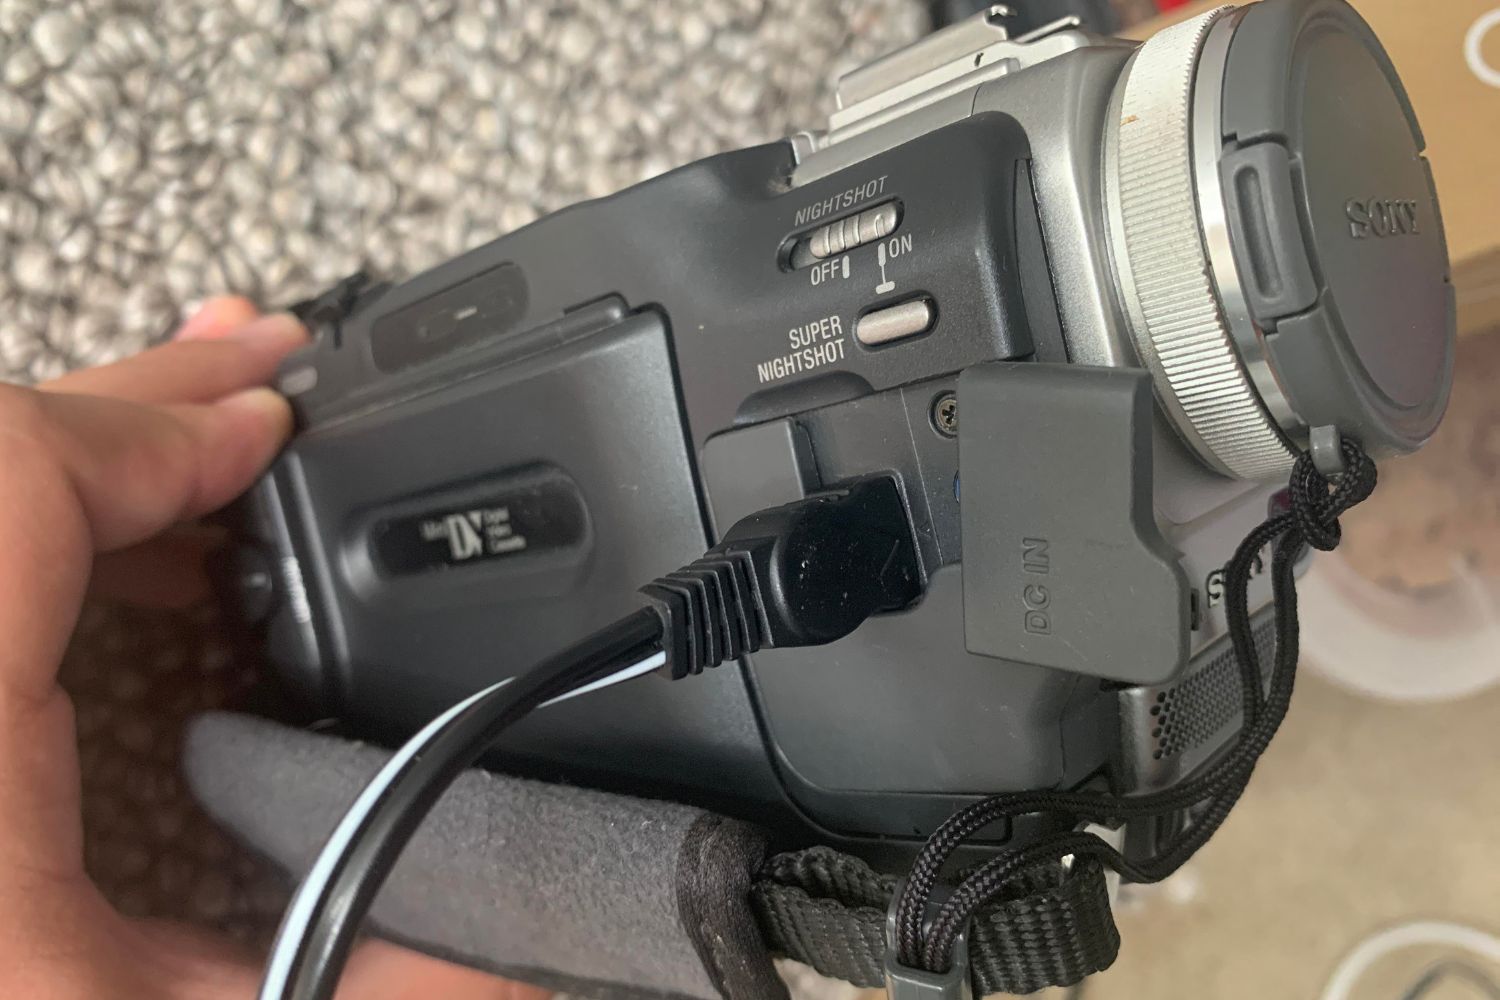
- Align the charging cable: Position the charging cable in a manner that aligns with the charging port on the camcorder. Ensure that the connector on the charging cable matches the shape and size of the charging port to facilitate a secure and proper connection.
- Gently insert the connector: With precision and care, insert the connector of the charging cable into the charging port on the camcorder. Exercise caution to avoid applying excessive force, ensuring that the connector smoothly and snugly fits into the port without causing any damage to the components.
- Verify the connection: Once the connector is inserted, verify that it is firmly and securely in place. Gently wiggle the cable near the connection point to confirm that it is seated properly. A secure connection is essential to facilitate uninterrupted power transfer during the charging process.
By adhering to these steps, you can confidently establish a reliable connection between the charging cable and your Rockbirds camcorder, setting the stage for the commencement of the charging process. A secure and proper connection is pivotal in ensuring that the camcorder receives the necessary power to replenish its battery, preparing it for your upcoming filming endeavors.
Step 4: Plug the charging cable into a power source
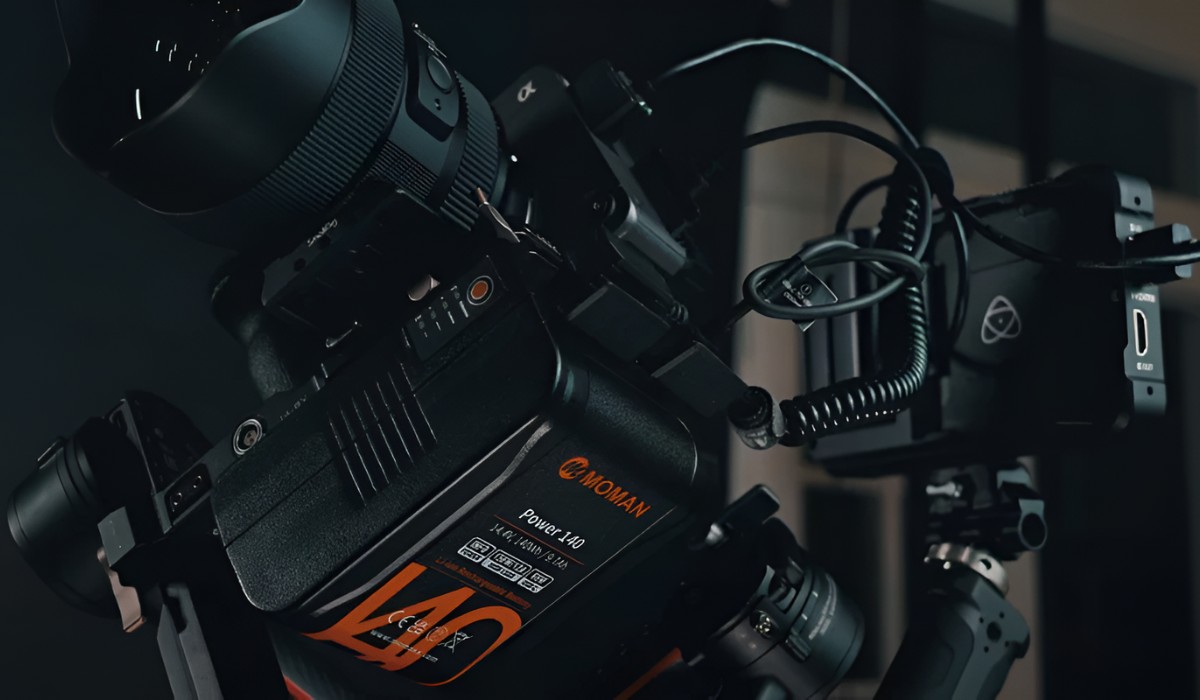
With the charging cable securely connected to your Rockbirds camcorder, the next crucial step is to initiate the charging process by connecting the cable to a reliable power source. This pivotal step ensures that the camcorder’s battery receives the necessary power to recharge effectively, preparing it for your upcoming filming endeavors. Follow these simple guidelines to plug the charging cable into a power source:
- Identify a suitable power outlet: Locate a nearby power outlet or a compatible power source that aligns with the specifications of the charging cable. Ensure that the power source is easily accessible and provides a stable supply of electricity to facilitate uninterrupted charging.
- Inspect the charging cable: Prior to plugging the cable into the power source, perform a brief inspection to ensure that the cable is free from any damage or fraying. A well-maintained charging cable is essential for safe and efficient power transfer.
- Connect to the power source: Align the connector of the charging cable with the power source, ensuring that it is inserted in the correct orientation. Apply gentle pressure to securely plug the cable into the power source, establishing a reliable connection for the charging process.
By following these guidelines, you can confidently initiate the charging process for your Rockbirds camcorder, ensuring that it receives the requisite power to replenish its battery. Plugging the charging cable into a reliable power source marks a significant step towards preparing your camcorder for uninterrupted filming sessions, allowing you to capture life’s most cherished moments without the worry of a depleted battery.
Step 5: Monitor the charging process
Once the charging cable is securely connected to both the Rockbirds camcorder and the power source, it is essential to monitor the charging process to ensure that the battery is replenishing effectively. Monitoring the charging process allows you to gauge the progress and make necessary adjustments if required. Follow these guidelines to effectively monitor the charging process of your Rockbirds camcorder:
- Check the charging indicator: Some Rockbirds camcorder models feature a built-in charging indicator, such as an LED light, to signify the charging status. Observe the indicator to verify that it illuminates, indicating that the charging process has commenced.
- Observe the battery level: If your Rockbirds camcorder includes a display screen that indicates the battery level, periodically check the screen to monitor the increasing battery level. This provides a visual indication of the charging progress and allows you to estimate the remaining charging time.
- Ensure a stable connection: Throughout the charging process, periodically inspect the charging cable connection to the camcorder and the power source. A stable and secure connection is essential for uninterrupted charging. Avoid moving the camcorder or the cable excessively to maintain a consistent power transfer.
By attentively monitoring the charging process, you can ensure that your Rockbirds camcorder’s battery is replenishing effectively, preparing it for your upcoming filming endeavors. A vigilant approach to monitoring the charging process allows you to maintain control over the device’s power status, ensuring that it is ready to capture life’s most cherished moments without any interruptions.
Step 6: Disconnect the charging cable when the camcorder is fully charged
Once your Rockbirds camcorder has undergone the charging process and its battery is fully replenished, it is crucial to disconnect the charging cable to prevent overcharging and ensure the device’s optimal performance. Knowing when to disconnect the charging cable is essential for maintaining the longevity of the battery and preserving the camcorder’s functionality. Follow these guidelines to determine when and how to disconnect the charging cable from your Rockbirds camcorder:
- Check the charging indicator: Refer to the camcorder’s charging indicator, if available, to ascertain the charging status. A fully charged battery may be indicated by a specific LED color or a cessation of the charging indicator’s activity.
- Verify the battery level: If your Rockbirds camcorder features a battery level display, confirm that the battery level has reached its maximum capacity. A fully charged battery typically displays 100% or a corresponding indicator, signifying that it is ready for use.
- Unplug the charging cable: Once the charging process is complete and the battery is fully charged, gently unplug the charging cable from the camcorder’s charging port. Exercise care to avoid applying unnecessary force or causing damage to the port or the cable connector.
By following these guidelines, you can ensure that your Rockbirds camcorder’s battery is maintained at an optimal level, ready to accompany you on your filming endeavors without any concerns about insufficient power. Disconnecting the charging cable at the appropriate time safeguards the battery’s longevity and ensures that your camcorder is always prepared to capture life’s most memorable moments.
Conclusion
Mastering the art of charging your Rockbirds camcorder is a fundamental skill that ensures your device is always ready to capture life’s most cherished moments. By following the straightforward steps outlined in this guide, you can seamlessly power up your camcorder, allowing you to embark on filming endeavors without the worry of a depleted battery.
Understanding the importance of gathering the necessary equipment, locating the charging port, and connecting the charging cable to your Rockbirds camcorder sets the stage for a hassle-free charging experience. Additionally, monitoring the charging process and knowing when to disconnect the charging cable are essential practices that contribute to the optimal performance and longevity of your camcorder’s battery.
With this knowledge at your disposal, you are equipped to maintain a fully charged Rockbirds camcorder, ready to capture life’s most treasured moments with uninterrupted ease. Whether you are an aspiring filmmaker, a travel enthusiast, or a family documentarian, the ability to charge your Rockbirds camcorder efficiently ensures that you never miss an opportunity to preserve memories through the lens of your reliable device.
Embrace the simplicity of the charging process and empower yourself to capture the beauty of life, one frame at a time, with a fully charged Rockbirds camcorder by your side.