Introduction
Welcome to the world of photography with Sony mirrorless cameras! As a photographer, understanding how to manipulate aperture settings is crucial for capturing stunning images. In this guide, you will learn the fundamentals of aperture and how to adjust it on your Sony mirrorless camera to achieve the desired effects in your photos.
Mastering the art of changing aperture settings on your Sony mirrorless camera will unlock a realm of creative possibilities, allowing you to control the depth of field, manage light intake, and capture breathtaking images in various conditions. Whether you are a beginner eager to explore the technical aspects of photography or an experienced photographer seeking to refine your skills, this guide will equip you with the knowledge and techniques to harness the power of aperture settings effectively.
With step-by-step instructions and practical tips, you will gain the confidence to navigate your Sony mirrorless camera's aperture controls with ease, enabling you to elevate the visual impact of your photography. So, grab your Sony mirrorless camera, and let's delve into the fascinating world of aperture adjustments to unleash your creative vision.
Understanding Aperture
Aperture, often referred to as the lens diaphragm, is a crucial component of photography that governs the amount of light entering the camera. It is denoted by the f-stop value and plays a pivotal role in determining the depth of field in an image. Understanding aperture is fundamental to achieving the desired visual effects in photography.
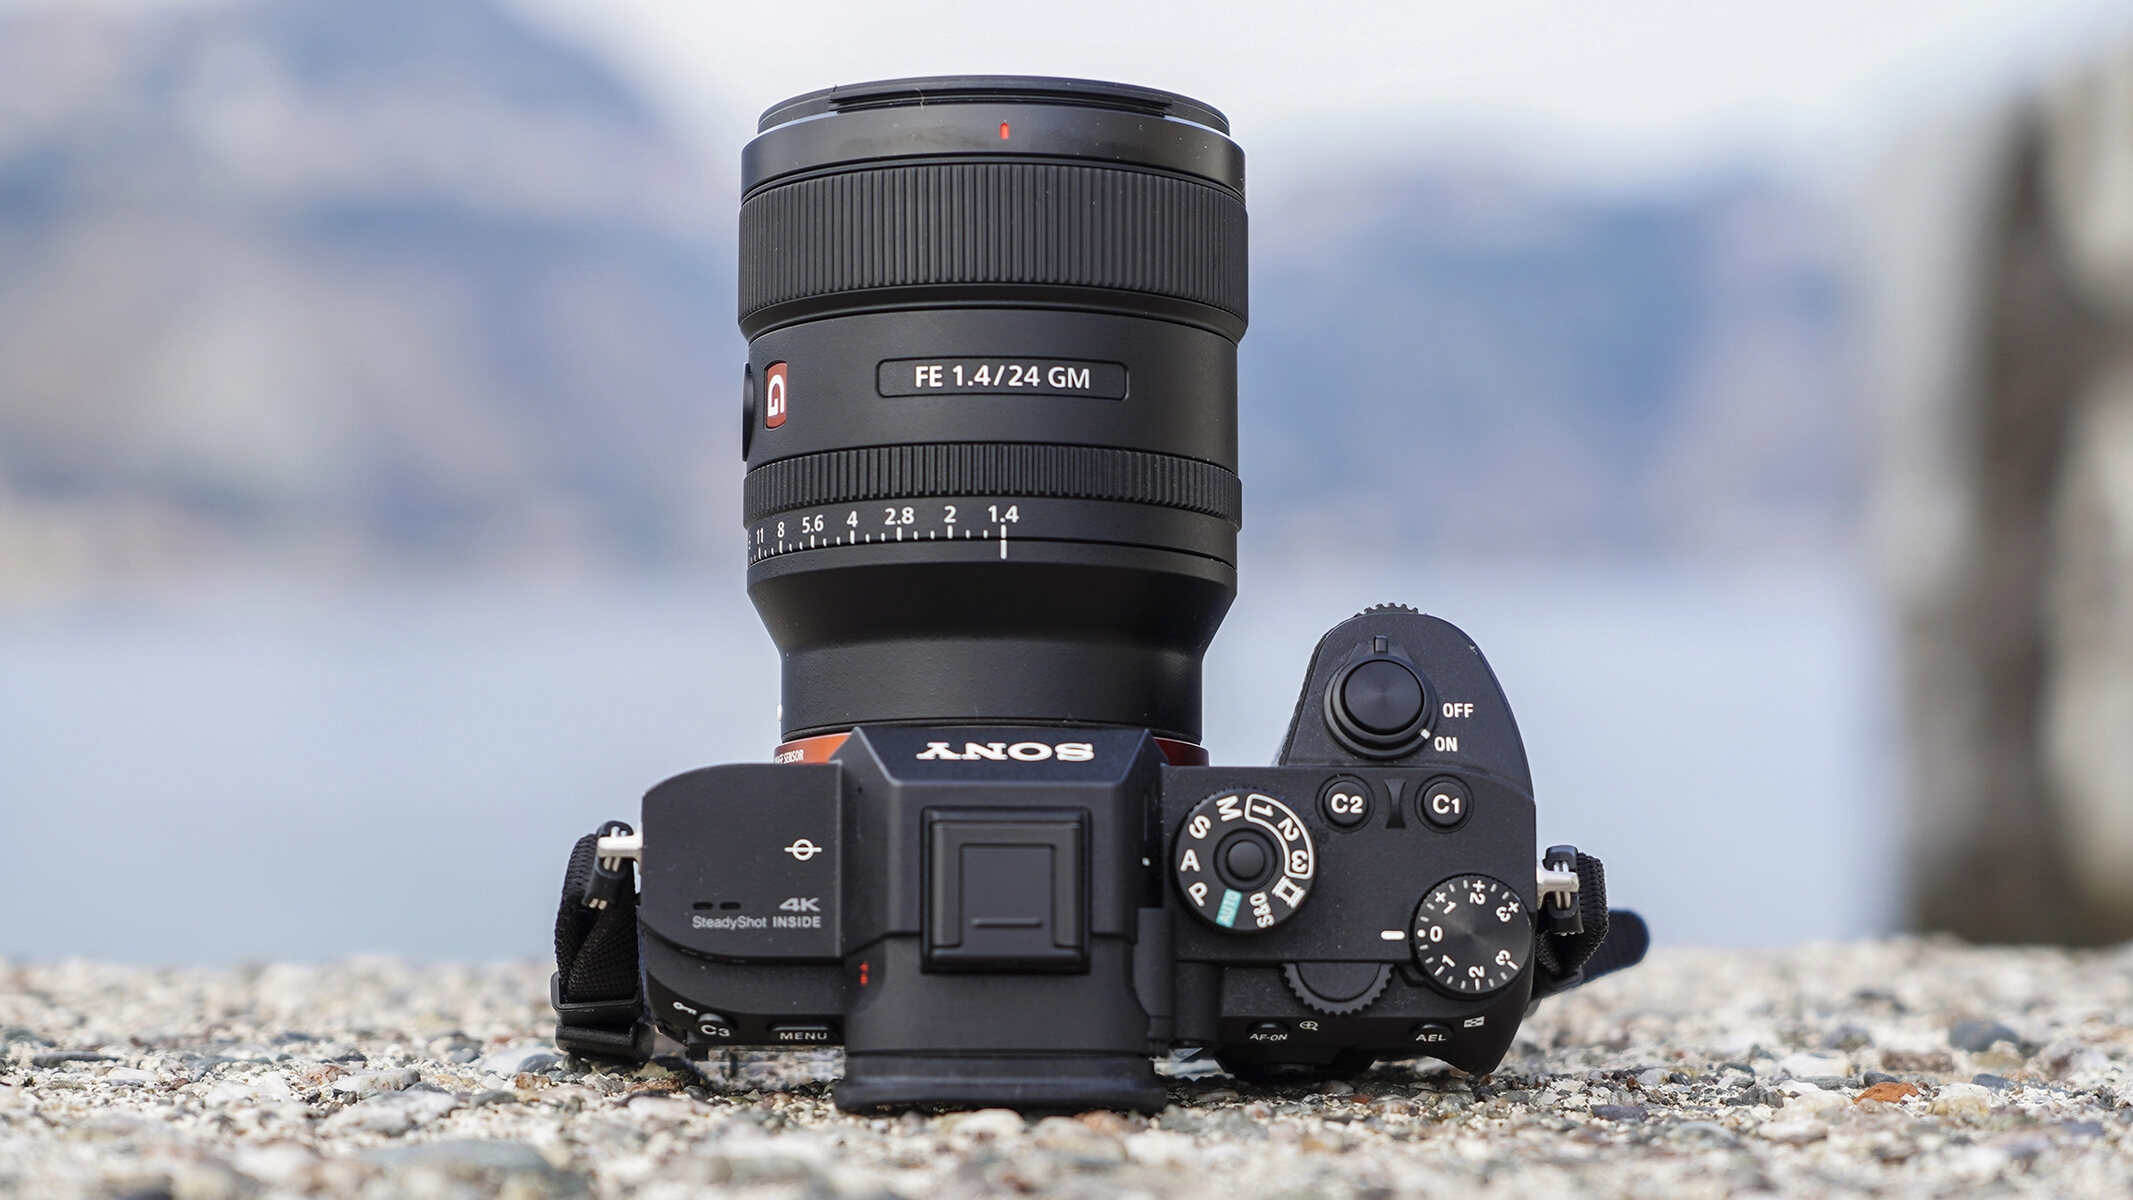
Aperture is measured in f-stops, represented as a series of numbers such as f/1.4, f/2.8, f/4, f/5.6, and so on. A lower f-stop value corresponds to a wider aperture, allowing more light to enter the camera and resulting in a shallower depth of field. Conversely, a higher f-stop value indicates a narrower aperture, restricting the amount of light and yielding a greater depth of field.
Manipulating the aperture setting enables photographers to control the background blur, commonly known as bokeh, and emphasize the subject within the frame. This creative control over depth of field empowers photographers to capture captivating portraits with beautifully blurred backgrounds or expansive landscapes with intricate details in focus.
Furthermore, aperture adjustments directly impact the exposure of an image. In low-light conditions, widening the aperture enhances the amount of light reaching the camera sensor, facilitating well-exposed photographs without relying heavily on artificial lighting. Conversely, in bright settings, narrowing the aperture mitigates excessive light intake, preventing overexposure and preserving the details in the highlights.
Understanding the interplay between aperture, shutter speed, and ISO settings is essential for achieving optimal exposure and creative composition in photography. By mastering the nuances of aperture, photographers can harness its transformative potential to elevate the visual storytelling and artistic expression conveyed through their images.
Steps to Change Aperture on Sony Mirrorless Camera
Adjusting the aperture on your Sony mirrorless camera involves a seamless process that empowers you to control the exposure and depth of field in your photographs. Here are the steps to change the aperture settings on your Sony mirrorless camera:
- Select the Aperture Priority Mode: Begin by setting your camera to Aperture Priority mode, denoted by “A” or “Av” on the mode dial. This mode allows you to manually adjust the aperture while the camera automatically selects the corresponding shutter speed for optimal exposure.
- Locate the Control Dial: On your Sony mirrorless camera, identify the control dial dedicated to adjusting the aperture. This dial is typically positioned within convenient reach, enabling swift adjustments while composing your shots.
- Engage the Control Dial: With the camera powered on and in Aperture Priority mode, use the control dial to modify the aperture setting. Rotate the dial to select the desired f-stop value, allowing you to widen or narrow the aperture based on your creative vision for the shot.
- Observe the Changes: As you adjust the aperture setting, observe the changes in the depth of field and exposure preview displayed on the camera’s electronic viewfinder or LCD screen. This real-time feedback empowers you to fine-tune the aperture to achieve the desired visual impact in your composition.
- Capture Test Shots: To gauge the impact of the aperture adjustments, capture test shots at varying f-stop values, paying attention to the resulting depth of field and overall exposure. This hands-on approach allows you to refine your understanding of how aperture influences the aesthetics of your photographs.
- Review and Refine: After capturing test shots, review the images on the camera’s display to assess the effects of the aperture changes. Refine the aperture setting as needed to align with your creative intent, ensuring that the visual storytelling and emphasis on subjects are enhanced through thoughtful aperture adjustments.
By following these steps, you can confidently navigate the process of changing aperture settings on your Sony mirrorless camera, unlocking the potential to capture compelling images with nuanced depth of field and precise exposure control.
Tips for Using Aperture Effectively
Mastering the effective use of aperture is essential for elevating the visual impact of your photography. Here are valuable tips to optimize the use of aperture settings on your Sony mirrorless camera:
- Consider the Creative Intent: Before adjusting the aperture, envision the desired visual outcome for your photograph. Determine whether you aim to isolate the subject with a shallow depth of field or showcase intricate details in a broader focal range. This foresight guides your aperture adjustments to align with your creative vision.
- Embrace Bokeh for Portraits: Wider apertures, indicated by lower f-stop values (e.g., f/1.4 or f/2.8), produce a pleasing bokeh effect, ideal for capturing captivating portraits. Use this technique to draw attention to the subject while creating a beautifully blurred background that enhances the aesthetic appeal of your portraits.
- Optimize Depth of Field for Landscapes: When photographing expansive landscapes or architectural marvels, narrow apertures with higher f-stop values (e.g., f/8 or f/11) are advantageous. This approach maximizes the depth of field, ensuring that intricate details throughout the scene are sharply rendered, resulting in striking landscape compositions.
- Balance Aperture with Shutter Speed: As you manipulate the aperture, remain mindful of its reciprocal relationship with shutter speed. A wider aperture necessitates faster shutter speeds to maintain proper exposure, while narrower apertures may require longer exposures. Striking a harmonious balance between these settings is vital for achieving well-exposed images.
- Experiment with Aperture Bracketing: Explore aperture bracketing by capturing multiple exposures at varying f-stop values for a single scene. This technique provides a range of depth of field options during post-processing, empowering you to select the most compelling rendition of the image based on the aperture setting that best conveys your creative intent.
- Utilize Aperture for Storytelling: Leverage aperture adjustments to convey narrative depth and visual hierarchy within your photographs. By strategically manipulating the depth of field, you can guide the viewer’s focus, emphasize key elements, and imbue your images with compelling storytelling elements that resonate with the audience.
By incorporating these tips into your photographic practice, you can harness the transformative potential of aperture settings to craft captivating images that resonate with artistic expression and visual allure.
Conclusion
Congratulations on delving into the intricacies of aperture adjustments for your Sony mirrorless camera. By gaining a comprehensive understanding of aperture and mastering the process of changing its settings, you have unlocked a realm of creative possibilities to elevate your photography.
Understanding aperture as a tool for controlling exposure, depth of field, and visual storytelling empowers you to capture compelling images that resonate with artistic flair and technical finesse. Whether you are capturing captivating portraits, expansive landscapes, or immersive narratives, the effective use of aperture settings enhances the visual impact and emotional resonance of your photographs.
As you continue to refine your skills and explore the nuanced interplay between aperture, shutter speed, and ISO, remember to embrace experimentation and creativity. Leverage aperture as a dynamic element in your photographic compositions, allowing it to enrich your visual storytelling and imbue your images with captivating depth and dimension.
With each photograph you capture, consider the profound influence of aperture on the mood, emphasis, and narrative conveyed within the frame. Embrace the versatility of aperture settings to adapt to diverse shooting scenarios and infuse your photography with a signature style that reflects your artistic vision.
Armed with the knowledge and insights gleaned from this guide, you are well-equipped to harness the power of aperture settings on your Sony mirrorless camera, transforming ordinary scenes into extraordinary visual narratives that captivate and inspire viewers.
So, pick up your Sony mirrorless camera, venture into the world, and let your creative vision unfold through the artful manipulation of aperture settings. Your photographic journey awaits, brimming with endless opportunities to craft evocative images that resonate with timeless allure and expressive depth.