Introduction
So, you've got your hands on the Sunjet Condenser Microphone with Tripod Stand, and you're eager to start using it for your recording needs. This high-quality microphone is designed to capture crystal-clear audio, making it a valuable tool for podcasting, gaming, streaming, voiceovers, and more. Whether you're a content creator, musician, or simply looking to enhance the audio quality of your videos, the Sunjet Condenser Microphone is a versatile and user-friendly option.
In this guide, we'll walk you through the process of setting up and using your Sunjet Condenser Microphone with the included tripod stand. We'll cover everything from unboxing the microphone to adjusting its settings and testing its performance. By the end of this tutorial, you'll be ready to unleash the full potential of your Sunjet Condenser Microphone and elevate the audio quality of your recordings.
Let's dive into the exciting world of professional audio recording with the Sunjet Condenser Microphone!
Unboxing the Sunjet Condenser Microphone
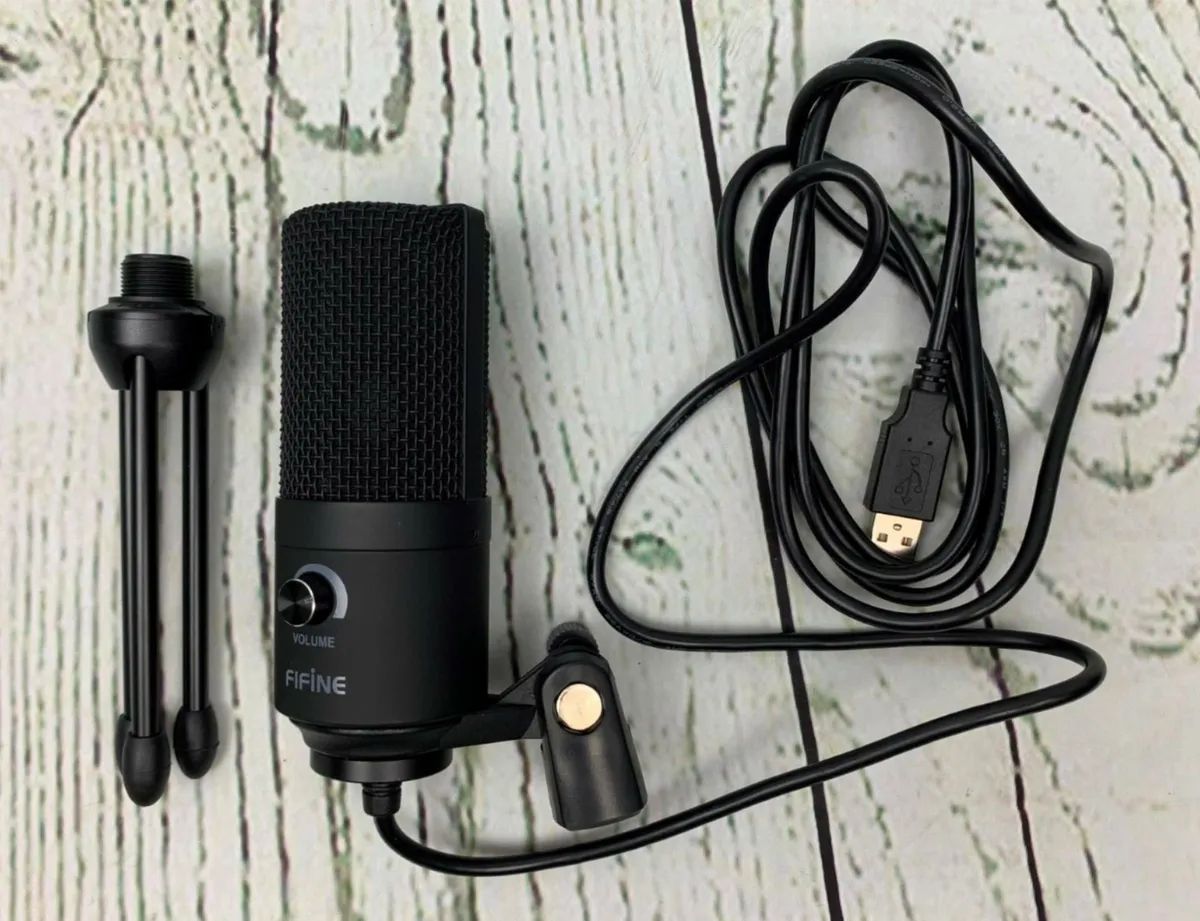
As you unbox the Sunjet Condenser Microphone, you’ll be greeted with a carefully packaged ensemble designed to elevate your recording experience. The contents typically include the sleek and stylish condenser microphone itself, a sturdy tripod stand, a shock mount to reduce vibrations and handling noise, a pop filter to minimize plosive sounds, and a user manual to guide you through the setup process.
The microphone’s professional-grade construction exudes quality, and its compact size makes it a convenient addition to any recording setup. The shock mount and pop filter demonstrate Sunjet’s commitment to delivering top-notch audio performance by minimizing unwanted noise and ensuring clear, professional-grade recordings.
Unboxing the Sunjet Condenser Microphone is the first step toward unlocking its potential for capturing pristine audio. The attention to detail in the packaging and the array of included accessories set the stage for a seamless setup process and a fulfilling recording experience.
Attaching the Tripod Stand
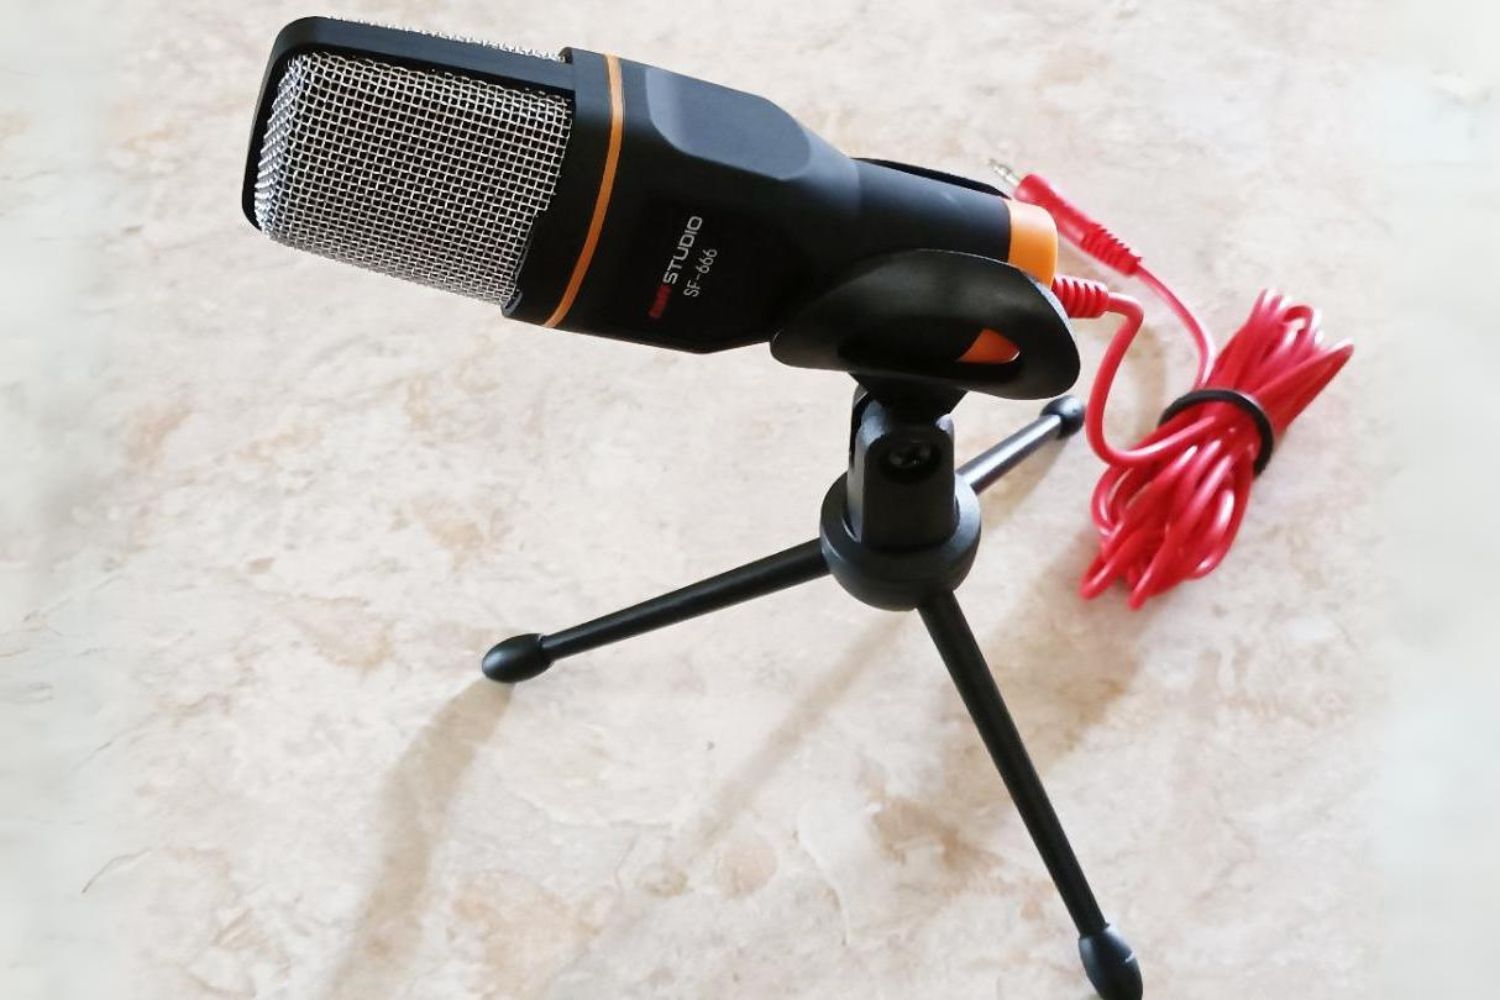
Attaching the tripod stand to the Sunjet Condenser Microphone is a straightforward process that ensures stability and optimal positioning during recording sessions. The tripod stand provides a secure base for the microphone, allowing you to adjust its height and angle to suit your preferences. This versatile stand is designed to accommodate various recording setups, whether you’re podcasting at a desk, recording vocals in a studio, or capturing audio for video content.
To attach the microphone to the tripod stand, simply align the threaded end of the stand with the microphone’s mount and gently screw it in place. The sturdy construction of the tripod stand ensures that your microphone remains steady and secure, minimizing the risk of accidental knocks or vibrations during recording.
Once attached, you can adjust the tripod stand’s height and angle to achieve the optimal position for capturing your audio. This flexibility allows you to customize the microphone’s placement to suit your specific recording environment, ensuring that you can achieve the best possible sound quality with ease.
By attaching the tripod stand to your Sunjet Condenser Microphone, you’re taking a crucial step toward creating a reliable and professional recording setup that’s tailored to your unique needs.
Connecting the Microphone to a Device
Once you have the Sunjet Condenser Microphone securely mounted on its tripod stand, the next step is to connect it to your recording device. Whether you’re using a computer, audio interface, mixer, or other compatible device, the process of establishing this connection is essential for capturing high-quality audio.
If you’re using a computer, start by locating an available USB port. The Sunjet Condenser Microphone is typically equipped with a USB interface, allowing for a direct plug-and-play connection to your computer without the need for additional drivers or complex setup procedures. Simply insert the USB cable into the microphone and the corresponding port on your computer, and you’re ready to start recording.
For those using an audio interface or mixer, the microphone can be connected using an XLR cable. This professional audio connection method ensures a balanced and reliable signal transfer, ideal for capturing pristine audio with minimal interference. The XLR cable is plugged into the microphone’s port and then connected to the appropriate input on your audio interface or mixer, enabling seamless integration into your recording setup.
Once the microphone is connected to your device, you may need to adjust the input settings to ensure that it’s recognized and configured correctly. This may involve selecting the microphone as the input device in your recording software or adjusting the input gain on your audio interface or mixer to achieve the desired recording levels.
By establishing a solid connection between the Sunjet Condenser Microphone and your recording device, you’re paving the way for capturing professional-grade audio that meets your specific recording needs.
Turning On the Microphone
Once the Sunjet Condenser Microphone is securely connected to your recording device, the next step is to power it on and prepare it for capturing pristine audio. Unlike traditional microphones that may require external power sources or batteries, the Sunjet Condenser Microphone is typically powered directly through the USB connection, simplifying the setup process and ensuring hassle-free operation.
To turn on the microphone, simply ensure that it’s securely connected to your computer or recording device via the USB cable. Once the connection is established, the microphone is automatically powered and ready to capture your audio. This seamless integration eliminates the need for additional power switches or complicated setup procedures, allowing you to focus on your recording without unnecessary technical distractions.
Upon powering on the microphone, you may notice a subtle indication, such as a soft LED light, confirming that the microphone is operational and ready to capture your voice or instruments. This visual cue provides reassurance that the microphone is active and prepared to deliver professional-grade audio performance.
With the Sunjet Condenser Microphone powered on and connected to your recording device, you’re now poised to unleash its full potential for capturing clear, detailed, and impactful audio. The streamlined power-on process ensures that you can dive straight into your recording sessions with confidence, knowing that the microphone is primed and ready to elevate the quality of your audio recordings.
Adjusting the Microphone Settings
Once the Sunjet Condenser Microphone is powered on and connected to your recording device, it’s essential to fine-tune its settings to ensure optimal performance and capture the best possible audio quality. The microphone’s settings can be adjusted to suit your specific recording environment, voice, or instrument, allowing you to tailor its performance to your unique preferences.
If you’re using a computer for recording, you can access the microphone’s settings through your recording software or operating system. This may involve adjusting the input levels, selecting the microphone as the preferred audio input device, and configuring any additional settings offered by your recording software. These adjustments enable you to optimize the microphone’s performance and ensure that it’s capturing your audio with precision and clarity.
For those using an audio interface or mixer, the microphone’s settings can be adjusted directly on the interface or mixer itself. This may include setting the input gain to achieve the desired recording levels, engaging any built-in filters or equalization options to enhance the microphone’s sound, and routing the microphone’s signal to the appropriate recording channels.
Additionally, the Sunjet Condenser Microphone may feature onboard controls for adjusting its settings, such as switches for selecting different polar patterns or filters. These controls provide you with the flexibility to customize the microphone’s performance according to the specific recording requirements, whether you’re capturing vocals, instruments, or diverse audio sources.
By carefully adjusting the microphone’s settings, you can unleash its full potential and tailor its performance to meet your exacting standards. These adjustments empower you to capture professional-grade audio that’s perfectly suited to your creative endeavors, ensuring that the Sunjet Condenser Microphone delivers exceptional results with every recording.
Testing the Microphone
Before diving into your recording sessions, it’s crucial to conduct a thorough test of the Sunjet Condenser Microphone to ensure that it’s performing optimally and capturing the desired audio quality. Testing the microphone allows you to identify and address any potential issues, fine-tune its settings, and familiarize yourself with its performance characteristics.
Begin by speaking or singing into the microphone at various distances and angles to gauge its sensitivity and capture capabilities. This initial test helps you determine the microphone’s optimal positioning for capturing your voice or instruments with clarity and accuracy. Additionally, testing the microphone’s sensitivity to different sound levels allows you to set appropriate input levels and avoid distortion or clipping during recording.
Next, consider conducting a sound check with your recording software or device to monitor the microphone’s input levels and assess the quality of the captured audio. This step enables you to verify that the microphone is transmitting a clean and robust signal to your recording system, ensuring that you’re ready to proceed with your recording sessions without encountering unexpected technical issues.
During the testing phase, it’s beneficial to experiment with the microphone’s settings, such as adjusting the input gain, exploring different polar patterns if available, and engaging any onboard filters or equalization options. This hands-on approach allows you to familiarize yourself with the microphone’s capabilities and tailor its performance to suit your specific recording requirements.
Additionally, consider recording short snippets of audio, such as spoken dialogue, vocal performances, or instrumental passages, and playing them back to assess the microphone’s capture quality and characteristics. By listening to these test recordings, you can evaluate the microphone’s tonal balance, transient response, and overall fidelity, ensuring that it meets your expectations for professional-grade audio capture.
Through thorough testing and experimentation, you can gain a deeper understanding of the Sunjet Condenser Microphone’s capabilities and fine-tune its performance to achieve outstanding results in your recording endeavors. This comprehensive testing process sets the stage for confident and successful recording sessions, knowing that your microphone is primed to deliver exceptional audio quality.
Conclusion
Congratulations! You’ve successfully navigated the setup and testing process for the Sunjet Condenser Microphone with Tripod Stand, equipping yourself with the knowledge and skills to harness its full potential for capturing professional-grade audio. By unboxing the microphone and attaching it to the tripod stand, you’ve laid the foundation for a reliable and versatile recording setup that adapts to your creative needs.
Connecting the microphone to your recording device and powering it on marked pivotal steps in preparing the Sunjet Condenser Microphone for action. The streamlined setup process, combined with the microphone’s USB connectivity and intuitive power-on mechanism, ensures that you can transition seamlessly from preparation to recording without unnecessary technical hurdles.
Adjusting the microphone’s settings allowed you to tailor its performance to your specific recording environment, voice, or instruments, unlocking its full potential for capturing pristine audio. Whether fine-tuning input levels, engaging polar patterns, or exploring onboard controls, these adjustments empower you to achieve outstanding results that align with your creative vision.
Through the comprehensive testing process, you gained valuable insights into the microphone’s performance characteristics, honed its settings, and familiarized yourself with its capabilities. This hands-on approach equipped you with the confidence and assurance that the Sunjet Condenser Microphone is poised to deliver exceptional audio quality in your recording endeavors.
As you embark on your recording journey with the Sunjet Condenser Microphone, remember that its versatile design, user-friendly features, and commitment to audio excellence make it a valuable companion for podcasting, gaming, streaming, voiceovers, and a myriad of other creative pursuits. With its ability to capture crystal-clear audio and adapt to diverse recording scenarios, the Sunjet Condenser Microphone empowers you to elevate the quality of your content and unleash your creative potential.
Embrace the possibilities that the Sunjet Condenser Microphone presents, and let its exceptional audio performance inspire and enhance your recordings, setting the stage for captivating and impactful content creation.