Introduction
Welcome to our comprehensive guide on how to use a USB microphone with an audio interface. If you’re a content creator, podcaster, musician, or anyone involved in audio recording, this article is for you. USB microphones have gained popularity due to their ease of use, plug-and-play functionality, and affordability. However, when it comes to professional recording and capturing studio-grade sound quality, using a USB microphone with an audio interface can greatly enhance your audio production process.
Before we delve into the details, let’s clarify what a USB microphone and an audio interface are.
A USB microphone is a type of microphone that connects directly to your computer’s USB port. It eliminates the need for additional equipment like mixers or preamps, allowing you to record high-quality audio with convenience. These microphones are often used by podcasters, live streamers, and voice-over artists due to their simplicity and accessibility.
An audio interface, on the other hand, is an external device that connects to your computer or laptop. It acts as a bridge between your USB microphone and your recording software, converting analog signals from the microphone into digital signals that can be processed by your computer. Audio interfaces provide higher audio fidelity, better control over recording settings, and often offer additional input and output options for connecting various audio devices.
By combining the convenience of a USB microphone with the versatility and capabilities of an audio interface, you can unlock the full potential of your recordings. Let’s explore why using a USB microphone with an audio interface is advantageous.
What is a USB Microphone?
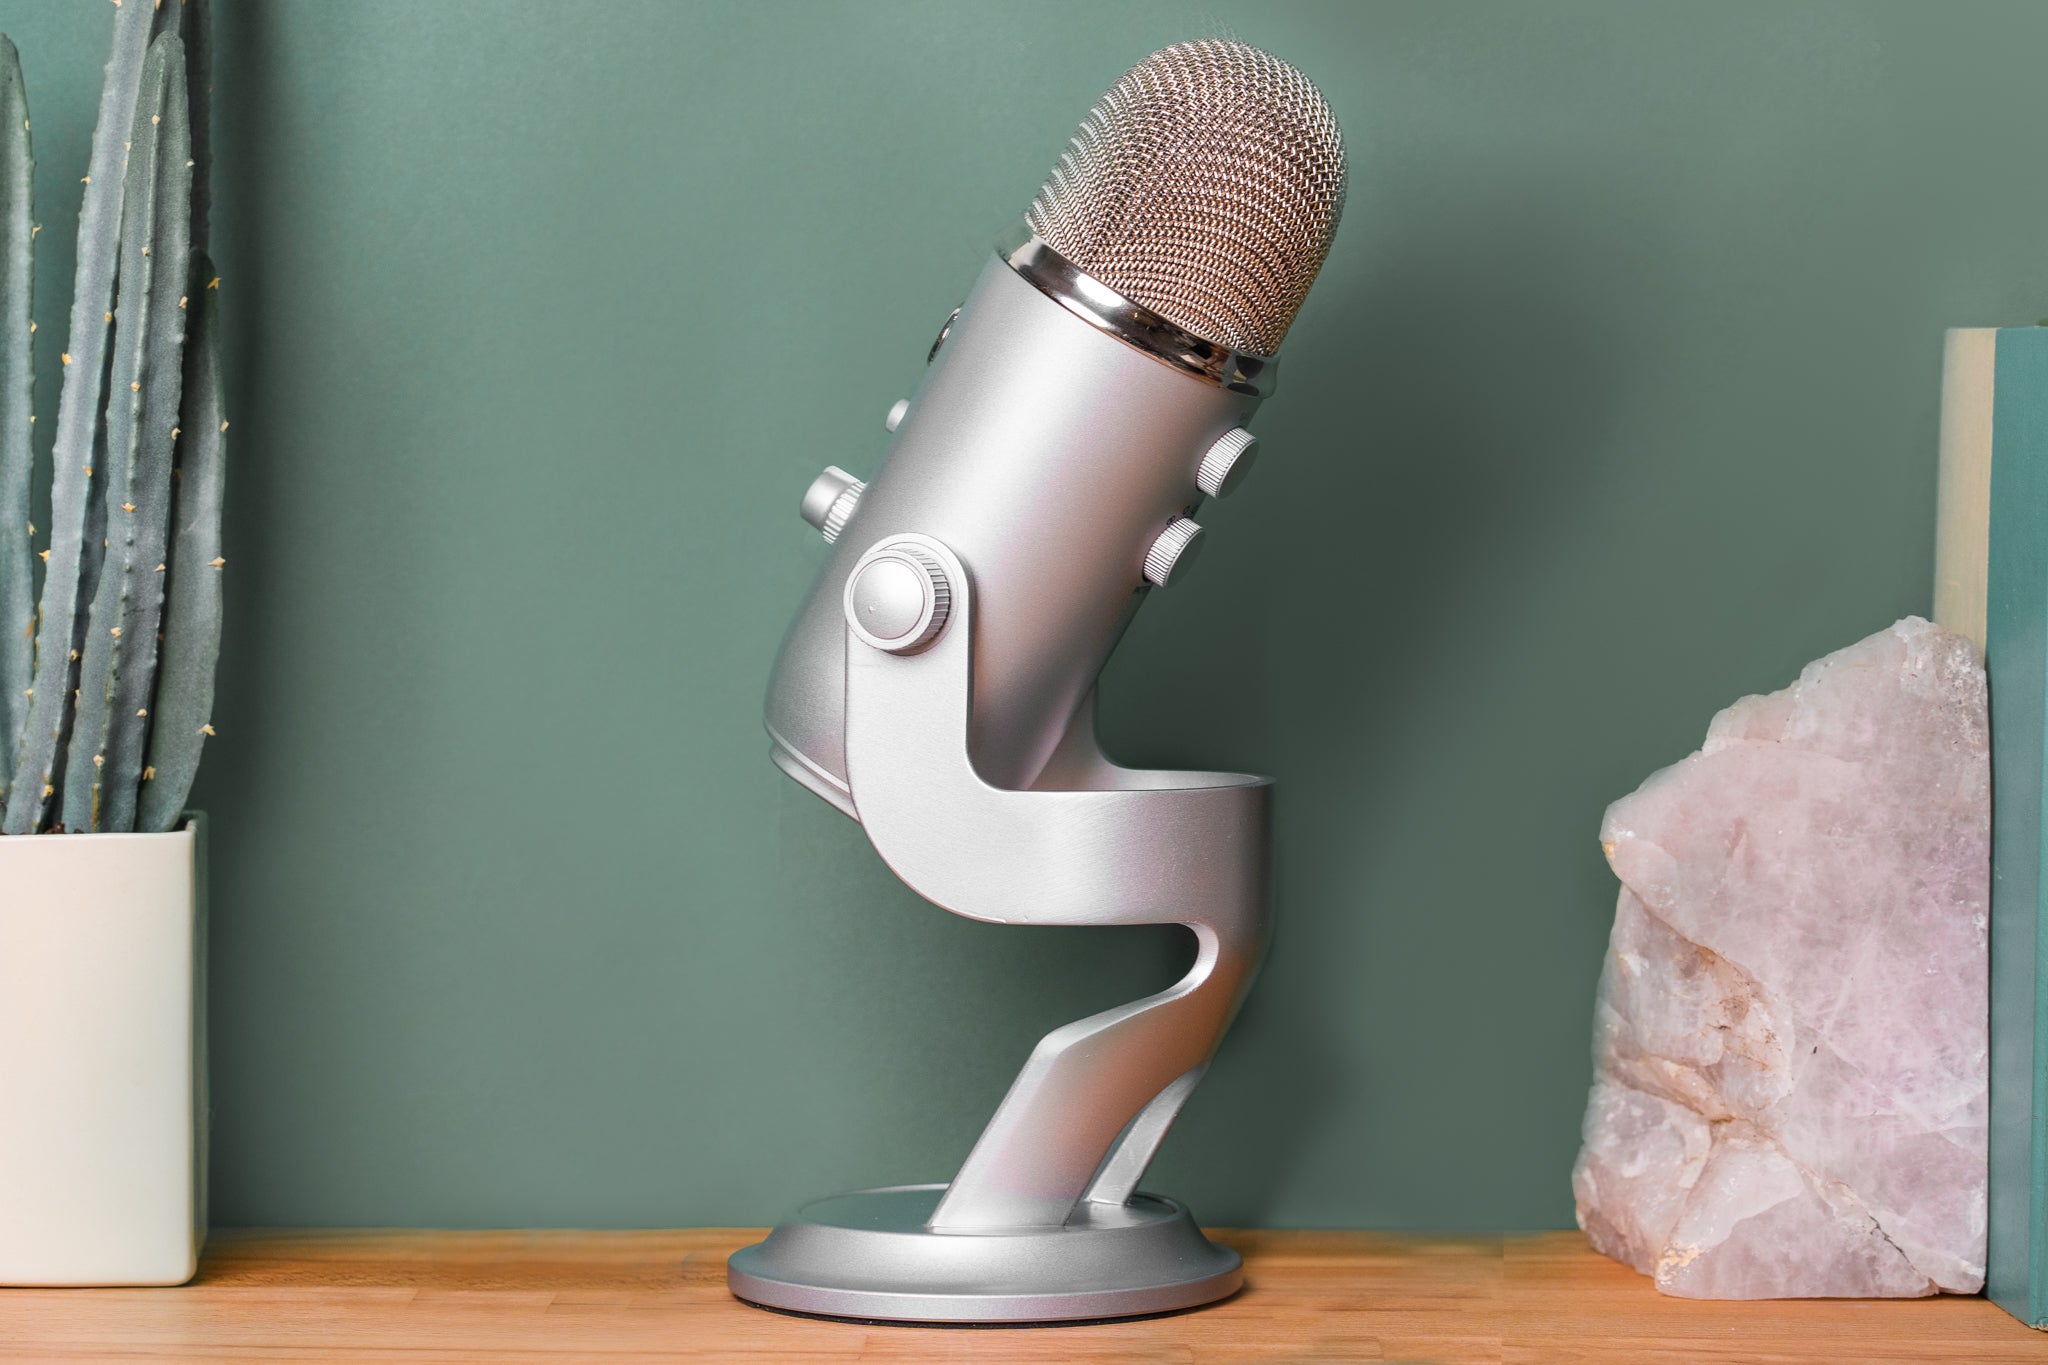
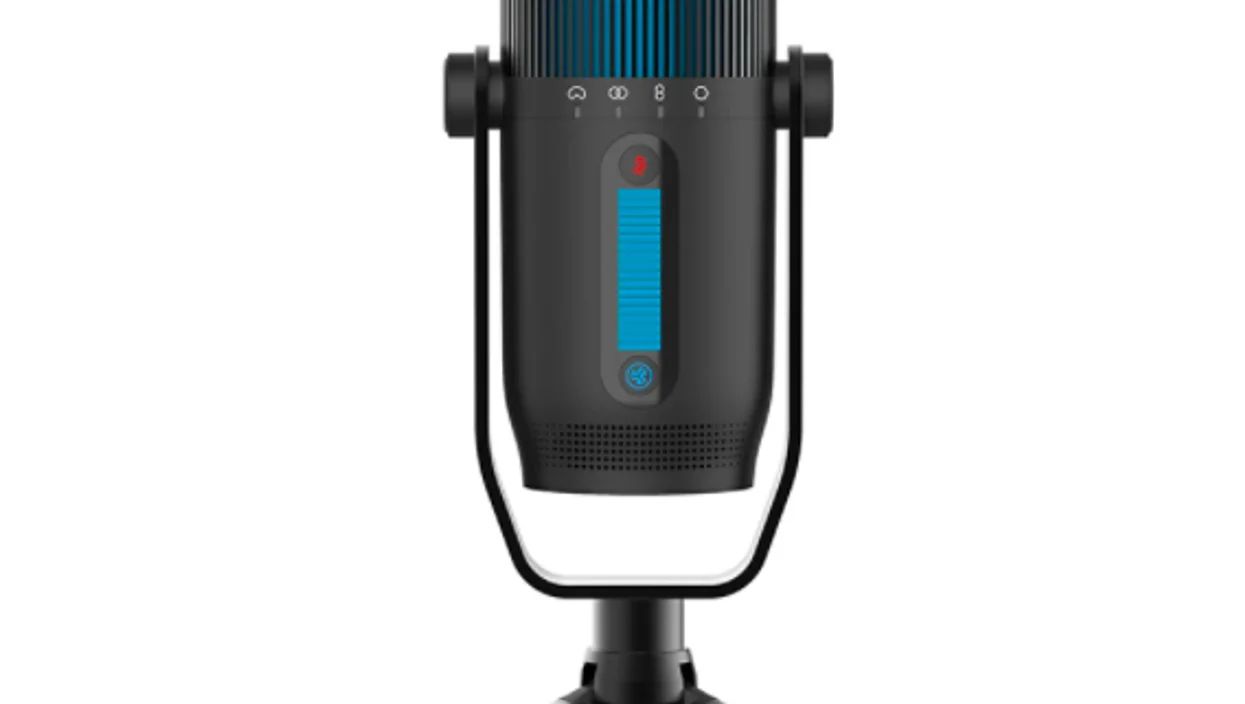
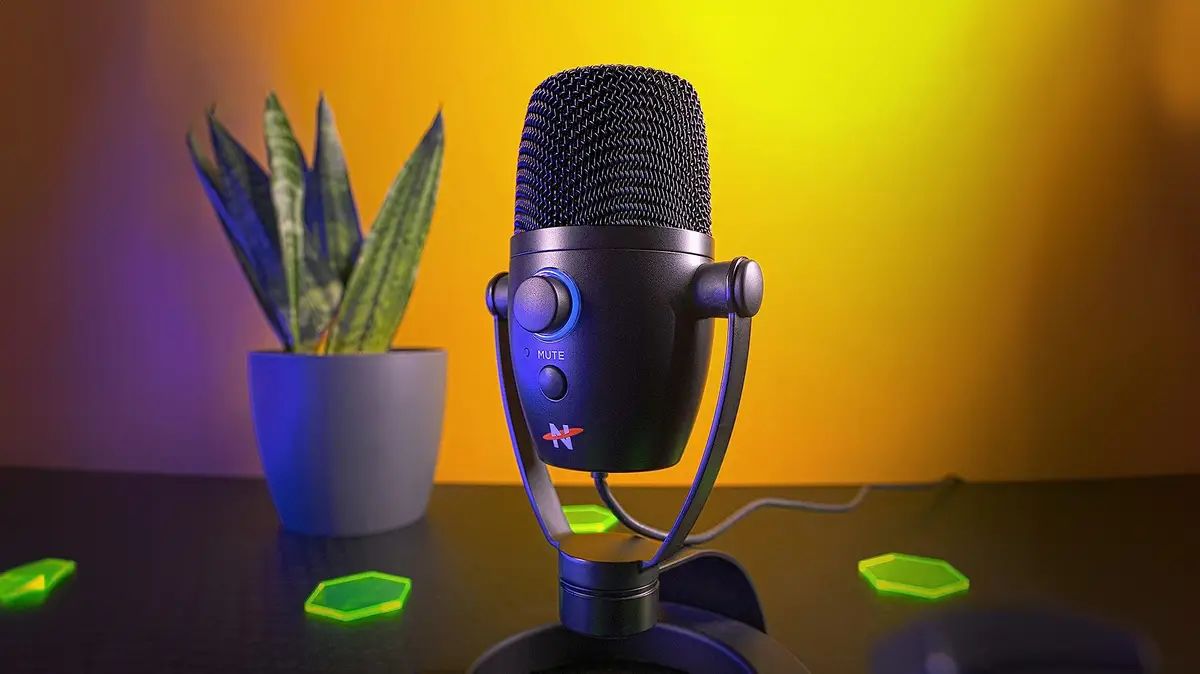
A USB microphone is a type of microphone that connects directly to your computer’s USB port, eliminating the need for additional audio equipment. It utilizes the Universal Serial Bus (USB) technology to transmit audio signals from the microphone to your computer. USB microphones are specifically designed to be plug-and-play devices, meaning they can be effortlessly connected and used without requiring any complex setup or additional drivers.
One of the key advantages of USB microphones is their convenience and ease of use. Unlike traditional microphones that require external audio interfaces or mixers, USB microphones are self-contained units that are ready to use with just a USB connection. This makes them ideal for individuals who are new to audio recording or those who prefer a simple setup.
In addition to their simplicity, USB microphones also offer high-quality audio recording capabilities. Many USB microphones are designed with built-in preamplifiers and analog-to-digital converters, allowing them to deliver professional-grade sound quality. With features such as adjustable gain control and headphone monitoring, USB microphones provide users with precise control over their recordings and real-time monitoring of their audio.
USB microphones come in various types and designs to cater to different recording needs. There are handheld USB microphones, which are perfect for on-the-go recording or podcasting. There are also desktop USB microphones, which are designed to sit on your desk and provide a convenient solution for recording vocals, instruments, or podcasts. Additionally, there are USB microphones specifically tailored for streaming and gaming, with features like headphone outputs and mute buttons.
Overall, USB microphones offer a convenient and user-friendly solution for capturing audio. They are suitable for a wide range of applications, including podcasting, voice-over work, YouTube videos, music recording, and more. However, when it comes to achieving professional-grade sound quality and expanding your audio production capabilities, pairing a USB microphone with an audio interface is highly recommended.
What is an Audio Interface?
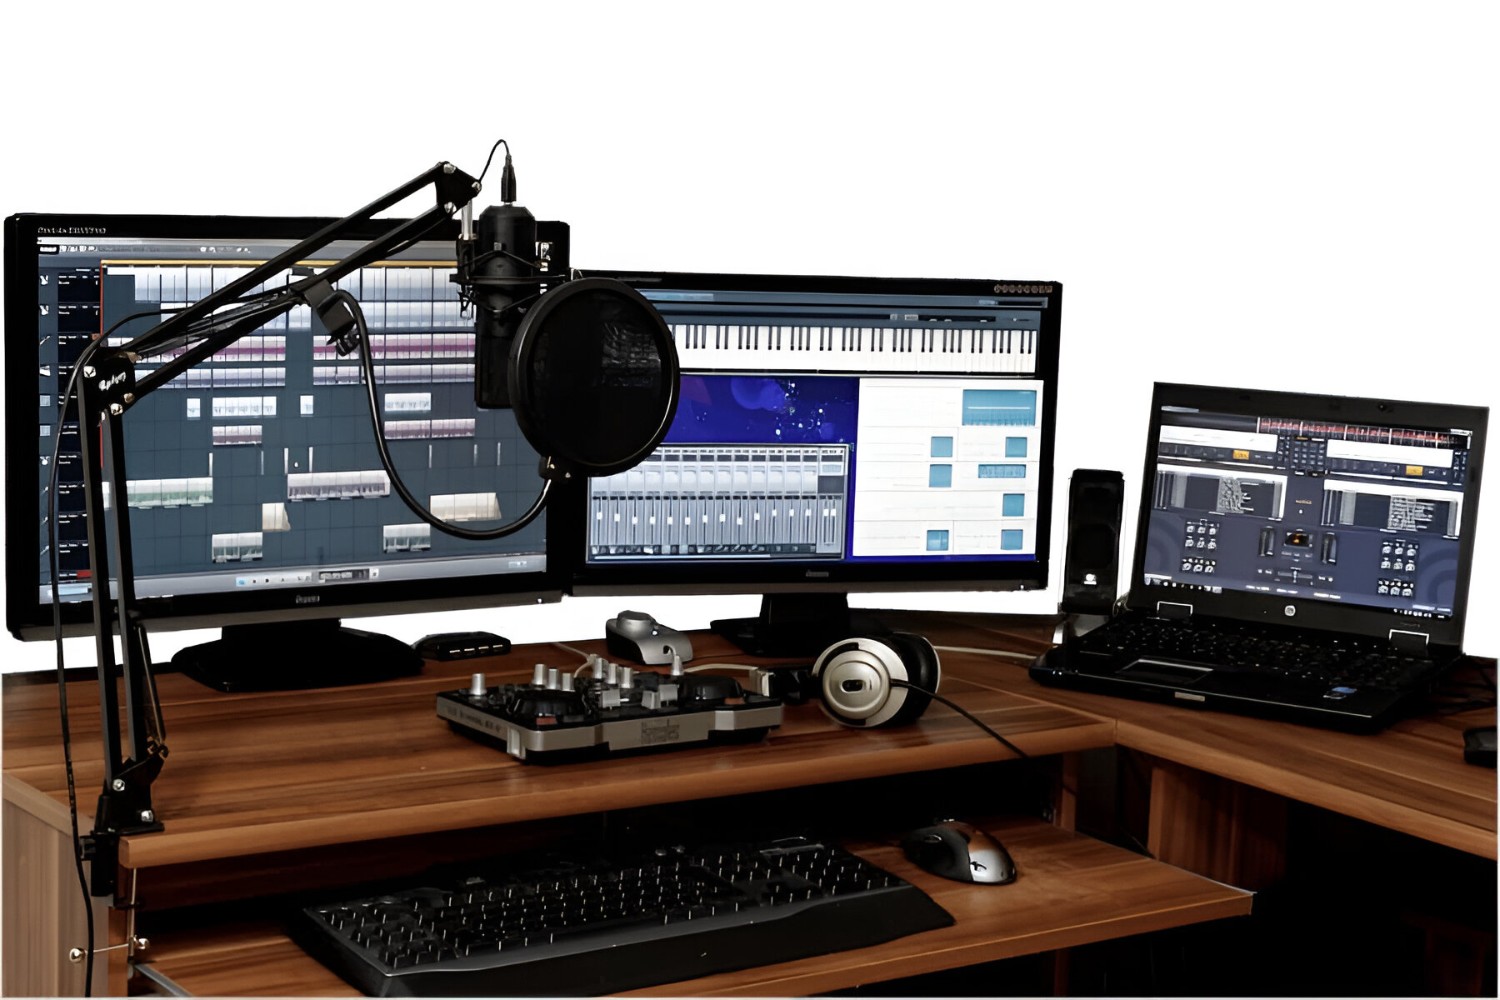
An audio interface is an external device that connects to your computer or laptop to enhance the recording and playback capabilities of your audio setup. It acts as a bridge between your audio sources, such as microphones, instruments, and speakers, and your computer’s digital audio workstation (DAW) or recording software. The primary function of an audio interface is to convert analog audio signals into digital data that your computer can process.
While many computers have built-in sound cards, these are often limited in terms of audio quality and input/output options. An audio interface, on the other hand, provides higher audio fidelity and a wider range of connectivity options. It typically offers multiple inputs and outputs, allowing you to connect various audio devices simultaneously.
One of the key benefits of using an audio interface is its ability to provide better control over your recording settings. Most audio interfaces feature built-in preamps, which amplify the weak signals from microphones or instruments to a suitable level for recording. These preamps enable you to adjust the gain or volume of your recordings, ensuring optimal audio levels and preventing distortion.
Audio interfaces also offer low-latency monitoring, which allows you to hear yourself or any other audio input in real-time while recording. This is crucial for musicians and vocalists who need to hear their performance without any noticeable delay. Additionally, audio interfaces often include dedicated headphone outputs and volume controls, providing independent monitoring options for improved workflow and convenience.
Another advantage of audio interfaces is their ability to provide more reliable and stable audio connections compared to the built-in sound cards of computers. They use high-quality converters and circuits to ensure accurate and noise-free audio recordings. With the option of using balanced inputs and outputs, audio interfaces can reject unwanted noise and interference, resulting in cleaner recordings.
Furthermore, audio interfaces offer additional features and functionalities to enhance your audio production experience. These may include phantom power for powering condenser microphones, MIDI connectivity for controlling external instruments, and digital inputs/outputs for integrating with external audio gear.
An audio interface is a valuable tool for anyone involved in audio recording, whether you’re a musician, podcaster, voice-over artist, or content creator. It allows you to achieve professional-quality recordings, expand your input/output options, and provide greater control over your audio settings. When combined with a USB microphone, an audio interface can take your recordings to the next level, delivering exceptional sound quality and versatility.
Why Use a USB Microphone with an Audio Interface?
Using a USB microphone with an audio interface can greatly enhance your audio recording capabilities and overall sound quality. While USB microphones are convenient and user-friendly on their own, pairing them with an audio interface offers several advantages:
1. Improved Sound Quality: USB microphones, while capable of delivering good sound quality, may have limitations compared to professional-grade XLR microphones. By connecting a USB microphone to an audio interface, you can utilize the high-quality preamps and converters of the interface to capture more detailed and accurate recordings. The superior audio processing capabilities of an audio interface can transform your USB microphone into a studio-quality recording device.
2. Versatility and Expandability: USB microphones often have limited input/output options. On the other hand, audio interfaces provide multiple input channels, allowing you to connect additional microphones, instruments, or other audio sources. This opens up a world of possibilities and allows you to record multiple sources simultaneously or expand your setup as your needs evolve.
3. Control and Customization: USB microphones typically have limited control options, with basic features like gain control or headphone monitoring. With an audio interface, you gain more control over your recording settings. You can adjust microphone gain levels, apply effects or plugins, and fine-tune the audio settings through the interface’s software or hardware controls. This level of control ensures optimal sound capture and allows for creative customization to suit your specific recording needs.
4. Latency and Monitoring: Latency, or the delay between the input and output of audio, can be an issue when recording directly with a USB microphone. By using an audio interface, you can achieve low-latency monitoring, allowing you to hear yourself or other audio sources in real-time with minimal delay. This is crucial for musicians or podcasters who need to hear themselves or other performers while recording to maintain timing and performance accuracy.
5. Compatibility and Flexibility: USB microphones are designed to work seamlessly with different operating systems and recording software. When combined with an audio interface, you can enjoy even greater compatibility and flexibility. An audio interface acts as a universal connector between your USB microphone and your computer, ensuring smooth compatibility regardless of the recording software or hardware setup you use.
By using a USB microphone with an audio interface, you can elevate the quality and flexibility of your recordings. Whether you’re a professional musician, podcaster, or content creator, this combination allows you to capture studio-quality sound while providing the versatility and control necessary for creative expression.
Connecting Your USB Microphone to an Audio Interface
Connecting your USB microphone to an audio interface is a straightforward process that requires a few simple steps. Follow the guidelines below to ensure a proper connection:
1. Ensure Compatibility: Make sure that your USB microphone is compatible with the audio interface you plan to use. Check the specifications of both devices to ensure they are compatible in terms of connector types, power requirements, and signal compatibility.
2. Power Off Both Devices: Before making any connections, it is recommended to power off both your USB microphone and your audio interface. This prevents any potential damage or malfunctions during the connection process.
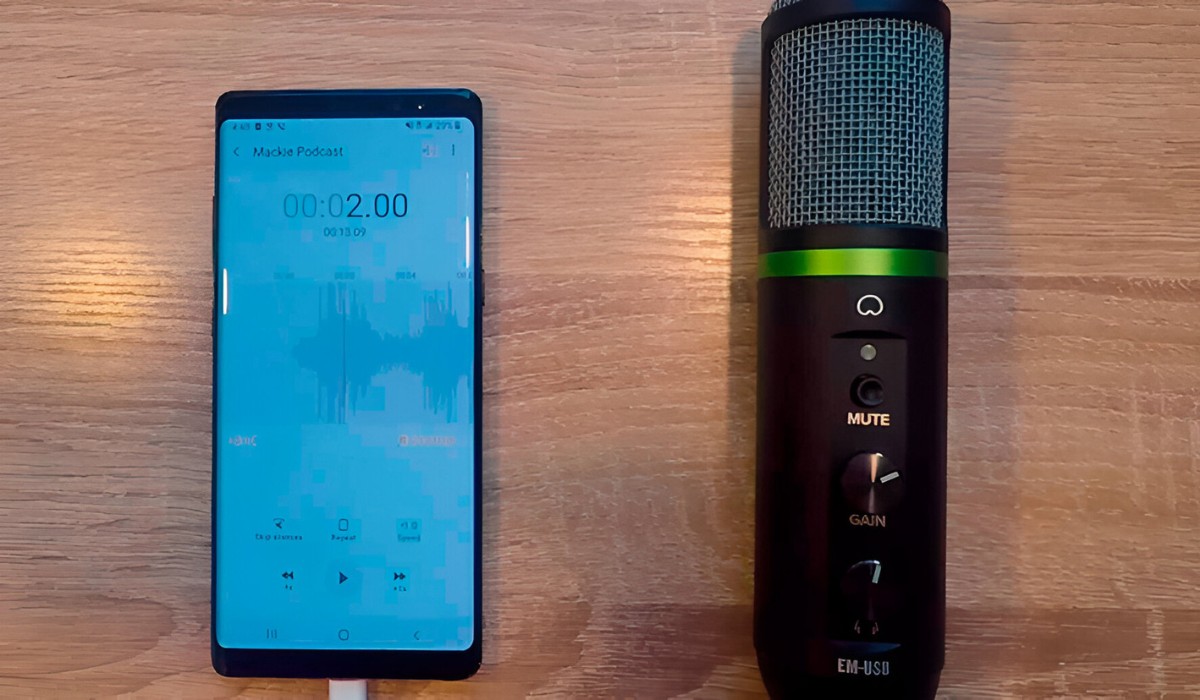
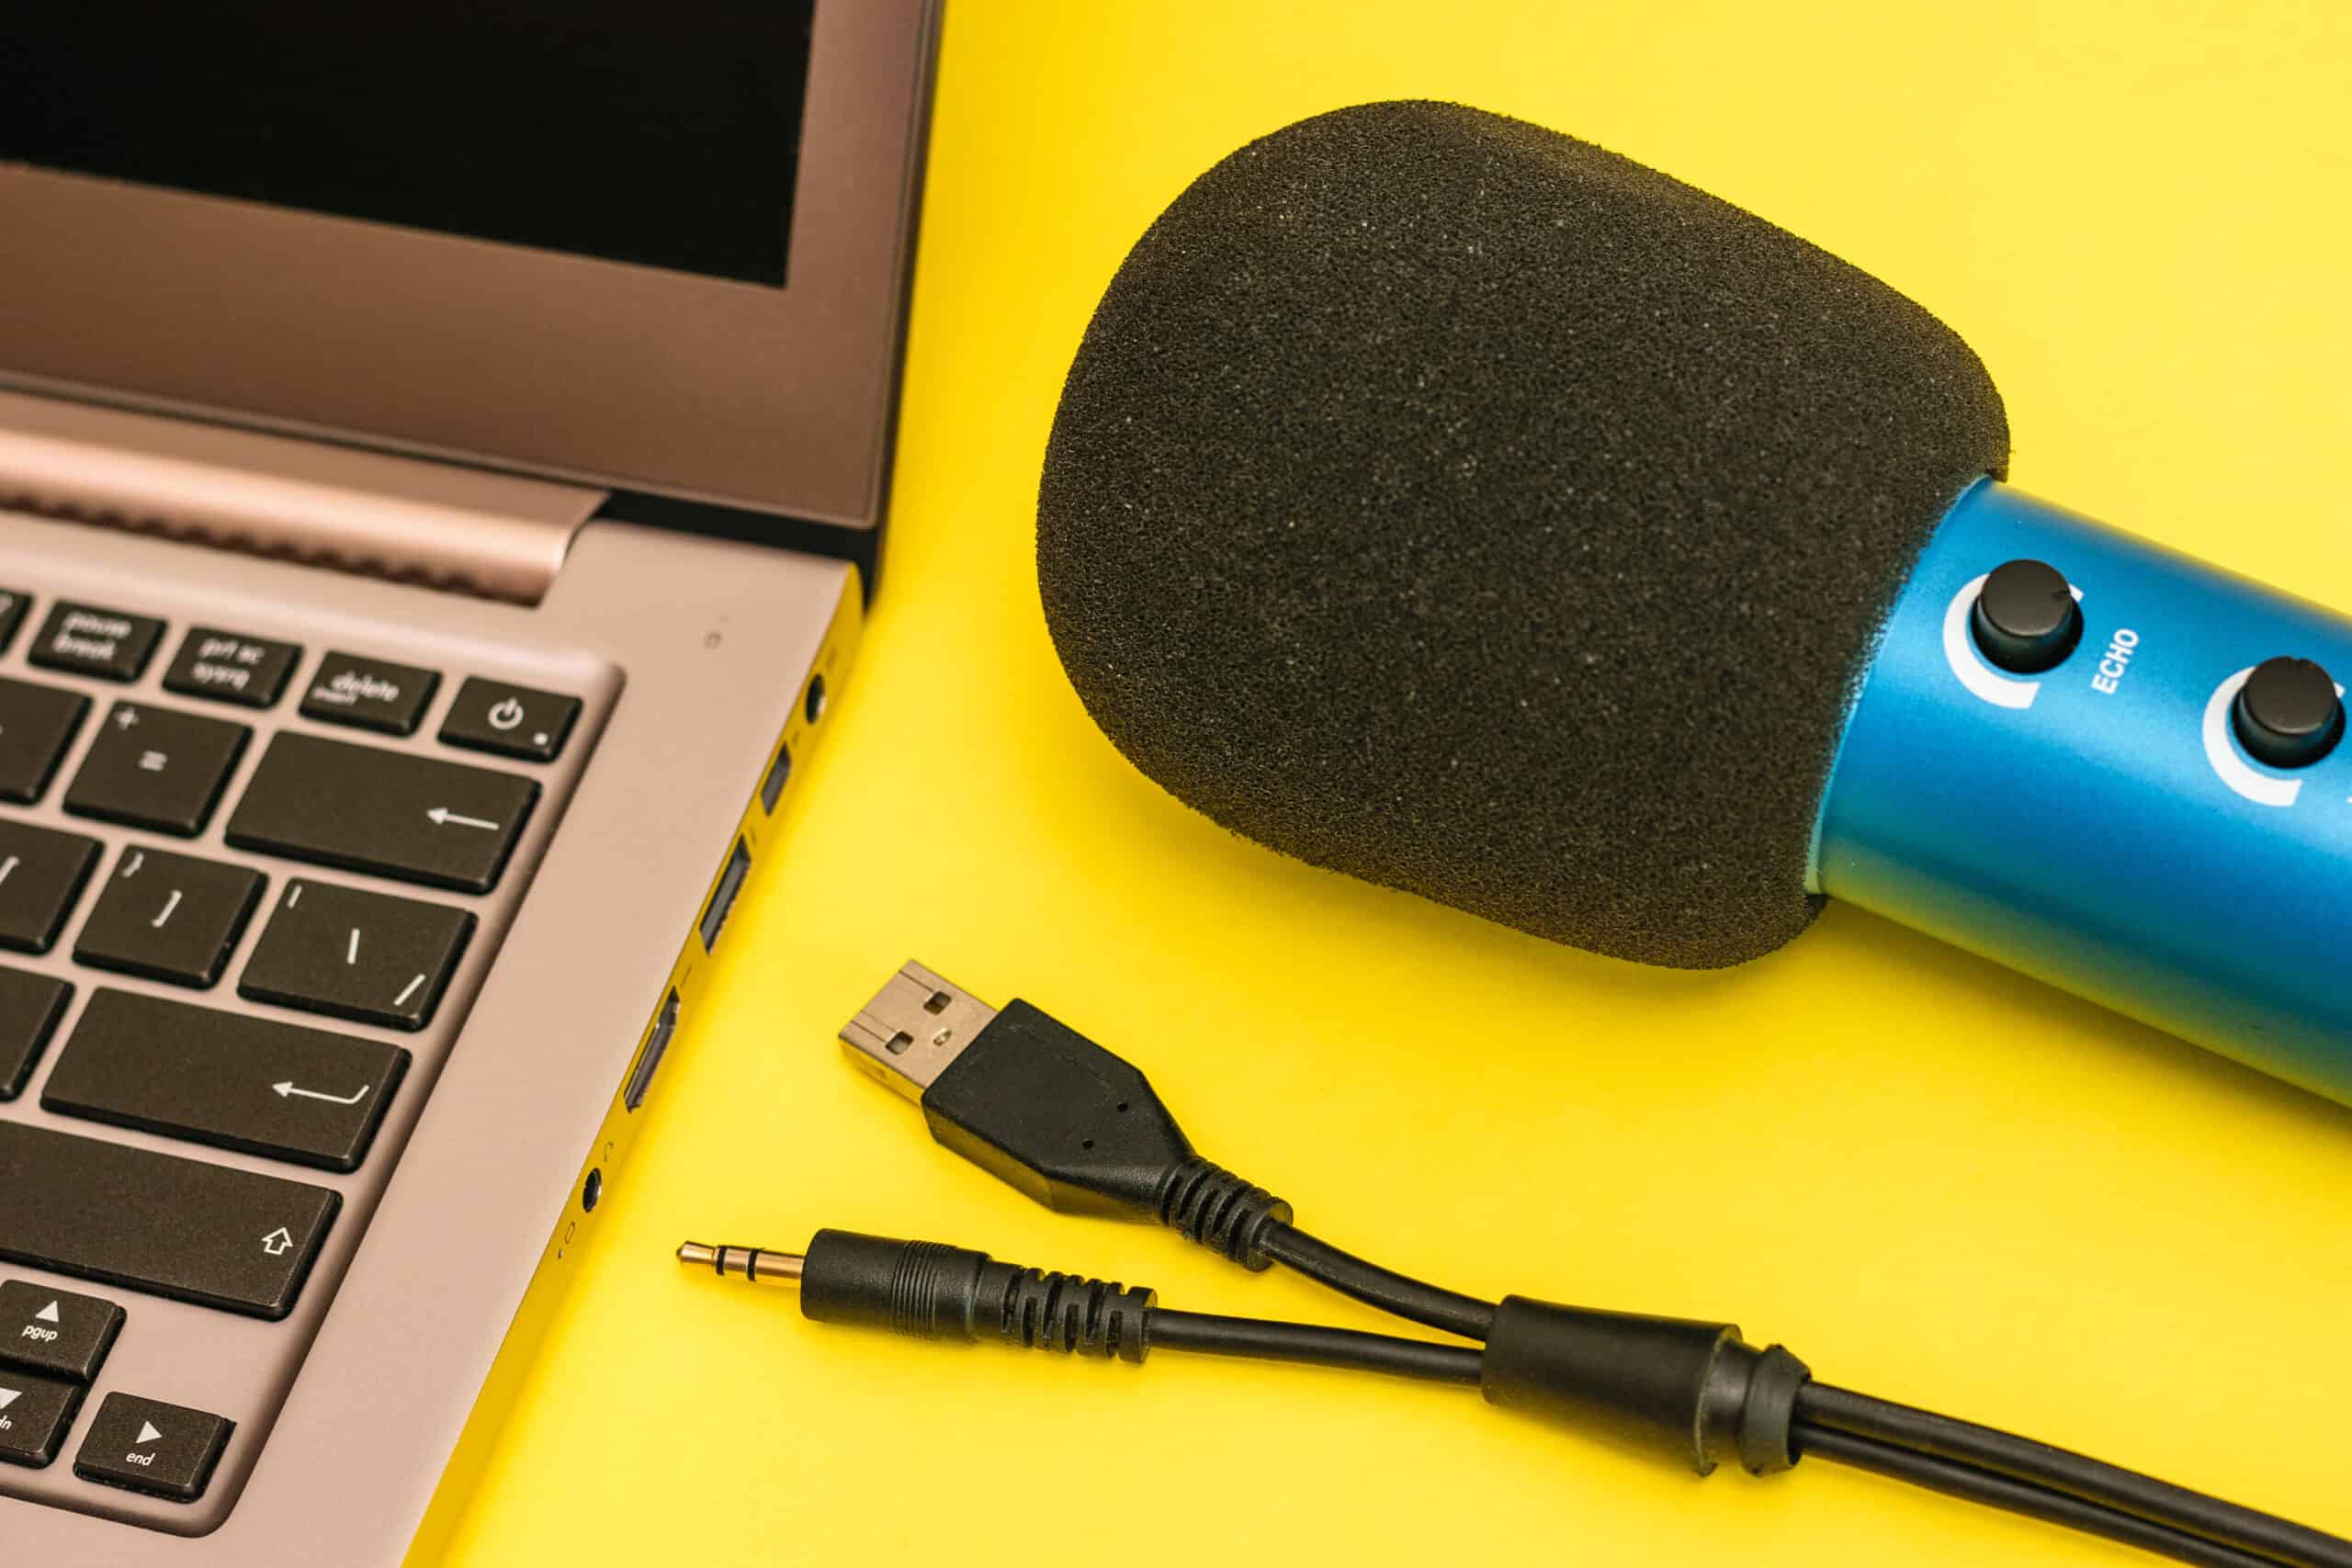
3. Connect the USB Microphone: Start by connecting your USB microphone to your computer’s USB port using the included USB cable. This establishes the connection between the microphone and your computer, allowing it to be recognized as an audio input device.
4. Connect the Audio Interface: Take another USB cable, typically included with the audio interface, and connect it to one of the USB ports on the audio interface. Then, connect the other end to an available USB port on your computer. This establishes the connection between the audio interface and your computer, enabling it to receive and process audio signals from the USB microphone.
5. Power On and Set Up: Power on both your USB microphone and your audio interface. Ensure that the audio interface is properly connected to your computer and recognized as an audio input/output device. Follow the manufacturer’s instructions for any additional setup requirements, such as installing drivers or configuring settings.
6. Configure Audio Settings: Once the connection is established, open your recording software or digital audio workstation (DAW) and navigate to the audio settings. Select the audio interface as the input device and ensure that the USB microphone is selected as the specific input source. Adjust the gain or volume settings on the audio interface as needed to achieve the desired audio levels.
7. Test and Monitor: Before starting your recording, perform a test to ensure that the USB microphone and audio interface are functioning correctly. Speak or sing into the microphone and monitor the input levels on your recording software or DAW to ensure optimal audio capture. Adjust the gain settings on the audio interface and microphone as necessary to avoid distortion or clipping.
By following these steps, you can seamlessly connect your USB microphone to an audio interface, leveraging the advanced capabilities of the interface to enhance your recording quality and control. Remember to consult the user manuals of your specific USB microphone and audio interface for any device-specific instructions or recommendations.
Adjusting the Settings on Your Audio Interface
Once you have connected your USB microphone to an audio interface, it’s important to properly adjust the settings on the interface to achieve optimal recording levels and sound quality. Here are some key settings to consider:
1. Gain Control: The gain control, also known as the input gain or preamp gain, adjusts the sensitivity of the microphone input on the audio interface. Too low of a gain setting may result in a weak or quiet recording, while too high can cause distortion or clipping. Start with the gain set to a neutral position and adjust it gradually while monitoring the input levels on your recording software or digital audio workstation (DAW). Aim for a level where your audio is clear and well-defined without exceeding the maximum level.
2. Phantom Power: If you are using a condenser microphone that requires phantom power, make sure to activate this feature on your audio interface. Phantom power provides the necessary voltage to power the condenser microphone’s internal circuits. It is typically a switch or button on the interface and is usually labeled “+48V” or “Phantom Power”. Check the specifications of your microphone to see if it requires phantom power and activate it accordingly.
3. Monitor Mix: Most audio interfaces offer a mix control that allows you to adjust the balance between the input signals and the playback audio. This can be particularly useful when recording vocals or instruments while monitoring previously recorded tracks. Find the appropriate balance that allows you to hear your performance clearly without being overwhelmed by the playback audio.
4. Headphone Output: The audio interface may have a dedicated headphone output, allowing you to monitor your recordings directly through headphones. Adjust the headphone volume using the control on the interface to ensure a comfortable listening level. Additionally, some interfaces offer separate controls for adjusting the balance between the input signals and the playback audio specifically for the headphone output.
5. Sample Rate and Bit Depth: The sample rate and bit depth settings determine the audio quality and resolution of your recordings. Generally, higher sample rates (e.g., 44.1kHz or 48kHz) and bit depths (e.g., 16-bit or 24-bit) yield better audio quality and more accurate recordings. Adjust these settings in your audio interface’s control panel or software, ensuring they match the settings in your recording software or DAW.
6. Routing and I/O Configuration: Some audio interfaces offer customizable routing options, allowing you to configure how the input signals are routed to various outputs or effects processors. Explore the interface’s control panel or software to adjust the routing and I/O configuration to suit your recording needs. This can include options like direct monitoring, creating separate headphone mixes, or using insert effects.
7. Firmware and Software Updates: Keep your audio interface’s firmware and software up to date. Manufacturers often release updates that address bugs, improve performance, and add new features. Visit the manufacturer’s website or use their dedicated software to check for any available updates and ensure your audio interface is running the latest version.
By adjusting these settings on your audio interface, you can optimize your recording setup for superior sound quality, precise control, and a comfortable monitoring experience. Experiment with different settings to find the configuration that works best for your recording projects.
Selecting the Input Source on Your Recording Software
Once you have connected your USB microphone to an audio interface, the next step is to select the input source on your recording software. This ensures that the software recognizes and receives audio signals from your connected USB microphone. The process may vary slightly depending on your recording software, but the following steps outline the general procedure:
1. Open Your Recording Software: Launch your preferred recording software or digital audio workstation (DAW) on your computer. This can be software like Pro Tools, Logic Pro, Ableton Live, GarageBand, or Audacity. Make sure your audio interface is properly connected and recognized by your computer before opening the recording software.
2. Access the Audio Settings: Navigate to the audio settings or preferences of the recording software. This can usually be found in the software’s preferences, settings, or options menu. Look for the section dedicated to audio devices or inputs/outputs.
3. Select the Audio Interface as the Input Device: In the audio settings, locate the input device or audio interface options. Typically, you will see a drop-down or selection menu that lists the available audio inputs. Choose your audio interface as the input device to ensure that the software receives audio signals from the connected USB microphone through the interface.
4. Choose the Specific Input Source: Once you have selected the audio interface as the input device, the recording software may display a list of available input sources. This allows you to choose the specific input channel of your USB microphone. Select the appropriate input source that corresponds to your USB microphone to establish the connection between the microphone, the audio interface, and the recording software.
5. Configure Additional Settings: Depending on your recording software, you may have additional settings to configure for the input source. This can include adjusting the gain or input level of the USB microphone, enabling phantom power if needed, or activating any specialized features specific to the software. Familiarize yourself with the options available and adjust them according to your recording requirements.
6. Test and Monitor: Before starting your recording session, perform a test to ensure that the software is correctly receiving audio signals from your USB microphone through the audio interface. Activate the input monitoring function in the software and speak or sing into the microphone. Monitor the input levels on your recording software to ensure that the audio signals are being captured accurately and at the desired volume.
It’s worth noting that the specific steps and terminology may vary depending on the recording software you use. For more detailed instructions, consult the user manual or online resources provided by the software manufacturer.
By selecting the input source correctly on your recording software, you establish the connection between your USB microphone, audio interface, and software, ensuring that your recordings accurately capture the audio signals from your USB microphone. Take some time to explore the settings and features of your recording software to maximize your creative control and achieve the best results.
Tips for Optimizing Your Recording Quality
When using a USB microphone with an audio interface, there are several tips and techniques you can apply to optimize your recording quality. These tips will help you achieve professional-level results and ensure the best possible sound capture:
1. Location and Acoustics: Choose a suitable location for your recording setup. Select a quiet room or space free from ambient noise and echo. Consider using soundproofing materials or acoustic treatment to minimize reflections and improve the overall recording quality.
2. Microphone Placement: Experiment with microphone placement to find the sweet spot for your desired sound. Position the microphone appropriately based on the instrument or voice you are recording. For vocals, aim for a distance of about 6-12 inches from the microphone and experiment with different angles and positions to find the optimal sound capture.
3. Proper Gain Staging: Pay attention to the gain settings on your audio interface to prevent distortion. Set the gain level on the interface to capture a strong and clean audio signal without exceeding the maximum level. Monitor the input levels on your recording software or DAW to ensure you are hitting the ideal range without clipping.
4. Pop Filter and Shock Mount: Use a pop filter to reduce plosive sounds (such as “p” and “b” sounds) and a shock mount to isolate the microphone from vibrations or handling noise. These accessories can greatly improve the clarity and overall quality of your recordings.
5. Monitor with Headphones: Use high-quality headphones to monitor your recordings. This allows you to hear the details and nuances of the audio and make necessary adjustments in real-time. Ensure that the headphone output on your audio interface is set to an appropriate volume to avoid any distortion.
6. Experiment with Microphone Settings: Explore the features and settings of your USB microphone to find the best configuration for your recordings. Many USB microphones offer options such as polar patterns (cardioid, omnidirectional, etc.), low-cut filters, and gain controls. Experimenting with these settings can help you achieve the desired sound and eliminate any unwanted noise or frequencies.
7. Use Proper Recording Techniques: Familiarize yourself with proper microphone technique and recording practices. Maintain a consistent distance and angle to the microphone, control your breathing, and avoid excessive movement or handling of the microphone during recording. These techniques will result in cleaner and more professional recordings.
8. Monitor and Adjust in Real-Time: Continuously monitor your recordings while recording, adjusting the gain, microphone placement, and other settings as needed. The ability to make real-time adjustments ensures that you capture the best possible sound quality during the recording process.
9. Post-Processing and Editing: Once you have completed your recording, apply post-processing techniques and editing to further enhance the quality. This may include noise reduction, equalization, compression, and other effects to achieve a polished and balanced final result.
By implementing these tips, you can optimize your recording quality and achieve professional-level sound with your USB microphone and audio interface setup. Remember to experiment, listen critically, and continuously refine your techniques to achieve the best results for your specific recording projects.
Troubleshooting Common Issues
While using a USB microphone with an audio interface can greatly enhance your recording experience, you may encounter some common issues along the way. Here are a few troubleshooting tips to address these issues and ensure smooth operation:
1. No Sound or Input Signal: If you’re not getting any sound or input signal from your USB microphone through the audio interface, first check the physical connections. Ensure that the USB cable is securely connected to both the microphone and the audio interface. Also, verify that your audio interface is properly connected to your computer. Try using a different USB port or cable to rule out any potential issues.
2. Incorrect Input Selection: If you have multiple inputs on your audio interface, ensure that the correct input source is selected in your recording software or digital audio workstation (DAW). Check the input settings to confirm that the USB microphone is selected as the input source. Often, software defaults to the built-in microphone or another input device, so double-check this setting.
3. Distorted Audio or Clipping: If you’re experiencing distorted or clipped audio, it may be due to excessive input levels or improper gain staging. Lower the gain on your audio interface to prevent clipping or distortion. Monitor the input levels on your recording software or DAW to ensure they are within the recommended range. Additionally, check that phantom power is activated only if it is required for your specific microphone.
4. Latency Issues: Latency, or the delay between input and output, can be a common problem when using an audio interface. Ensure that you have the latest drivers and software updates for your audio interface. Adjust the buffer size settings in your audio interface’s control panel or software to reduce latency. If latency is still an issue, consider using direct monitoring or low-latency monitoring options offered by your audio interface.
5. Noise or Interference: If you’re experiencing unwanted noise or interference, try to identify the source of the noise. Ensure that your USB microphone and audio interface are properly shielded and away from potential sources of interference, such as electrical devices or power cables. Use balanced cables where possible and keep cables away from power sources to minimize noise pickup. It’s also helpful to experiment with different gain settings or microphone placement to minimize any environmental noise.
6. Driver or Software Compatibility: If you’re encountering issues with drivers or software compatibility, check for any available updates for your audio interface’s drivers or firmware. Visit the manufacturer’s website for the most recent driver versions. Additionally, verify that your recording software or DAW is compatible with your operating system and the audio interface. Often, simply updating these components can resolve compatibility issues.
7. Check System Requirements and Resources: Ensure that your computer meets the minimum system requirements for both your audio interface and recording software. Insufficient resources, such as CPU power or RAM, can cause performance issues. Close any unnecessary software or applications running in the background to free up system resources and optimize your recording setup.
If you continue to experience issues, consult the user manuals or support resources provided by the manufacturer of your USB microphone and audio interface. They may have specific troubleshooting steps tailored to your device. Additionally, online forums and communities dedicated to audio recording can be valuable resources for troubleshooting and finding solutions to common issues.
By addressing these common issues, you can ensure smooth operation and quality recordings with your USB microphone and audio interface setup.
Conclusion
Using a USB microphone with an audio interface provides a powerful combination for achieving professional-quality recordings. The ease of use and convenience of USB microphones, paired with the enhanced control and versatility of audio interfaces, offer a range of benefits for content creators, musicians, and podcasters alike.
In this comprehensive guide, we explored the functionality and advantages of using a USB microphone with an audio interface. We discussed the definition of USB microphones and how they eliminate the need for additional equipment, making them accessible for beginners and those seeking a simple setup. We also delved into the concept of audio interfaces and how they enhance recording quality, expand input/output options, and provide greater control over settings.
We then explored why using a USB microphone with an audio interface can greatly improve your recording experience. The improved sound quality, versatility, and control offered by this combination allow you to elevate your recordings to a professional level. We provided step-by-step instructions on connecting your USB microphone to an audio interface, adjusting the settings on the interface, and selecting the input source on your recording software.
We also provided valuable tips for optimizing your recording quality, including considering location and acoustics, experimenting with microphone placement, and properly adjusting gain and microphone settings. Troubleshooting common issues, such as no sound, distorted audio, latency, and interference, were addressed to ensure smooth operation and a seamless recording experience.
By following these guidelines and tips, you will be well-equipped to utilize the full potential of your USB microphone and audio interface setup. Whether you’re a musician, podcaster, voice-over artist, or content creator, this combination offers an affordable and convenient solution without compromising on sound quality or control.
Remember to continually experiment, refine your techniques, and stay updated with the latest software and firmware updates for your USB microphone and audio interface. With dedication and practice, you can achieve professional-level recordings and unlock your creative potential with this powerful audio recording setup.