Introduction
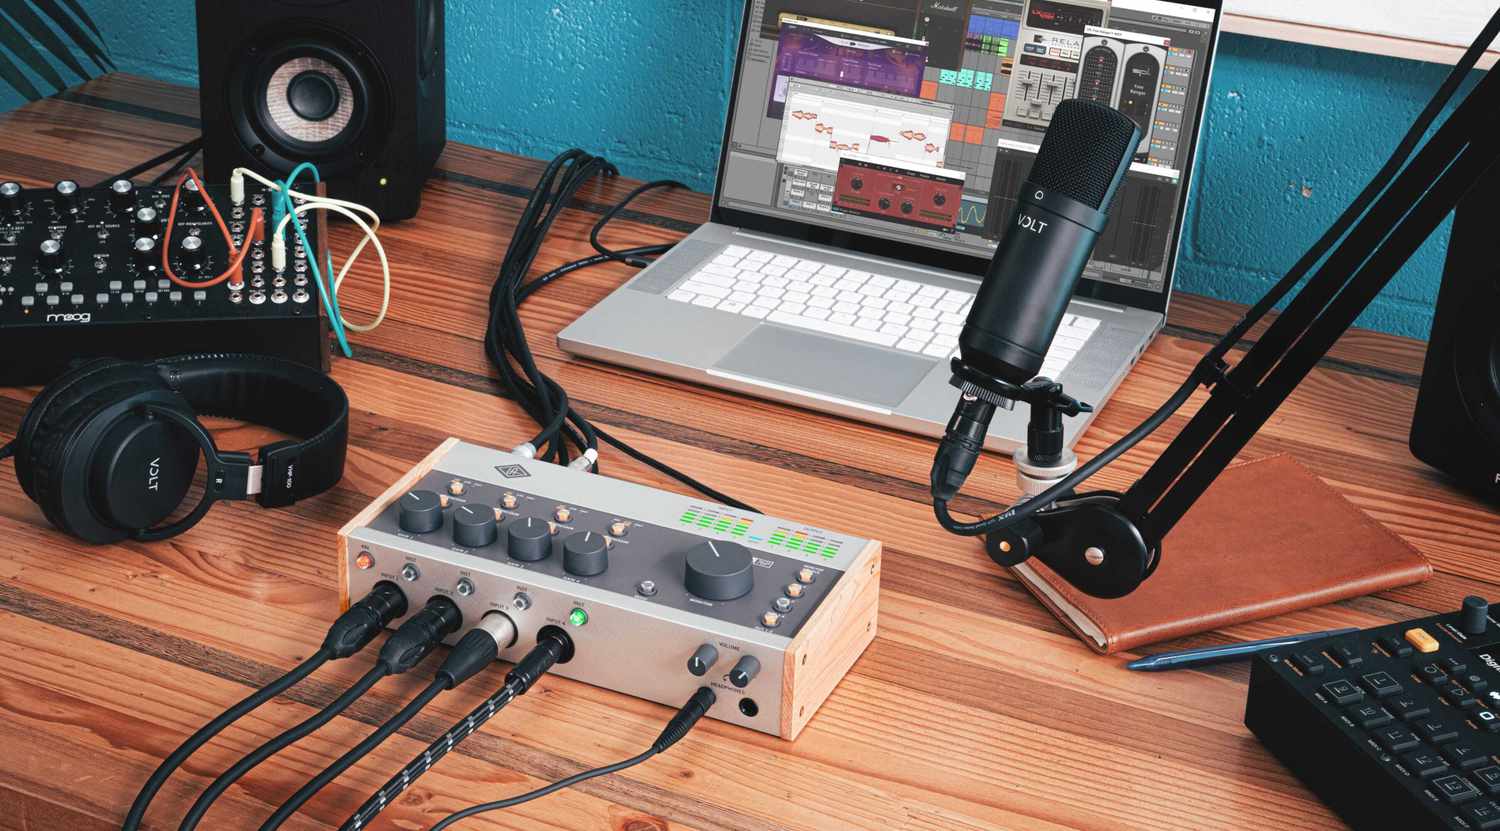
Welcome to our guide on how to use a USB microphone on Mac! If you’re a content creator, podcaster, or someone who frequently engages in audio recording, using a quality microphone is essential to ensure clear and professional-sounding audio. USB microphones have gained popularity due to their convenience and plug-and-play functionality, making them ideal for Mac users.
With a USB microphone, you can easily connect it to your Mac without the need for additional audio interfaces or complicated setups. Whether you’re using it for voiceovers, podcasting, online meetings, or live streaming, integrating a USB microphone into your Mac setup can greatly enhance your audio recording experience.
In this step-by-step guide, we will walk you through the process of using a USB microphone on your Mac. From choosing the right USB microphone to adjusting audio settings and troubleshooting common issues, we’ve got you covered. So, let’s dive in and get your USB microphone set up and ready to use on your Mac!
Step 1: Choosing the Right USB Microphone
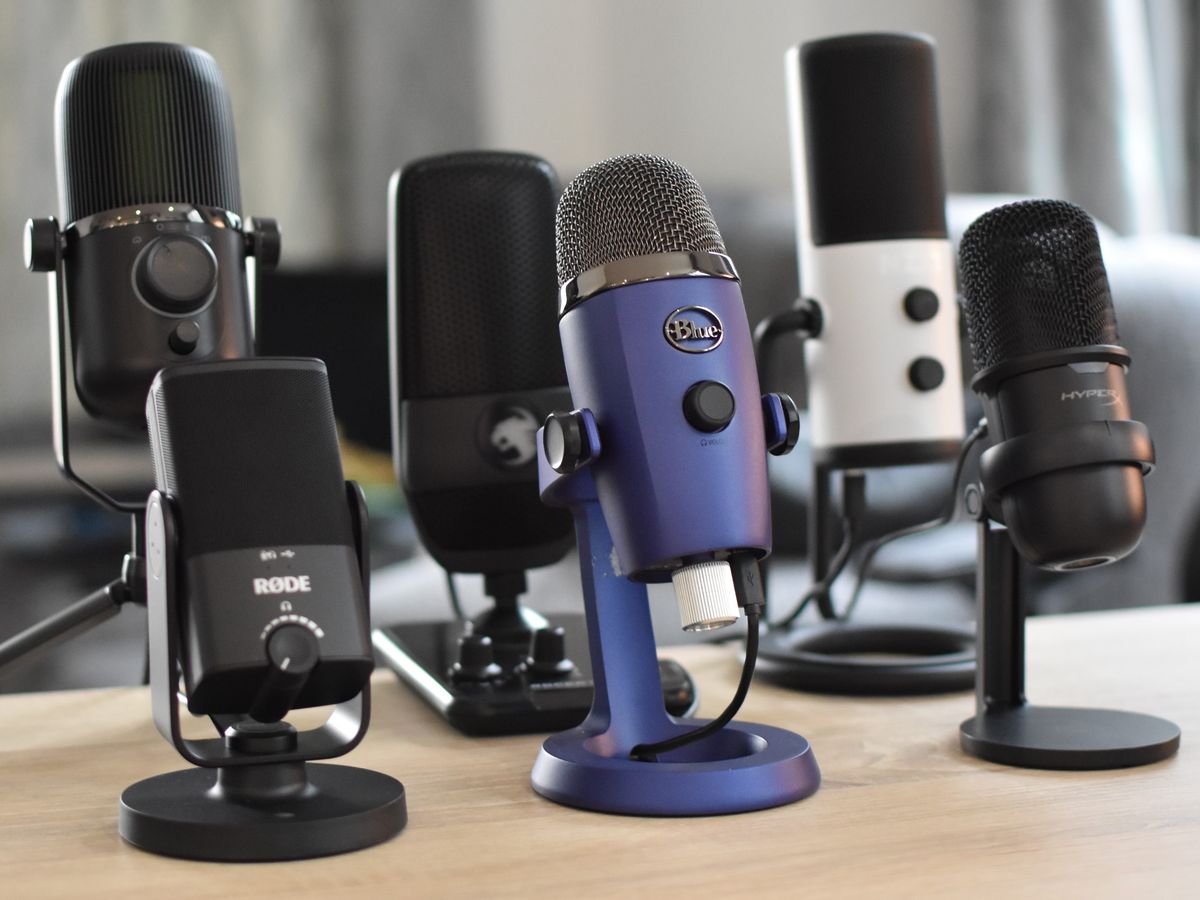
When it comes to choosing the right USB microphone for your Mac, there are a few factors to consider. The quality of the microphone can significantly impact the clarity and accuracy of your audio recordings. Here are some tips to help you make the best choice:
- Consider Your Recording Needs: Think about the type of content you’ll be recording and the environment in which you’ll be using the microphone. Are you recording vocals, podcasts, or instruments? Will you be in a controlled acoustic environment or a noisier space? Understanding your recording needs will help you determine the microphone’s specifications, such as frequency response and directional pattern.
- Research and Read Reviews: Take the time to research different USB microphone models and read reviews from reputable sources or fellow creators. Look for microphones that consistently receive positive feedback for their sound quality, durability, and ease of use.
- Set a Budget: USB microphones come in a wide price range, so it’s important to set a budget that aligns with your needs and expectations. Keep in mind that higher-priced microphones often offer superior sound quality and additional features.
- Consider Portability: If you plan on using your USB microphone on the go, consider its portability. Look for lightweight and compact options that are easy to transport and set up.
- Check Compatibility: Ensure that the USB microphone you choose is compatible with your Mac. Most USB microphones are compatible with both macOS and Windows systems, but it’s always a good idea to double-check and ensure compatibility.
By considering these factors, you can narrow down your options and choose a USB microphone that best suits your needs and budget. Once you have selected your USB microphone, it’s time to move on to the next step: connecting it to your Mac!
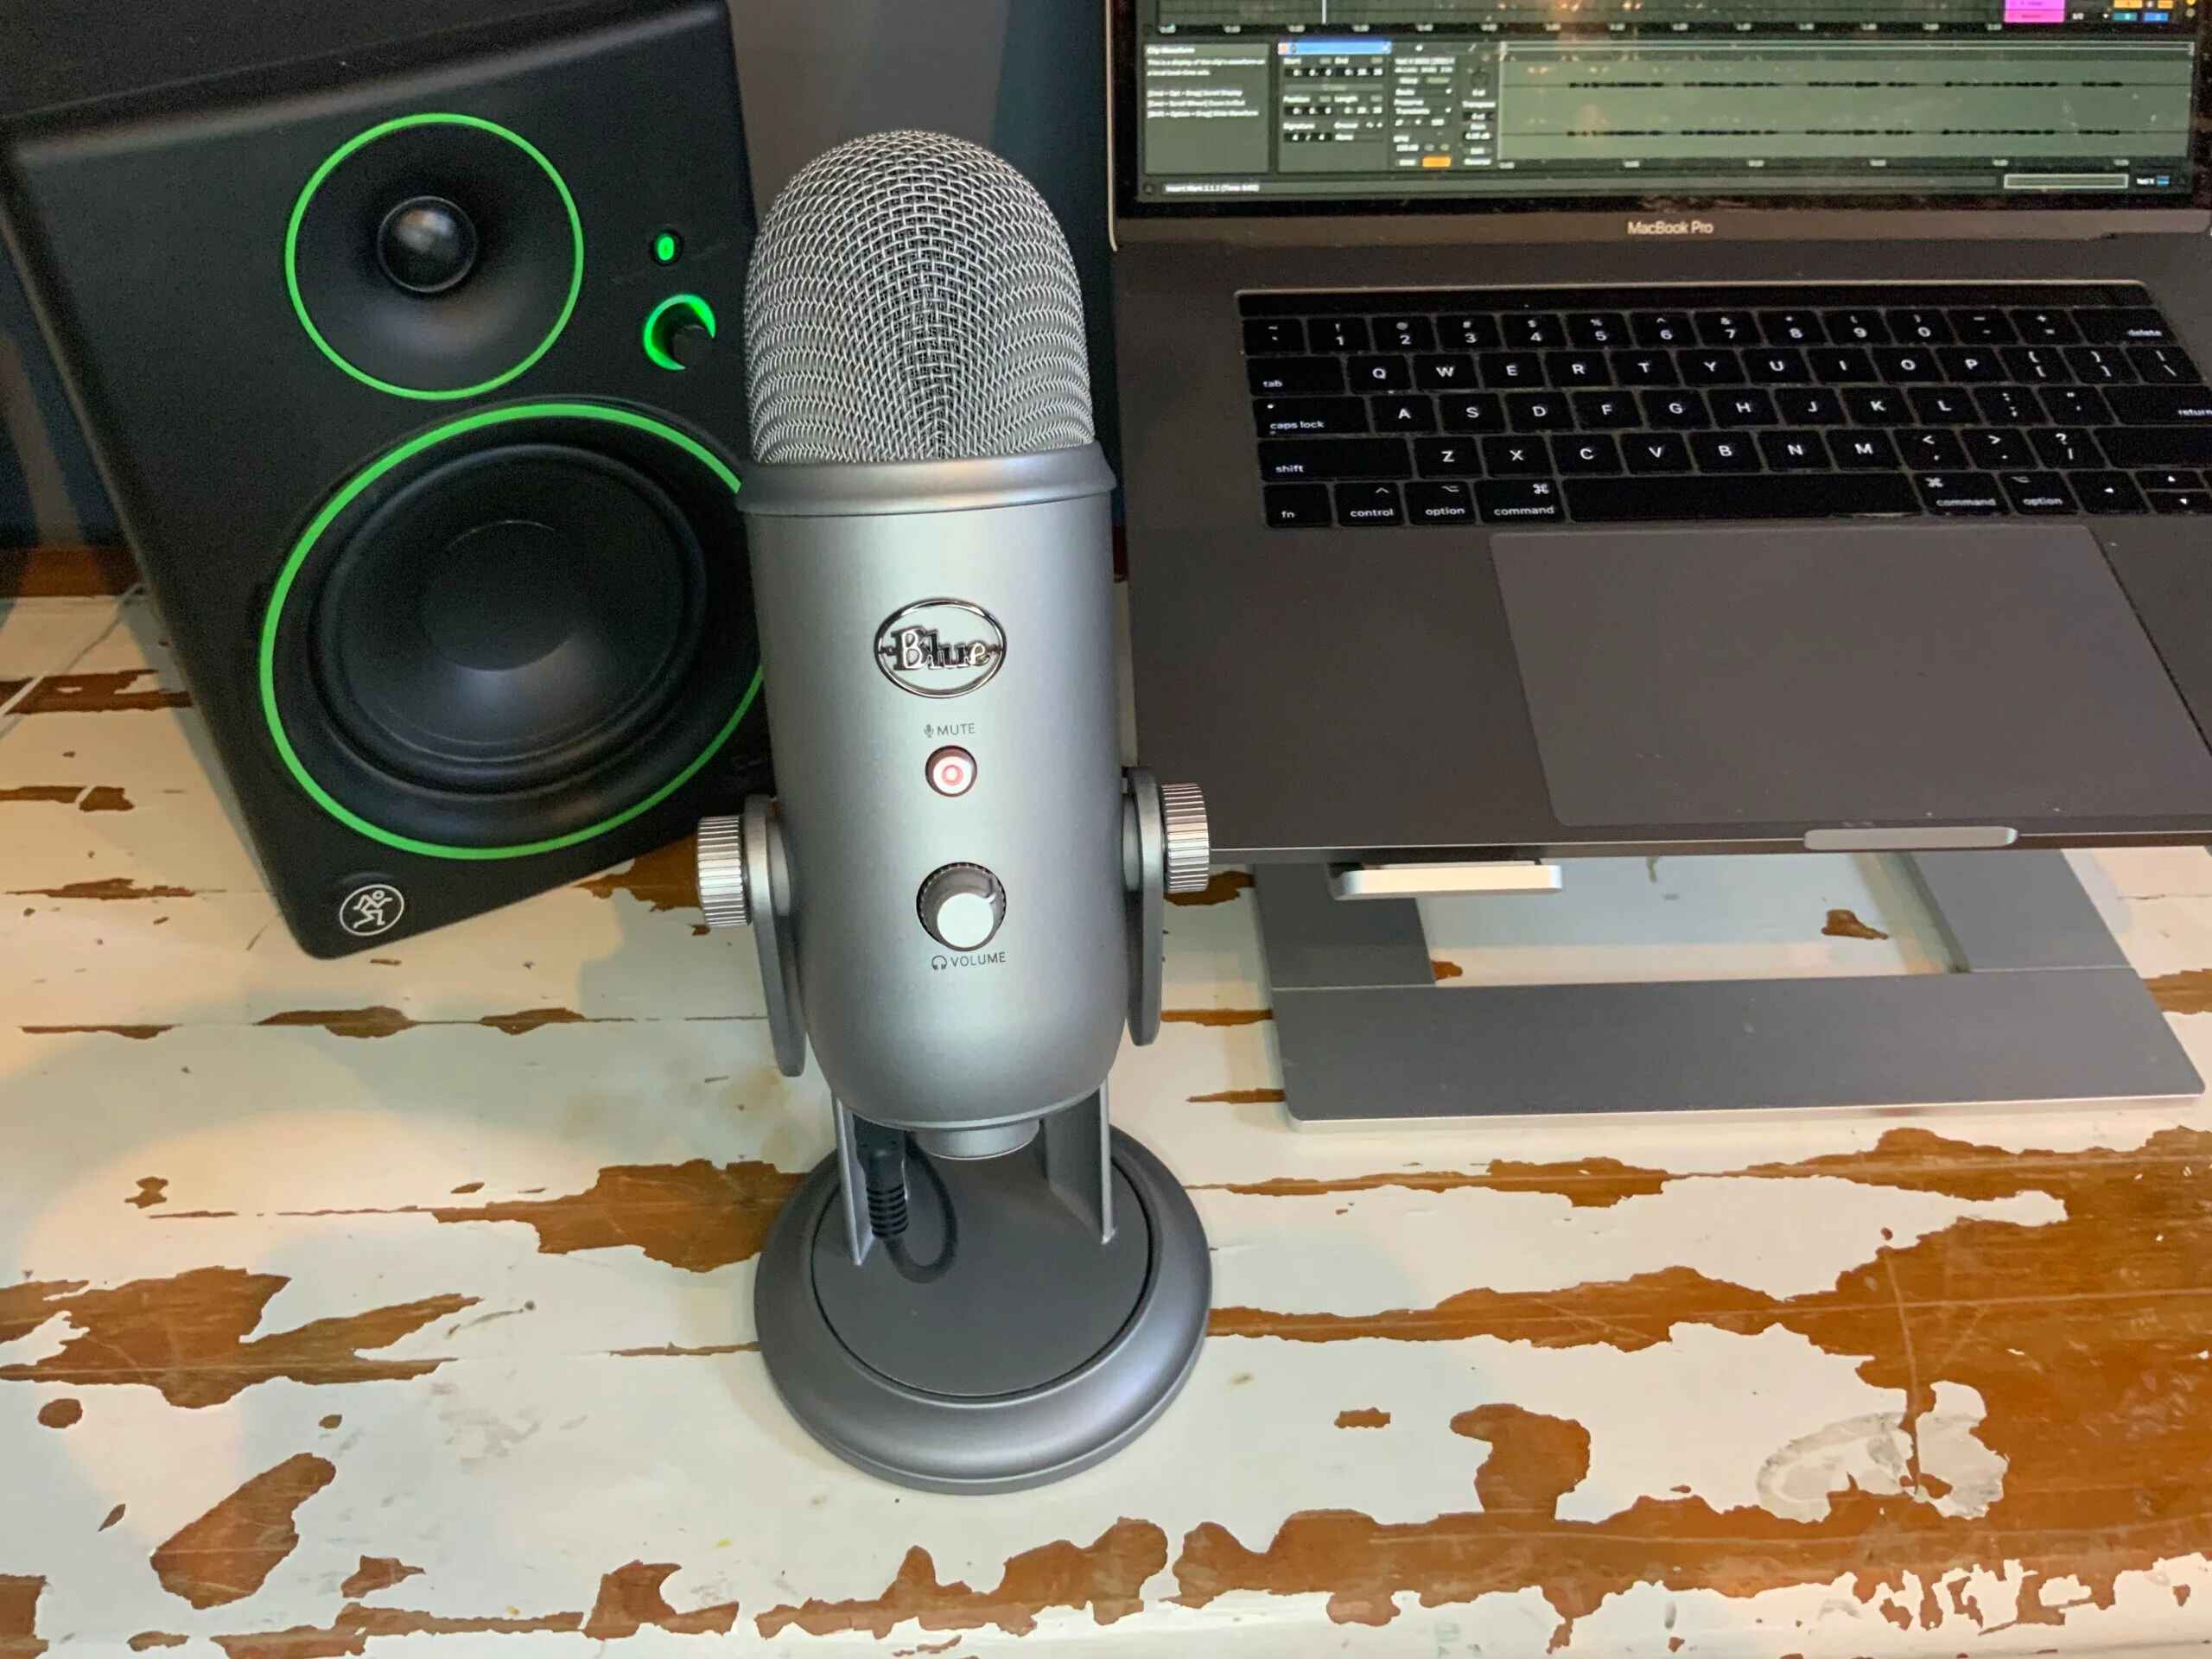
Step 2: Connecting the USB Microphone to Your Mac
Connecting your USB microphone to your Mac is a straightforward process. Follow these simple steps to establish a connection:
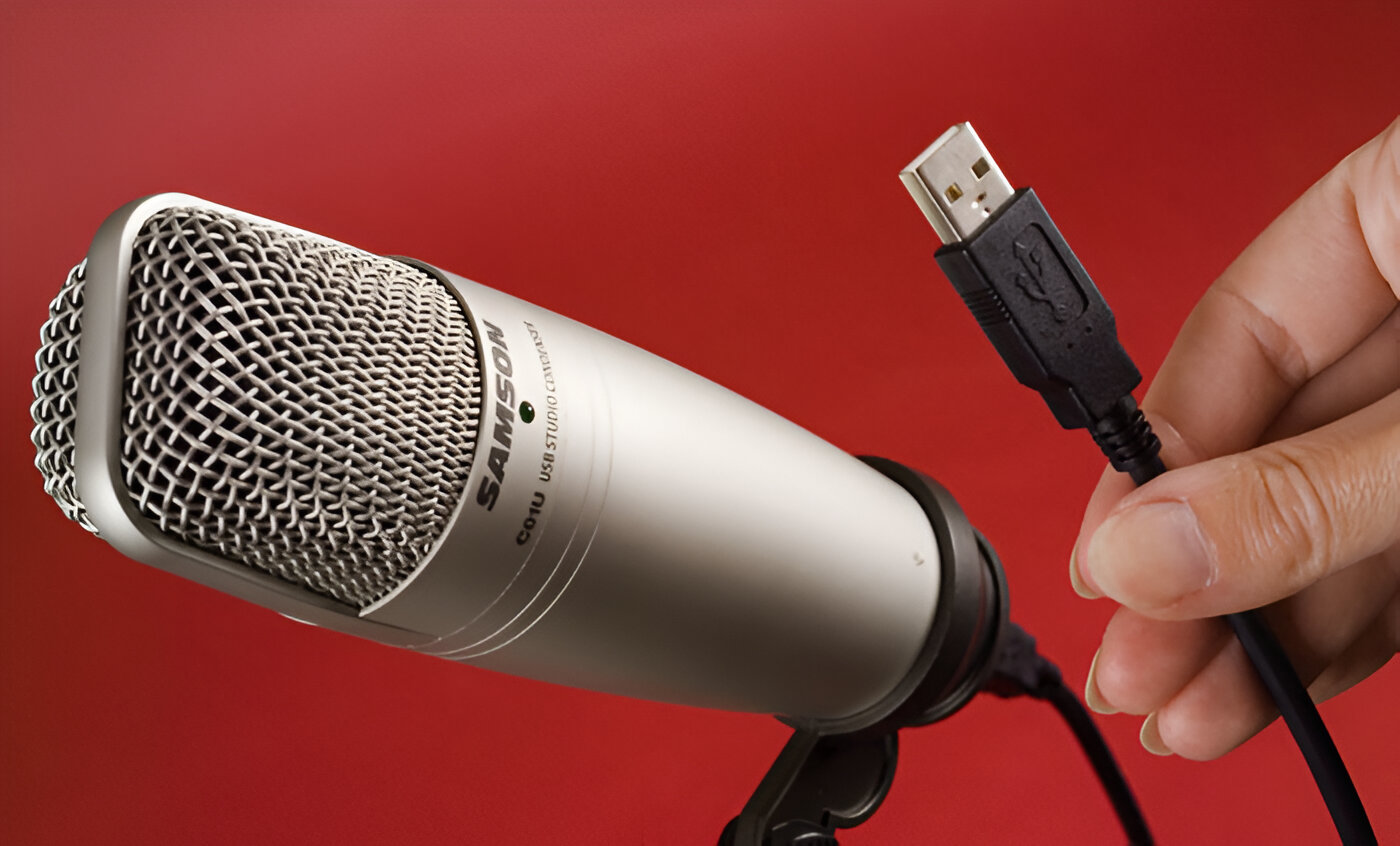
- Locate the USB Port: Identify an available USB port on your Mac. Most Macs have multiple USB ports located on the sides or back of the computer.
- Plug in the USB Cable: Take the USB cable that came with your microphone and insert it into the USB port on your Mac. Make sure the connection is secure.
- Allow Time for Recognition: Once the USB microphone is connected, your Mac will automatically recognize it as a new audio device. Give your Mac a few moments to detect and configure the microphone.
- Check System Preferences: Open the Apple menu and select “System Preferences.” In the System Preferences window, click on “Sound.”
- Select the Input Tab: In the Sound settings, navigate to the “Input” tab. Here, you will see a list of available input sources.
- Verify the USB Microphone: Look for the name of your USB microphone in the list. It should be listed as the device name or brand. Select it as your preferred input source.
- Adjust Input Level: Once you have selected the USB microphone, adjust the input level to ensure optimal audio recording quality. You can increase or decrease the input volume using the slider or gain control on the Sound settings.
Once you have successfully connected and configured your USB microphone on your Mac, you are ready to move on to the next step: configuring audio settings!
Step 3: Configuring Audio Settings on Your Mac
Now that your USB microphone is connected to your Mac, it’s time to configure the audio settings to ensure optimal recording quality. Here’s how:
- Open System Preferences: Click on the Apple menu and select “System Preferences.” In the System Preferences window, click on “Sound.”
- Select the Input Tab: In the Sound settings, navigate to the “Input” tab. Here, you will find various options related to audio input devices.
- Choose the USB Microphone: Ensure that your USB microphone is selected as the input device. The name of your microphone should be displayed in the input device list. If it is not selected, choose it from the drop-down menu.
- Adjust Input Volume: Set the input volume according to your needs. You can adjust the input volume level using the slider or gain control in the Sound settings. Test the microphone by speaking into it and monitor the input level to avoid distortion or clipping.
- Check the Input Level: While speaking into the microphone, observe the input level meter in the Sound settings. Aim to keep the input level within the optimal range to ensure clear and balanced audio recordings.
- Enable Ambient Noise Reduction: If you’re recording in a noisy environment, consider enabling ambient noise reduction features, if available. This can help minimize background noise and enhance the overall audio quality.
- Test and Fine-Tune Settings: After making adjustments, perform a test recording to ensure that the audio quality and levels are satisfactory. Listen back to the recording and make further adjustments if necessary.
By configuring the audio settings on your Mac, you can optimize the performance of your USB microphone and achieve professional-quality audio recordings. With the settings properly adjusted, you’re now ready to proceed to the next step: selecting the USB microphone as the input device.
Step 4: Selecting the USB Microphone as the Input Device
Now that you have connected and configured your USB microphone on your Mac, it’s time to select it as the input device. This will ensure that your Mac records audio using the USB microphone rather than the built-in microphone. Follow these steps to select the USB microphone as the input device:
- Open System Preferences: Click on the Apple menu and select “System Preferences.” In the System Preferences window, click on “Sound.”
- Select the Input Tab: In the Sound settings, navigate to the “Input” tab. Here, you will find a list of available input sources.
- Choose the USB Microphone: Locate your USB microphone in the list and select it as your preferred input device. The name of your microphone should be displayed next to the input device selection.
- Adjust Input Level: Once you have selected the USB microphone, you can further fine-tune the input level to suit your recording requirements. Adjust the input volume using the slider or gain control in the Sound settings.
- Test Recording: To ensure that the USB microphone is correctly selected, perform a test recording. Speak into the microphone and monitor the input level meter in the Sound settings. You should see activity on the meter corresponding to your voice. If not, double-check the input device selection.
- Confirm Input Source in Recording Software: If you plan to use a specific recording software, make sure to configure the input device within the software as well. Select the USB microphone as the input device in the recording software’s settings or preferences menu.
By selecting the USB microphone as the input device, you ensure that your Mac uses the high-quality audio captured by the USB microphone for your recordings. Now that the USB microphone is properly set up, let’s move on to the next step: adjusting the microphone’s volume and gain.
Step 5: Adjusting the Microphone’s Volume and Gain
Once you have selected the USB microphone as the input device on your Mac, it’s important to fine-tune the microphone’s volume and gain settings. Making the right adjustments will ensure that your recordings have the desired sound levels and clarity. Here’s how to adjust the microphone’s volume and gain:
- Open Sound Preferences: Go to the Apple menu and select “System Preferences.” In the System Preferences window, click on “Sound.”
- Select the Input Tab: In the Sound settings, navigate to the “Input” tab.
- Adjust Input Volume: Use the input volume slider or gain control to adjust the microphone’s volume. Increase the volume if your recordings sound too quiet, or decrease it if there’s distortion or clipping.
- Test and Fine-Tune: Perform a test recording and listen back to the audio. Adjust the input volume as needed to achieve a balanced and clear sound. Pay attention to any background noise and adjust accordingly to minimize its impact.
- Consider Software Controls: Some USB microphones may have additional volume and gain controls within their accompanying software or driver. Consult the user manual or manufacturer’s website to explore any specialized controls available for your specific microphone.
- Ensure Consistency: If you plan to use the microphone across different software or applications, ensure the volume and gain settings are consistent. This will prevent the need for frequent adjustments and maintain a consistent recording experience.
By adjusting the microphone’s volume and gain appropriately, you can achieve an optimal recording level with clear and balanced audio. Take the time to fine-tune these settings to match your desired sound quality. With the microphone properly adjusted, you’re now ready for the next step: testing the USB microphone on your Mac.
Step 6: Testing the USB Microphone on Your Mac
Now that you have set up and adjusted your USB microphone on your Mac, it’s time to test it to ensure it’s working properly. Testing the microphone will allow you to verify the audio quality, check for any issues, and make any necessary adjustments. Follow these steps to test your USB microphone on your Mac:
- Open a Recording Application: Launch a recording application on your Mac, such as QuickTime Player, GarageBand, or any other software you prefer for audio recording.
- Select the USB Microphone as the Input Device: In the recording application’s settings or preferences, ensure that the USB microphone is selected as the input device. This step ensures that the application will use the USB microphone for recording.
- Start Recording: Click on the record button or start the recording feature in the application. Begin speaking or making sounds into the USB microphone to generate a test recording.
- Monitor the Recording Levels: While recording, keep an eye on the recording levels or meters displayed in the application. Ensure that the levels are within an optimal range to avoid distortion or clipping. Adjust the microphone’s volume or gain settings if necessary.
- Listen to the Test Recording: After stopping the recording, listen to the playback of the test recording. Pay attention to the overall clarity, volume, and any background noise or distortion. Make adjustments to the microphone or application settings as needed.
- Repeat the Test: If you are not satisfied with the results, repeat the test recording process. Make further adjustments to the microphone’s settings or explore different recording techniques until you achieve the desired sound quality.
Testing your USB microphone on your Mac allows you to ensure that it functions correctly and produces the desired audio quality. Don’t hesitate to conduct multiple test recordings and make adjustments until you are satisfied. With successful testing completed, you’re now prepared to move on to the final step: troubleshooting common issues that may arise.
Step 7: Troubleshooting Common Issues
While setting up and using a USB microphone on your Mac is generally a straightforward process, you may encounter some common issues along the way. Here are a few troubleshooting tips to help you address and resolve any potential problems:
- No Sound or Recognition: If your Mac doesn’t recognize the USB microphone or there’s no audio output, try the following steps:
- Check the USB connection and ensure it is securely plugged into your Mac.
- Restart your Mac and reconnect the USB microphone.
- Check if your USB microphone requires specific drivers or software and install them if necessary.
- Poor Sound Quality: If you’re experiencing issues with sound quality, such as distortion, noise, or low volume, consider these troubleshooting steps:
- Make sure the microphone’s volume and gain settings are properly adjusted.
- Check for any background noise sources and try to minimize their impact, such as moving away from fans or noisy equipment.
- Test the microphone with another recording application to determine if the issue is software-related.
- Incompatibility Issues: If you’re encountering compatibility issues with your USB microphone and Mac, try these potential solutions:
- Check if there are any software updates available for your microphone or Mac system.
- Consult the manufacturer’s website or user manual for any specific troubleshooting steps or known compatibility issues.
- Try using the USB microphone with a different USB port on your Mac.
- Interference or Buzzing Noise: If you’re hearing unwanted interference or buzzing noise, consider these troubleshooting steps:
- Ensure that your USB microphone is positioned away from other electronic devices that may cause electromagnetic interference.
- Try using a USB hub or extension cable to move the microphone further away from your Mac or any potential interference sources.
- Multiple Microphones Detected: If your Mac detects multiple microphones, you can resolve this issue by:
- Disconnecting any other connected microphones or audio devices from your Mac.
- Going to the Sound settings and ensuring that your USB microphone is selected as the default input device.
By following these troubleshooting steps, you should be able to resolve common issues that may arise when using a USB microphone on your Mac. If you encounter persisting problems, be sure to consult the manufacturer’s support resources or seek assistance from technical experts.
Conclusion
Congratulations! You have successfully learned how to use a USB microphone on your Mac. By following the step-by-step guide, you are now equipped with the knowledge to choose the right USB microphone, connect it to your Mac, configure the audio settings, adjust the microphone’s volume and gain, and troubleshoot common issues that may arise.
Using a USB microphone on your Mac allows you to capture high-quality audio for various purposes, such as podcasting, voiceovers, online meetings, or live streaming. With its plug-and-play functionality, you can easily set up and start recording without the need for additional audio interfaces or complicated setups.
Remember to choose a USB microphone that suits your recording needs, considering factors such as sound quality, portability, and compatibility. Once connected to your Mac, ensure that you select the USB microphone as the input device and adjust the volume and gain settings for optimal audio quality. Performing test recordings and fine-tuning the settings will help you achieve the desired sound levels and clarity.
If you encounter any issues along the way, refer to the troubleshooting section and try the suggested solutions. Don’t hesitate to explore further resources provided by the manufacturer or seek assistance from technical experts if needed.
Now, armed with your USB microphone and your Mac, you can unleash your creativity and produce exceptional audio content. Whether you’re recording podcasts, creating music, or conducting online meetings, your USB microphone will ensure that your voice is heard loud and clear.
Happy recording!