Introduction
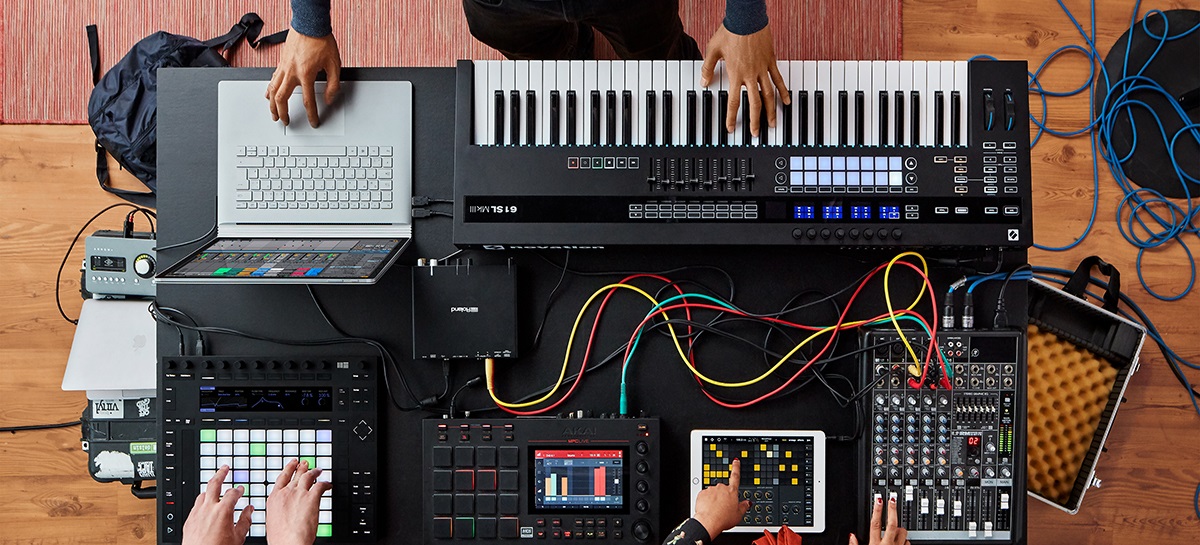
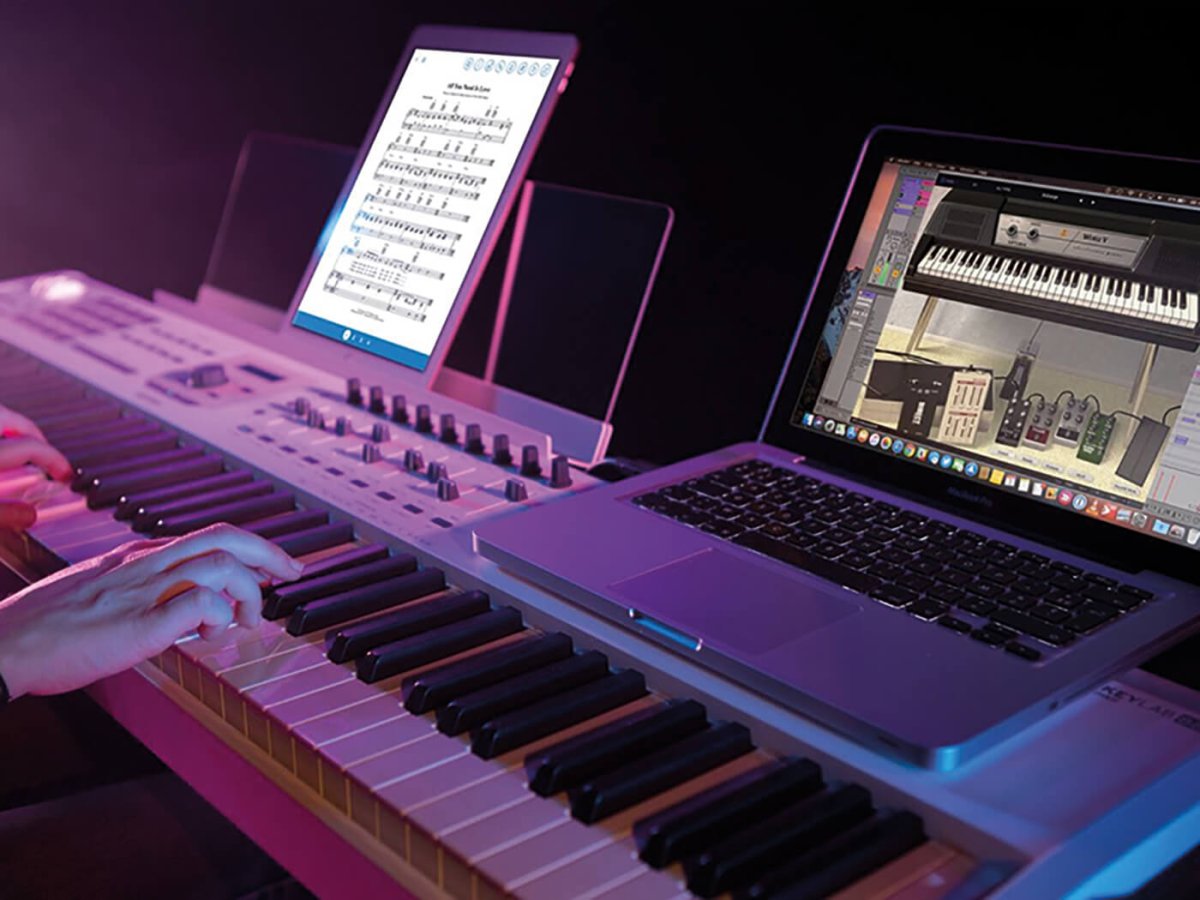
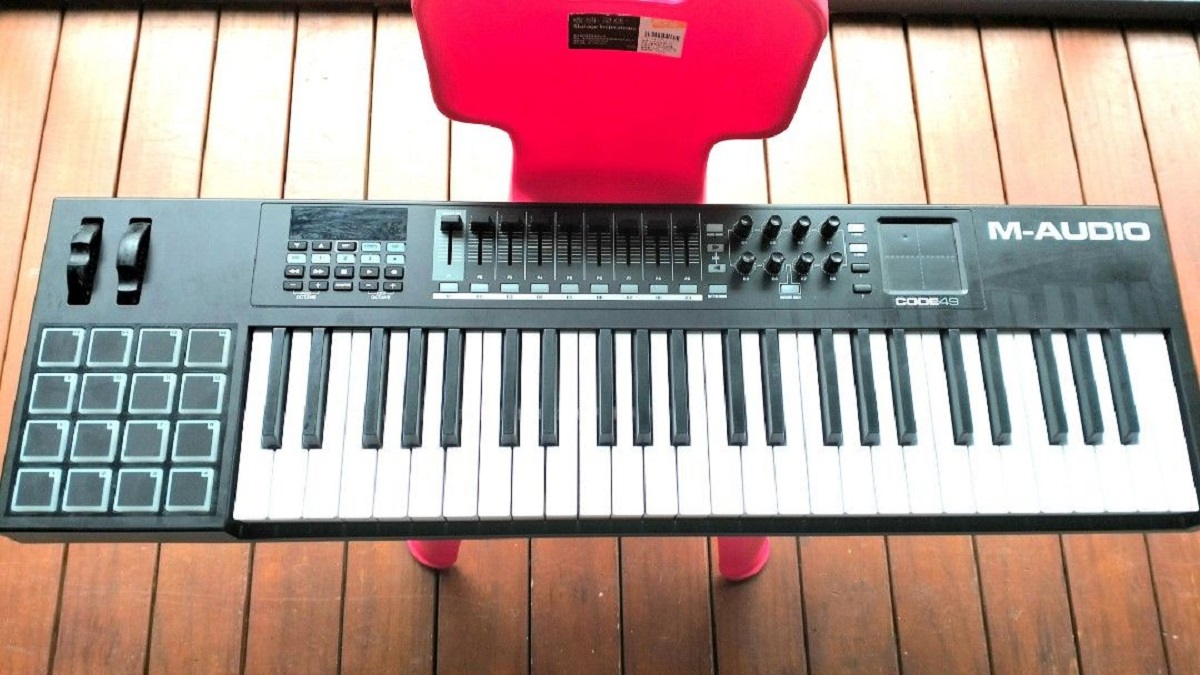
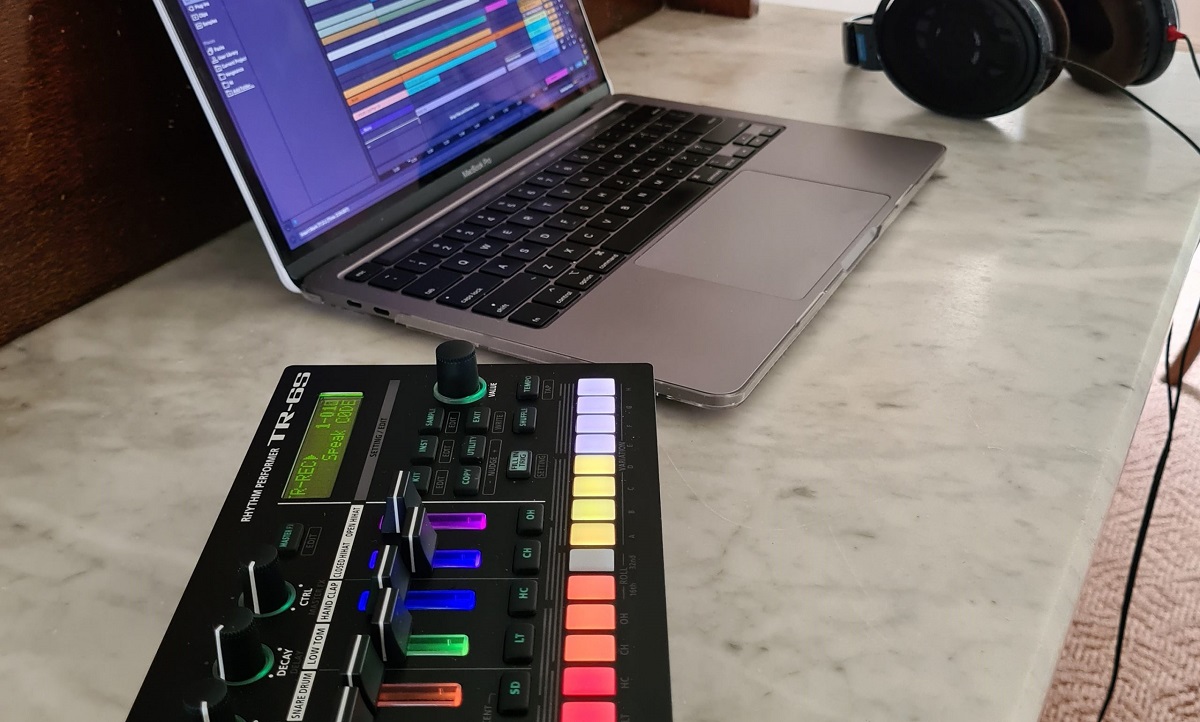
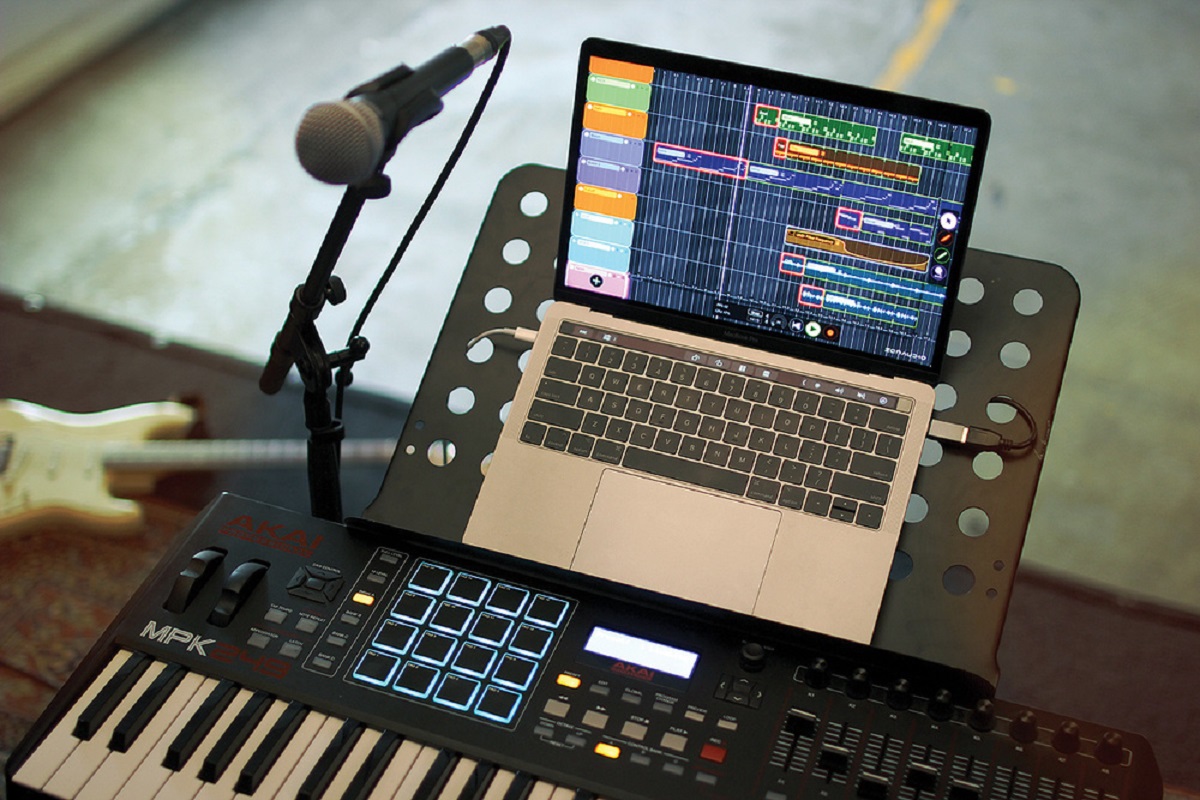
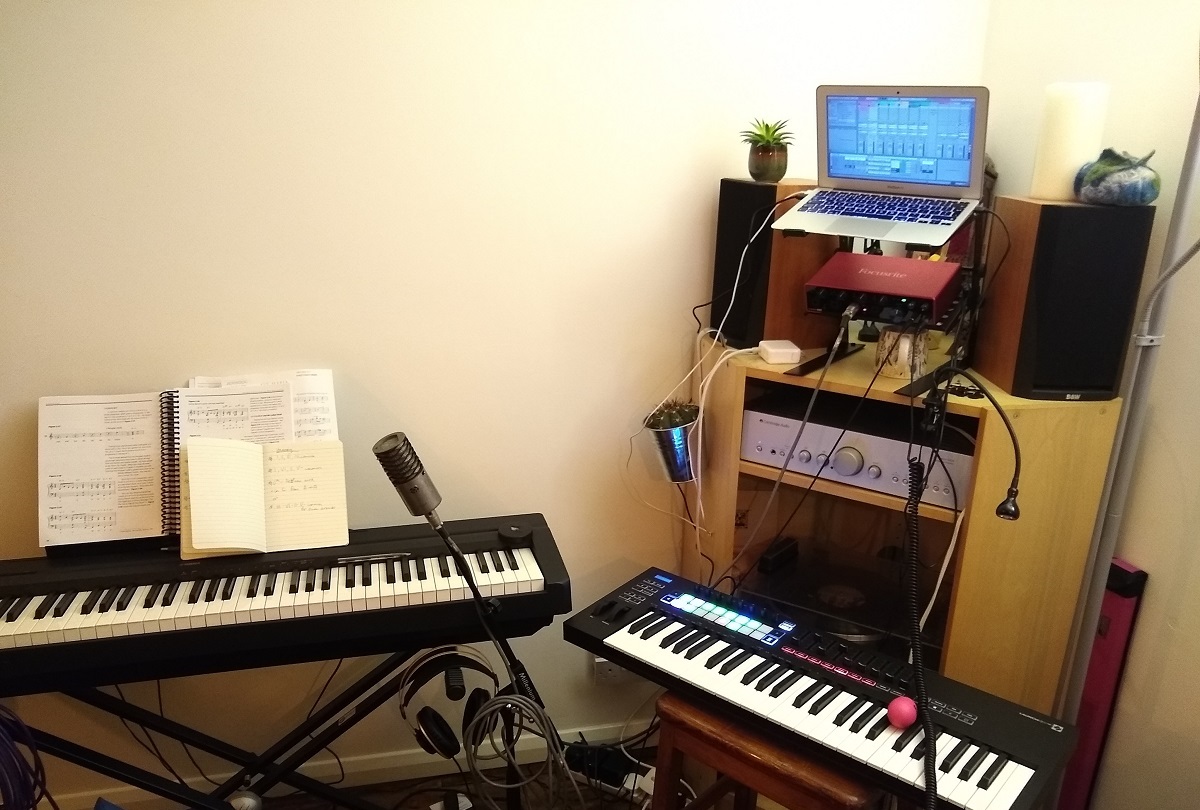
So, you've got yourself a MIDI keyboard and you're ready to dive into the world of music production using Ableton Live. Congratulations, you're about to embark on an exciting journey of creativity and musical expression! Ableton Live is a powerful digital audio workstation (DAW) that allows you to compose, record, remix, and perform music. When paired with a MIDI keyboard, it becomes an even more versatile tool, enabling you to control virtual instruments, effects, and parameters with the tactile feel of a traditional piano keyboard.
In this guide, we will walk you through the process of setting up your MIDI keyboard in Ableton Live, mapping MIDI controls to various parameters, using your MIDI keyboard to record and play virtual instruments, and creating custom MIDI mappings for Ableton Live effects. Whether you're a seasoned musician or a novice producer, this guide will help you harness the full potential of your MIDI keyboard within the Ableton Live environment.
Before we dive into the technical aspects, it's important to note that using a MIDI keyboard in Ableton Live is not just about triggering notes and chords. It's about adding a human touch to your music, capturing the nuances of your performance, and seamlessly integrating hardware and software to create a fluid and expressive music-making experience. So, grab your MIDI keyboard, fire up Ableton Live, and let's explore the boundless possibilities that await you!
Setting Up Your MIDI Keyboard in Ableton Live
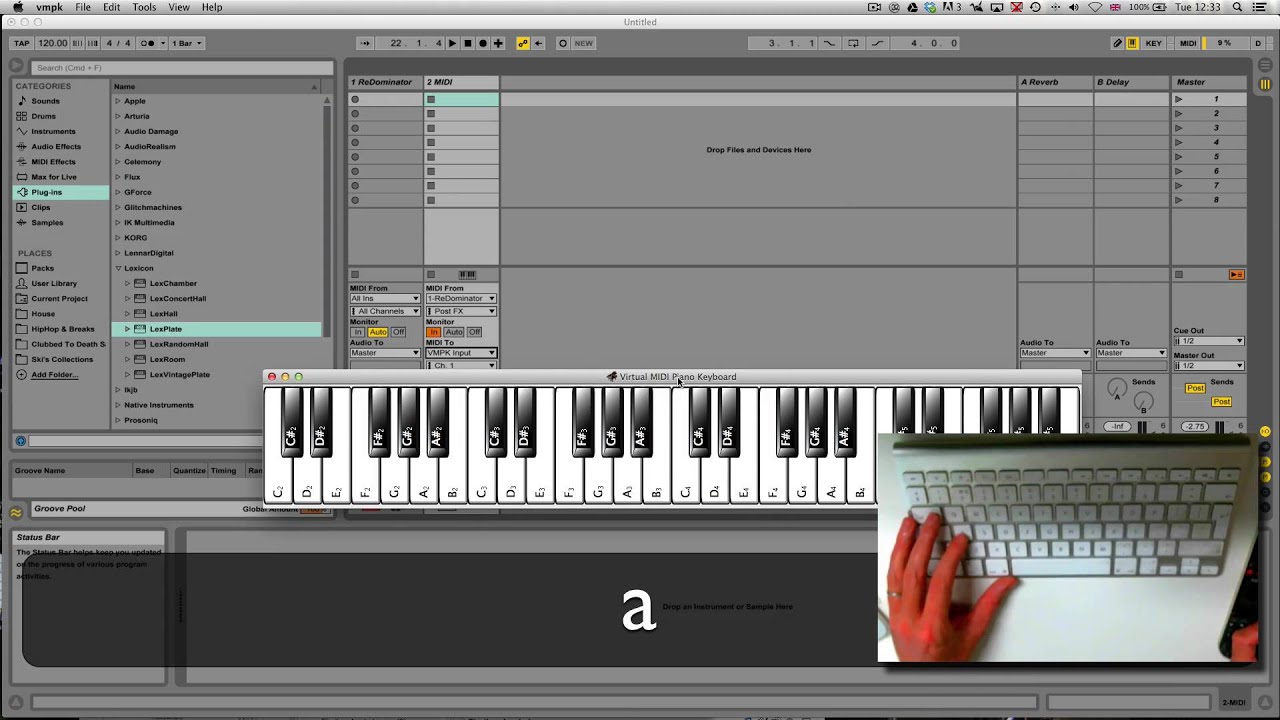
Before you can start making music with your MIDI keyboard in Ableton Live, you need to ensure that it is properly set up and recognized by the software. The first step is to connect your MIDI keyboard to your computer using a USB cable or MIDI interface, depending on the type of MIDI keyboard you have. Once connected, follow these steps to set up your MIDI keyboard in Ableton Live:
- Open Ableton Live: Launch the Ableton Live software on your computer to begin the setup process.
- Access Preferences: Click on the "Options" menu at the top of the screen and select "Preferences" to open the Preferences window.
- Select MIDI Tab: In the Preferences window, navigate to the "Link/MIDI" tab to access the MIDI settings.
- Enable MIDI Input: Locate your MIDI keyboard in the list of available MIDI input devices and ensure that the "Track" and "Remote" columns are enabled for your MIDI keyboard. This allows Ableton Live to receive MIDI input from your keyboard and control various functions within the software.
- Set MIDI Preferences: Depending on your MIDI keyboard model, you may need to configure additional preferences such as MIDI channels, sync settings, and velocity sensitivity to align with your preferred performance and recording setup.
- Test MIDI Input: To verify that your MIDI keyboard is properly set up, play some notes or press keys on the keyboard and observe the MIDI activity in the track header of Ableton Live. You should see the MIDI signal indicators light up, indicating that the software is receiving input from your keyboard.
Once you have completed these steps, your MIDI keyboard should be successfully set up and integrated with Ableton Live, allowing you to start creating music and controlling various aspects of the software using your keyboard. It’s important to note that the specific setup process may vary slightly depending on your MIDI keyboard model and the version of Ableton Live you are using, so always refer to the respective user manuals and documentation for detailed instructions tailored to your setup.
Mapping MIDI Controls to Ableton Live Parameters
Once your MIDI keyboard is set up in Ableton Live, you can take advantage of its versatile control capabilities by mapping its physical controls, such as knobs, sliders, and buttons, to various parameters within the software. This allows you to manipulate and modulate different aspects of your music in real time, adding a dynamic and expressive layer to your performances and productions. Here’s how you can map MIDI controls to Ableton Live parameters:
- Enter MIDI Map Mode: In Ableton Live, click on the "MIDI" button in the top right corner of the interface to enter MIDI Map Mode. This mode enables you to assign MIDI controls to parameters by simply clicking on the parameter and then moving the desired control on your MIDI keyboard.
- Select Parameters: Once in MIDI Map Mode, click on the parameter within Ableton Live that you want to control with your MIDI keyboard. This could be a virtual instrument parameter, an effect parameter, a mixer control, or any other assignable parameter within the software.
- Move MIDI Control: After selecting the parameter, move the physical control on your MIDI keyboard that you want to assign to the parameter. For example, if you want to map a knob on your MIDI keyboard to control the filter cutoff of a virtual synthesizer in Ableton Live, simply click on the filter cutoff parameter and then turn the knob on your MIDI keyboard to assign it.
- Verify Mapping: Once you have assigned a MIDI control to a parameter, test it out by manipulating the control on your MIDI keyboard. You should see the corresponding parameter in Ableton Live respond to the movements of your MIDI control, reflecting real-time changes as you perform.
- Save Mapping: After mapping your desired MIDI controls to Ableton Live parameters, you can save the MIDI mappings as a preset for future use, allowing you to recall and apply them to different projects and performances.
By mapping MIDI controls to Ableton Live parameters, you can tailor the functionality of your MIDI keyboard to suit your specific workflow and creative needs. Whether you’re shaping the sound of virtual instruments, adjusting effect parameters, or controlling mixer settings, MIDI mapping empowers you to interact with Ableton Live in a personalized and intuitive manner, blurring the lines between hardware and software for a seamless music production experience.
Using MIDI Keyboard to Record and Play Virtual Instruments
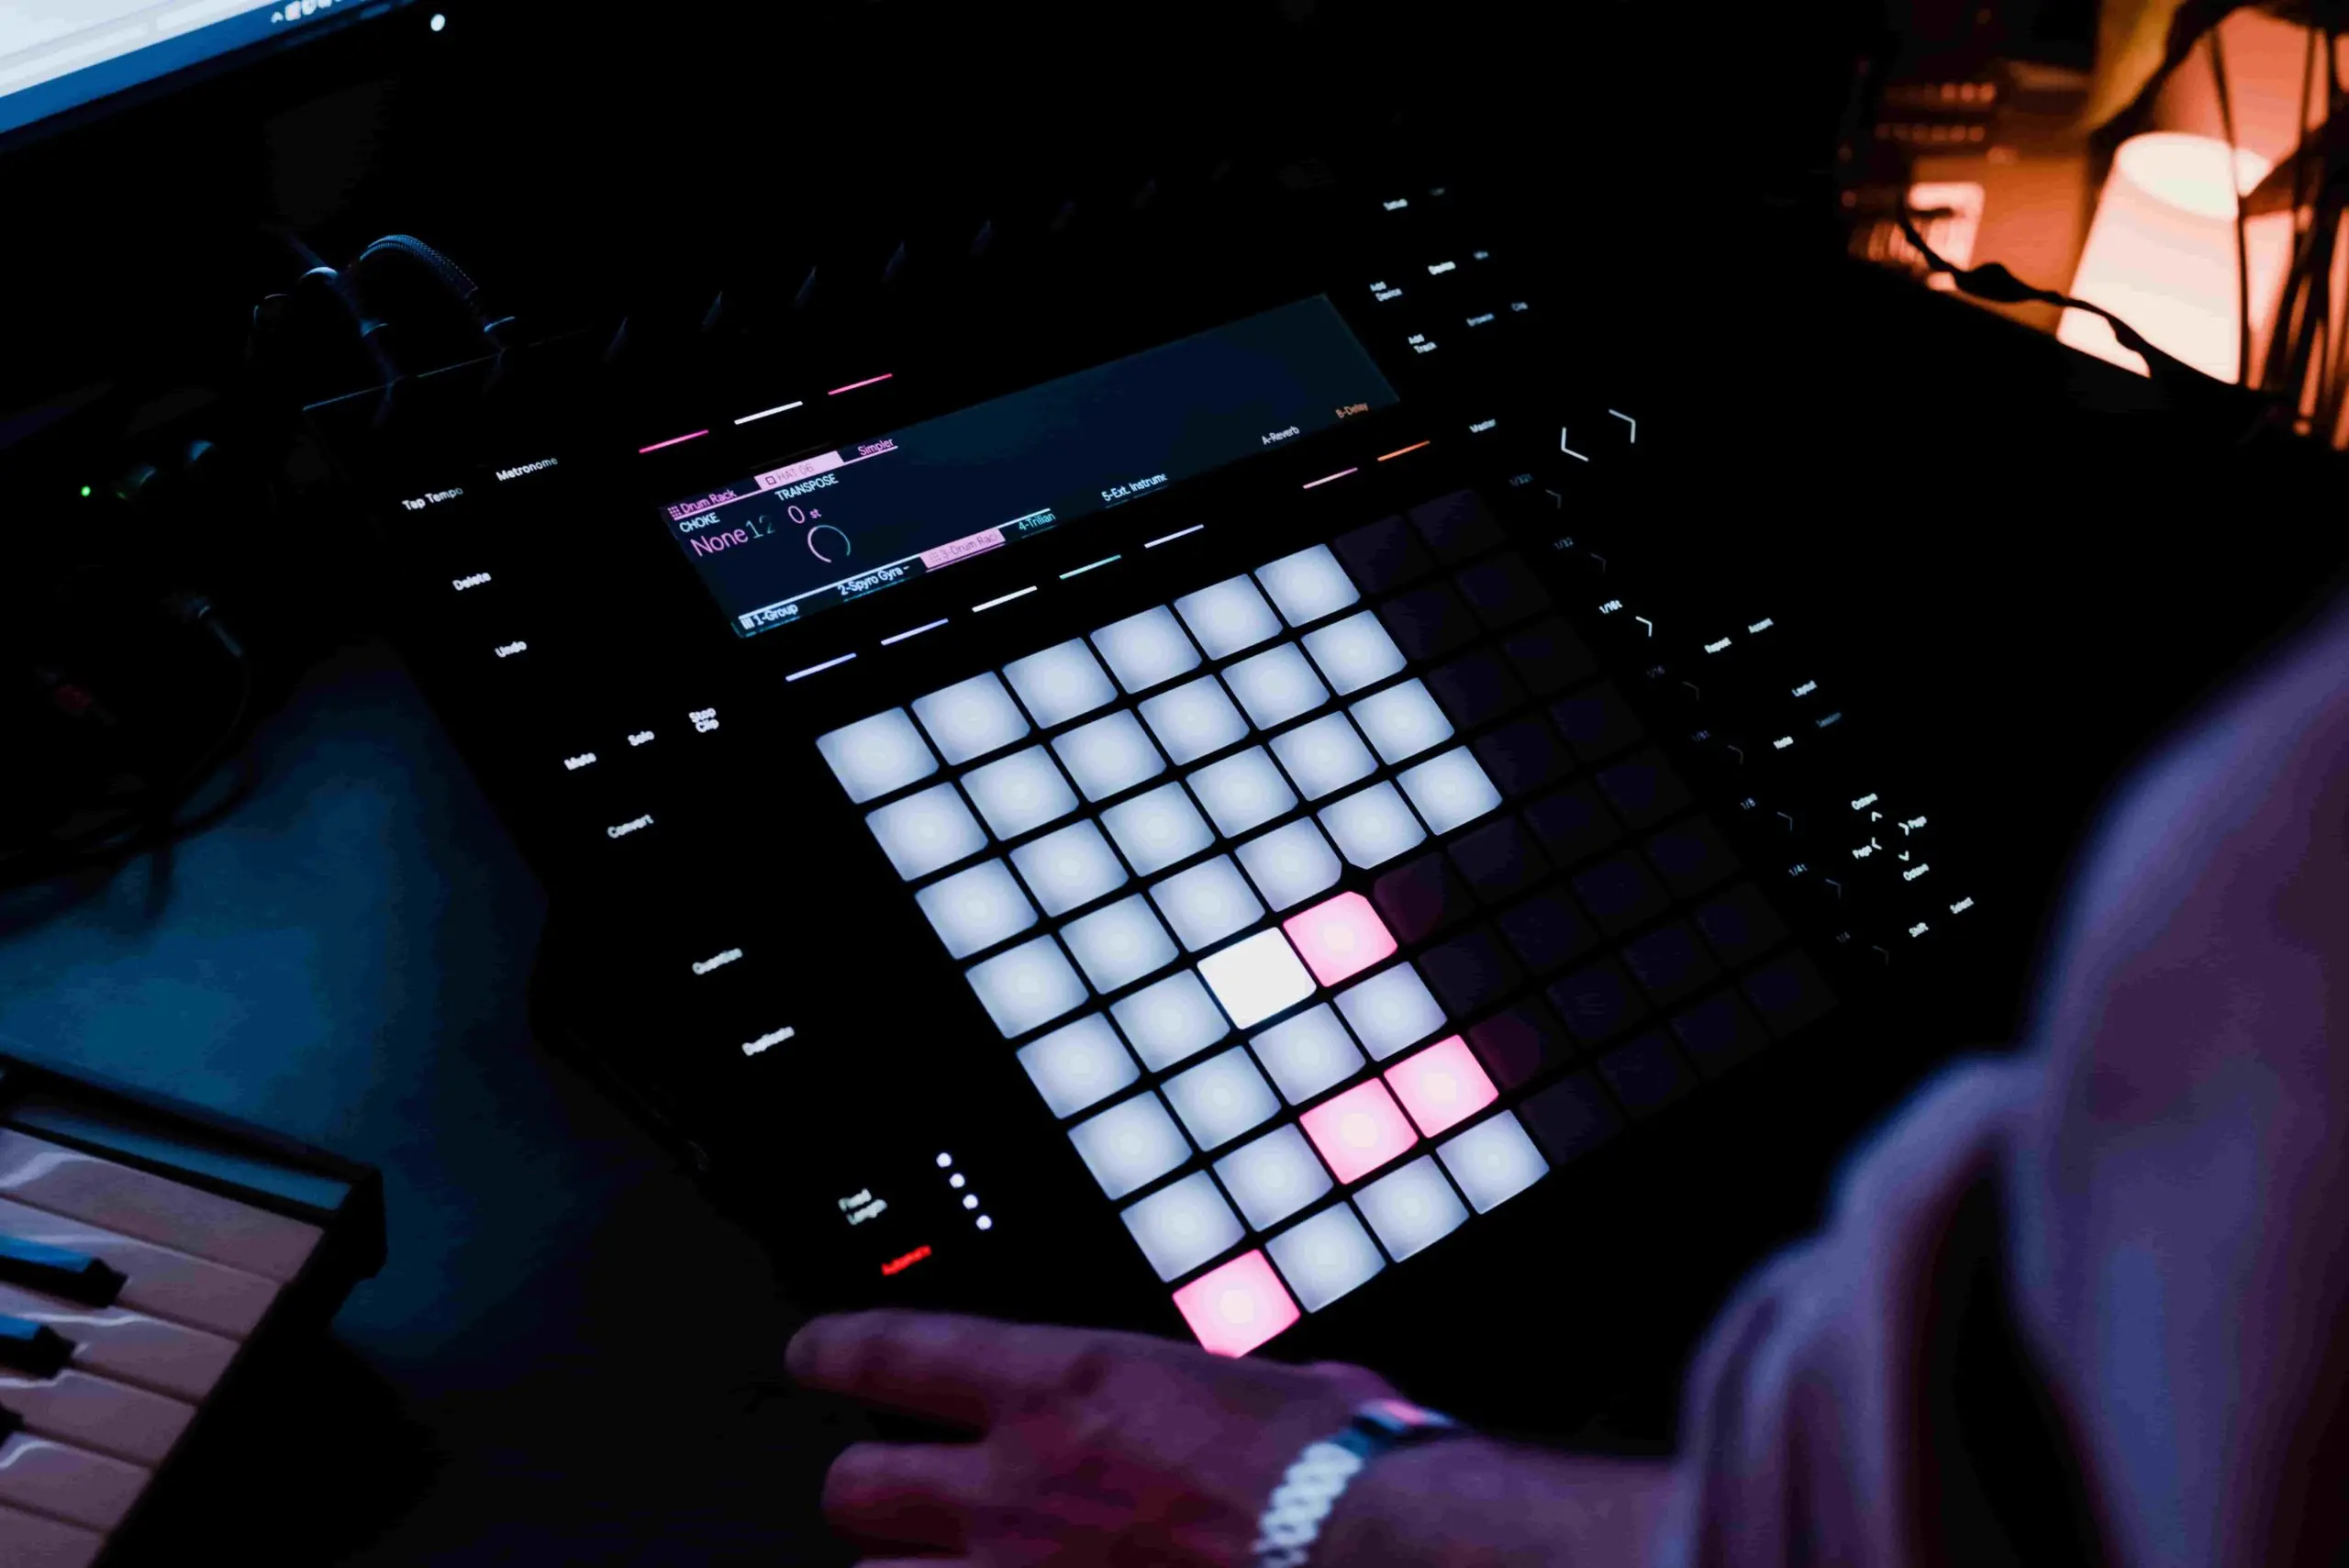
One of the primary functions of a MIDI keyboard in Ableton Live is to serve as a versatile controller for playing and recording virtual instruments. Whether you’re triggering realistic piano sounds, crafting electronic synth melodies, or experimenting with exotic instrument emulations, your MIDI keyboard provides a tactile and expressive interface for bringing these virtual instruments to life. Here’s how you can use your MIDI keyboard to record and play virtual instruments in Ableton Live:
- Select Virtual Instrument: In Ableton Live, create a new MIDI track and load a virtual instrument of your choice, such as a synthesizer, sampler, or drum rack. This instrument will be the sound source that you’ll play and record using your MIDI keyboard.
- Arm MIDI Track: Arm the MIDI track that contains the virtual instrument for recording. This enables the track to receive MIDI input from your keyboard, allowing you to play and record notes directly into Ableton Live.
- Set MIDI Input: Ensure that the MIDI input for the armed track is set to receive input from your MIDI keyboard. This ensures that the notes you play on your keyboard are routed to the selected virtual instrument for playback and recording.
- Record MIDI Notes: Press the record button in Ableton Live to initiate recording, then play notes, chords, and melodies on your MIDI keyboard. The software will capture your performance as MIDI data, which can be edited, manipulated, and replayed at any time.
- Playback and Editing: After recording MIDI notes, you can play them back using your MIDI keyboard, triggering the virtual instrument to reproduce the recorded performance. Additionally, you can edit the MIDI data directly within Ableton Live, adjusting note lengths, velocities, and other musical parameters for precise control over your recorded performance.
By leveraging your MIDI keyboard to record and play virtual instruments in Ableton Live, you can infuse your music with the organic feel and expressiveness of live performance, all while benefiting from the flexibility and editing capabilities of digital music production. Whether you’re layering intricate melodies, laying down rhythmic patterns, or exploring sonic textures, your MIDI keyboard becomes a conduit for your musical ideas, bridging the gap between your creative vision and the digital realm of music production.
Creating Custom MIDI Mappings for Ableton Live Effects
While MIDI mapping in Ableton Live is commonly associated with controlling virtual instruments, it also extends to manipulating a wide range of software effects and processing parameters. By creating custom MIDI mappings for Ableton Live effects, you can harness the tactile control of your MIDI keyboard to modulate and shape the sonic characteristics of your music in real time. Here’s how you can craft custom MIDI mappings for Ableton Live effects:
- Select Effect Parameters: Identify the specific parameters of the Ableton Live effects that you want to control using your MIDI keyboard. These could include parameters such as filter cutoff, resonance, delay feedback, reverb mix, and any other adjustable settings within the effects devices.
- Enter MIDI Map Mode: Similar to mapping MIDI controls for virtual instruments, enter MIDI Map Mode in Ableton Live by clicking on the "MIDI" button in the top right corner of the interface. This mode enables you to assign MIDI controls to effect parameters in real time.
- Assign MIDI Controls: With MIDI Map Mode activated, click on the parameters of the Ableton Live effects that you wish to control with your MIDI keyboard. Then, move the corresponding physical controls on your MIDI keyboard, such as knobs or sliders, to assign them to the effect parameters. This establishes a direct link between your MIDI controls and the effect settings.
- Test and Refine: After creating the MIDI mappings, test them out by manipulating the assigned controls on your MIDI keyboard. You should observe the associated effect parameters in Ableton Live responding to your movements, allowing you to modulate and modi fy the effects in real time.
- Save Custom MIDI Mappings: Once you are satisfied with your custom MIDI mappings for Ableton Live effects, you can save them as presets for future use. This enables you to recall and apply your personalized MIDI control setups across different projects and performances, streamlining your creative workflow.
By customizing MIDI mappings for Ableton Live effects, you can infuse your music with expressive and dynamic sonic transformations, all under the intuitive command of your MIDI keyboard. Whether you’re sculpting evolving soundscapes, adding rhythmic pulsations, or morphing textures on the fly, the seamless integration of MIDI control elevates the art of sound manipulation within the Ableton Live environment.
Conclusion
Congratulations on mastering the art of utilizing a MIDI keyboard in Ableton Live! By following the steps outlined in this guide, you have unlocked the potential of your MIDI keyboard as a powerful and expressive tool within the Ableton Live environment. From setting up your MIDI keyboard to mapping controls, recording virtual instruments, and creating custom MIDI mappings for effects, you’ve delved into a realm of creative possibilities that blur the boundaries between hardware and software.
As you continue your musical journey with Ableton Live and your MIDI keyboard, remember that the true magic lies in the seamless integration of technology and human expression. Your MIDI keyboard becomes an extension of your musical instincts, allowing you to channel your creativity with fluidity and finesse. Whether you’re crafting intricate melodies, shaping sonic landscapes, or sculpting evolving textures, the tactile nature of your MIDI keyboard adds a layer of intimacy and nuance to your music-making process.
Furthermore, the ability to customize MIDI mappings for controlling Ableton Live effects opens up a world of sonic experimentation and real-time manipulation. You now have the power to dynamically modulate and transform your sounds, adding a live performance dimension to your studio productions. This fusion of hands-on control and digital precision empowers you to shape your music with an unprecedented level of immediacy and artistry.
As you venture forward, continue to explore the diverse capabilities of your MIDI keyboard within Ableton Live. Embrace the spontaneity of live performance, the precision of studio production, and the boundless creativity that arises from the synergy of hardware and software. Let your MIDI keyboard be your trusted companion in the quest for musical innovation and self-expression.
Remember, the journey of music production is a deeply personal and ever-evolving odyssey. Let your MIDI keyboard be the bridge that connects your musical vision to the boundless possibilities of Ableton Live, and may your compositions resonate with the passion and authenticity that define your artistic identity.