Introduction
Setting up a MIDI keyboard with a Motu interface can significantly enhance your music production capabilities. The seamless integration of these two components allows for a more intuitive and expressive musical experience. Motu interfaces are renowned for their high-quality audio and robust MIDI capabilities, making them a popular choice among musicians and producers.
In this guide, we will walk through the step-by-step process of connecting and configuring your MIDI keyboard with a Motu interface, ensuring that you can harness the full potential of this powerful combination. Whether you are a seasoned music producer or a budding enthusiast, understanding how to set up these essential tools will undoubtedly elevate your creative workflow.
By following this comprehensive tutorial, you will gain a deeper understanding of MIDI connectivity and learn how to optimize the settings of your Motu interface to seamlessly integrate with your digital audio workstation (DAW). Additionally, we will cover essential troubleshooting steps to address any potential issues that may arise during the setup process.
The integration of a MIDI keyboard with a Motu interface opens up a world of possibilities for musical expression and production. Whether you are looking to capture the nuanced performance of a grand piano or experiment with cutting-edge synthesizer sounds, this setup will serve as a cornerstone of your music production arsenal.
Now, let's delve into the step-by-step process of setting up your MIDI keyboard with a Motu interface, empowering you to unleash your creativity and musical vision.
Step 1: Connecting the MIDI Keyboard to the Motu Interface
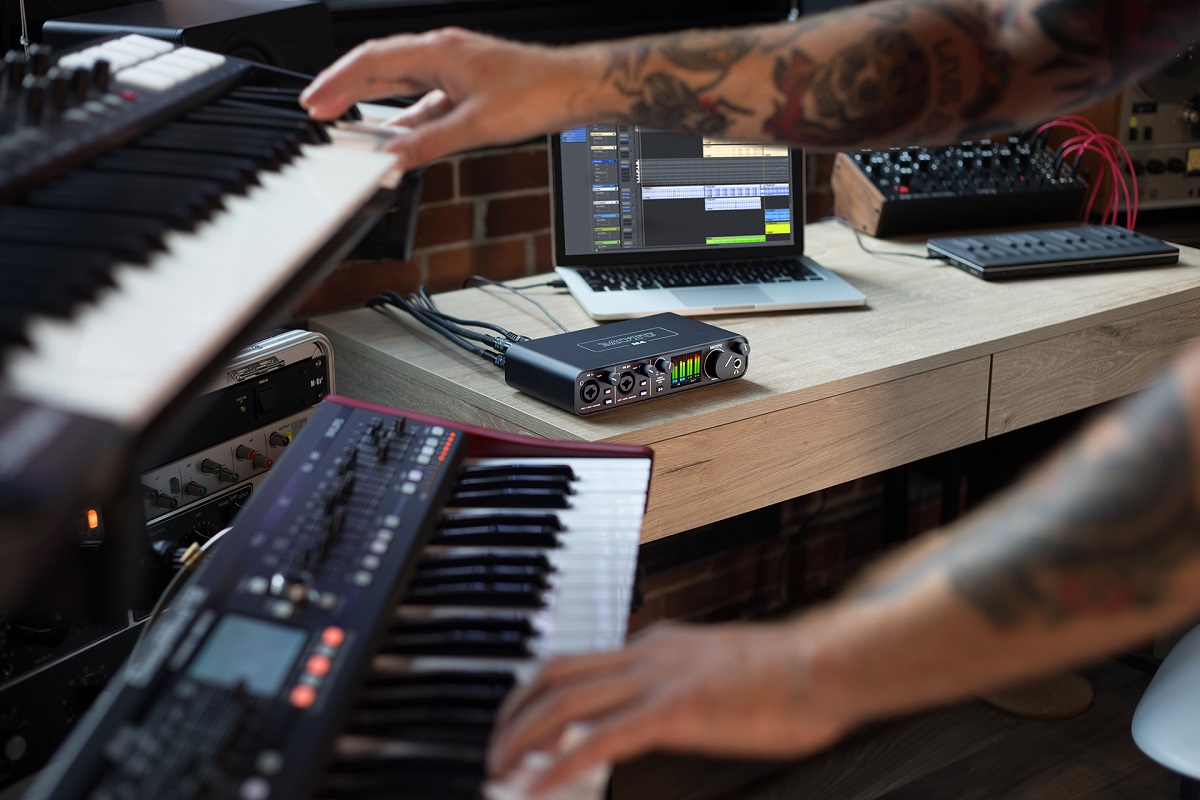
Before diving into the technical configurations, the initial step involves physically connecting your MIDI keyboard to the Motu interface. This process establishes the fundamental link between your input device and the interface, enabling seamless communication and control over your digital audio workstation (DAW).
Here are the steps to connect your MIDI keyboard to the Motu interface:
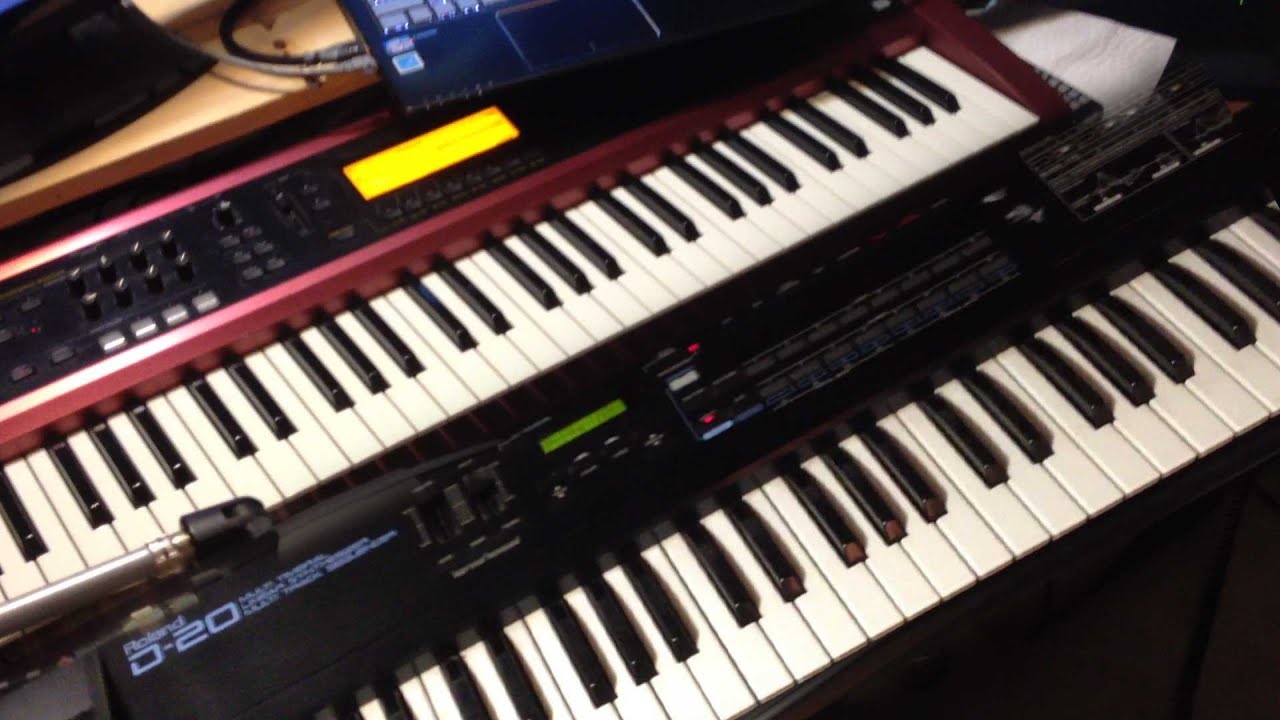
- Locate the MIDI Ports: Identify the MIDI input and output ports on both your MIDI keyboard and the Motu interface. Typically, MIDI devices feature standard 5-pin MIDI connectors, while modern interfaces may also support USB MIDI connections.
- Use the Appropriate Cables: Depending on the available ports, connect your MIDI keyboard to the Motu interface using MIDI cables or USB cables. Ensure that the cables are securely plugged into the corresponding input and output ports to establish a reliable connection.
- Power On the Devices: Power on your MIDI keyboard and Motu interface. Verify that both devices are receiving power and are ready to establish a connection.
- Check for Signal Transmission: Once the physical connections are in place, verify that MIDI signals are being transmitted between the keyboard and the interface. Some MIDI keyboards feature indicator lights that illuminate when MIDI data is being sent and received.
By completing these steps, you will have successfully established the physical connection between your MIDI keyboard and the Motu interface. This foundational link sets the stage for the subsequent configuration steps, allowing for seamless MIDI communication and control within your music production environment.
Step 2: Configuring the Motu Interface Settings
Once the physical connection between your MIDI keyboard and the Motu interface is established, the next crucial step involves configuring the interface settings to optimize MIDI communication and ensure seamless integration with your digital audio workstation (DAW). Proper configuration of the Motu interface settings is essential for harnessing the full potential of your MIDI keyboard within your music production environment.
Here are the essential steps to configure the Motu interface settings:
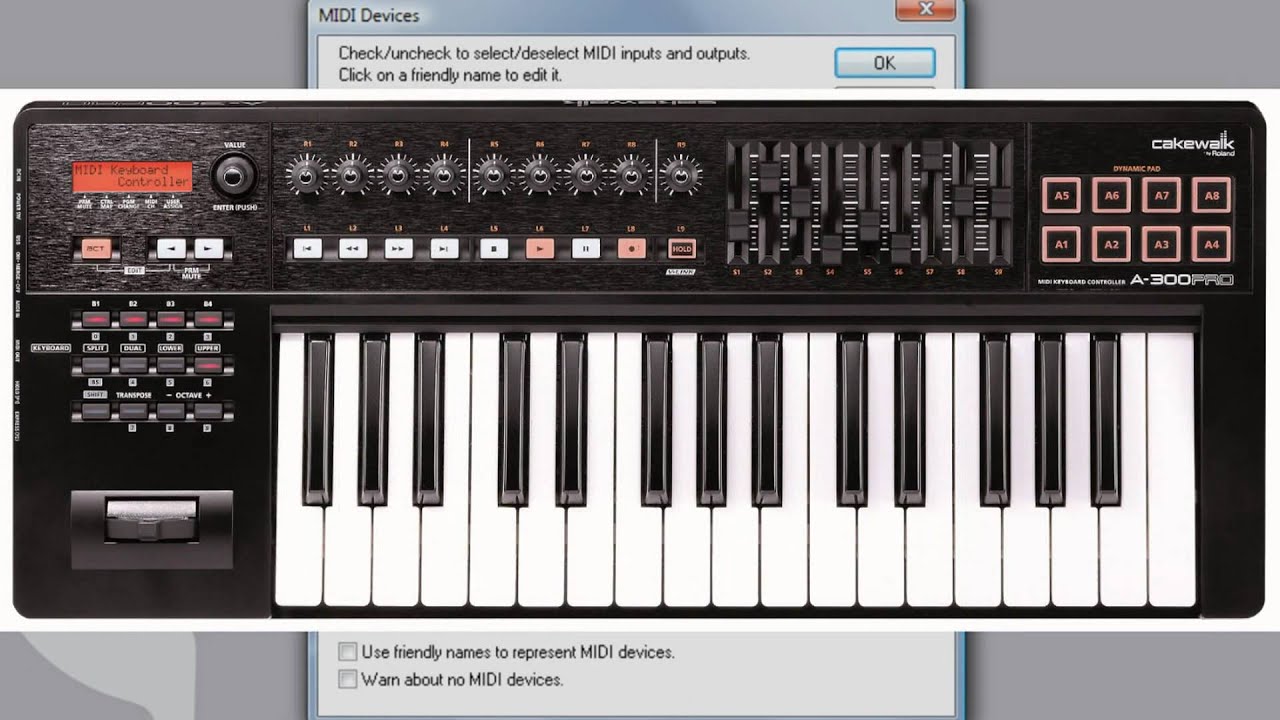
- Access the Motu Interface Control Panel: Launch the control panel or software interface provided by Motu for your specific interface model. This control panel allows you to access and adjust various settings related to MIDI input and output.
- Verify MIDI Input and Output Settings: Within the control panel, ensure that the MIDI input and output settings are correctly configured. This includes selecting the appropriate MIDI input port for your MIDI keyboard and specifying the MIDI output destination within the interface.
- Adjust MIDI Channel Assignments: If your MIDI keyboard utilizes specific MIDI channels for transmitting data, verify and adjust the channel assignments within the Motu interface settings. This ensures that MIDI data from your keyboard is accurately routed to your DAW and other connected devices.
- Optimize MIDI Buffer Size: Depending on your production requirements and system capabilities, adjust the MIDI buffer size within the Motu interface settings. This optimization can minimize latency and enhance the responsiveness of MIDI input from your keyboard.
- Save and Apply Settings: Once you have configured the necessary settings, ensure to save and apply the changes within the Motu interface control panel. This step finalizes the configuration process and ensures that your MIDI keyboard is seamlessly integrated with the interface.
By meticulously configuring the Motu interface settings, you establish a robust foundation for MIDI communication and control within your music production setup. These optimized settings pave the way for a seamless and responsive interaction between your MIDI keyboard and your DAW, empowering you to unleash your creative potential.
Step 3: Setting Up MIDI Input in Your DAW
With the MIDI keyboard connected to the Motu interface and the interface settings configured, the next pivotal step involves setting up MIDI input within your digital audio workstation (DAW). This crucial configuration enables your DAW to recognize and respond to MIDI input from your keyboard, allowing you to record, manipulate, and control virtual instruments and other MIDI-enabled features.
Here are the essential steps to set up MIDI input in your DAW:
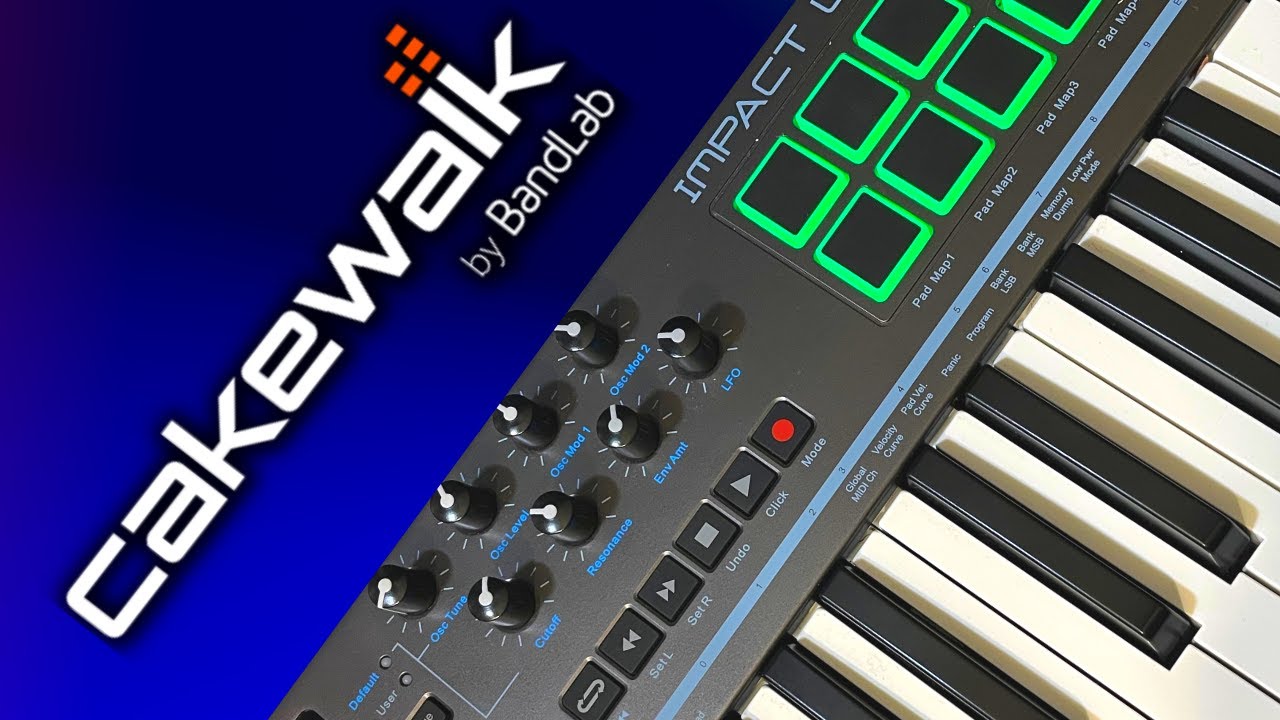
- Launch Your DAW: Open your preferred digital audio workstation on your computer. This could be industry-standard software such as Ableton Live, Pro Tools, Logic Pro, FL Studio, or any other DAW that supports MIDI input.
- Access MIDI Settings: Navigate to the MIDI settings or preferences within your DAW. This is where you can configure MIDI input devices and ensure that your MIDI keyboard and Motu interface are recognized by the software.
- Select MIDI Input Device: Within the MIDI settings, select your Motu interface as the designated MIDI input device. This allows your DAW to receive MIDI data from your keyboard through the interface, establishing a direct link between the input device and your music production software.
- Configure MIDI Channel and Input Routing: Verify that the MIDI channel and input routing settings within your DAW align with the configurations of your MIDI keyboard and Motu interface. This ensures that MIDI data is accurately received and routed to the intended tracks and virtual instruments within your project.
- Test MIDI Input: To confirm that MIDI input is properly configured, play notes or trigger MIDI events on your keyboard and observe the response within your DAW. This real-time testing allows you to verify that MIDI input is successfully recognized and integrated into your music production environment.
By meticulously setting up MIDI input in your DAW, you establish a direct and responsive connection between your MIDI keyboard, Motu interface, and music production software. This pivotal configuration empowers you to harness the expressive capabilities of your keyboard while seamlessly integrating it into your creative workflow.
Step 4: Testing and Troubleshooting
After completing the initial setup of your MIDI keyboard with the Motu interface and configuring the necessary settings, it is imperative to conduct thorough testing and be prepared to troubleshoot any potential issues that may arise. This step ensures that your MIDI setup functions optimally, allowing for a seamless and reliable integration of your keyboard into your music production environment.
Here are the essential aspects of testing and troubleshooting your MIDI setup:
- Test MIDI Input and Output: Verify that MIDI input from your keyboard is accurately transmitted to your DAW through the Motu interface. Additionally, ensure that MIDI output from your DAW, such as triggering virtual instruments, is successfully routed to your MIDI keyboard for responsive playback.
- Check for Latency and Responsiveness: Test the responsiveness of your MIDI setup by playing and recording musical passages. Pay close attention to latency, the delay between triggering a note on your keyboard and hearing the sound from your DAW. Adjust buffer settings if necessary to minimize latency.
- Verify MIDI Channel Communication: Confirm that MIDI data is transmitted and received on the correct channels between your keyboard, Motu interface, and DAW. Misconfigured MIDI channels can lead to issues with communication and control over virtual instruments and MIDI-enabled features.
- Address Potential Issues: If you encounter any issues during testing, such as unresponsive MIDI input, erratic behavior, or unexpected errors, refer to the documentation provided with your MIDI keyboard, Motu interface, and DAW for troubleshooting guidance.
- Seek Community Support: Utilize online forums, user communities, and support resources related to your MIDI keyboard, Motu interface, and DAW to seek assistance from fellow users and experts. Often, community members can provide valuable insights and solutions to common MIDI setup issues.
By diligently testing and troubleshooting your MIDI setup, you ensure that your keyboard, Motu interface, and DAW operate harmoniously, allowing for a seamless and productive music production experience. Addressing any potential issues early on empowers you to fully leverage the expressive capabilities of your MIDI keyboard within your creative endeavors.
Conclusion
Setting up a MIDI keyboard with a Motu interface is a transformative process that empowers you to unleash your musical creativity with precision and control. By following the steps outlined in this guide, you have gained a comprehensive understanding of the essential procedures involved in integrating these vital components into your music production setup.
From the initial physical connection between your MIDI keyboard and the Motu interface to the meticulous configuration of interface settings and MIDI input within your DAW, you have embarked on a journey that culminates in a seamless and expressive MIDI setup. Through rigorous testing and troubleshooting, you have ensured that your MIDI keyboard, Motu interface, and DAW operate in harmony, laying the groundwork for a productive and inspired music production environment.
With your MIDI keyboard and Motu interface seamlessly integrated, you are poised to explore a myriad of musical possibilities, from capturing expressive performances to sculpting intricate soundscapes. The responsive communication between your input device and digital workspace opens doors to innovative composition, dynamic live performance, and immersive sound design.
As you continue to refine your MIDI setup and delve into the boundless realm of music creation, remember that the harmonious synergy between your MIDI keyboard and Motu interface serves as a catalyst for your artistic vision. Embrace the expressive capabilities at your fingertips and embark on a journey of sonic exploration and musical innovation.
By mastering the integration of your MIDI keyboard with a Motu interface, you have unlocked a world of creative potential, where every keystroke and musical gesture becomes a conduit for your artistic expression. Let your MIDI setup be the gateway to musical excellence and boundless inspiration, propelling your passion for music production to new heights.