Introduction
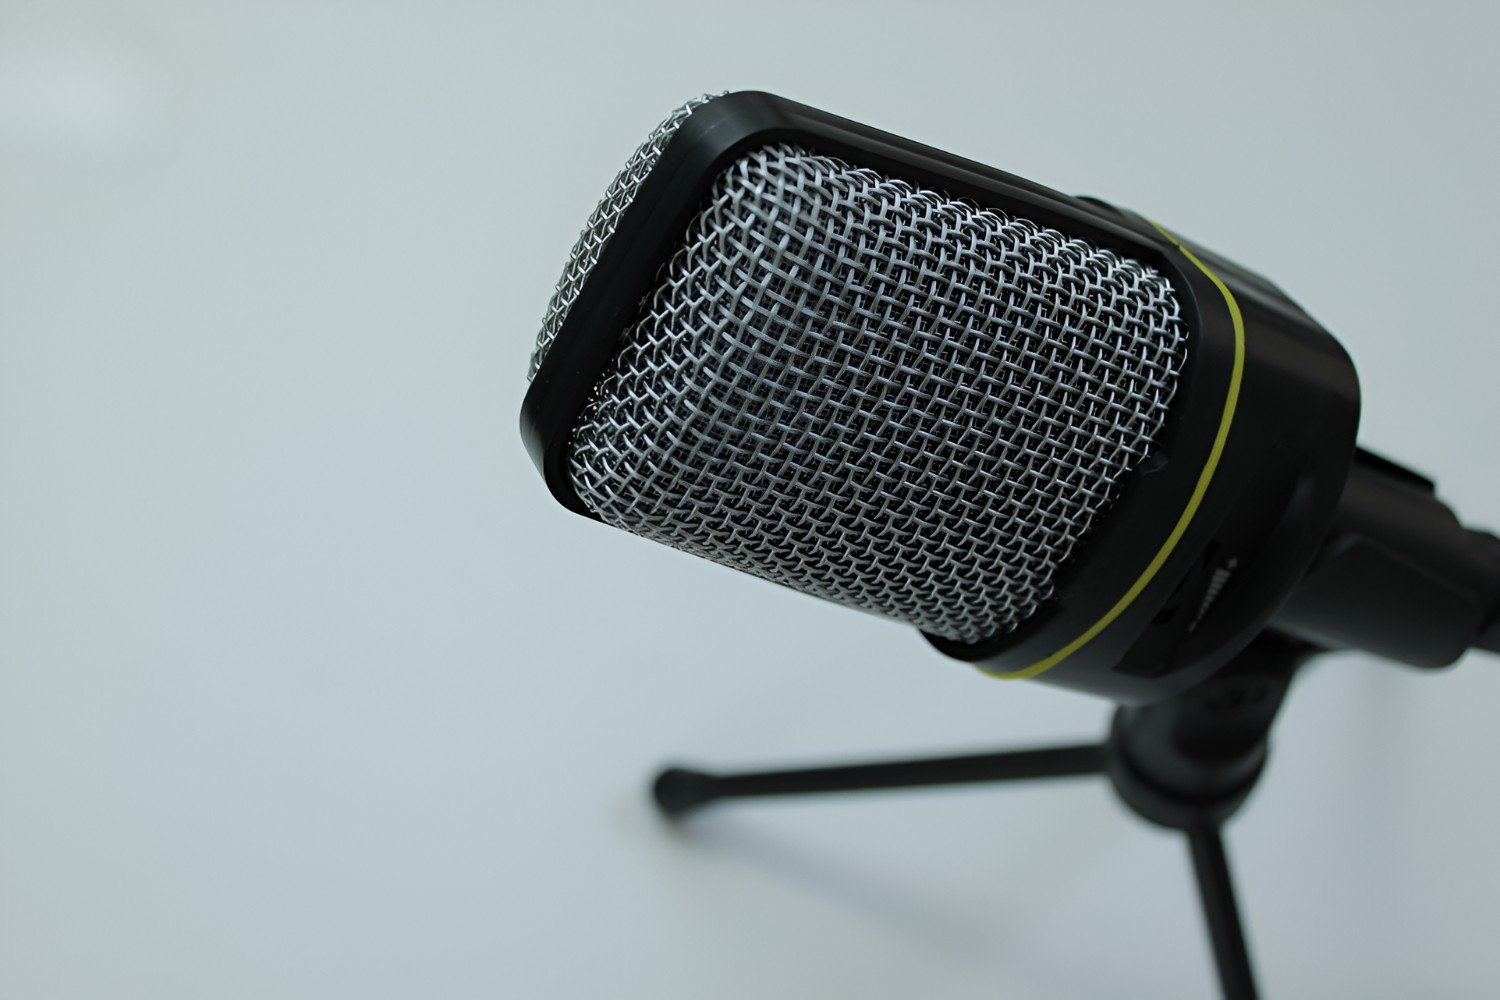
Are you a content creator, podcaster, or musician looking to achieve pristine audio quality with your condenser microphone? If so, you've likely encountered the frustrating challenge of background noise. Whether it's the hum of an air conditioner, the clatter of a keyboard, or the distant rumble of traffic, unwanted noise can detract from the clarity and professionalism of your recordings. Fear not, as this article is here to equip you with effective strategies for reducing background noise on your condenser microphone.
In the world of audio recording, background noise is a common adversary that can compromise the overall quality of your recordings. This intrusive noise can be caused by various environmental factors, equipment inefficiencies, or improper recording techniques. However, with the right knowledge and tools at your disposal, you can significantly minimize or eliminate these unwanted sounds, allowing your recordings to shine with crystal-clear clarity.
In the following sections, we will delve into the nuances of background noise and explore practical tips and techniques to mitigate its impact on your condenser microphone recordings. From optimizing mic placement to utilizing essential accessories and leveraging software solutions, you'll discover a comprehensive array of strategies to help you achieve pristine audio quality. So, let's embark on this journey to conquer background noise and elevate the sonic excellence of your recordings.
Understanding Background Noise
Before delving into the methods for reducing background noise on a condenser microphone, it’s crucial to grasp the nature of this common nuisance. Background noise encompasses any unwanted sound that infiltrates your recordings, diminishing the overall audio quality. This can include ambient noises such as air conditioning units, computer fans, street traffic, or even the subtle rustling of clothing. Understanding the sources of background noise is pivotal in implementing effective mitigation strategies.
Environmental factors play a significant role in the prevalence of background noise. For instance, if you’re recording in a bustling urban environment, you’re more likely to contend with street noise and other urban sounds. Similarly, recording in a home studio may subject you to household noises like appliances, footsteps, or pets. Furthermore, the acoustic characteristics of the recording space, such as reverberation and resonance, can contribute to unwanted background noise.
Additionally, the equipment itself can introduce noise into your recordings. This may stem from electrical interference, ground loops, or the inherent noise floor of the microphone and preamp. Furthermore, improper gain staging and signal chain configurations can exacerbate background noise, resulting in suboptimal recording quality.
Understanding the spectral characteristics of background noise is equally important. Different types of noise, such as white noise, pink noise, or impulse noise, can manifest in recordings, each presenting unique challenges for mitigation. White noise, for example, is characterized by a consistent energy level across all frequencies, while pink noise exhibits a decrease in energy as frequency increases. Recognizing these distinctions can inform your approach to reducing specific types of noise.
By comprehending the diverse sources and characteristics of background noise, you can tailor your mitigation strategies to address these specific challenges effectively. The subsequent sections will equip you with practical techniques and best practices to minimize background noise, empowering you to elevate the sonic clarity and professionalism of your condenser microphone recordings.
Tips for Reducing Background Noise
When striving for pristine audio recordings with a condenser microphone, implementing effective strategies to reduce background noise is paramount. By employing the following tips and techniques, you can significantly enhance the clarity and professional quality of your recordings.
- Optimize Your Recording Environment: Choose a quiet and acoustically treated space for recording to minimize external noise intrusion. Consider utilizing soundproofing materials such as acoustic panels or foam to attenuate reverberations and external sounds.
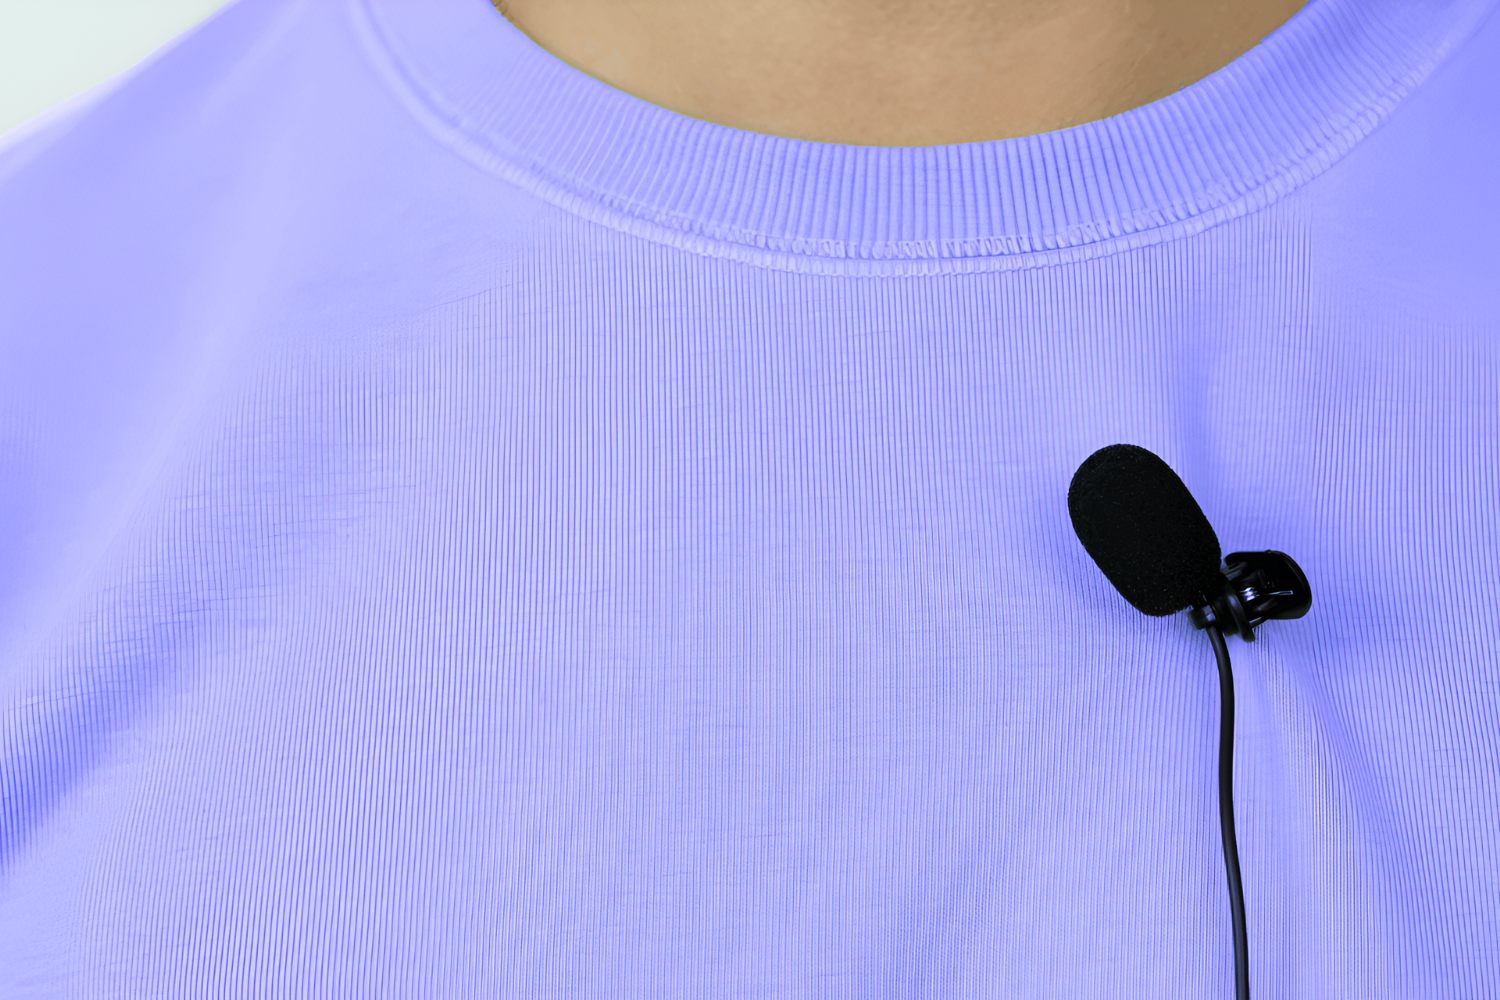
- Proper Mic Placement: Position the condenser microphone strategically to capture the desired sound source while minimizing background noise. Experiment with mic placement and directionality to achieve optimal signal-to-noise ratio.
- Utilize a Pop Filter: Attach a pop filter to the microphone to mitigate plosives and breath noises, thereby reducing unwanted sonic artifacts in your recordings.
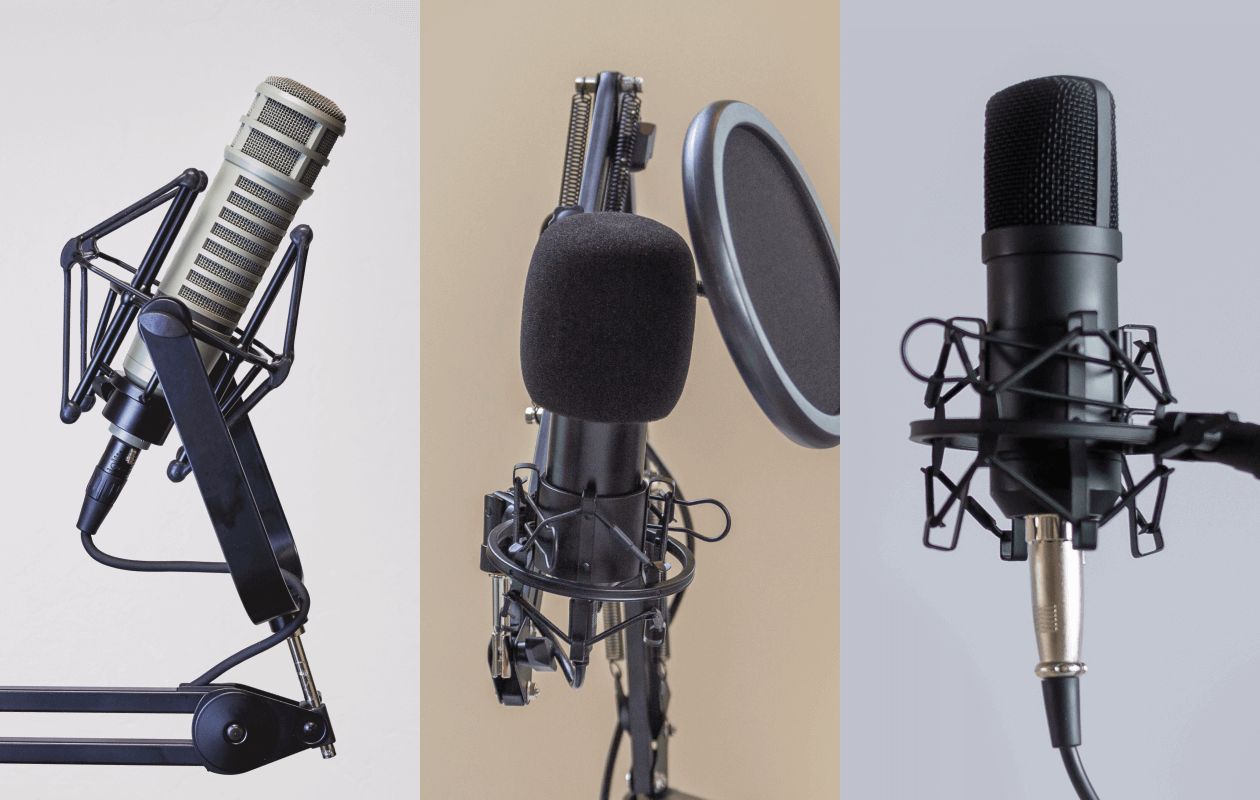
- Employ a Shock Mount: Mounting the microphone on a shock mount helps isolate it from vibrations and handling noise, preserving the integrity of your recordings.
- Adjust Mic Gain and Input Levels: Properly set the microphone gain and input levels to avoid introducing unnecessary noise while ensuring an adequate signal level for recording.
- Utilize Noise Reduction Software: Explore the use of digital audio workstations (DAWs) and dedicated noise reduction plugins to post-process recordings and attenuate residual background noise.
By incorporating these tips into your recording workflow, you can proactively address and mitigate background noise, resulting in recordings that exude clarity, fidelity, and professional polish. Each of these strategies plays a crucial role in enhancing the overall sonic integrity of your condenser microphone recordings, empowering you to deliver exceptional audio content across various mediums.
Using Proper Mic Placement
Strategic mic placement is a fundamental aspect of achieving high-quality recordings with a condenser microphone while minimizing background noise. By positioning the microphone optimally, you can capture the desired sound source effectively while attenuating unwanted ambient noise. Consider the following mic placement techniques to elevate the sonic clarity of your recordings:
- Distance and Angle: Experiment with the distance between the microphone and the sound source, as well as the angle of incidence. Adjusting these parameters can help prioritize the direct sound while reducing the pickup of ambient noise.
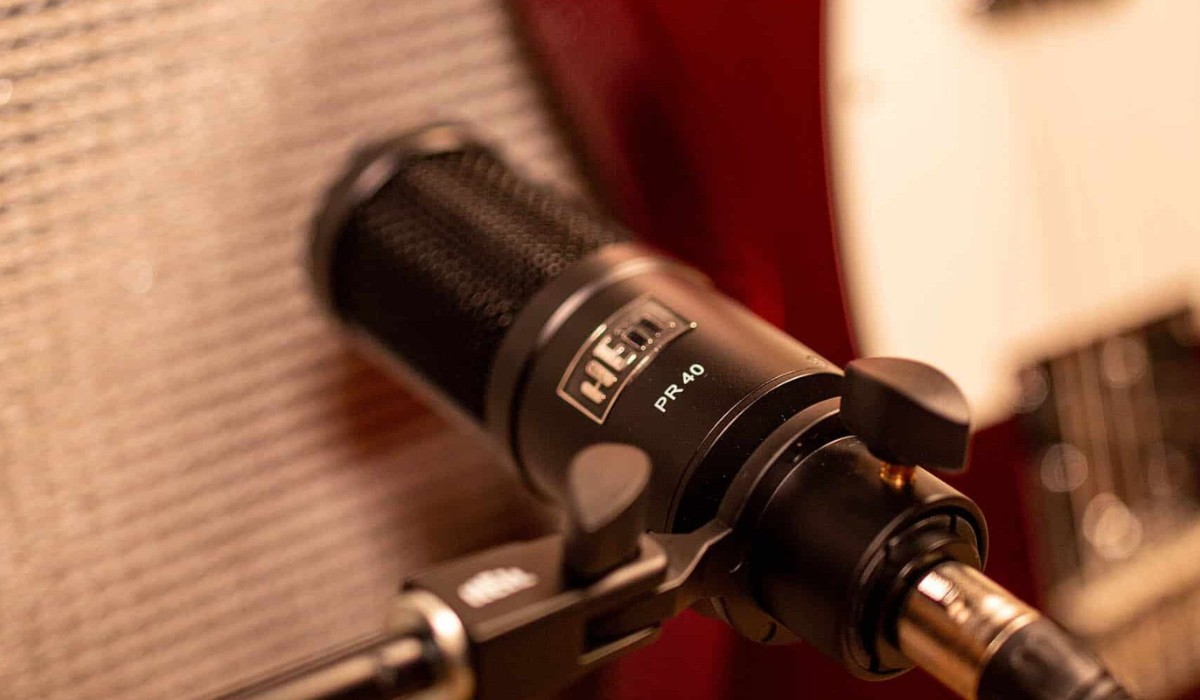
- Directionality: Leverage the directional characteristics of your condenser microphone to your advantage. For example, if using a cardioid microphone, orient the microphone such that the null point of the polar pattern is aimed at the primary source of background noise.
- Off-Axis Rejection: Capitalize on the off-axis rejection inherent in many condenser microphones. By positioning the microphone to exploit its off-axis rejection, you can minimize the capture of peripheral ambient sounds.
- Acoustic Considerations: Take into account the acoustic properties of the recording environment. Avoid reflective surfaces and hard boundaries that can contribute to unwanted reverberation and echo, which may exacerbate background noise.
Moreover, when recording vocals or acoustic instruments, maintaining an optimal distance from the microphone can help achieve a balanced and controlled sound while reducing the prominence of background noise. Experimenting with mic placement in various recording scenarios allows you to discern the most effective positioning for capturing clean and articulate audio.
By mastering the art of mic placement, you can harness the full potential of your condenser microphone while mitigating the impact of background noise, resulting in recordings that exude clarity and fidelity. This foundational technique serves as a cornerstone of professional audio production, empowering you to deliver exceptional sonic experiences across diverse creative endeavors.
Using a Pop Filter
When striving to minimize unwanted sonic artifacts and background noise in vocal recordings, employing a pop filter is a pivotal technique that can significantly enhance the overall audio quality. A pop filter, also known as a pop shield or windscreen, serves as a barrier between the vocalist and the condenser microphone, effectively mitigating plosives, breath noises, and other transient sonic disturbances that can compromise the clarity of the recording.
Pop filters are typically constructed with a fine mesh or perforated material that intercepts the plosive bursts of air produced during vocal performances, preventing them from reaching the microphone diaphragm. This mitigates the occurrence of pronounced plosive sounds, such as the characteristic “pops” and “plosives” associated with words containing the letters “p” and “b,” which can distort the recording and introduce unwanted low-frequency artifacts.
Furthermore, pop filters help attenuate breath noises and sibilance, contributing to a more controlled and consistent vocal performance. By diffusing the impact of these transient sonic events, pop filters play a crucial role in fostering a clean and articulate vocal recording, free from distracting sonic irregularities.
When selecting a pop filter, consider the size and compatibility with your condenser microphone to ensure optimal coverage and effectiveness. Additionally, some pop filters feature adjustable and flexible arms, allowing for precise positioning in relation to the microphone, further enhancing their efficacy in mitigating plosives and breath noises.
Integrating a pop filter into your recording setup not only aids in reducing background noise and sonic artifacts but also contributes to a more professional and polished vocal recording. Whether capturing vocals for music, podcasts, voiceovers, or broadcast, the implementation of a pop filter elevates the sonic integrity of the recording, resulting in a clear, intelligible, and engaging auditory experience for your audience.
Using a Shock Mount
When aiming to achieve pristine audio recordings with a condenser microphone while minimizing the intrusion of background noise, the utilization of a shock mount is a valuable and effective strategy. A shock mount, also known as a shock absorber or isolation mount, serves as a mechanical suspension system for the microphone, isolating it from vibrations, handling noise, and mechanical disturbances that can compromise the fidelity and clarity of the recording.
The design of a shock mount typically involves elastic bands or suspension cords that cradle the microphone, providing a degree of decoupling from external physical disturbances. This isolation mechanism effectively mitigates the transmission of mechanical vibrations and impacts, such as those caused by handling the microphone, inadvertent bumps, or low-frequency rumble, thereby preserving the integrity of the recording.
By attenuating these extraneous mechanical disturbances, a shock mount helps maintain the focus on the desired sound source while minimizing the impact of background noise and sonic artifacts. This is particularly advantageous in scenarios where the recording environment is susceptible to vibrations, such as in live recording settings, podcasting, or studio environments with potential sources of low-frequency rumble.
Furthermore, the implementation of a shock mount contributes to a more controlled and consistent recording experience, allowing for the capture of nuanced audio details without the interference of handling noise or mechanical vibrations. Whether capturing vocals, instruments, or ambient soundscapes, the shock mount serves as a valuable ally in preserving the fidelity and sonic purity of the recording.
When selecting a shock mount, ensure compatibility with your specific condenser microphone model to guarantee a secure and reliable fit. Additionally, consider the adjustability and flexibility of the shock mount to accommodate various recording scenarios and microphone positioning requirements.
Integrating a shock mount into your recording setup not only aids in reducing background noise and mechanical disturbances but also contributes to a more professional and polished recording, characterized by clarity, fidelity, and sonic excellence. By leveraging the benefits of a shock mount, you can elevate the sonic integrity of your recordings, delivering exceptional audio content across diverse creative endeavors.
Adjusting Mic Gain and Input Levels
Properly setting the mic gain and input levels of your condenser microphone is a critical aspect of achieving pristine recordings while minimizing the impact of background noise and unwanted sonic artifacts. The mic gain, also referred to as the microphone preamp gain, determines the sensitivity of the microphone’s input signal, while the input levels regulate the amplitude of the incoming audio signal. Balancing these parameters optimally is essential for capturing clean, distortion-free audio while mitigating the influence of background noise.
When adjusting mic gain, it’s crucial to strike a balance that allows for a robust and healthy signal level without introducing excessive noise or distortion. Setting the gain too low may result in a weak signal that necessitates amplification in post-processing, potentially amplifying background noise and diminishing the signal-to-noise ratio. Conversely, excessively high gain settings can lead to signal clipping, distortion, and an increased susceptibility to ambient noise.
Similarly, calibrating the input levels of the recording interface or preamp ensures that the incoming audio signal is appropriately managed, preventing overloading or underutilization of the available dynamic range. By optimizing the input levels, you can maintain a clean and well-defined signal while minimizing the impact of background noise and extraneous sonic disturbances.
Furthermore, exercising attentiveness to the gain structure of the entire signal chain, encompassing the microphone, preamp, and recording interface, is crucial for achieving an optimal balance between the desired audio signal and the mitigation of background noise. Careful consideration of the gain staging ensures that each component in the signal chain operates within its ideal operating range, fostering an environment conducive to pristine recordings.
When setting mic gain and input levels, it’s advantageous to monitor the signal using visual indicators, such as LED meters on the recording interface or digital audio workstation (DAW) software. This allows for real-time assessment of the signal level and facilitates informed adjustments to achieve an optimal balance between signal strength and background noise attenuation.
By meticulously calibrating the mic gain and input levels of your condenser microphone, you can cultivate recordings characterized by clarity, fidelity, and sonic excellence. This fundamental practice serves as a cornerstone of professional audio production, empowering you to capture the subtle nuances of your sound source while minimizing the intrusion of background noise and sonic artifacts.
Using Noise Reduction Software
In the pursuit of pristine audio recordings with a condenser microphone, the integration of noise reduction software serves as a powerful tool for mitigating background noise and enhancing the overall sonic clarity of your recordings. Noise reduction software, available as standalone applications or plugins within digital audio workstations (DAWs), empowers you to effectively attenuate unwanted noise and sonic artifacts, resulting in polished and professional-quality audio content.
Upon capturing your recordings, the application of noise reduction software allows for targeted processing of the audio, enabling the identification and suppression of specific frequencies and sonic irregularities associated with background noise. This sophisticated processing capability facilitates the preservation of the desired audio content while intelligently attenuating the influence of ambient noise, hum, hiss, and other undesirable sonic elements.
Modern noise reduction software often features advanced algorithms and adaptive processing techniques that can discern between the desired signal and background noise, facilitating precise and transparent noise reduction without adversely affecting the integrity of the audio content. By leveraging these intelligent algorithms, you can effectively diminish the impact of background noise while retaining the natural characteristics and fidelity of the recorded sound source.
Furthermore, noise reduction software provides a range of customizable parameters and controls, allowing for fine-tuned adjustments to the noise reduction process. This flexibility enables you to tailor the noise reduction algorithm to suit the specific characteristics of the background noise present in your recordings, ensuring optimal results and minimal impact on the desired audio content.
When utilizing noise reduction software, it’s essential to exercise discernment and moderation in the application of noise reduction processing. Overzealous noise reduction settings can potentially introduce artifacts and compromise the natural timbre and transient response of the audio, underscoring the importance of judicious application and attentive monitoring during the noise reduction process.
By incorporating noise reduction software into your post-processing workflow, you can effectively address background noise and sonic artifacts, elevating the sonic integrity and professional quality of your recordings. Whether refining vocal performances, musical compositions, or spoken-word content, the judicious application of noise reduction software empowers you to deliver audio content characterized by clarity, fidelity, and sonic excellence.
Conclusion
Embarking on the journey to conquer background noise and elevate the sonic excellence of your condenser microphone recordings has equipped you with a comprehensive array of strategies and techniques. By delving into the nuances of background noise and exploring practical tips for its reduction, you’ve gained valuable insights into the art of capturing pristine audio.
Understanding the sources and characteristics of background noise has provided a foundational understanding of the challenges it presents, empowering you to tailor your mitigation strategies effectively. From optimizing mic placement to utilizing essential accessories such as pop filters and shock mounts, you’ve discovered the instrumental role of these techniques in minimizing unwanted sonic artifacts and preserving the fidelity of your recordings.
Furthermore, the meticulous calibration of mic gain and input levels, coupled with the integration of noise reduction software, has underscored the significance of both proactive and post-processing approaches to achieving pristine audio quality. These practices serve as indispensable tools in your arsenal, allowing you to capture the subtle nuances of your sound source while mitigating the intrusion of background noise and sonic irregularities.
As you continue your creative endeavors, whether in music production, podcasting, voiceover work, or content creation, the knowledge and techniques acquired in this exploration will serve as guiding beacons, enabling you to deliver exceptional audio content characterized by clarity, fidelity, and professional polish.
By harnessing the power of strategic mic placement, essential accessories, meticulous gain staging, and advanced noise reduction processing, you are well-equipped to conquer background noise and elevate the sonic integrity of your condenser microphone recordings. Armed with these insights and techniques, you are poised to embark on a sonic journey marked by excellence and clarity, delivering captivating audio experiences that resonate with your audience.