Introduction
Understanding the Basics of MIDI Keyboards and Sound Transfer
Are you ready to take your music production to the next level? If you own a MIDI keyboard, you have the potential to expand your sound library by adding new instrument sounds and samples. In this guide, we will explore the process of putting sounds onto a MIDI keyboard, allowing you to unleash your creativity and explore a world of diverse musical possibilities.
Whether you're a seasoned musician or just starting out, understanding how to transfer sounds to your MIDI keyboard is a valuable skill. By doing so, you can customize your instrument to suit your unique style and musical preferences. Let's delve into the fascinating world of MIDI keyboards and learn how to enhance your musical experience.
The concept of MIDI, or Musical Instrument Digital Interface, is the backbone of electronic music production. MIDI technology enables electronic musical instruments, computers, and other equipment to communicate and synchronize with each other. When it comes to MIDI keyboards, this technology allows for the transfer of various sounds and samples, providing a versatile and dynamic playing experience.
As we embark on this journey, it's important to note that the process of putting sounds onto a MIDI keyboard may vary depending on the specific model and manufacturer. However, the fundamental principles remain consistent across different devices, making this guide applicable to a wide range of MIDI keyboards.
Now, let's dive into the intricacies of MIDI keyboards and sound transfer, empowering you to unlock the full potential of your musical creativity. Whether you're looking to expand your sound palette, experiment with new genres, or simply personalize your instrument, the knowledge and skills you gain from this guide will undoubtedly elevate your musical endeavors. Let's embark on this exciting musical exploration together.
Understanding MIDI
Unraveling the Power of Musical Instrument Digital Interface
Before delving into the process of transferring sounds to your MIDI keyboard, it’s essential to grasp the fundamental concepts of MIDI. At its core, MIDI serves as a universal language for electronic musical instruments, allowing them to communicate and interact seamlessly. This digital interface revolutionized the music industry by enabling musicians to create, manipulate, and exchange musical data with unparalleled flexibility and efficiency.
One of the key advantages of MIDI technology is its ability to transmit a wide range of musical information, including note pitches, velocity, modulation, and more. This level of detail empowers musicians to infuse their performances with nuanced expression and dynamics, enhancing the overall musical experience.
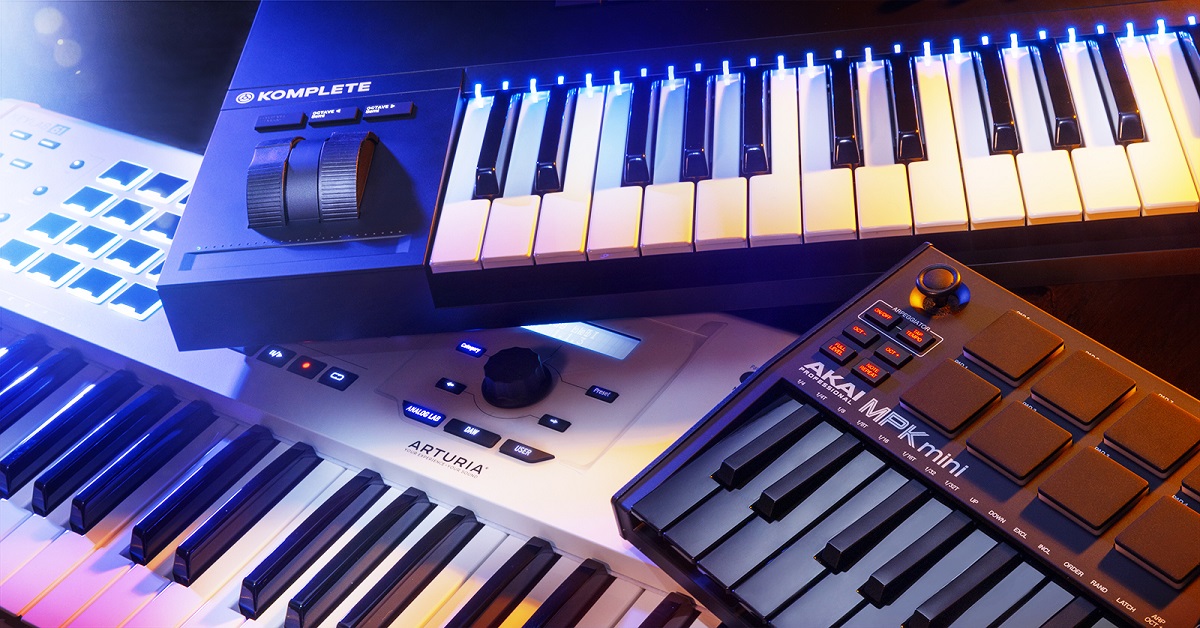
When it comes to MIDI keyboards, this technology plays a pivotal role in expanding the instrument’s sonic capabilities. By leveraging MIDI, musicians can access an extensive array of sounds, from traditional instruments to cutting-edge electronic textures, all within a single keyboard. This versatility empowers artists to explore diverse musical genres and experiment with innovative soundscapes, fostering boundless creativity and artistic exploration.
Furthermore, MIDI facilitates seamless integration between various music production tools, such as digital audio workstations (DAWs) and software synthesizers. This interconnected ecosystem enables musicians to compose, arrange, and produce music with unparalleled precision and control. Whether you’re crafting intricate melodies, layering rich harmonies, or sculpting complex rhythms, MIDI serves as the linchpin that synchronizes your creative vision with the digital realm.
As you embark on the journey of understanding MIDI, envision it as the conduit that bridges the gap between your musical ideas and their manifestation in the digital domain. Embrace the boundless potential of MIDI technology, and prepare to unlock a world of sonic possibilities as we delve deeper into the realm of sound transfer and MIDI keyboard customization.
Choosing the Right Sound Source
Exploring Diverse Sound Libraries for Your MIDI Keyboard
When embarking on the journey of transferring sounds to your MIDI keyboard, the selection of a sound source plays a pivotal role in shaping the sonic landscape of your musical creations. The right sound source can elevate your compositions, infusing them with depth, character, and emotive resonance. As you navigate the myriad options available, consider the following factors to ensure that you choose a sound source that aligns with your artistic vision and musical aspirations.
- Diversity of Sounds: Seek out sound sources that offer a diverse array of instruments, samples, and soundscapes. From classic pianos and orchestral ensembles to futuristic synths and experimental textures, a comprehensive sound library empowers you to explore a wide spectrum of musical styles and genres.
- Quality and Authenticity: Prioritize sound sources that deliver high-quality, authentic reproductions of acoustic and electronic instruments. Look for samples and patches that capture the nuances of each instrument, from the subtle intricacies of a grand piano to the expressive timbres of vintage synthesizers.
- Customization Options: Opt for sound sources that provide ample opportunities for customization and manipulation. The ability to tweak parameters, apply effects, and sculpt the sonic characteristics of each sound enhances your creative control, allowing you to tailor the sounds to suit your artistic vision.
- Compatibility and Integration: Ensure that the chosen sound source seamlessly integrates with your MIDI keyboard and music production setup. Compatibility with your preferred software and hardware environments is essential for a smooth and efficient sound transfer process.
Whether you opt for dedicated sound libraries, software synthesizers, or sample packs, the key lies in selecting a sound source that resonates with your musical identity and inspires your creative pursuits. Embrace the diversity, authenticity, and flexibility offered by modern sound libraries, and prepare to embark on a sonic odyssey that transcends boundaries and sparks boundless musical innovation.
Connecting the MIDI Keyboard to a Computer
Establishing Seamless Communication for Sound Transfer
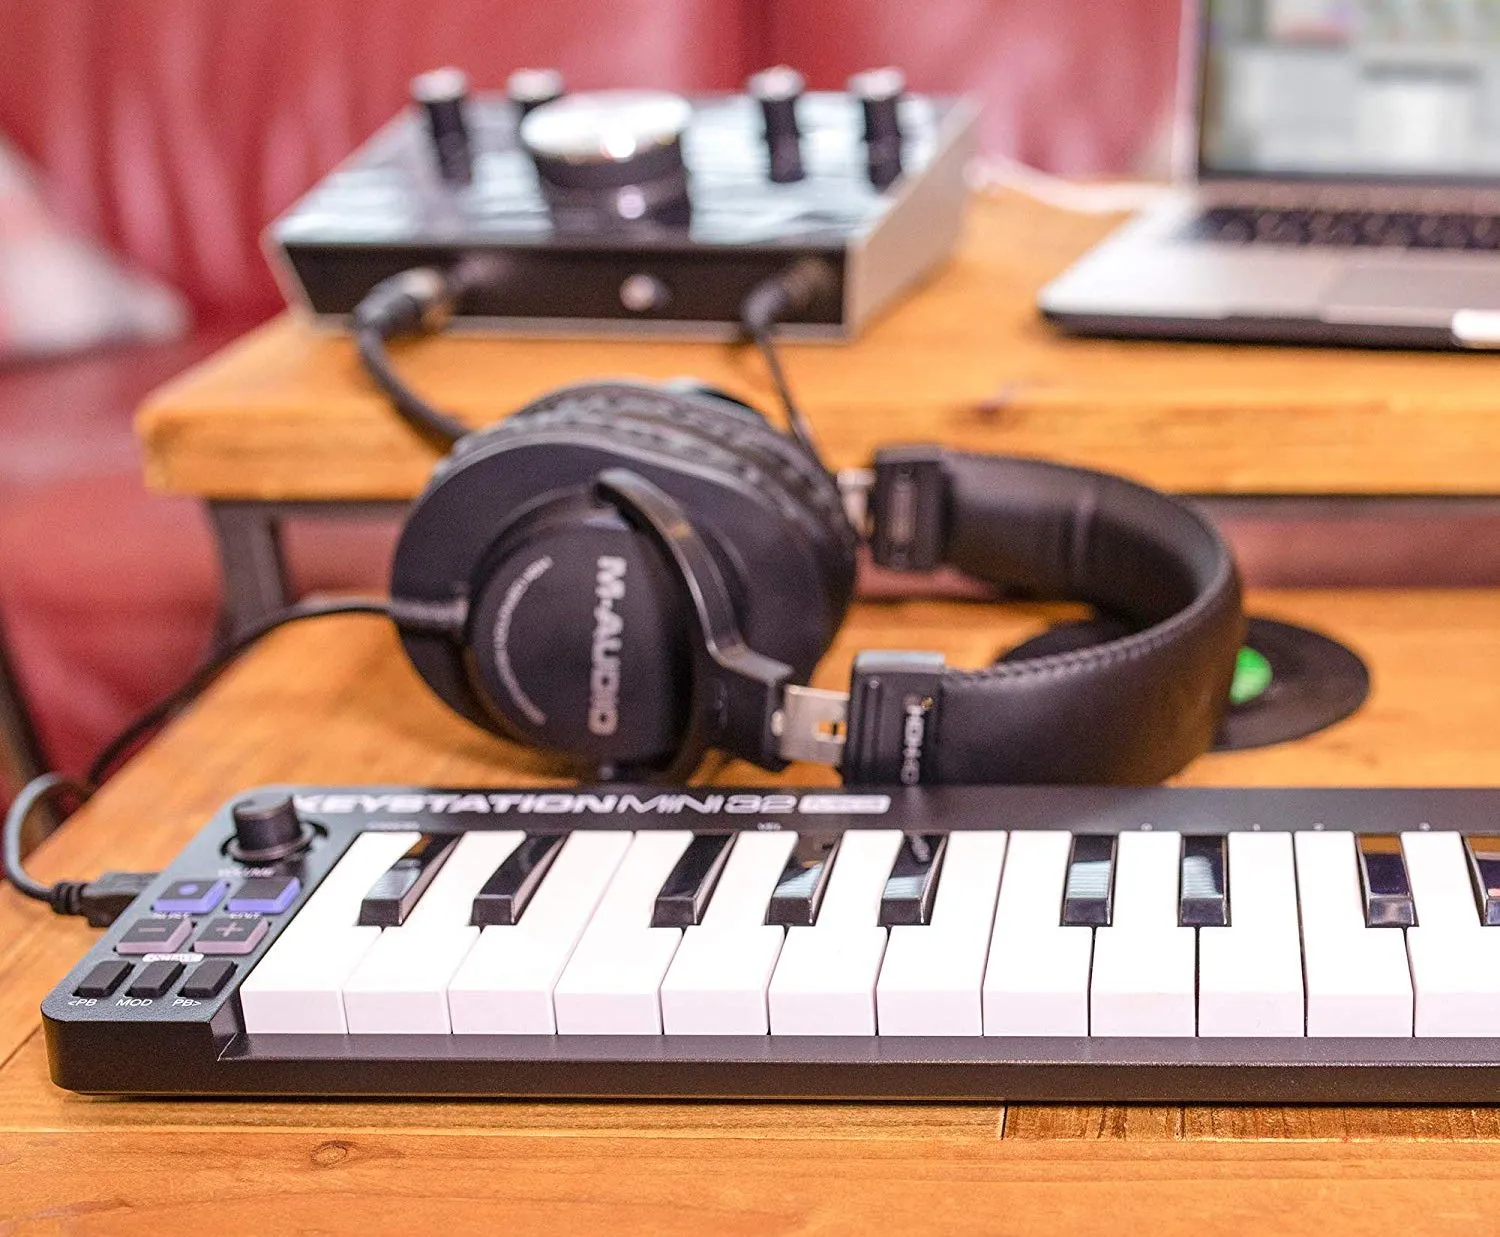
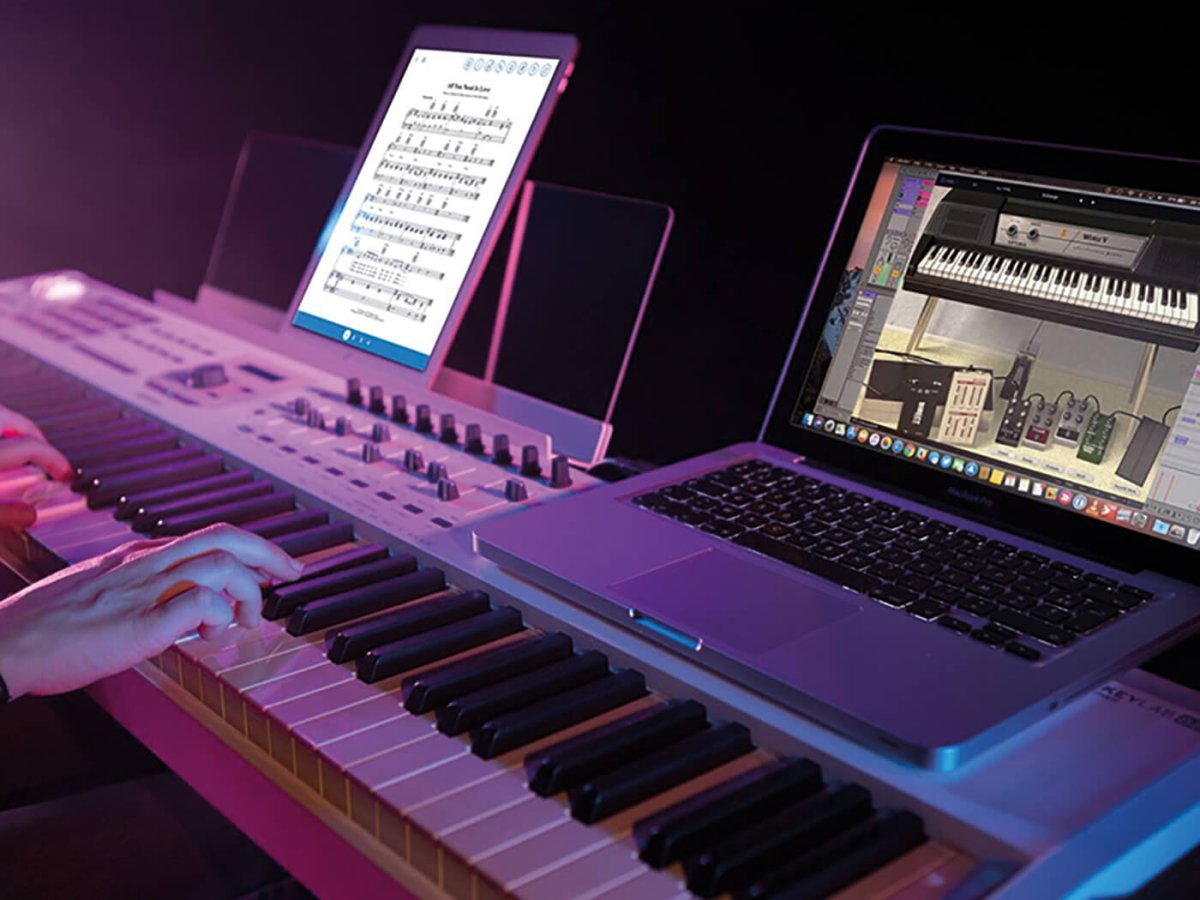
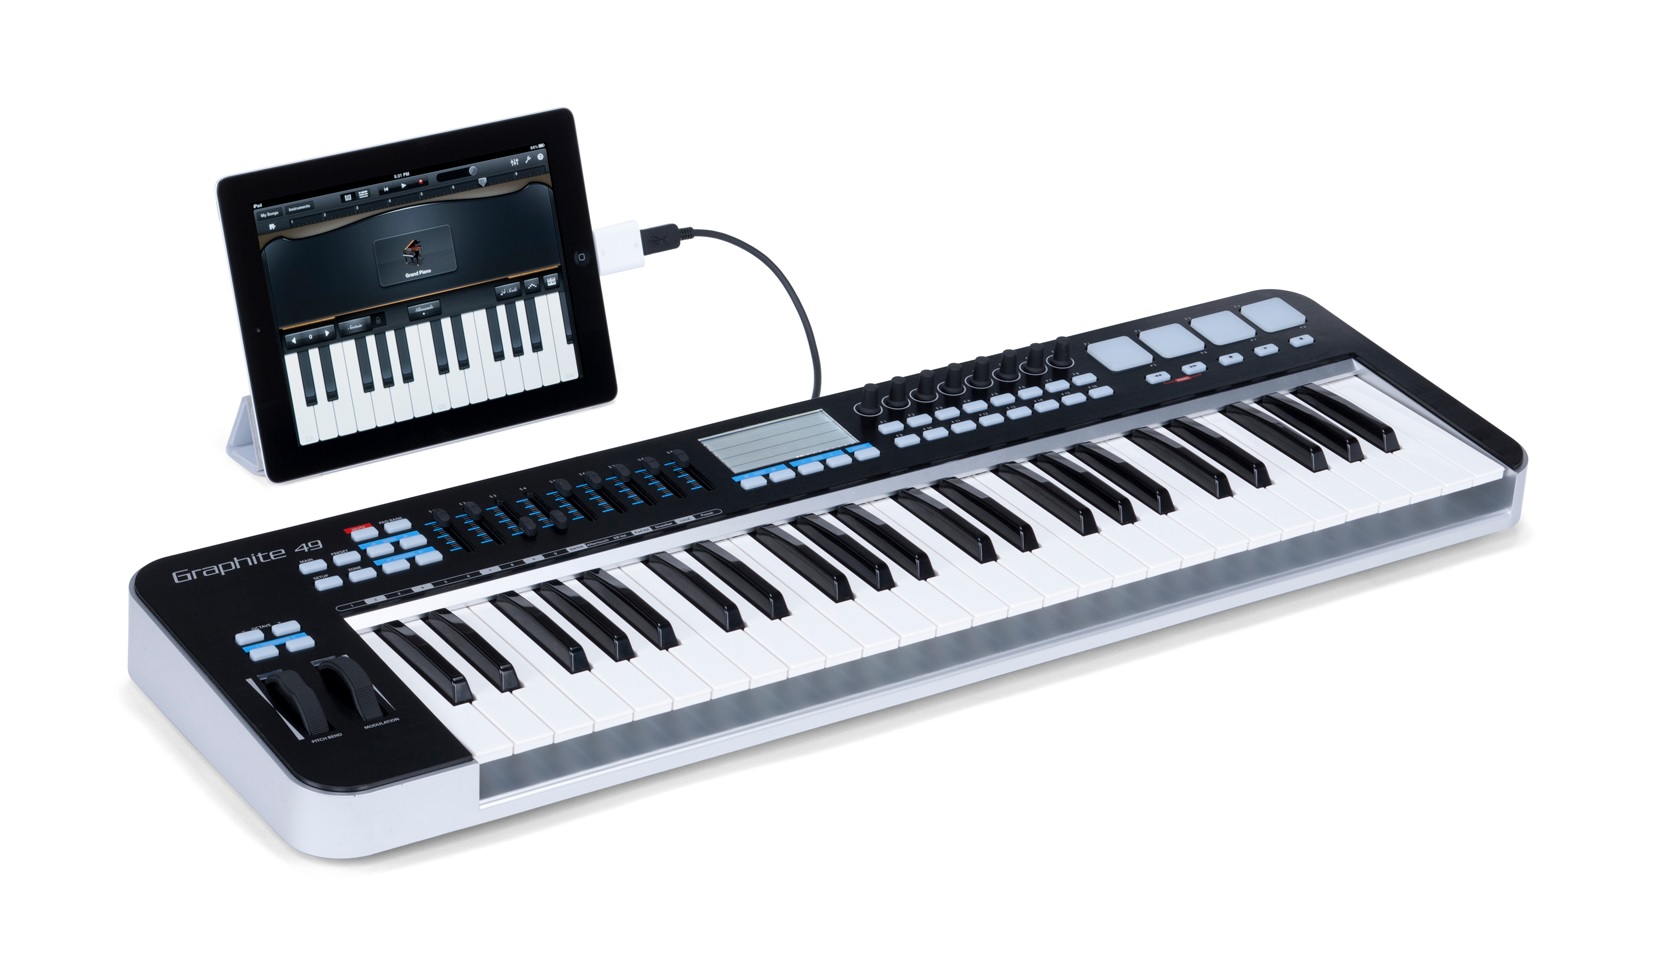
Before delving into the process of transferring sounds to your MIDI keyboard, it’s crucial to establish a robust connection between your keyboard and a computer. This pivotal step forms the bridge through which the sonic data will flow, enabling you to enrich your musical palette with a diverse array of sounds and samples. Let’s explore the essential components and steps involved in connecting your MIDI keyboard to a computer, setting the stage for a seamless and efficient sound transfer process.
1. MIDI Interface or USB Connection: Depending on the specific model of your MIDI keyboard, you may have the option to connect it to a computer using either a MIDI interface or a USB cable. MIDI interfaces facilitate the transfer of MIDI data between the keyboard and the computer, while USB connections offer a direct and convenient link for digital communication.
2. Driver Installation: In the case of USB connectivity, it’s essential to install the appropriate drivers for your MIDI keyboard on your computer. These drivers ensure that the computer recognizes and communicates with the keyboard, laying the groundwork for seamless data transfer and sound integration.
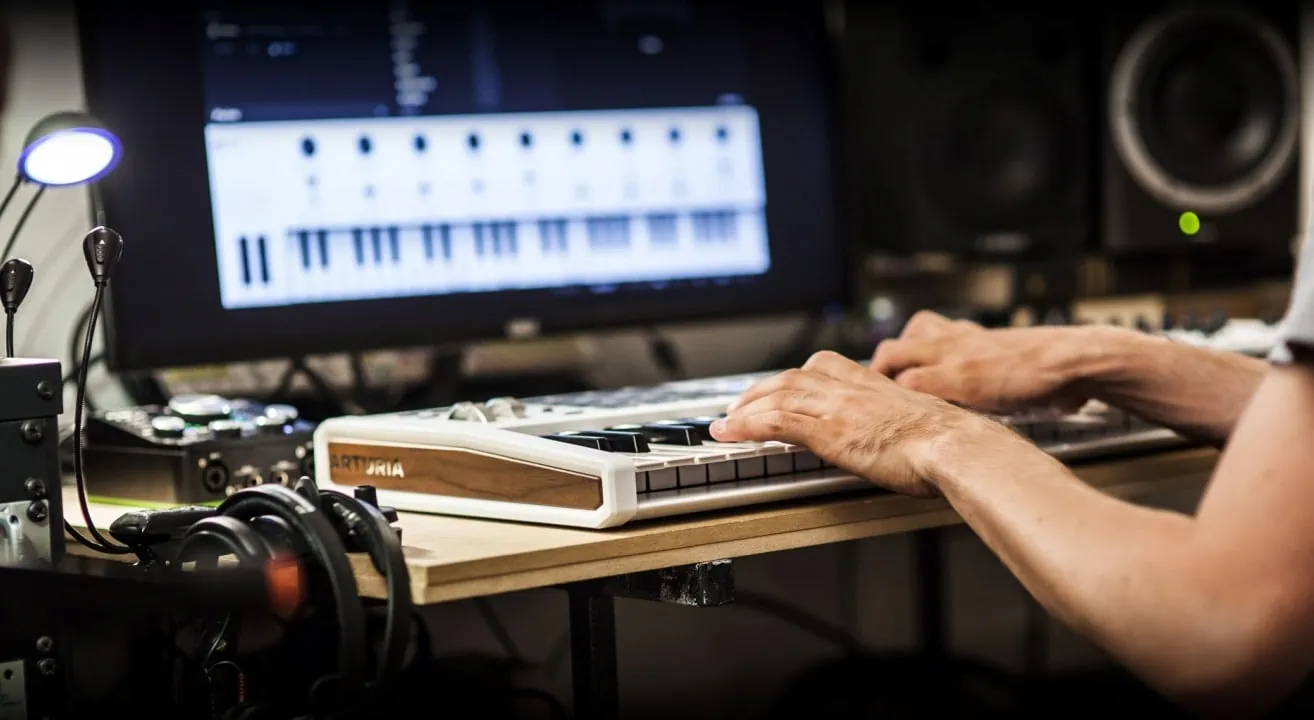
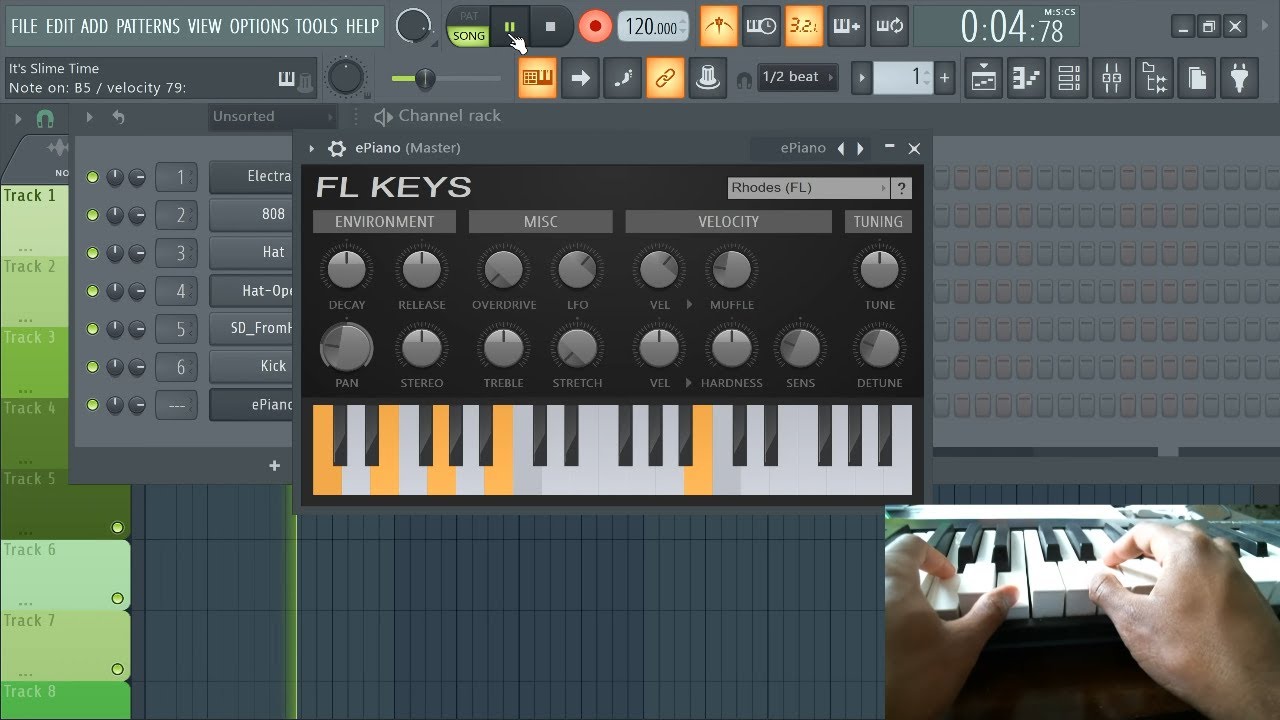
3. Software Configuration: Once the physical connection is established, configure your music production software to recognize the MIDI keyboard as a controller and sound source. This step involves selecting the MIDI keyboard as the input device within your digital audio workstation (DAW) or preferred music software, enabling it to transmit and receive MIDI data effectively.
4. Testing the Connection: Verify the connectivity and communication between the MIDI keyboard and the computer by playing notes on the keyboard and monitoring the corresponding MIDI input within your software environment. This testing phase ensures that the two devices are successfully linked and ready to facilitate the transfer of sounds and musical data.
By meticulously attending to the connection process, you pave the way for a seamless and efficient transfer of sounds to your MIDI keyboard. This foundational step forms the bedrock of your creative journey, empowering you to harness the full potential of your instrument and explore a myriad of sonic possibilities with unparalleled ease and fluidity.
Transferring Sounds to the MIDI Keyboard
Customizing Your Instrument with Diverse Sound Libraries
With the MIDI keyboard connected to your computer and the communication channels established, you are now poised to embark on the exhilarating process of transferring sounds to your instrument. This transformative endeavor opens the door to a rich tapestry of sonic possibilities, allowing you to infuse your MIDI keyboard with an extensive array of instruments, samples, and textures. Let’s navigate the essential steps involved in transferring sounds to your MIDI keyboard, empowering you to curate a personalized sonic palette that resonates with your artistic vision.
1. Sound Library Selection: Choose the desired sound libraries or samples that you wish to transfer to your MIDI keyboard. Whether you opt for pre-packaged sound libraries, software synthesizers, or custom samples, ensure that the chosen sounds align with your musical style and creative objectives.
2. MIDI Mapping and Assignment: Within your music production software, configure the MIDI keyboard to map and assign specific sounds to different keys or zones on the keyboard. This process involves defining the relationship between MIDI note data and the corresponding sounds within your chosen sound library, enabling you to access and play the desired instruments seamlessly.
3. Sound Transfer Protocol: Depending on your MIDI keyboard and software environment, follow the prescribed protocol for transferring sounds to the instrument. This may involve utilizing proprietary software provided by the keyboard manufacturer or employing standard MIDI file transfer methods to load the selected sounds onto the keyboard’s internal memory or connected storage device.
4. Testing and Calibration: Once the sounds are transferred to the MIDI keyboard, conduct thorough testing and calibration to ensure that the assigned sounds respond accurately to your playing dynamics and performance nuances. Fine-tune the instrument’s settings and parameters to optimize the playability and expressiveness of the newly integrated sounds.
As you navigate the process of transferring sounds to your MIDI keyboard, embrace the opportunity to sculpt a sonic identity that reflects your unique musical sensibilities. Whether you seek to expand your instrument’s sonic palette with orchestral grandeur, electronic innovation, or eclectic world instruments, the art of sound transfer empowers you to craft a musical canvas that resonates with your creative essence.
Testing and Troubleshooting
Ensuring Seamless Integration and Addressing Potential Challenges
Upon completing the process of transferring sounds to your MIDI keyboard, thorough testing and troubleshooting are essential to validate the successful integration of new sounds and address any potential challenges that may arise. This critical phase ensures that your instrument operates optimally, empowering you to unleash your creativity with confidence and precision. Let’s explore the key aspects of testing and troubleshooting to guarantee a seamless and rewarding musical experience with your enhanced MIDI keyboard.
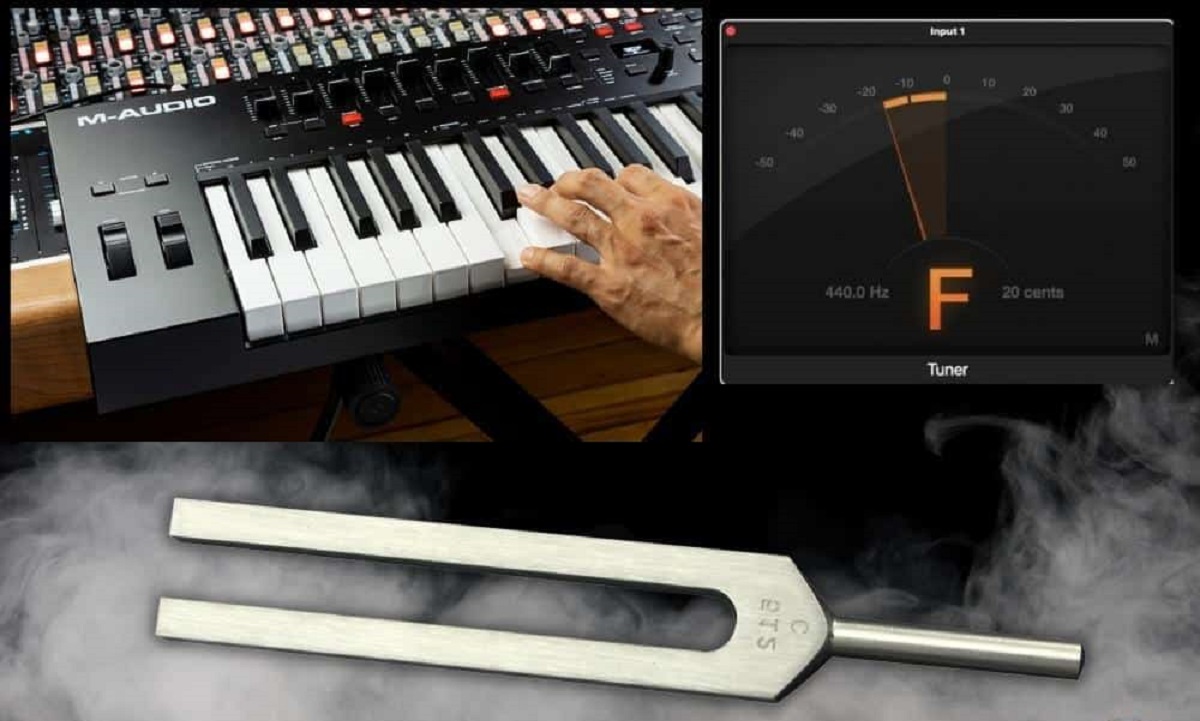
1. Sound Validation: Begin by testing each of the transferred sounds on your MIDI keyboard, ensuring that they respond accurately to your playing and exhibit the desired sonic characteristics. Verify that the assigned sounds align with your creative vision and perform as intended across the keyboard’s range, encompassing nuances such as velocity sensitivity and dynamic expression.
2. Key Mapping Accuracy: Verify the accuracy of key mapping and assignment for the transferred sounds, confirming that each key or zone triggers the intended instrument or sample. Pay close attention to the consistency of note mappings and ensure that the keyboard’s playability remains cohesive and intuitive across different sound selections.
3. Articulation and Expression: Assess the instrument’s responsiveness to subtle articulations and expressive techniques, such as varying touch sensitivity, modulations, and pitch bends. Fine-tune the instrument’s settings to optimize its responsiveness, allowing for nuanced and emotive performances across a diverse range of musical genres and styles.
4. Addressing Latency and Performance Issues: If you encounter latency or performance-related challenges during testing, delve into your software and hardware settings to identify and mitigate potential sources of delay or inconsistency. Adjust buffer settings, optimize audio drivers, and explore latency compensation features to enhance the instrument’s real-time responsiveness.
5. Troubleshooting Potential Issues: In the event of unexpected behavior or anomalies, troubleshoot potential issues by reviewing the sound transfer process, consulting user manuals, and exploring online resources and forums for insights and solutions. Address any discrepancies or malfunctions promptly to ensure a seamless and uninterrupted musical experience.
By meticulously testing and troubleshooting the integrated sounds on your MIDI keyboard, you fortify the foundation of your musical exploration, ensuring that your instrument stands as a reliable and expressive conduit for your artistic vision. Embrace the iterative process of refinement and optimization, and revel in the transformative power of a meticulously customized MIDI keyboard that resonates with your unique musical identity.