Introduction
Are you an aspiring musician or a seasoned professional looking to enhance your music production experience? Playing a MIDI keyboard with Garageband can be an incredibly rewarding endeavor, allowing you to unleash your creativity and produce high-quality music. However, one common challenge that many musicians encounter is latency, which can significantly hinder the overall performance and enjoyment of playing the MIDI keyboard.
Latency, in the context of MIDI keyboard usage, refers to the delay between pressing a key on the keyboard and hearing the corresponding sound from your computer. This delay can be frustrating and disruptive, making it difficult to maintain the natural flow and rhythm of your performance. Fortunately, with the right setup and configuration, you can minimize or even eliminate latency, ensuring a seamless and immersive music-making experience.
In this guide, we will explore the essential steps to play your MIDI keyboard with Garageband without experiencing latency. From setting up your MIDI keyboard to configuring Garageband for optimal performance, we will walk you through the process of achieving low latency and maximizing your musical potential. Additionally, we will provide valuable tips for testing and adjusting latency, empowering you to fine-tune your setup for the best possible performance.
By following the instructions and recommendations outlined in this guide, you will be well-equipped to overcome latency issues and fully enjoy the expressive and dynamic capabilities of your MIDI keyboard. Whether you are recording tracks, performing live, or simply exploring new musical ideas, minimizing latency will allow you to focus on your creativity and musical expression without technological interruptions.
Let's dive into the essential steps for playing your MIDI keyboard with Garageband with minimal latency, empowering you to unleash your musical creativity with confidence and precision.
Setting Up Your MIDI Keyboard
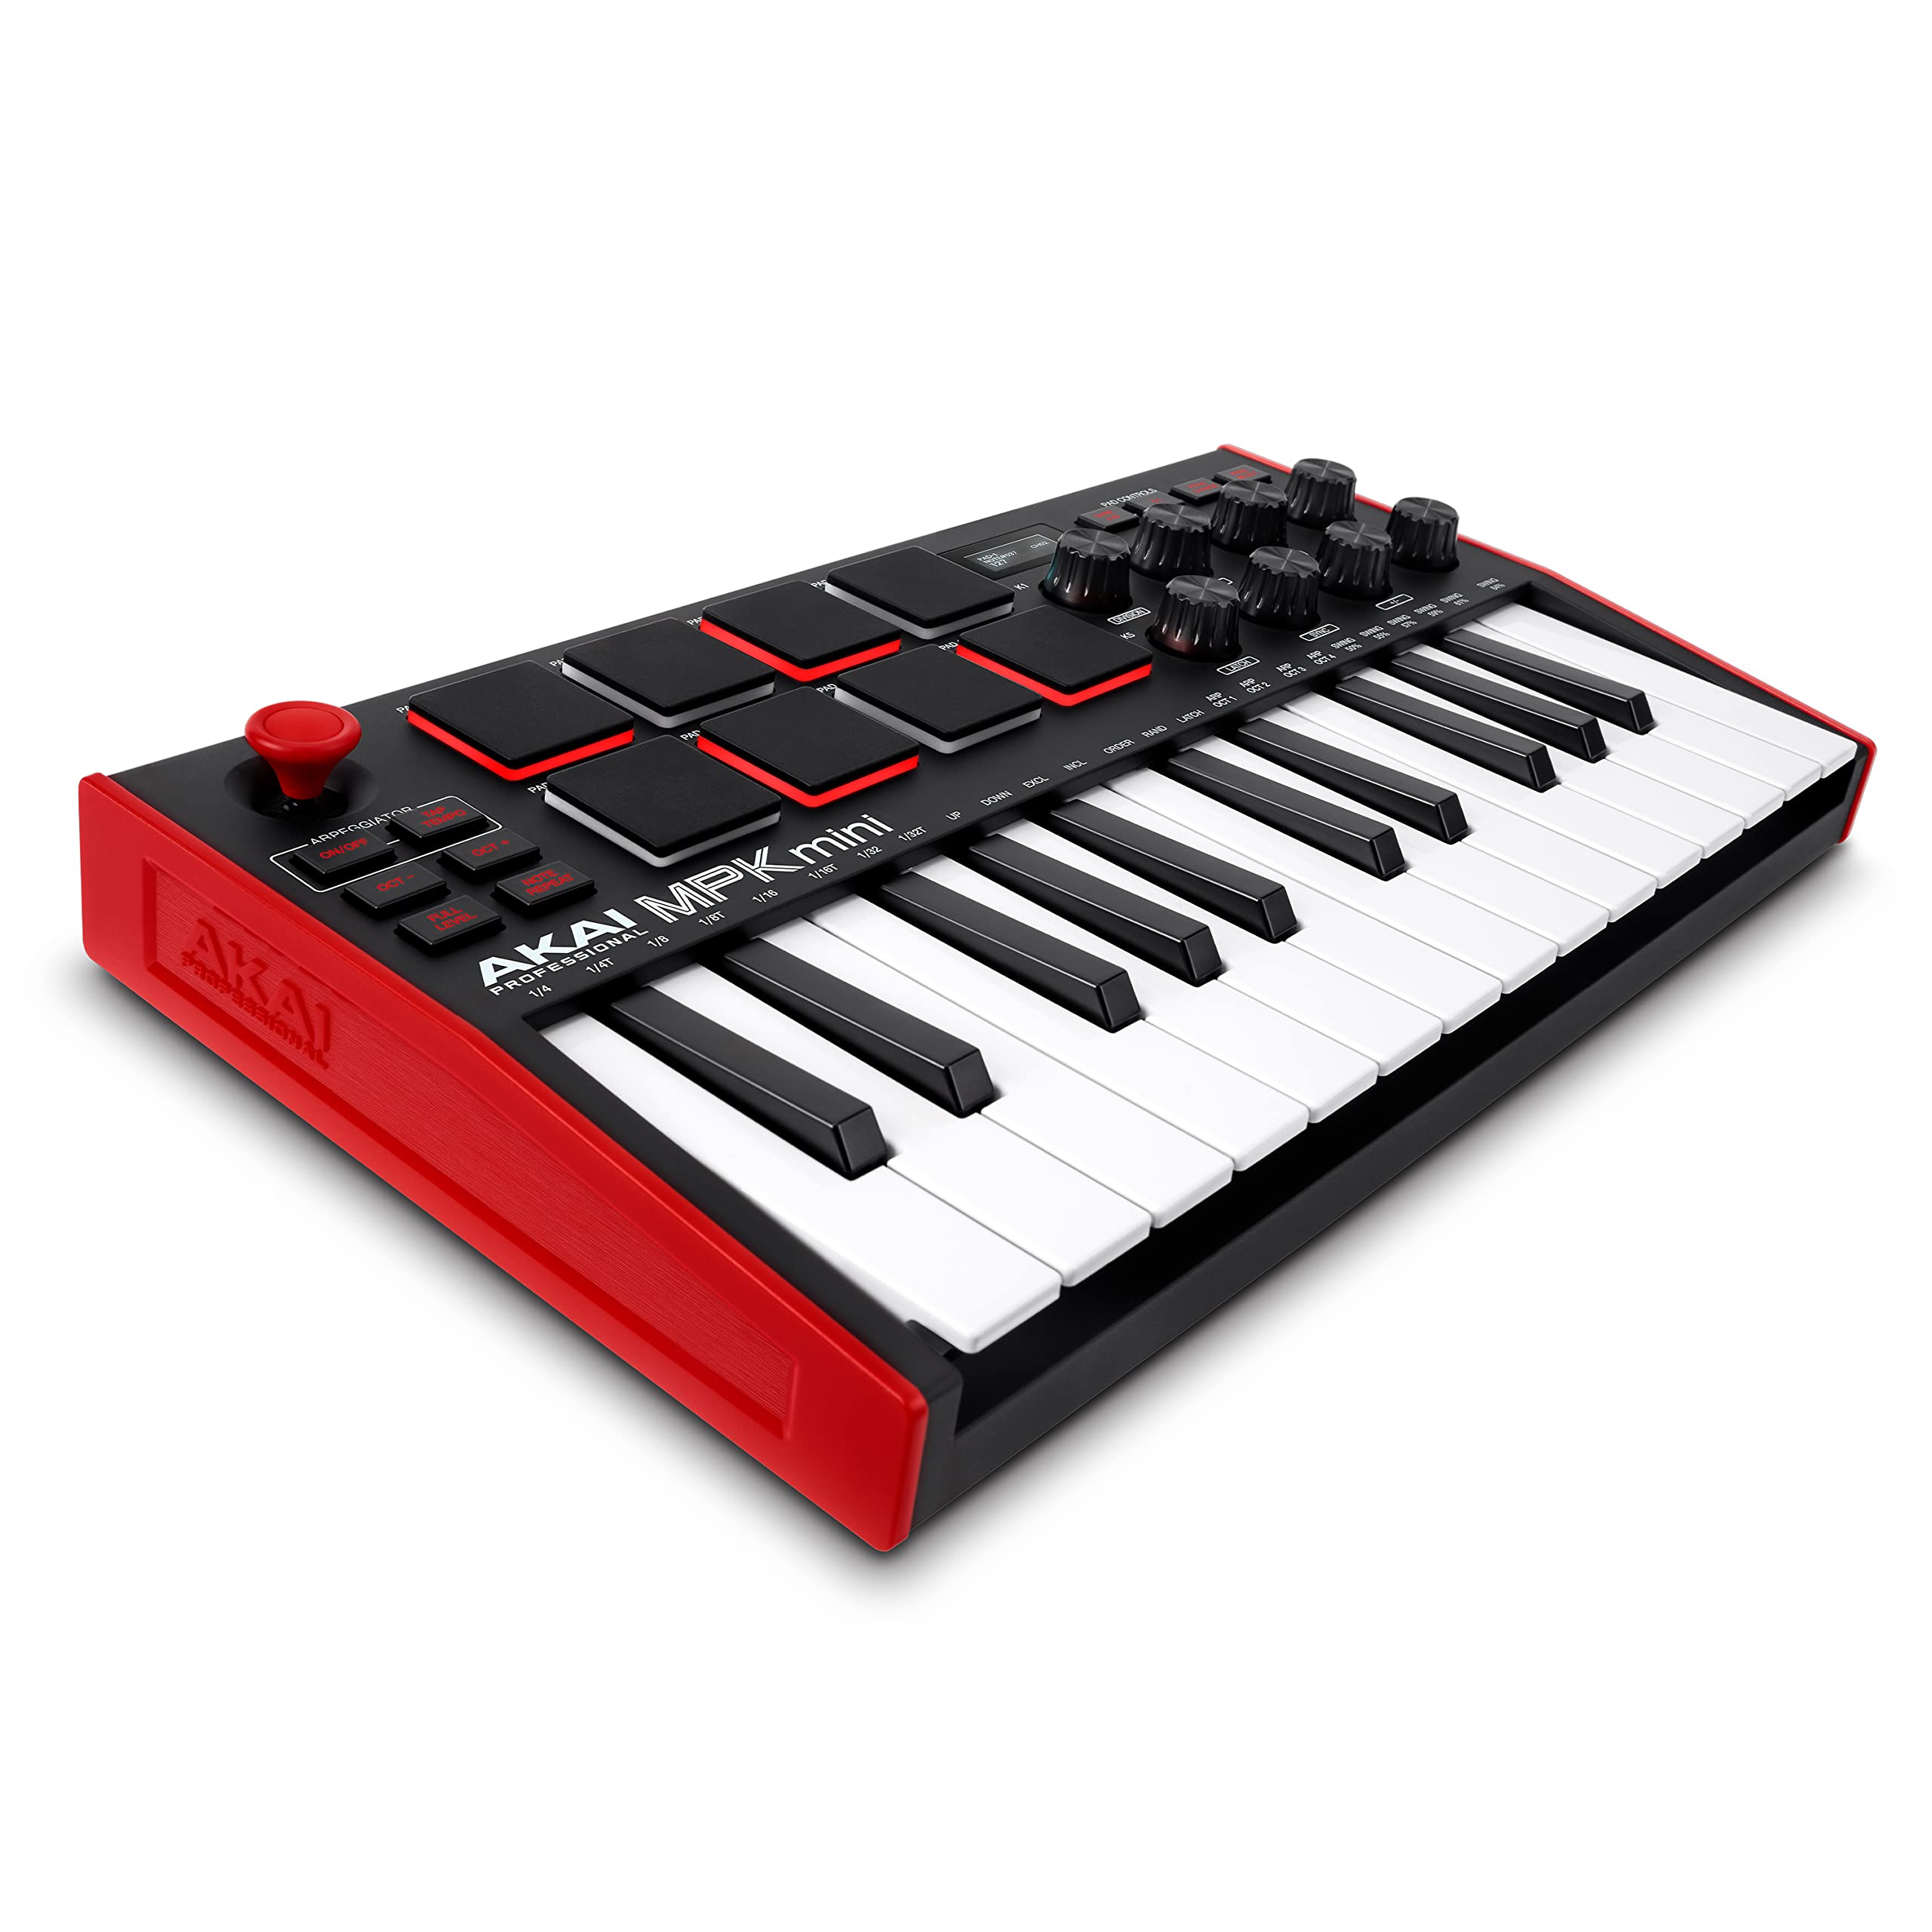
Before delving into the intricacies of minimizing latency, it is crucial to ensure that your MIDI keyboard is properly set up and connected to your computer. This initial step forms the foundation for achieving optimal performance and responsiveness when using Garageband.
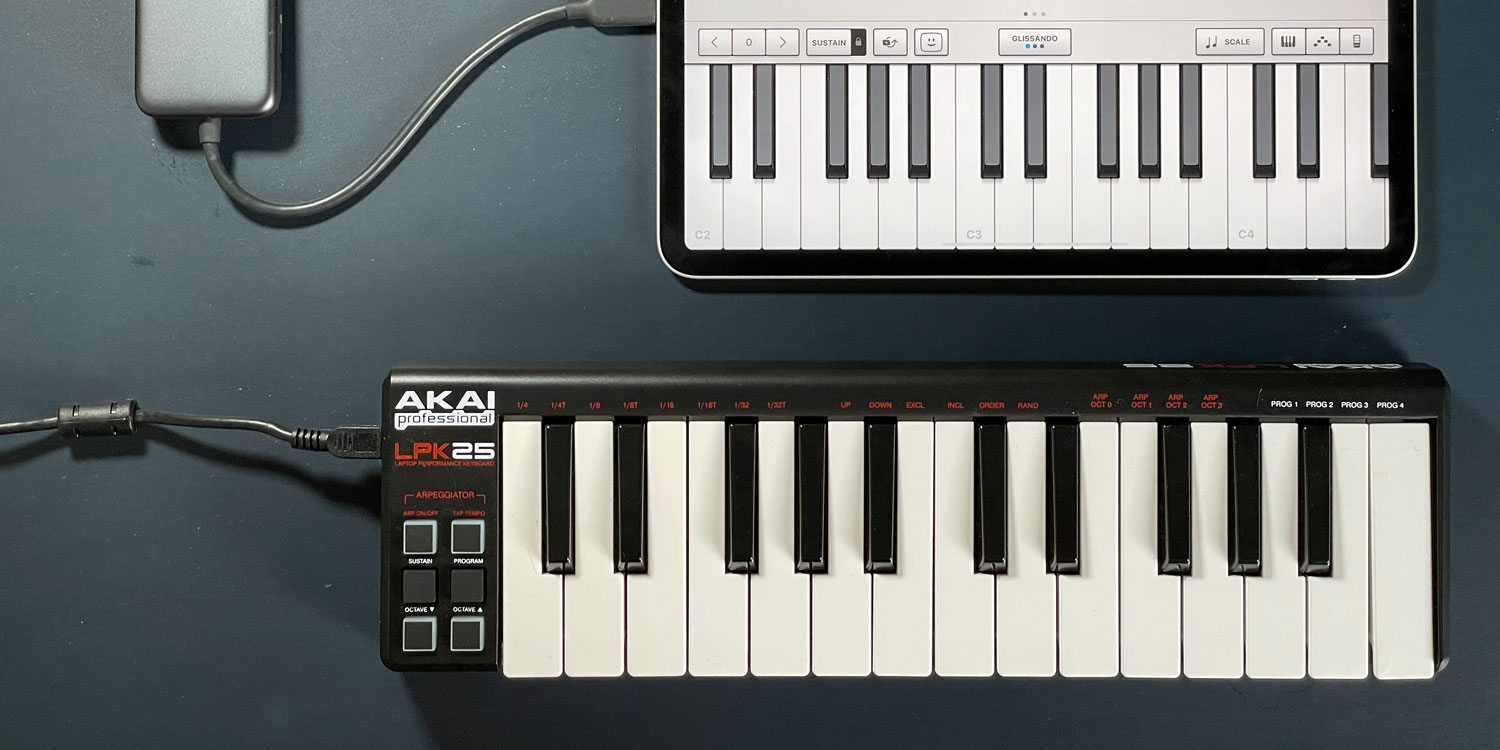
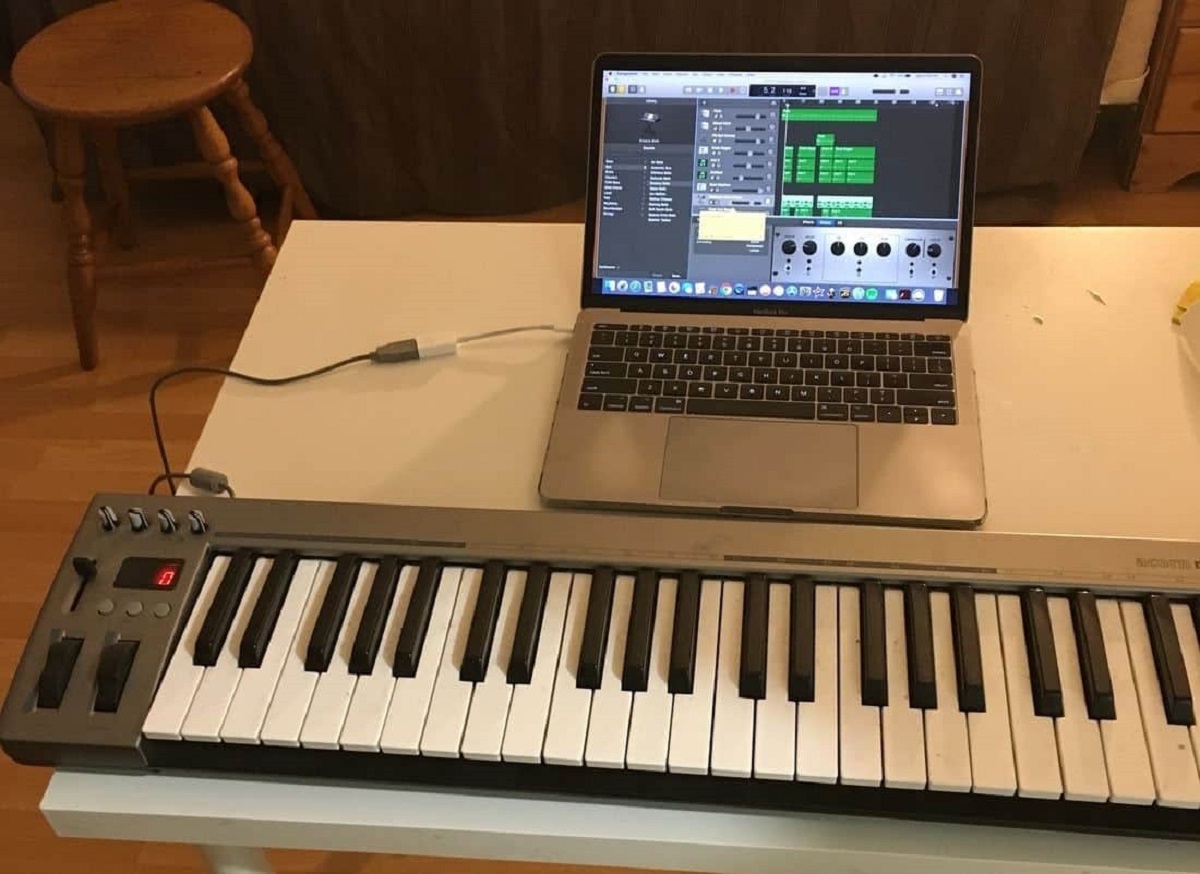
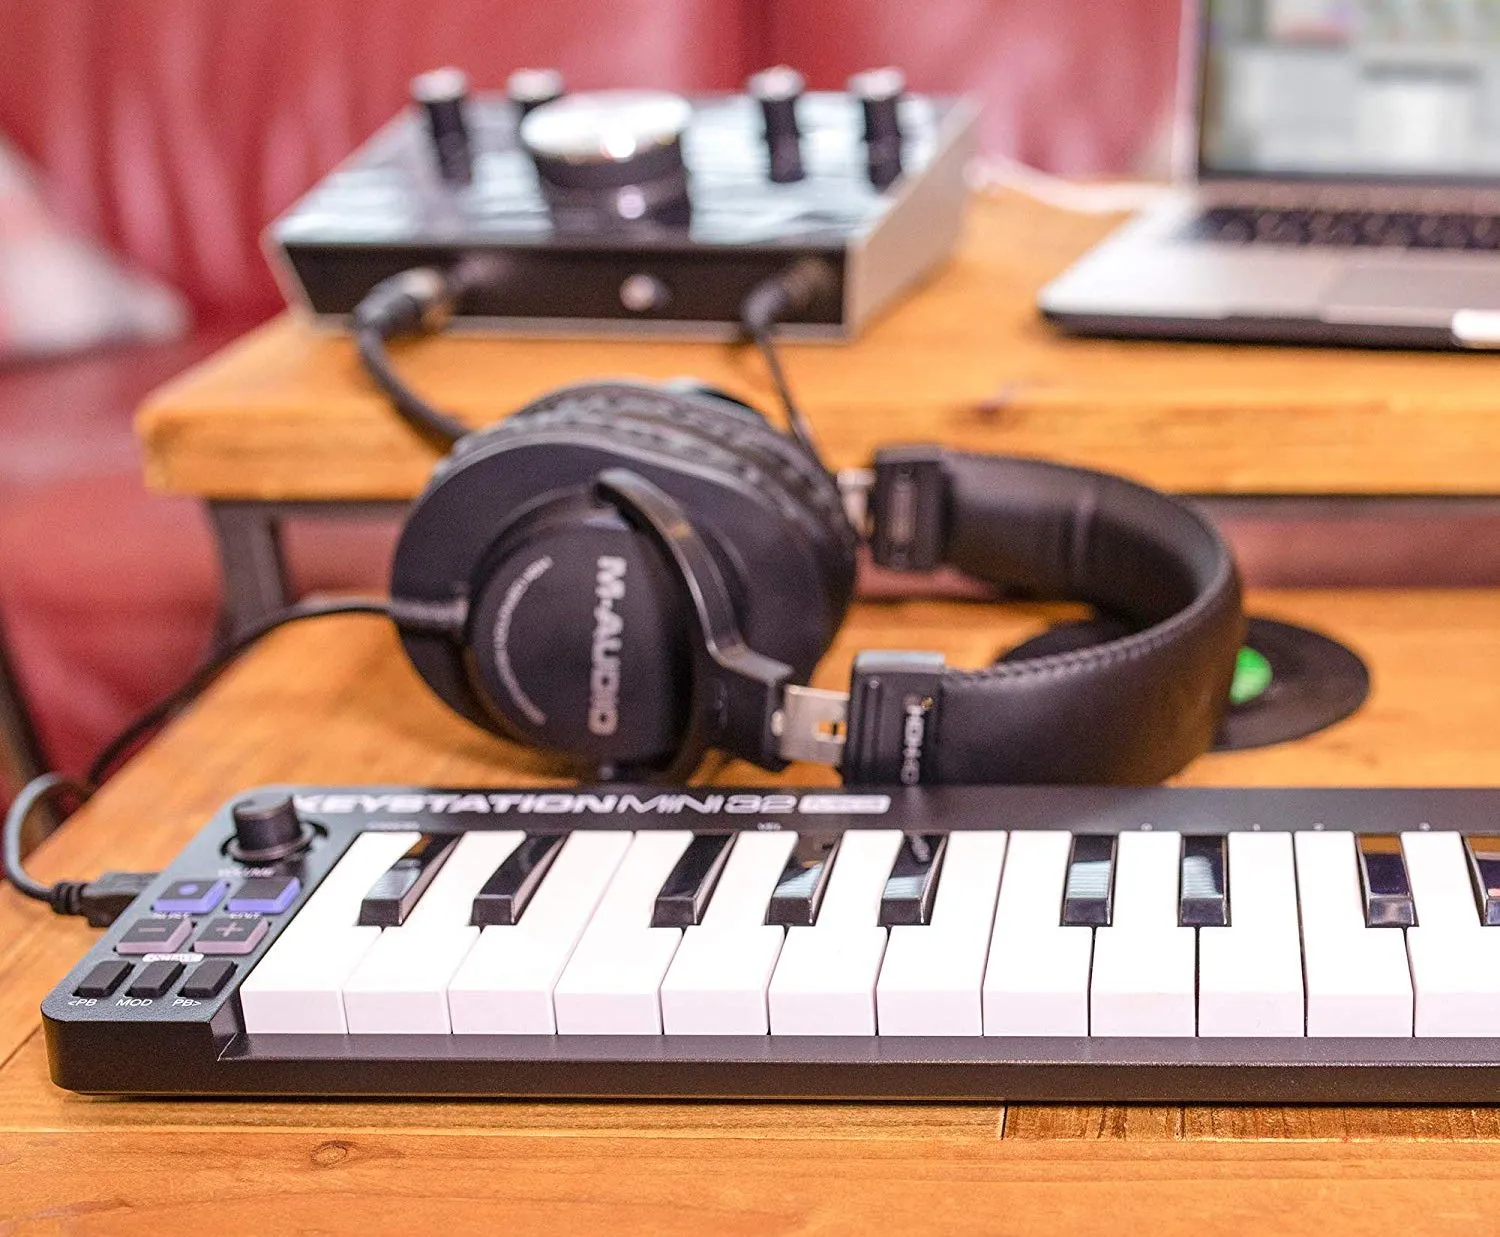
First and foremost, connect your MIDI keyboard to your computer using a USB cable or MIDI interface, depending on the connectivity options available on your keyboard. Once connected, ensure that your computer recognizes the MIDI keyboard by checking the system preferences or settings. It’s essential to install any required drivers or software provided by the keyboard manufacturer to ensure seamless compatibility with your computer’s operating system.
After confirming the successful connection and recognition of your MIDI keyboard, launch Garageband and navigate to the preferences or settings menu. Here, you may need to specify the MIDI input source, selecting your MIDI keyboard from the available options. This step establishes the communication link between your keyboard and Garageband, enabling the software to receive and interpret MIDI data from your keyboard effectively.
Furthermore, take the time to explore and configure additional settings within Garageband, such as assigning specific MIDI channels or customizing the keyboard’s behavior to align with your preferences. Familiarizing yourself with these settings and making any necessary adjustments will contribute to a smoother and more tailored MIDI keyboard experience within Garageband.
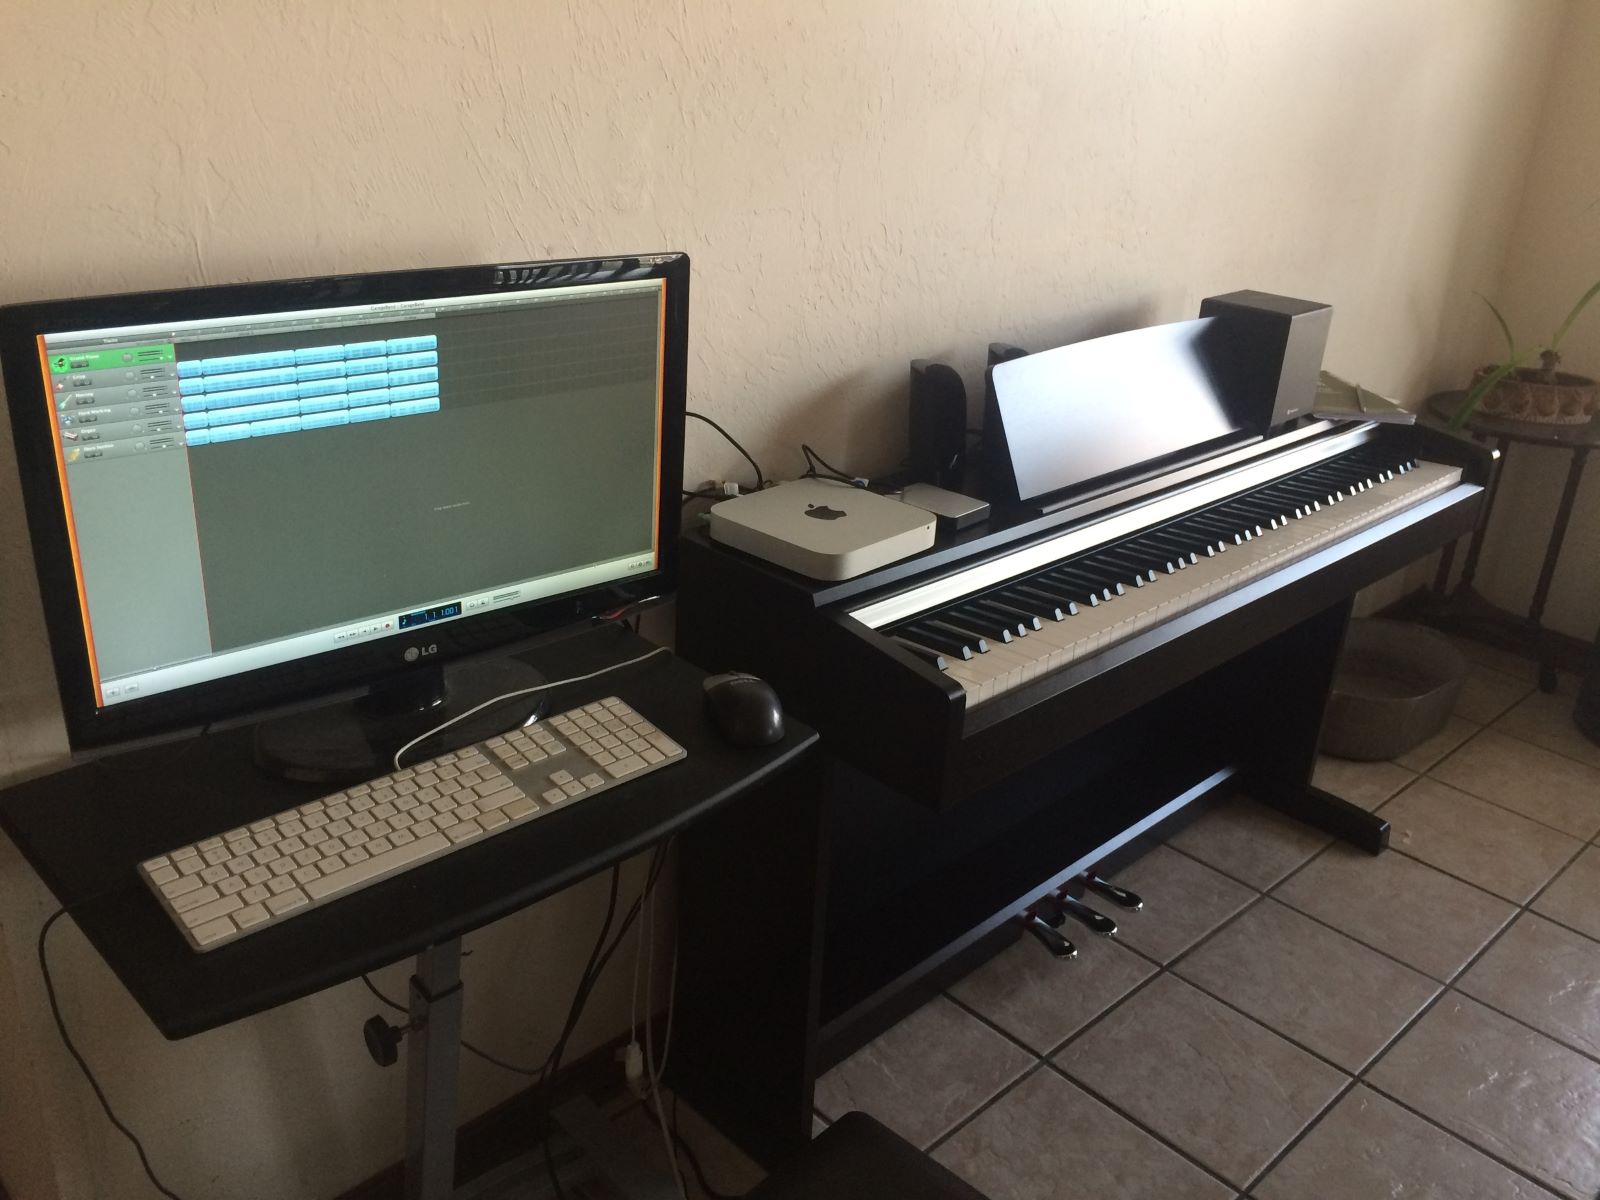
It’s also important to consider the physical placement of your MIDI keyboard. Position it in a comfortable and ergonomic manner that allows for unrestricted playing and easy access to essential controls. Additionally, ensure that the keyboard is placed within reach of your computer, minimizing cable clutter and optimizing the overall setup for a seamless music-making experience.
By meticulously setting up your MIDI keyboard and establishing a reliable connection with Garageband, you lay the groundwork for addressing latency issues effectively and maximizing the performance capabilities of your musical setup.
Configuring Garageband for Low Latency
Once your MIDI keyboard is properly set up and connected, it’s time to focus on configuring Garageband to minimize latency and ensure a responsive playing experience. Garageband offers several settings and options that can be adjusted to optimize performance and reduce the delay between pressing keys on your MIDI keyboard and hearing the corresponding sounds.
One of the primary settings to address is the audio buffer size, which directly impacts latency. A smaller buffer size can reduce latency but may require more processing power from your computer. Access the audio preferences in Garageband and adjust the buffer size to find the optimal balance between low latency and system stability based on your computer’s capabilities.
Additionally, consider enabling the “Low Latency Mode” if available in Garageband. This mode is specifically designed to minimize latency during live performances and recording, prioritizing real-time responsiveness without sacrificing audio quality. Activating this feature can significantly improve the overall playing experience when using a MIDI keyboard.
Furthermore, explore any MIDI settings within Garageband that pertain to latency or real-time performance. Some MIDI-related settings may offer options for optimizing performance, reducing latency, and enhancing the responsiveness of MIDI input devices, including your keyboard.
It’s also important to ensure that your audio interface, if applicable, is configured for optimal performance within Garageband. Check the audio input and output settings to verify that the interface is operating at the desired sample rate and buffer size, aligning with the requirements for low-latency performance.
As you adjust these settings, it’s advisable to test the latency after each change to gauge the impact of the adjustments. This iterative approach allows you to fine-tune the configuration and identify the most effective settings for minimizing latency while maintaining stable performance.
By meticulously configuring Garageband to prioritize low latency and real-time responsiveness, you can elevate your MIDI keyboard playing experience, enabling seamless and natural interaction with the software while unleashing your musical creativity.
Testing and Adjusting Latency
After setting up your MIDI keyboard and configuring Garageband for low latency, it’s essential to conduct thorough testing to assess the actual latency and make any necessary adjustments to further minimize the delay between playing the keyboard and hearing the sound output.
Begin by playing the MIDI keyboard and carefully observing the responsiveness of the software. Pay close attention to the time it takes for the sound to be produced after pressing a key. If you notice significant latency or delays, it indicates that further adjustments may be required to achieve optimal performance.
To quantify the latency, consider recording a short MIDI performance while monitoring the timing accuracy. This recording can provide valuable insights into the actual delay between your keyboard input and the corresponding sound output. By visually analyzing the recorded MIDI data and aligning it with the audio playback, you can pinpoint any latency issues and determine the adjustments needed to address them.
As you test the latency, consider experimenting with different buffer sizes, audio settings, and MIDI configurations within Garageband. Make incremental changes to these settings and retest the latency after each adjustment to evaluate the impact on performance. By systematically refining the configuration based on the observed latency, you can fine-tune the setup to achieve the lowest possible delay without compromising stability.
Furthermore, consider seeking guidance from online resources, forums, or communities dedicated to music production and MIDI keyboard usage. Engaging with experienced users and seeking advice on latency optimization techniques can provide valuable insights and alternative approaches to address latency issues effectively.
It’s important to approach latency testing and adjustment as an iterative process, allowing for continuous refinement of the setup to achieve the desired responsiveness and real-time performance. By persistently evaluating and adjusting the latency, you can elevate the overall playing experience and ensure that your MIDI keyboard responds with precision and immediacy.
Tips for Playing MIDI Keyboard with No Latency
While addressing latency issues is crucial for achieving a seamless MIDI keyboard experience, implementing additional tips and best practices can further enhance performance and minimize potential disruptions. Consider the following recommendations to optimize your setup and ensure minimal latency when playing your MIDI keyboard with Garageband:
- Optimize System Performance: Ensure that your computer is optimized for audio production by closing unnecessary applications and processes that may consume system resources. This can help allocate more computing power to Garageband, reducing the likelihood of latency due to resource constraints.
- Use High-Quality Cables: Invest in high-quality USB or MIDI cables to establish a reliable connection between your MIDI keyboard and computer. Well-constructed cables can minimize signal interference and potential latency issues caused by connectivity issues.
- Update Software and Drivers: Regularly update Garageband and your MIDI keyboard’s drivers or firmware to leverage performance improvements and bug fixes that may address latency-related issues. Staying up to date with the latest software versions can contribute to a more responsive and stable MIDI keyboard experience.
- Consider Hardware Upgrades: If latency issues persist despite software optimizations, consider upgrading your computer’s hardware components, such as the CPU, RAM, or audio interface, to better accommodate the demands of real-time MIDI input and processing.
- Explore Alternative Interfaces: Investigate the use of dedicated audio interfaces with low-latency features, as they are designed to minimize delay and provide direct monitoring capabilities, enhancing the real-time feedback when playing the MIDI keyboard.
- Practice and Adapt Playing Technique: Familiarize yourself with the nuances of latency and adapt your playing technique to compensate for any minimal delay. By practicing with the specific latency characteristics of your setup, you can develop a responsive and adaptable playing style that minimizes the impact of latency on your performance.
By incorporating these tips into your MIDI keyboard setup and performance approach, you can proactively mitigate latency issues and create an environment conducive to expressive, low-latency music production and live performance. Embracing a holistic strategy that encompasses software optimization, hardware considerations, and performance adaptation will empower you to play your MIDI keyboard with minimal latency, unlocking the full potential of your musical creativity within Garageband.


