Introduction
Are you experiencing difficulties getting your Snowball USB microphone to work with the UMC ASIO driver in Reaper? Fret no more, as this guide will walk you through the necessary steps to troubleshoot and successfully set up your microphone for optimal performance in Reaper.
The Snowball USB microphone is known for its exceptional audio quality and plug-and-play convenience. However, when using it with the UMC ASIO driver in Reaper, some users may encounter issues such as unrecognized devices or improper audio configurations. This can be frustrating, especially if you rely on your microphone for professional audio recording or streaming purposes.
Fortunately, with a little patience and the right configuration, you can enjoy seamless compatibility between Snowball USB microphone and the UMC ASIO driver in Reaper. In the following sections, we will guide you through the step-by-step process to install the driver, connect your microphone, and configure Reaper’s audio settings to ensure optimal performance.
So, buckle up and let’s get started on this journey to unleash the full potential of your Snowball USB microphone in Reaper!
Step 1: Installing the UMC ASIO Driver
In order to use your Snowball USB microphone with Reaper, you will need to install the UMC ASIO driver. This driver acts as a bridge between your microphone and Reaper, enabling them to communicate effectively. Here’s how to install the driver:
- Visit the official UMC website and navigate to their downloads section.
- Locate the UMC ASIO driver for your specific operating system (Windows or macOS) and download it.
- Once the driver is downloaded, run the installer and follow the on-screen instructions to complete the installation process.
- After the installation is complete, restart your computer to ensure that the driver is properly initialized.
Once your computer has restarted, the UMC ASIO driver should be installed and ready to use. You can now proceed to the next step of connecting your Snowball USB microphone to your computer.
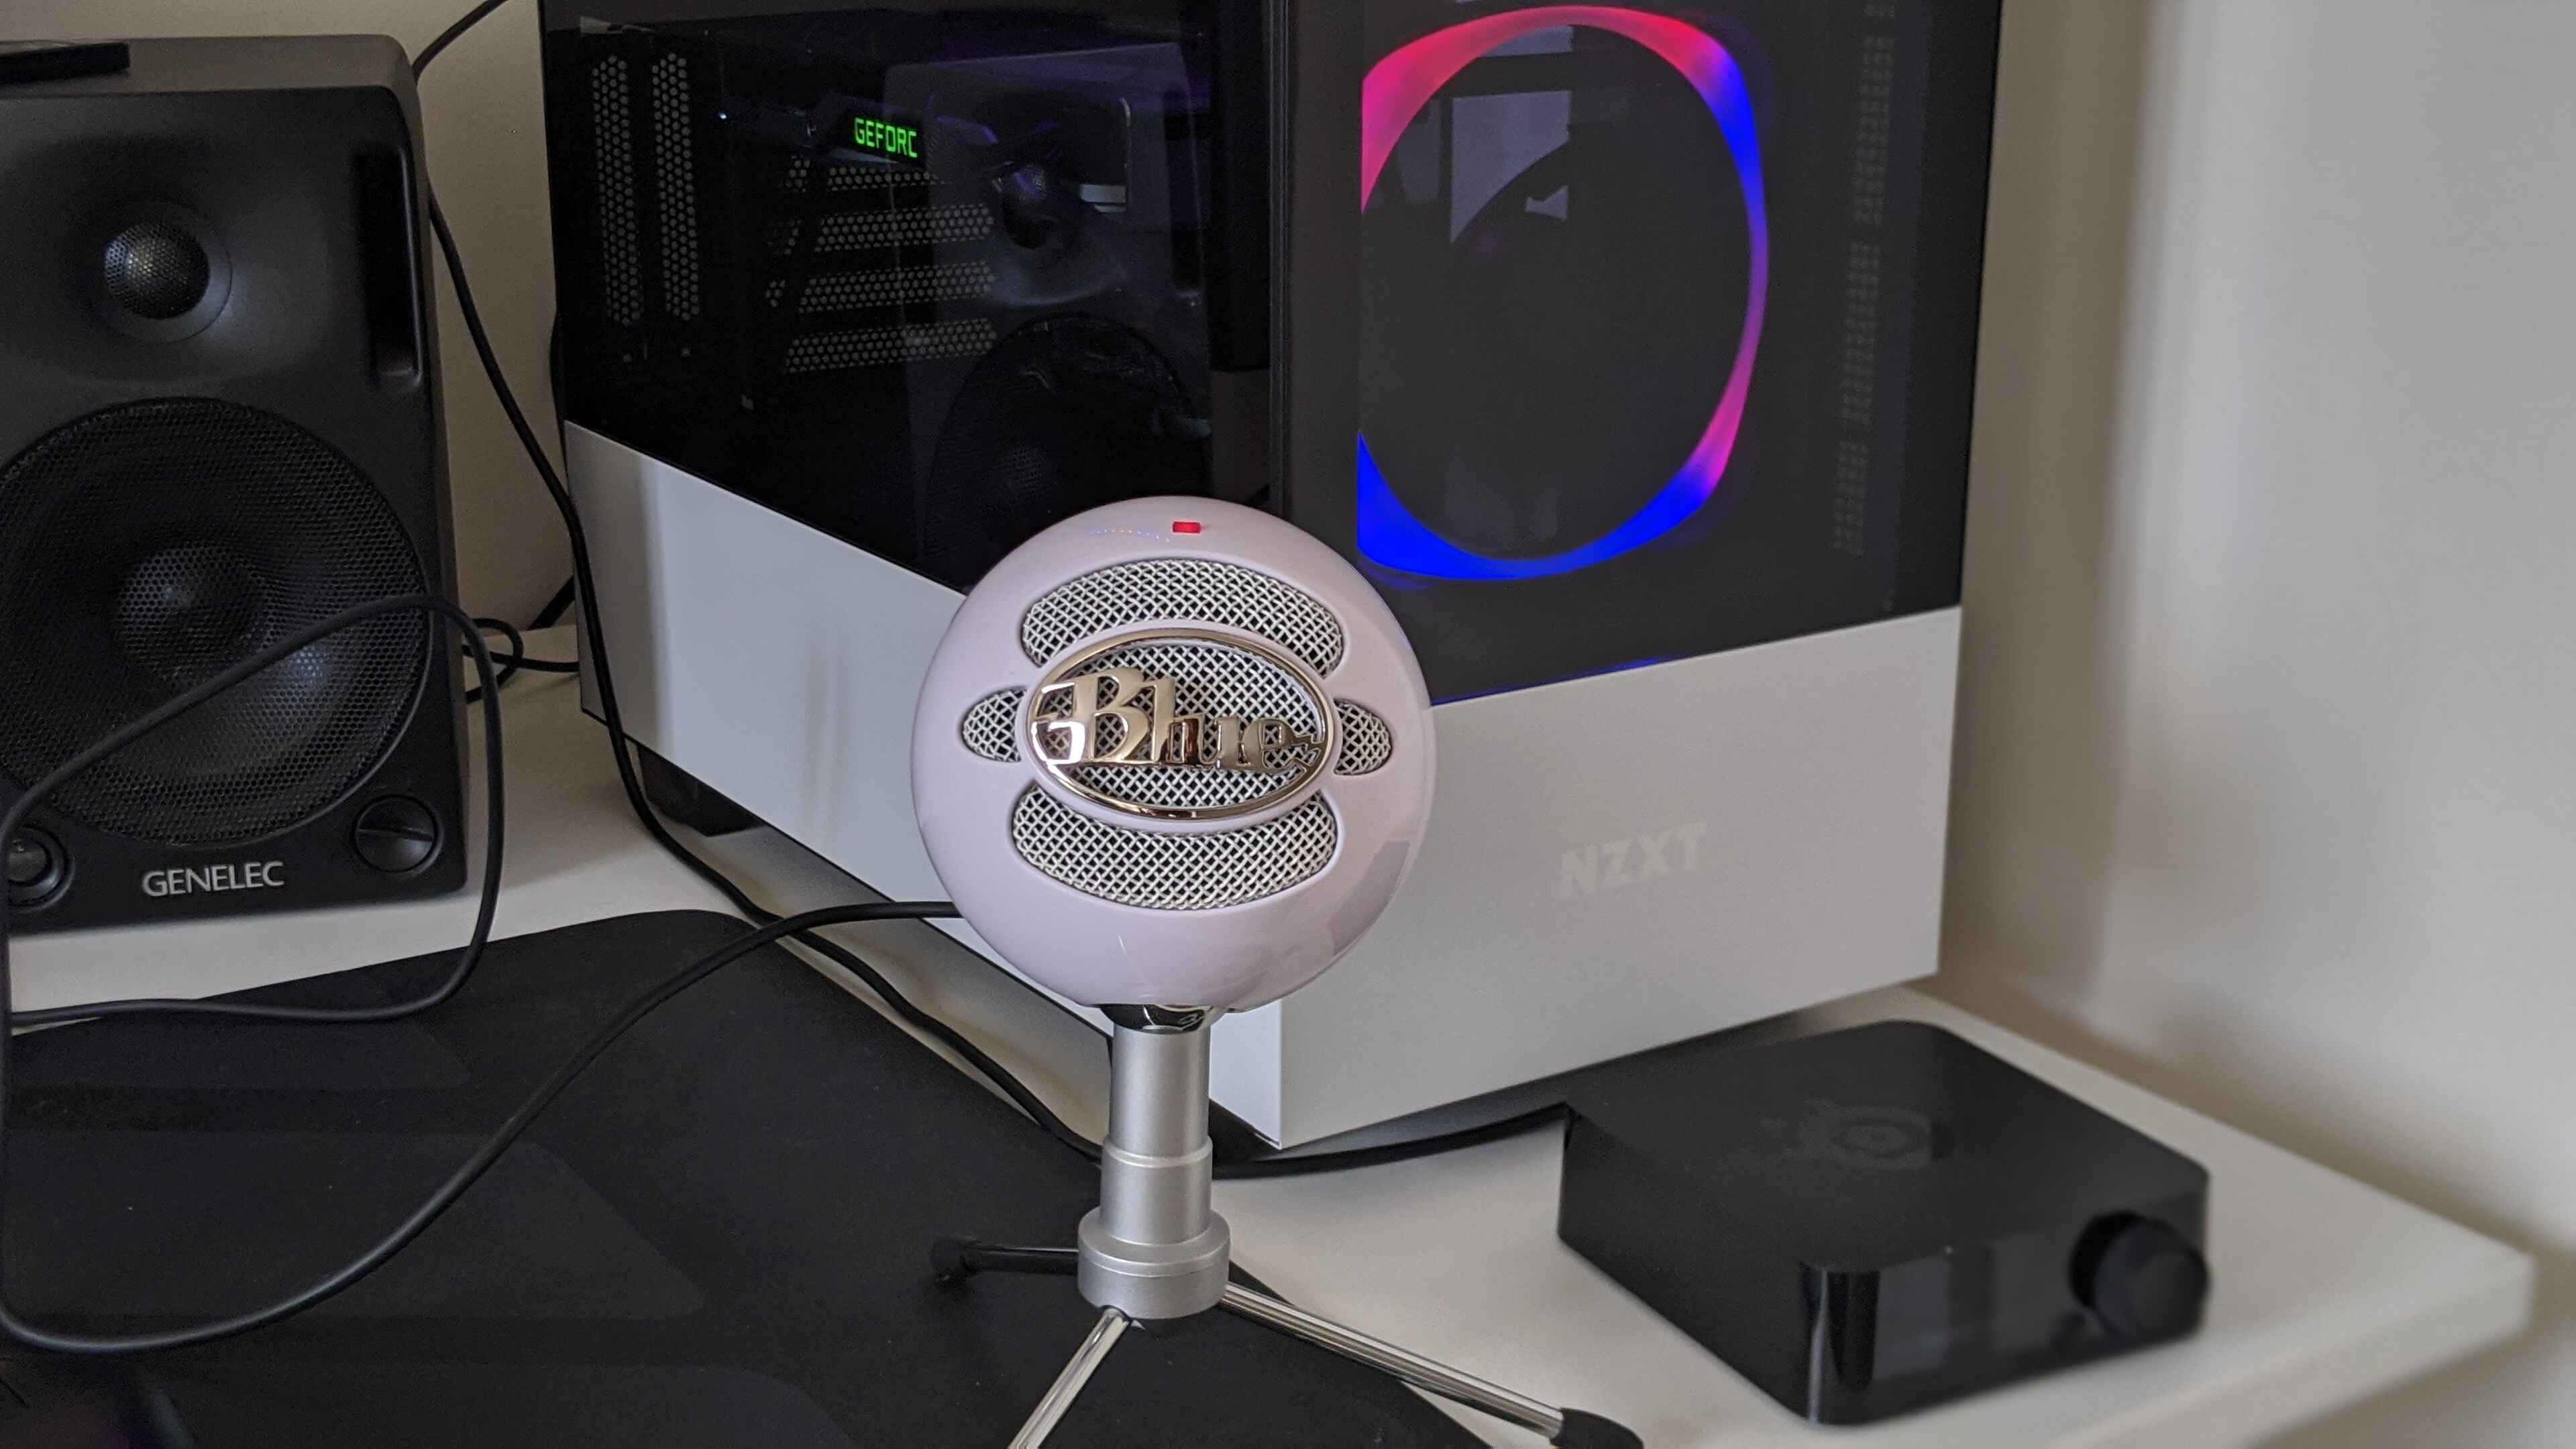
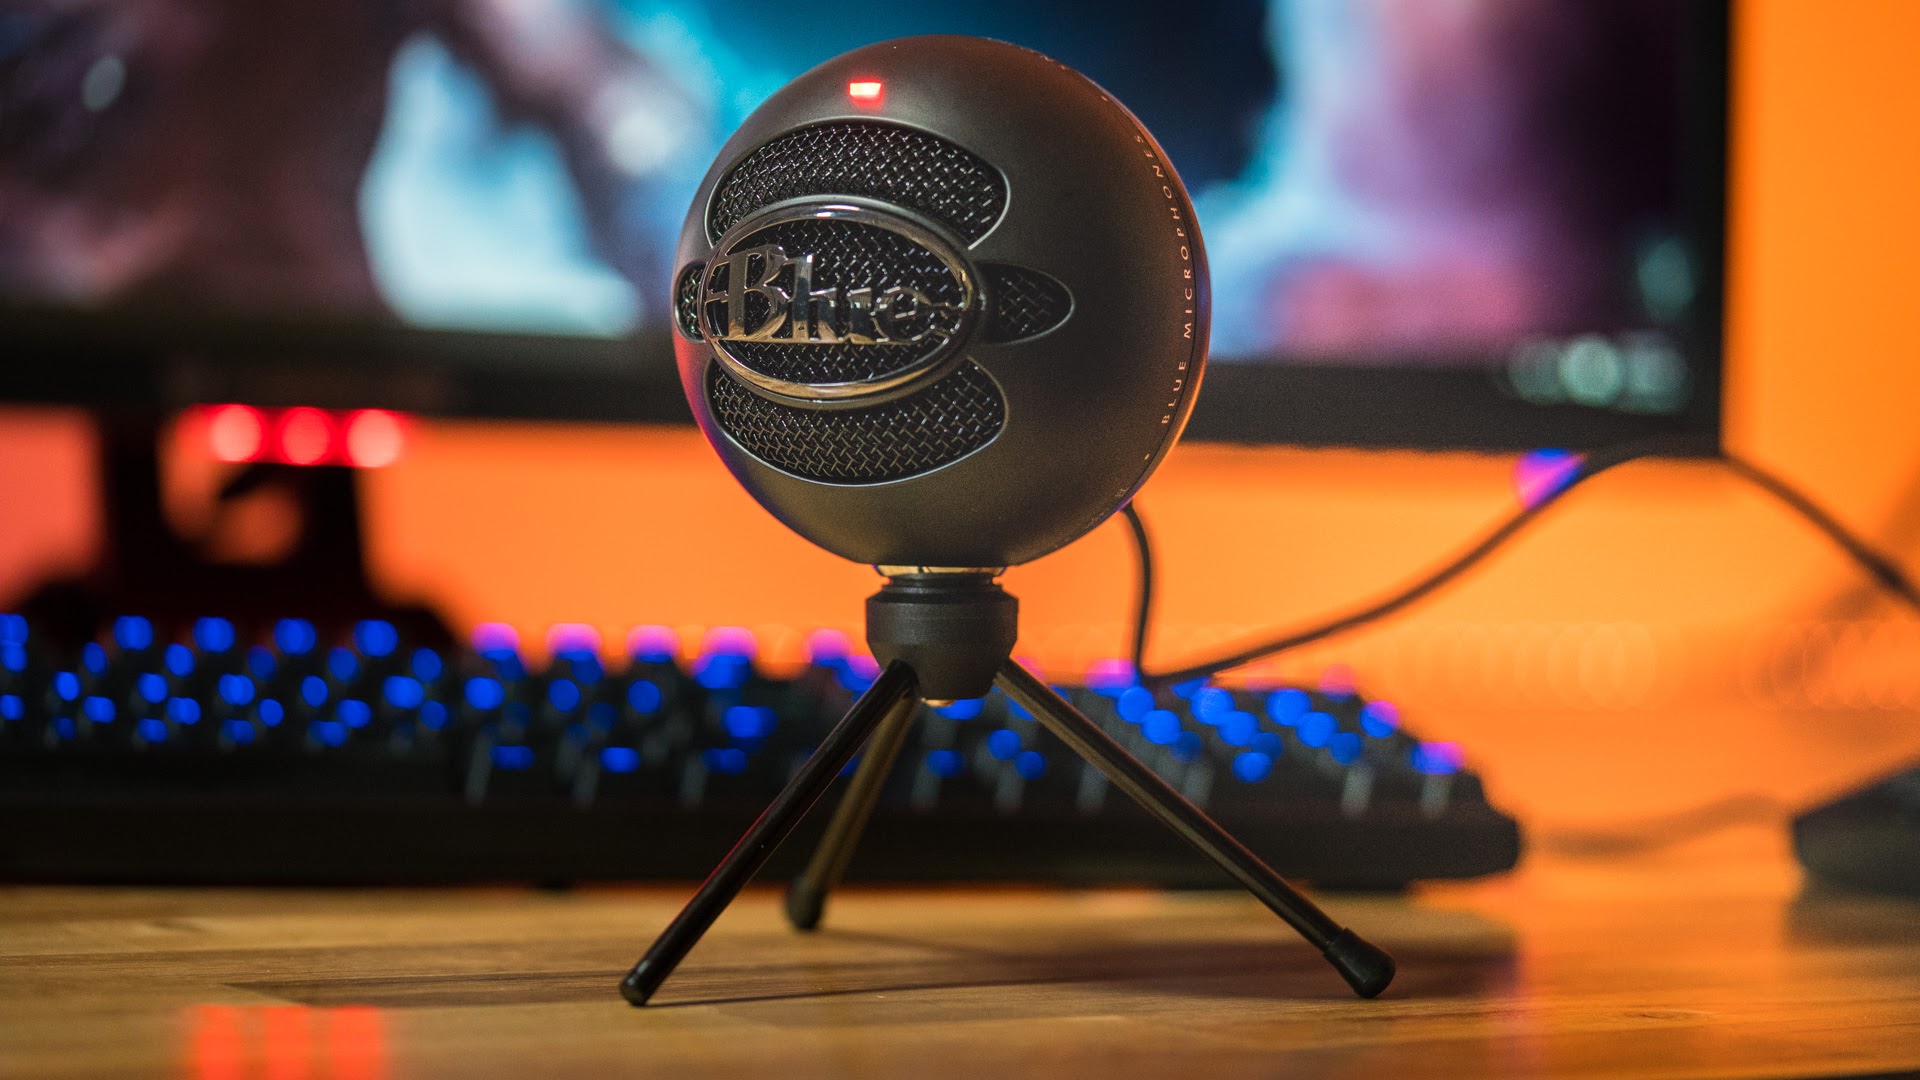
Step 2: Connecting the Snowball USB Microphone
Now that the UMC ASIO driver is installed on your computer, it’s time to connect your Snowball USB microphone. Follow these steps:
- Locate the USB cable that came with your Snowball microphone.
- Plug one end of the USB cable into the micro USB port on the back of the microphone.
- Plug the other end of the USB cable into an available USB port on your computer.
- Ensure that the microphone is securely connected, and the USB cable is not loose.
Once the microphone is connected, your computer should recognize it as a new audio input device. If prompted, allow your computer to install any necessary drivers for the microphone. This may take a few moments.
It’s important to note that the Snowball USB microphone requires a stable power supply from your computer to function properly. If you are experiencing any issues with the microphone not being recognized, try using a different USB port or connecting the microphone to a powered USB hub.
Now that your Snowball USB microphone is successfully connected, you’re ready to move on to the next step of configuring the audio settings in Reaper.
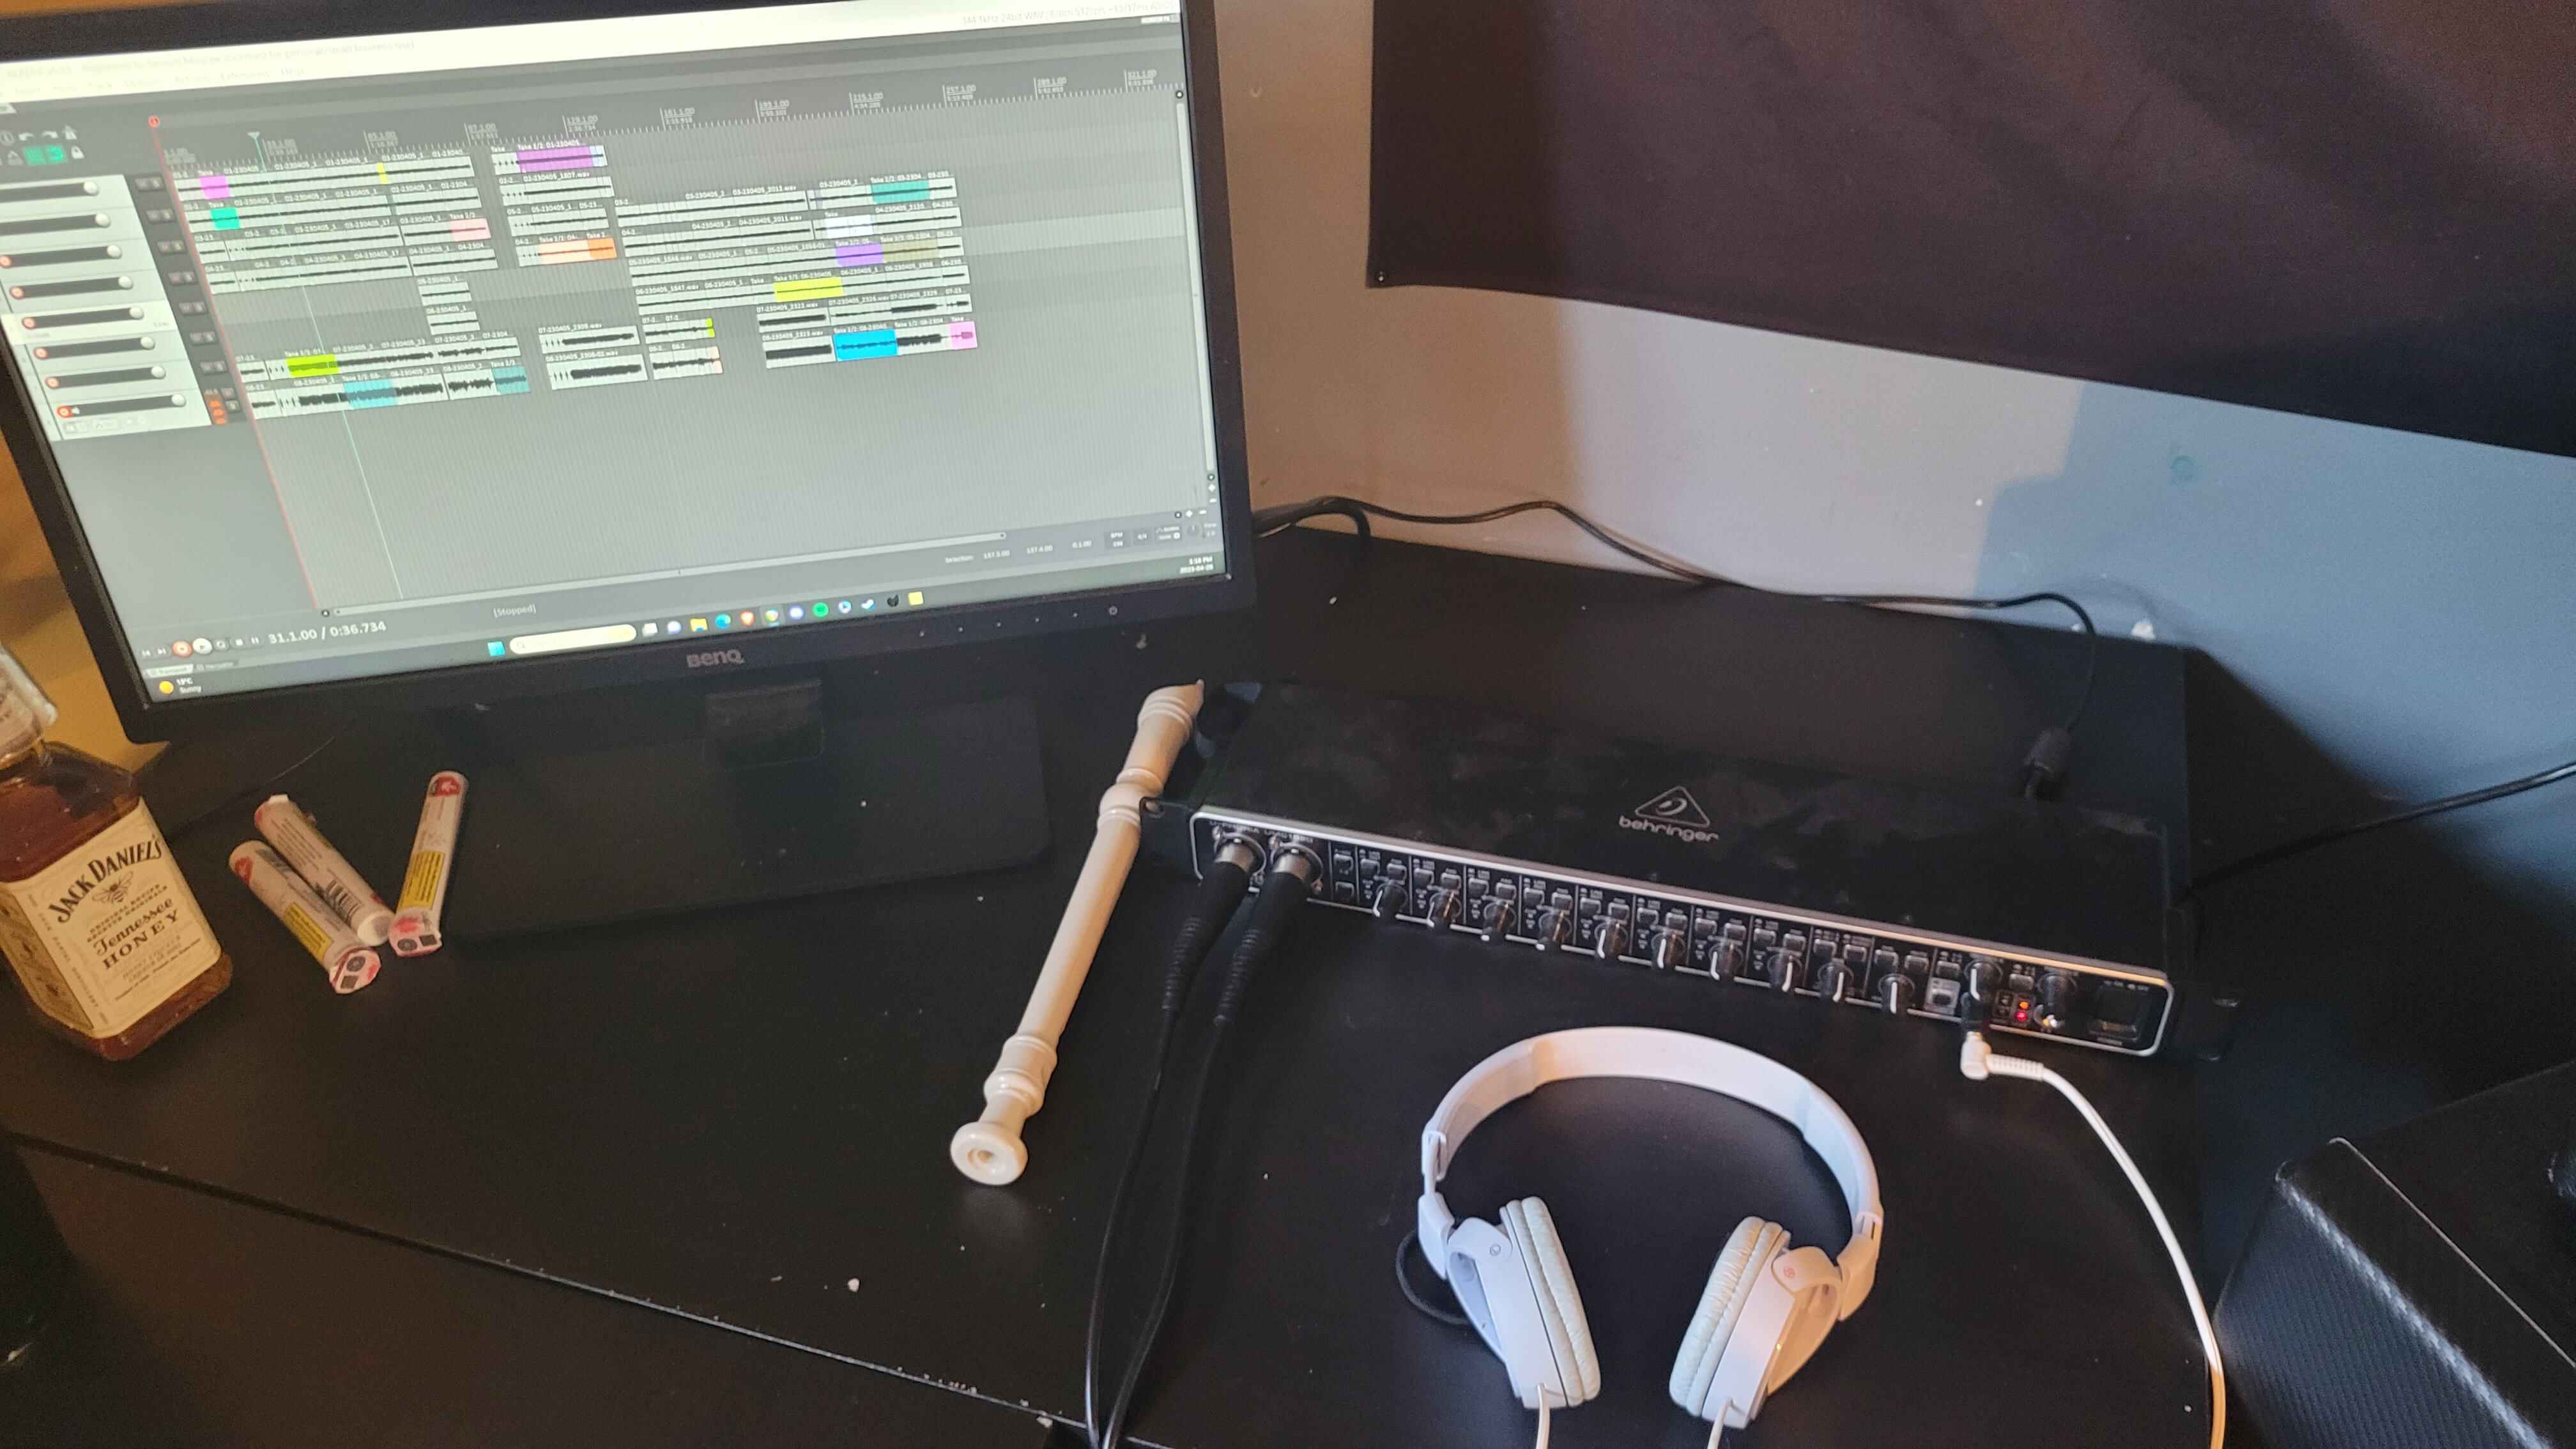
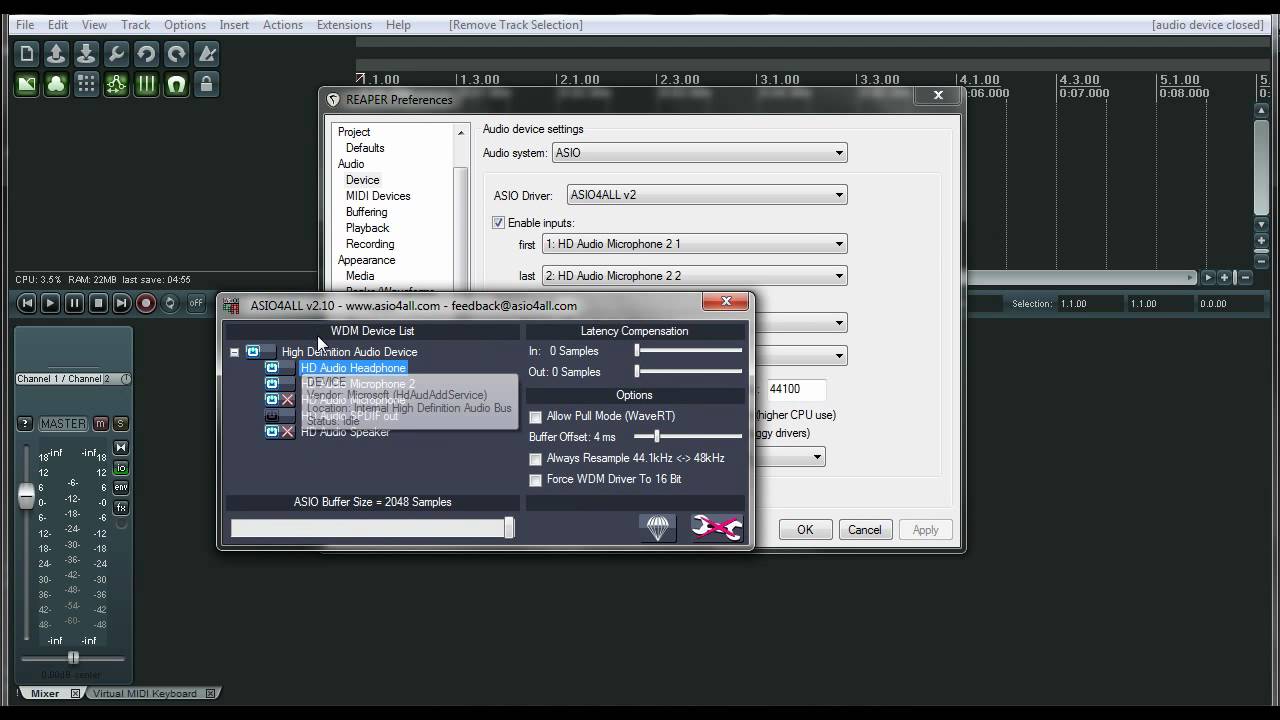
Step 3: Configuring Reaper’s Audio Settings
Now that your Snowball USB microphone is connected, it’s time to configure the audio settings in Reaper to ensure that it recognizes and utilizes the microphone properly. Follow these steps:
- Open Reaper on your computer. If you haven’t already installed Reaper, make sure to download and install the latest version from the official website.
- Once Reaper is open, go to the “Options” menu and select “Preferences.”
- In the Preferences window, navigate to the “Audio” section.
- Under the “Audio System” tab, select “ASIO” as the audio system.
- Click on the “ASIO Configuration” button to open the ASIO driver settings.
Within the ASIO driver settings, you should see the UMC ASIO driver listed as an available device. Select the UMC ASIO driver and click on the “OK” button to apply the changes.
Next, under the “Audio Device” tab in the Reaper Preferences, select the UMC ASIO driver as the audio device in both the “Input” and “Output” sections. This ensures that Reaper recognizes your Snowball USB microphone for recording and playback.
Once you have selected the UMC ASIO driver as the audio device, click on the “OK” button to save the changes and close the Preferences window.
Now that Reaper is configured to use the UMC ASIO driver and recognize your Snowball USB microphone, you can move on to the next step of selecting the microphone as the input device in Reaper.
Step 4: Selecting the Snowball USB Microphone as the Input Device in Reaper
With Reaper’s audio settings configured to use the UMC ASIO driver, it’s time to select the Snowball USB microphone as the input device in Reaper. Follow these steps:
- Open Reaper on your computer if it’s not already open.
- Create a new track or open an existing project where you want to use the Snowball USB microphone.
- Select the track where you want to use the microphone, or create a new one if needed.
- In the track’s input section, locate the drop-down menu that lists the available input devices.
- From the drop-down menu, select the Snowball USB microphone as the input device for the track.
By selecting the Snowball USB microphone as the input device for the track, Reaper will now receive audio input from the microphone when recording or monitoring.
It’s important to ensure that the selected track is armed for recording if you intend to record audio from the Snowball USB microphone. You can do this by clicking on the “Arm for Recording” button on the track or by pressing the corresponding key command.
Now that you have selected the Snowball USB microphone as the input device in Reaper, you’re ready to move on to the next step of adjusting the input levels to optimize the microphone’s performance.
Step 5: Adjusting the Input Levels in Reaper
Having selected the Snowball USB microphone as the input device in Reaper, it’s crucial to adjust the input levels to optimize the microphone’s performance and ensure clear and balanced audio recordings. Follow these steps to adjust the input levels:
- Ensure that your Snowball USB microphone is connected and properly set up.
- Open the track where you have selected the microphone as the input device.
- Locate the input level meter on the track, which displays the audio input levels in real-time.
- Start speaking or making sound into the microphone, and observe the input level meter’s response.
- Adjust the input gain or volume knob on the Snowball USB microphone itself to increase or decrease the input level.
- Monitor the input level meter and aim for a moderate level in the green or yellow range, avoiding any peaks in the red range.
It’s crucial to find the balance between sufficient input level to capture clear audio, but also avoiding distortion or clipping caused by input levels that are too high. Adjust the input gain knob accordingly to achieve the desired input level.
Remember that the ideal input level may vary depending on your recording environment and the specific requirements of your project. It’s recommended to perform some test recordings and monitor them to ensure optimal audio quality.
Once you have adjusted the input levels to your satisfaction, you’re now ready to move on to the final step of testing the Snowball USB microphone in Reaper.
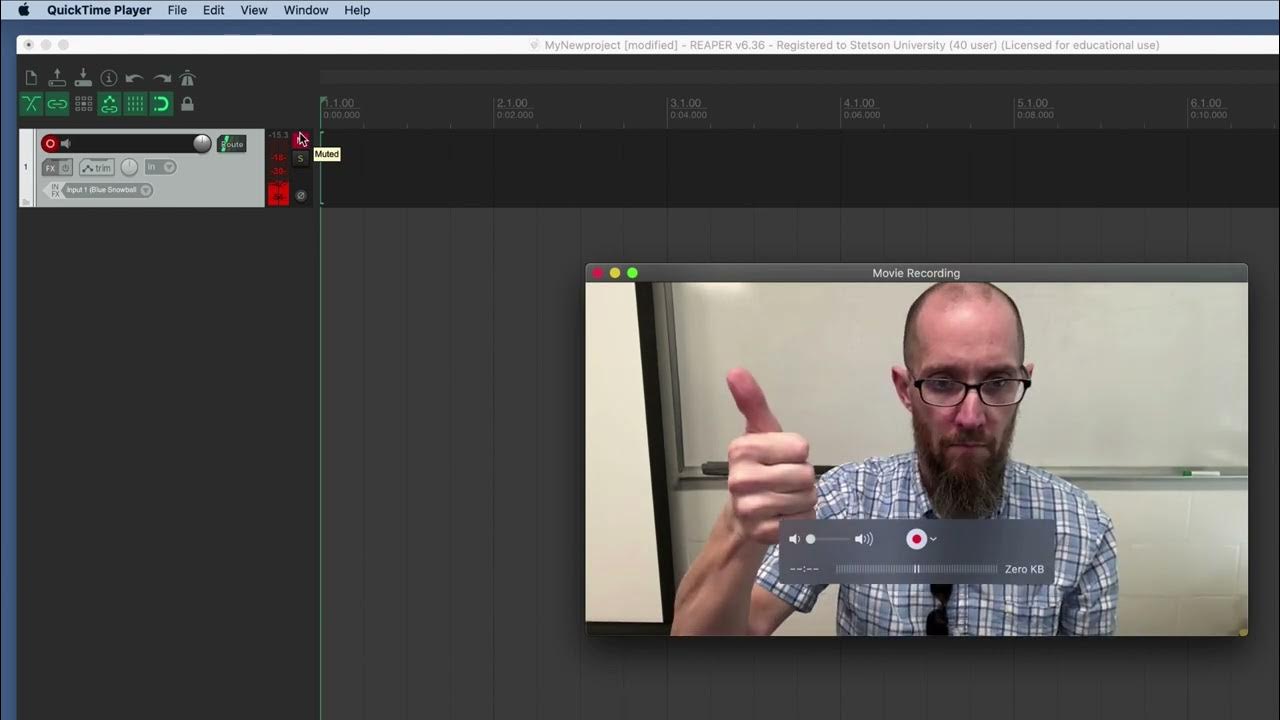
Step 6: Testing the Snowball USB Microphone in Reaper
After configuring the audio settings, selecting the input device, and adjusting the input levels, it’s time to test the Snowball USB microphone in Reaper to ensure everything is functioning as expected. Follow these steps to perform a test recording:
- Make sure your headphones or speakers are connected and functioning properly.
- Select the track where you have the Snowball USB microphone as the input device.
- Press the record button on the track to start recording.
- Speak or make sound into the Snowball USB microphone to capture audio.
- Continue recording for a short duration while monitoring the input levels and audio quality.
- Once you’ve finished the test recording, press the stop button to end the recording.
Upon stopping the recording, you can play back the recorded audio to evaluate the quality and clarity of the sound captured by the Snowball USB microphone. Pay attention to any background noise, distortion, or unwanted artifacts in the recording.
If you encounter any issues or are unsatisfied with the recorded audio quality, you can go back and adjust the input levels, audio settings, or positioning of the microphone to improve the results.
By conducting these test recordings, you can quickly identify any potential problems and make the necessary adjustments to ensure optimal performance of your Snowball USB microphone in Reaper.
Remember that practice makes perfect, so don’t hesitate to experiment with different recording techniques, microphone placements, and settings to achieve the best results for your specific needs.
Conclusion
Congratulations! You have successfully configured and tested your Snowball USB microphone in Reaper using the UMC ASIO driver. By following the steps outlined in this guide, you have overcome the obstacles that may arise when setting up this microphone in Reaper.
The Snowball USB microphone is known for its excellent audio quality and ease of use, and with the UMC ASIO driver and proper configuration in Reaper, you can unlock its full potential for your recording and streaming endeavors.
Remember, installing the UMC ASIO driver is the first crucial step. Then, connecting your Snowball USB microphone and configuring Reaper’s audio settings, including selecting the microphone as the input device, adjusting the input levels, and conducting test recordings, ensures optimal performance and sound quality.
By testing and fine-tuning the settings, you can achieve clear and professional-sounding recordings that meet your specific requirements. Don’t be afraid to experiment with different techniques and settings to find what works best for you.
With this comprehensive guide, you are now equipped with the knowledge to troubleshoot and set up your Snowball USB microphone in Reaper with the UMC ASIO driver. Enjoy your recording and streaming journey, and may your Snowball USB microphone deliver exceptional audio for all your endeavors!