Introduction
So, you've got your hands on a sleek MIDI keyboard and a powerful Focusrite Scarlett 2i2 audio interface, and you're ready to bring your musical creations to life. Connecting these two devices is the key to unlocking a world of possibilities for recording and producing music. Whether you're a seasoned musician or just starting your journey into music production, understanding how to connect a MIDI keyboard to a Focusrite Scarlett 2i2 is essential for unleashing your creativity.
In this comprehensive guide, we'll walk you through the step-by-step process of connecting your MIDI keyboard to the Scarlett 2i2, ensuring that you can seamlessly integrate your hardware and software for a smooth and efficient music-making experience. By the end of this tutorial, you'll be equipped with the knowledge and confidence to harness the full potential of your MIDI keyboard and Scarlett 2i2, empowering you to express your musical ideas with clarity and precision.
Let's dive into the exciting world of music production and explore the seamless integration of your MIDI keyboard with the powerful Focusrite Scarlett 2i2. Get ready to embark on a journey that will elevate your music production capabilities and inspire your creative endeavors. With the right guidance and a passion for music, you'll soon be on your way to crafting captivating melodies and harmonies that resonate with your unique artistic vision.
Step 1: Gather Your Equipment
Before diving into the process of connecting your MIDI keyboard to the Focusrite Scarlett 2i2, it’s essential to ensure that you have all the necessary equipment at your disposal. Gathering the right tools will set the stage for a seamless and successful setup, allowing you to focus on the creative aspects of music production without any technical hiccups.
Here’s a checklist of the essential items you’ll need:
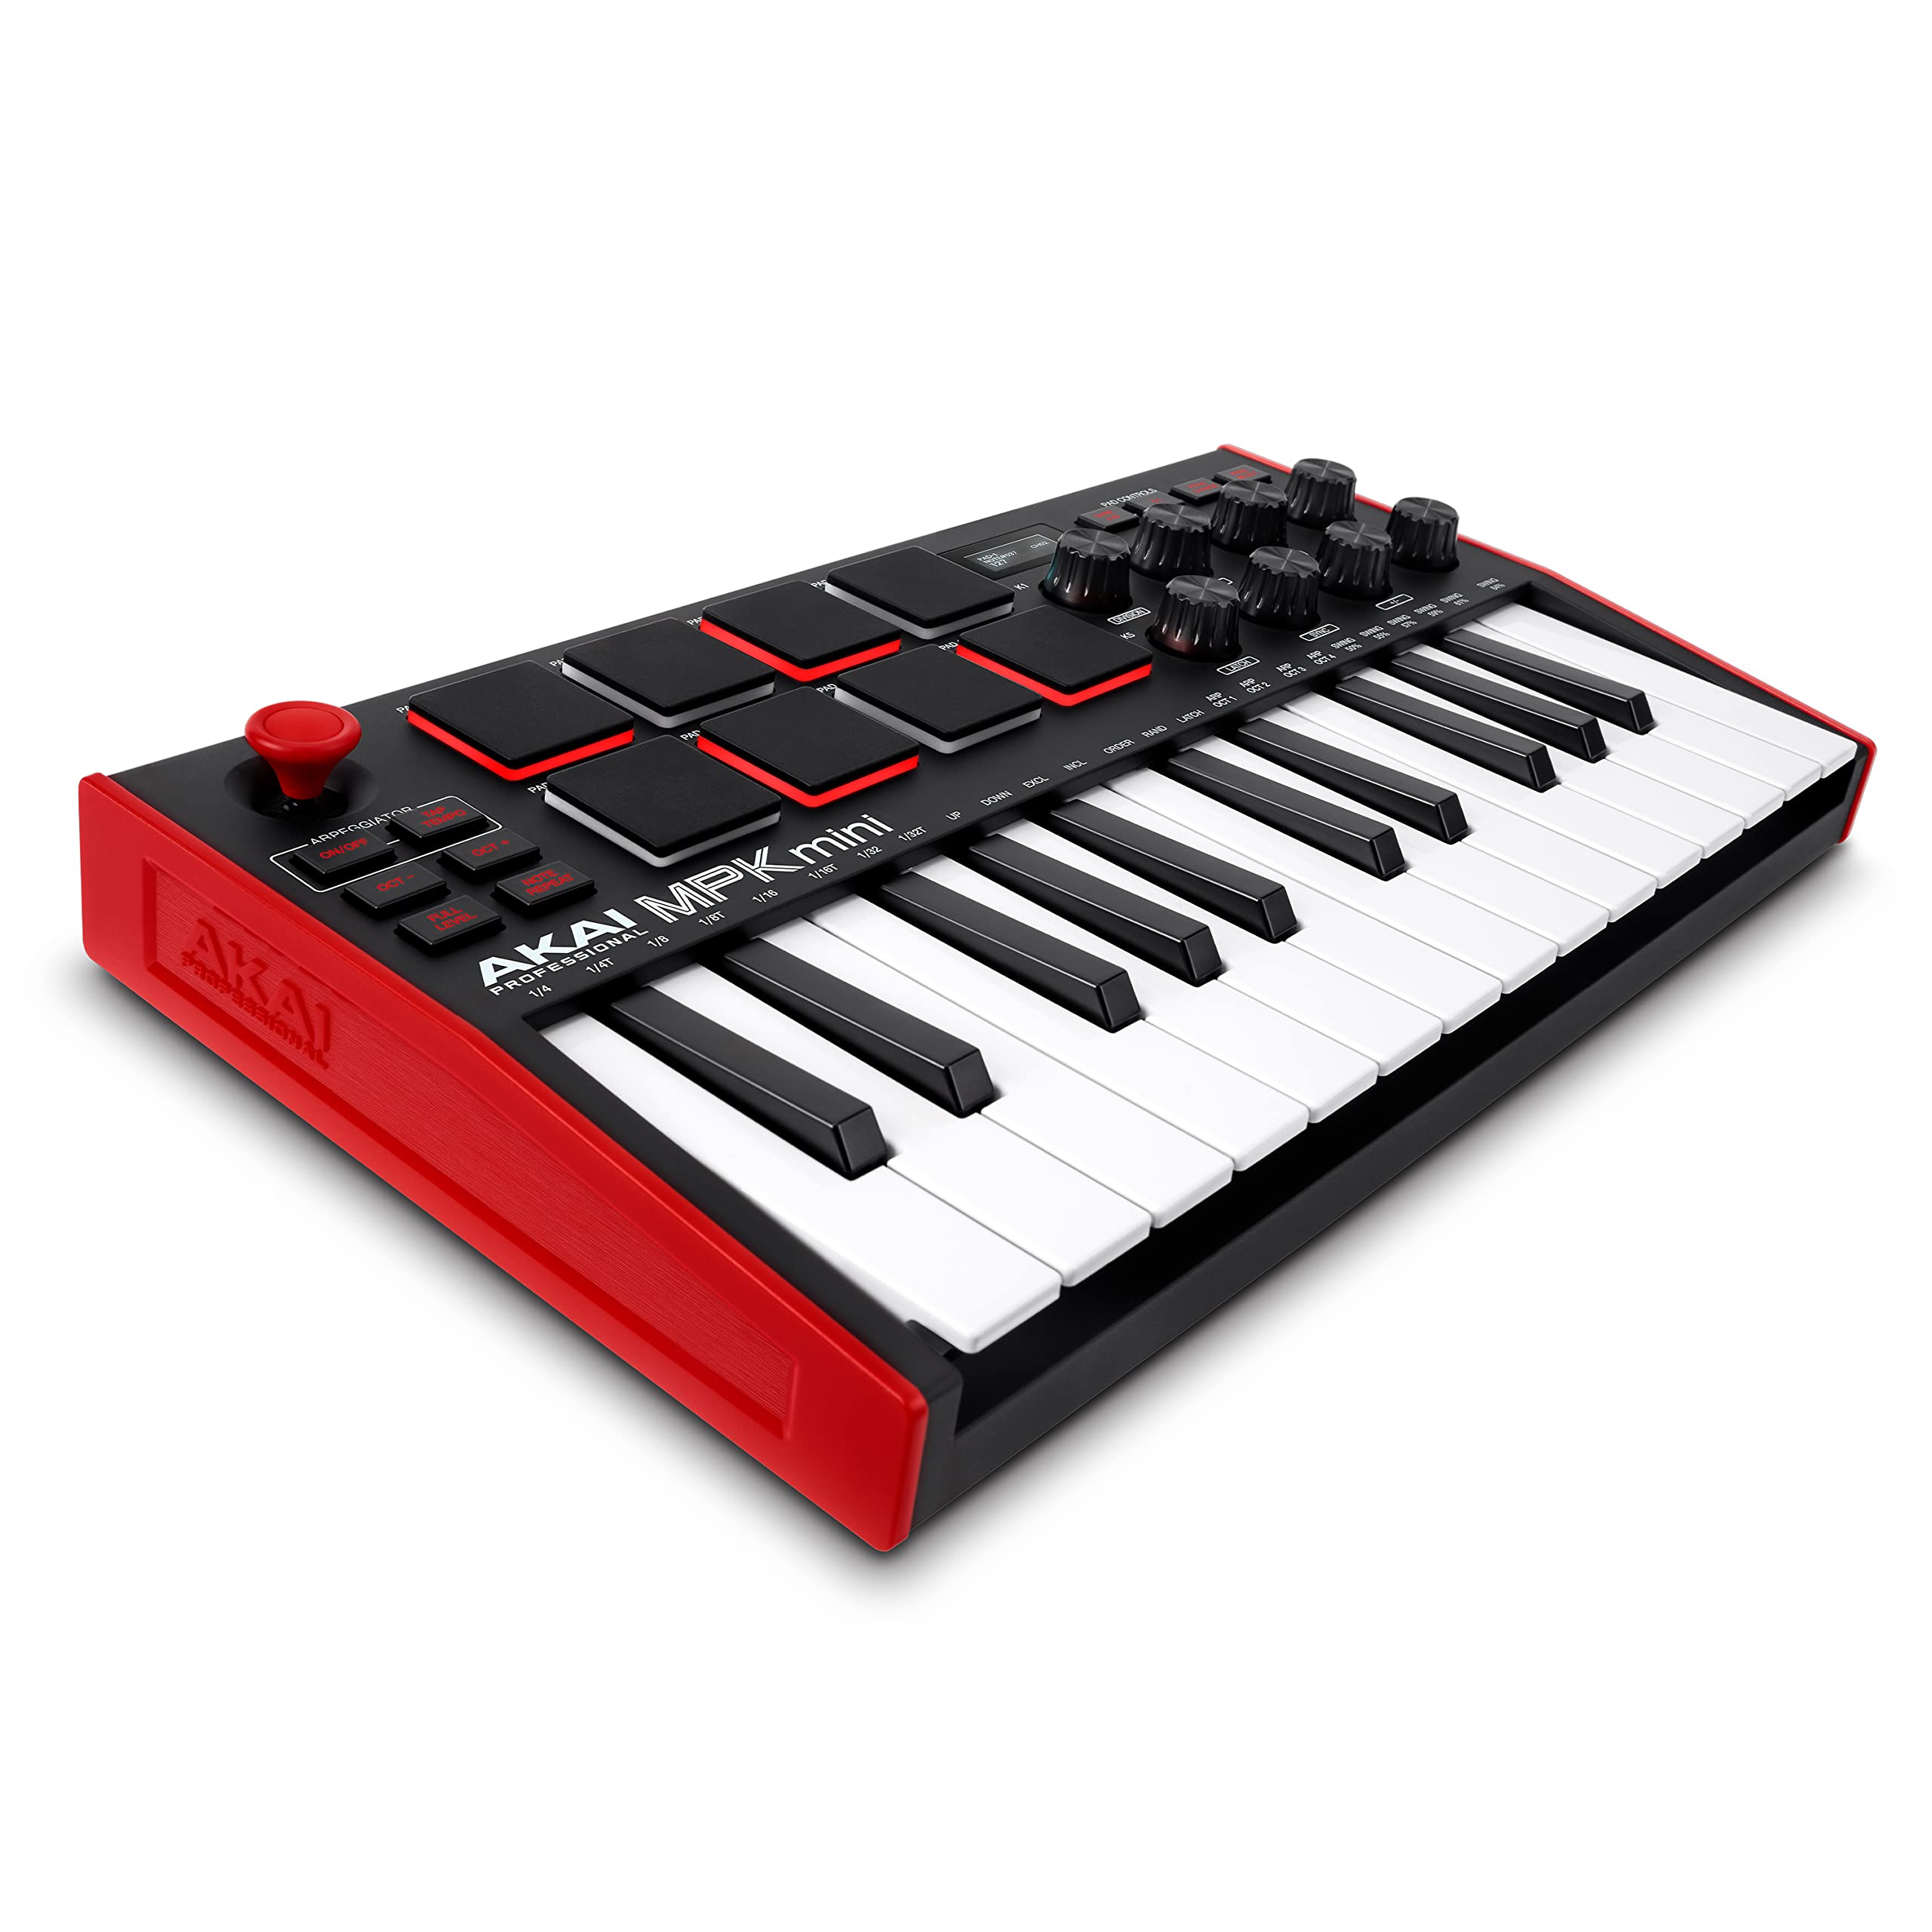
- MIDI Keyboard: Select a MIDI keyboard that aligns with your musical preferences and production requirements. Whether you prefer a compact, portable keyboard or a full-sized, feature-rich model, choosing a MIDI keyboard that complements your workflow is crucial.
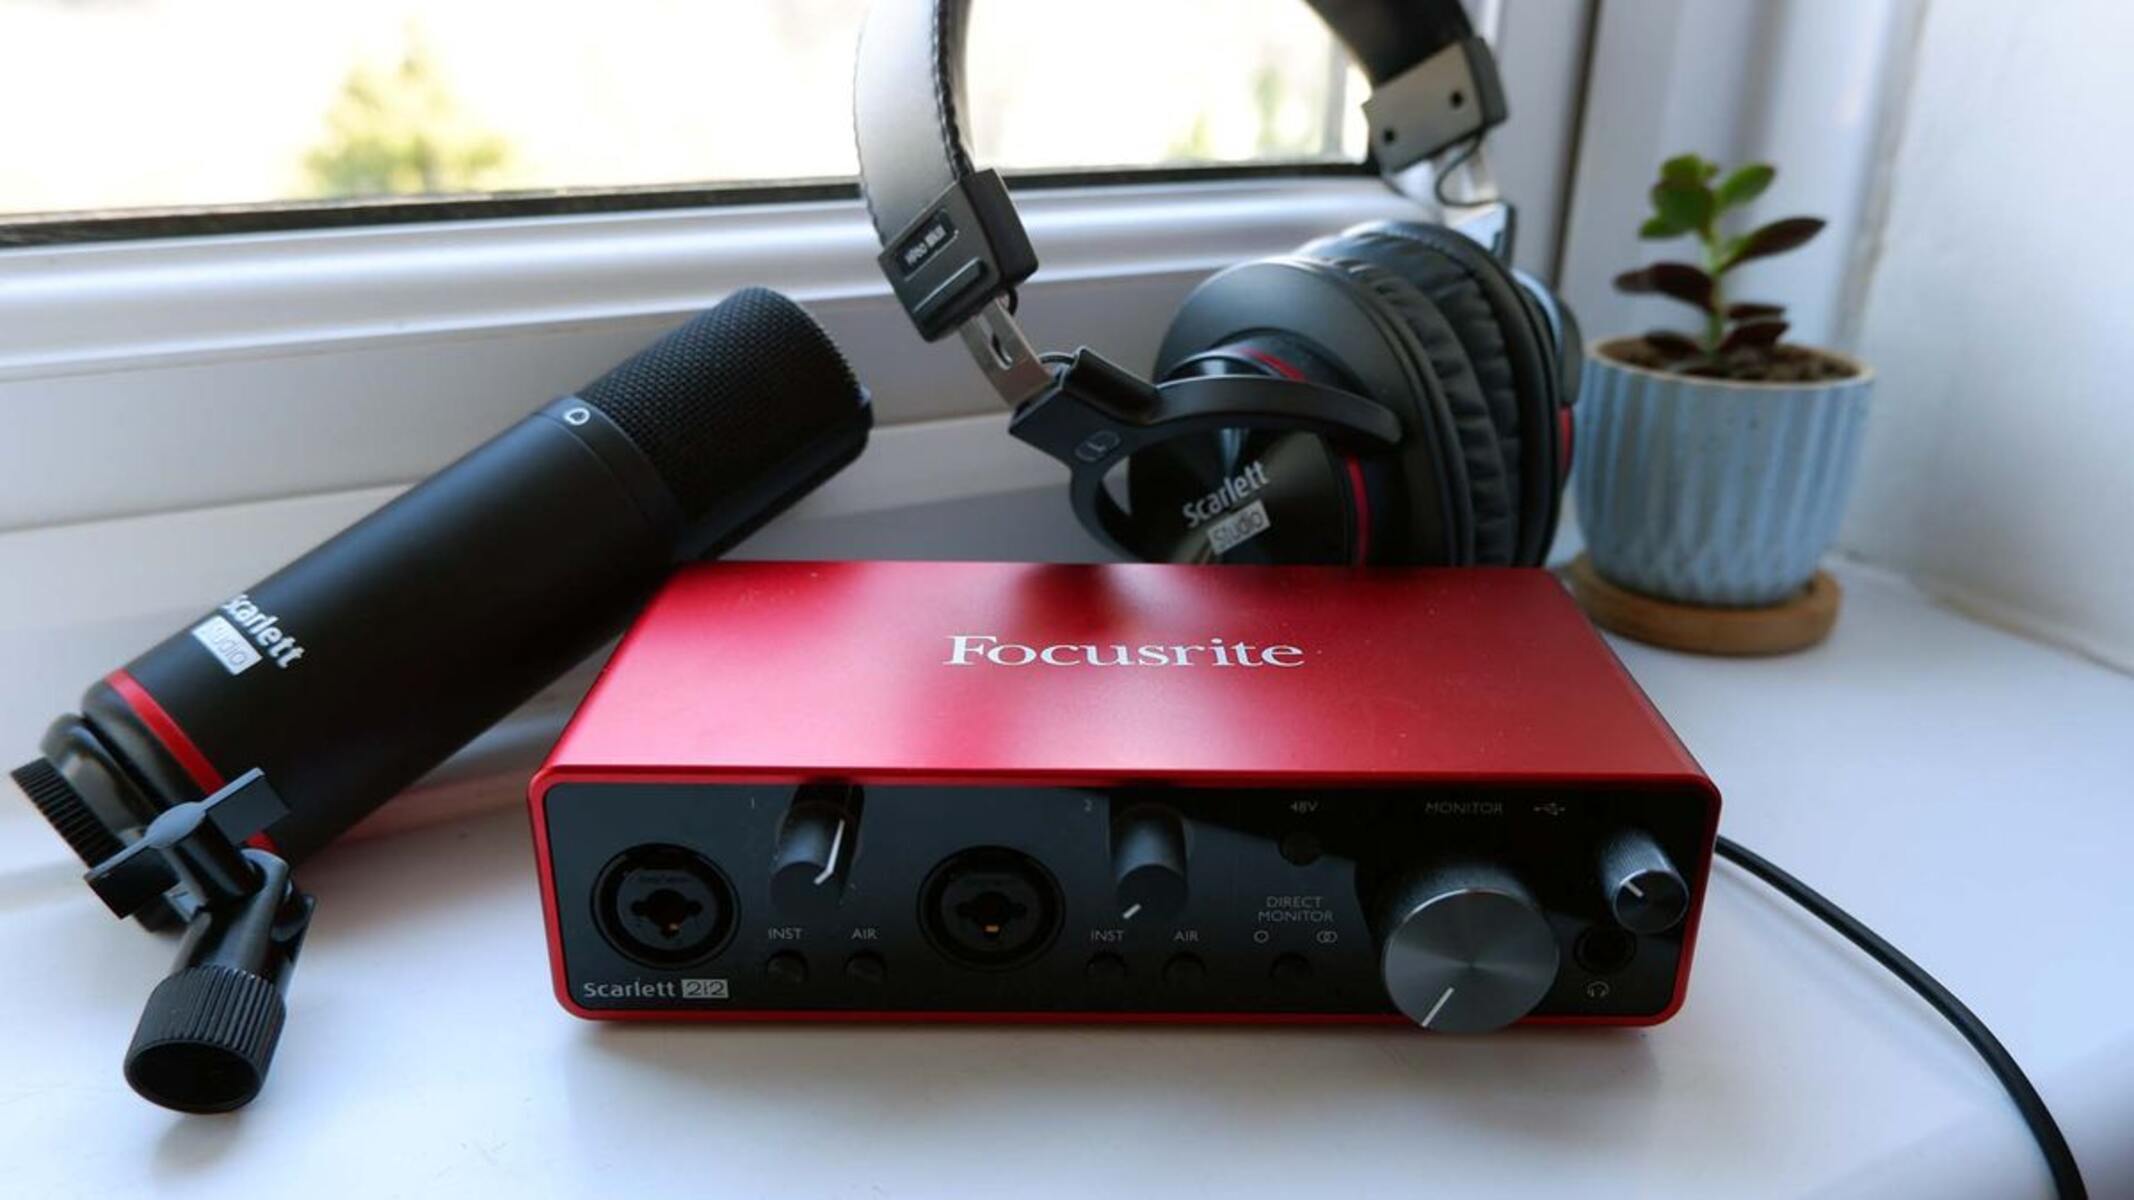
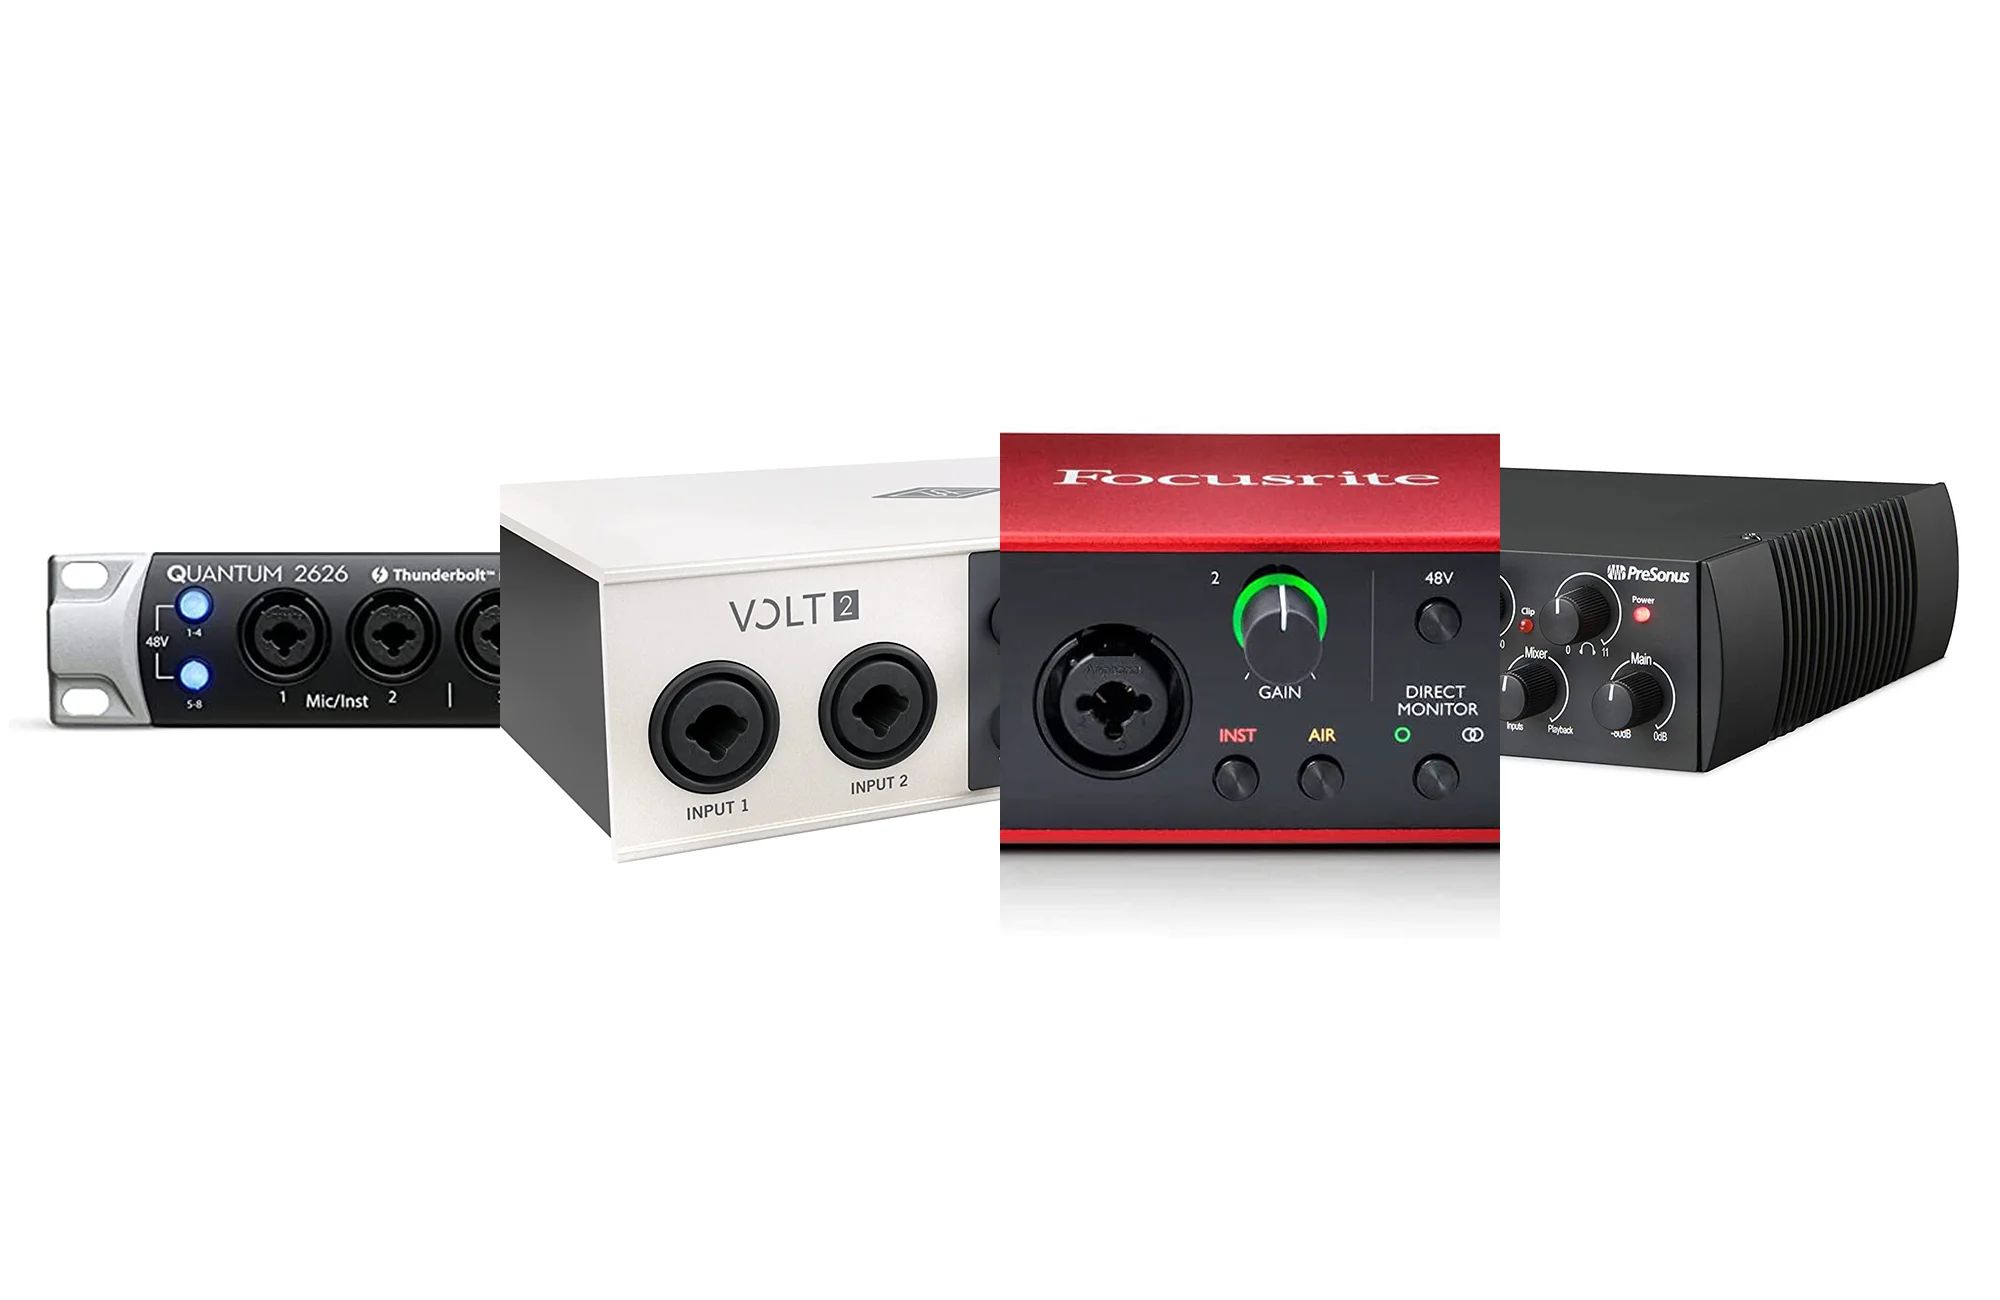
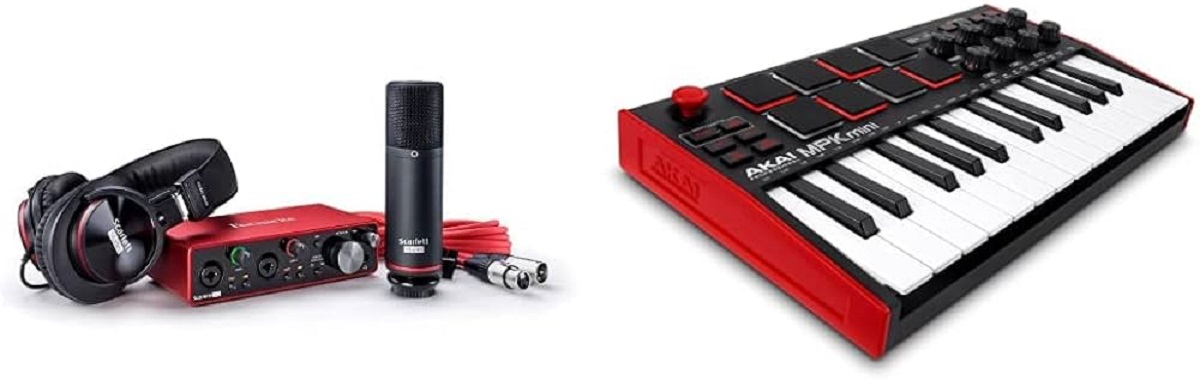
- Focusrite Scarlett 2i2 Audio Interface: The Scarlett 2i2 serves as the bridge between your MIDI keyboard and your computer, enabling high-quality audio capture and playback. Ensure that your Scarlett 2i2 is powered and ready to be connected to your MIDI keyboard.
- USB Cables: Depending on the connectivity options of your MIDI keyboard and Scarlett 2i2, you may need USB cables to establish a reliable connection between the two devices. Check the cable compatibility and have them readily available for the setup process.
- Computer or Laptop: Your computer or laptop will serve as the hub for recording, editing, and producing music. Make sure your device is powered on and ready to accommodate the connection between the MIDI keyboard and the Scarlett 2i2.
- Digital Audio Workstation (DAW) Software: Whether you use industry-standard DAW software like Ableton Live, Logic Pro, or Pro Tools, or opt for a free DAW such as GarageBand or Cakewalk, ensure that your preferred software is installed and ready for configuration.
By gathering these essential components, you’ll be well-prepared to seamlessly connect your MIDI keyboard to the Focusrite Scarlett 2i2, setting the stage for a productive and inspiring music production session. With the right equipment at your disposal, you can embark on the next steps with confidence, knowing that you have everything you need to bring your musical ideas to fruition.
Step 2: Connect the MIDI Keyboard to the Scarlett 2i2
Now that you’ve gathered all the necessary equipment, it’s time to establish a seamless connection between your MIDI keyboard and the Focusrite Scarlett 2i2. This pivotal step sets the foundation for capturing the nuances of your musical performance and translating them into your digital audio workstation (DAW) for further manipulation and creativity.
Follow these steps to connect your MIDI keyboard to the Scarlett 2i2:
- Locate the MIDI Ports: Identify the MIDI input and output ports on both your MIDI keyboard and the Scarlett 2i2 audio interface. The MIDI ports are typically labeled as “MIDI In” and “MIDI Out” on the devices.
- Connect the MIDI Out to MIDI In: Use a standard MIDI cable to connect the MIDI Out port on your MIDI keyboard to the MIDI In port on the Scarlett 2i2. Ensure a secure connection to facilitate the transfer of MIDI data between the two devices.
- Power On Your Devices: Power on your MIDI keyboard and the Scarlett 2i2 audio interface. Ensure that both devices are receiving power and ready to communicate with each other.
- Check the MIDI Channel Settings: If your MIDI keyboard allows for MIDI channel configuration, ensure that it is set to transmit and receive MIDI data on the appropriate channel. This step is crucial for ensuring that your MIDI keyboard communicates effectively with your DAW via the Scarlett 2i2.
- Verify the Connection: Once the MIDI keyboard is connected to the Scarlett 2i2, verify the connection by pressing keys on the MIDI keyboard. You should see MIDI activity indicators on the Scarlett 2i2, confirming that MIDI data is being transmitted from the keyboard to the audio interface.
By following these steps, you’ll establish a robust and reliable connection between your MIDI keyboard and the Scarlett 2i2, laying the groundwork for seamless MIDI communication and recording within your digital audio workstation. With the physical connection in place, you’re now ready to configure your DAW to recognize and utilize the MIDI input from your keyboard, paving the way for expressive and dynamic music production.
Step 3: Configure Your DAW
With your MIDI keyboard successfully connected to the Focusrite Scarlett 2i2, the next crucial step is to configure your digital audio workstation (DAW) to recognize and effectively utilize the MIDI input from your keyboard. Proper DAW configuration ensures that you can harness the full potential of your MIDI controller, enabling you to record, edit, and manipulate musical data with precision and creativity.
Follow these key steps to configure your DAW for MIDI input:
- Launch Your DAW: Open your preferred digital audio workstation on your computer. Whether you’re using Ableton Live, Logic Pro, Pro Tools, or any other DAW, ensure that it’s ready to receive MIDI input from your connected MIDI keyboard via the Scarlett 2i2.
- Access MIDI Settings: Navigate to the MIDI settings or preferences within your DAW. These settings allow you to specify the MIDI input source and configure additional parameters related to MIDI communication.
- Select the Scarlett 2i2 as the MIDI Input: In the MIDI settings of your DAW, choose the Focusrite Scarlett 2i2 as the designated MIDI input device. This step establishes the communication pathway for MIDI data to flow from your MIDI keyboard, through the Scarlett 2i2, and into your DAW.
- Configure MIDI Channels and Mapping: Depending on your musical requirements, configure the MIDI channels and mapping within your DAW to align with the functionality of your MIDI keyboard. This may involve assigning specific MIDI channels to different tracks or instruments, enabling you to control and record individual elements of your music using the keyboard.
- Test MIDI Input: Once the MIDI settings are configured, test the MIDI input by playing notes or triggering MIDI commands on your keyboard. Verify that your DAW accurately receives and responds to the MIDI input, confirming that the configuration is successful.
By meticulously configuring your DAW to integrate with the MIDI input from your keyboard via the Scarlett 2i2, you’ll unlock a world of possibilities for expressive music production. The seamless communication between your MIDI controller, audio interface, and DAW empowers you to capture your musical ideas with precision and finesse, setting the stage for a dynamic and immersive production experience.
Step 4: Test Your Connection
After connecting your MIDI keyboard to the Focusrite Scarlett 2i2 and configuring your digital audio workstation (DAW) to recognize the MIDI input, it’s essential to thoroughly test the connection to ensure that all components are seamlessly integrated and functioning as intended. Conducting a comprehensive test of your setup allows you to identify any potential issues and fine-tune the settings for optimal performance during your music production endeavors.
Here are the key steps to effectively test your MIDI keyboard’s connection to the Scarlett 2i2:
- Record MIDI Input: Open a new project or session in your DAW and begin recording MIDI input from your connected MIDI keyboard. Play a variety of notes, chords, and musical phrases to gauge the responsiveness and accuracy of the MIDI data being captured by the Scarlett 2i2.
- Monitor MIDI Activity: Keep an eye on the MIDI activity indicators on the Scarlett 2i2 as you play your MIDI keyboard. The indicators should reflect the incoming MIDI data, confirming that the connection between the keyboard and the audio interface is robust and reliable.
- Test MIDI Control Functions: If your MIDI keyboard features control functions such as mod wheels, pitch bend, or assignable knobs, test these functions to ensure that the Scarlett 2i2 accurately transmits and interprets the control data. This step validates the comprehensive functionality of your MIDI setup.
- Playback and Monitor Audio Output: After recording MIDI input, playback the recorded data within your DAW and monitor the audio output through the Scarlett 2i2. Verify that the MIDI data translates into audible sound with clarity and fidelity, indicating a successful integration of your MIDI keyboard and audio interface.
By meticulously testing your MIDI keyboard’s connection to the Focusrite Scarlett 2i2, you’ll gain confidence in the reliability and performance of your setup, paving the way for uninterrupted music production sessions and seamless interaction with your DAW. Any adjustments or refinements identified during the testing phase can be addressed promptly, ensuring that your MIDI setup operates optimally for capturing and expressing your musical ideas.
Conclusion
Congratulations! You’ve successfully navigated the process of connecting your MIDI keyboard to the Focusrite Scarlett 2i2, culminating in a harmonious fusion of hardware and software that empowers your music production endeavors. By following the comprehensive steps outlined in this guide, you’ve gained the knowledge and confidence to seamlessly integrate your MIDI controller with the Scarlett 2i2, setting the stage for expressive and dynamic music creation.
As you embark on your musical journey with this powerful setup, remember that the connection between your MIDI keyboard and the Scarlett 2i2 serves as the conduit for translating your creative impulses into tangible musical expressions. The robust and reliable integration of these devices enables you to capture the nuances of your performances, manipulate musical data with precision, and unleash your artistic vision within your digital audio workstation (DAW).
With a keen understanding of how to gather the necessary equipment, establish the physical connection, configure your DAW, and thoroughly test your setup, you’ve equipped yourself with the essential skills to navigate the intricacies of MIDI integration with confidence and proficiency. Your ability to harness the full potential of your MIDI keyboard and Scarlett 2i2 opens doors to a world of sonic exploration and musical innovation.
As you continue to refine your music production techniques and explore the boundless creative possibilities afforded by your MIDI setup, remember that the seamless connection between your hardware and software is the catalyst for translating your musical aspirations into reality. Whether you’re composing captivating melodies, sculpting intricate arrangements, or experimenting with innovative sound design, the synergy between your MIDI keyboard and the Scarlett 2i2 amplifies your creative impact and propels your artistic journey forward.
Embrace the fusion of technology and creativity, and let the seamless connection between your MIDI keyboard and the Focusrite Scarlett 2i2 inspire your musical pursuits. With each keystroke and musical gesture, you’re poised to craft compelling compositions and immerse yourself in the captivating realm of music production, driven by the harmonious integration of your trusted tools.
Now, armed with the knowledge and expertise gained from this guide, venture forth with confidence and passion, knowing that your MIDI keyboard and Scarlett 2i2 stand as steadfast allies in your quest to transform musical concepts into captivating sonic experiences.