Introduction
Welcome to the exciting world of virtual reality gaming with the Oculus Rift S PC-powered VR gaming headset. This innovative device offers an immersive and captivating gaming experience, allowing you to step into a virtual world and interact with your games in a whole new way. In this guide, we will walk you through the process of setting up your Oculus Rift S, from unboxing to troubleshooting, so you can start enjoying the endless possibilities of VR gaming.
The Oculus Rift S is designed to work seamlessly with your PC, delivering high-quality graphics and responsive gameplay. Whether you're a seasoned gamer or new to the world of virtual reality, the Oculus Rift S offers a user-friendly and intuitive setup process that will have you diving into your favorite games in no time.
As you embark on this journey into the realm of virtual reality, it's important to familiarize yourself with the system requirements, unboxing and setup process, installation of Oculus software, setting up the Guardian system, adjusting display and audio settings, pairing controllers, testing your VR experience, and troubleshooting tips. Each step is crucial in ensuring a smooth and enjoyable VR gaming experience.
So, grab your Oculus Rift S and let's dive into the world of VR gaming. Get ready to experience gaming in a whole new dimension as we guide you through the setup and optimization of your Oculus Rift S VR headset. Let's embark on this thrilling adventure together!
System Requirements
Before delving into the setup process, it’s essential to ensure that your system meets the necessary requirements to support the Oculus Rift S. The following are the minimum and recommended system specifications:
- Operating System: Windows 10
- Processor: Intel i3-6100 / AMD Ryzen 3 1200, FX4350 or greater
- Memory: 8GB+ RAM
- Graphics Card: NVIDIA GTX 1050Ti / AMD Radeon RX 470 or greater
- Video Output: DisplayPort 1.2/Mini DisplayPort (with adapter included in the box) and USB 3.0
- USB Ports: 1x USB 3.0 port
- Room-scale Requirements: You’ll need at least 1.5 x 1.5 meters of clear space for room-scale experiences
It’s important to note that these are the minimum requirements for running the Oculus Rift S. For the best experience and performance, it’s recommended to exceed these specifications where possible. Additionally, ensure that your PC is up to date with the latest graphics drivers and Windows updates to optimize your VR experience.
By meeting or surpassing these system requirements, you’ll be well-equipped to enjoy a smooth and immersive VR gaming experience with your Oculus Rift S headset. Let’s move on to the next step in the setup process: unboxing and preparing your Oculus Rift S for use.
Unboxing and Setup
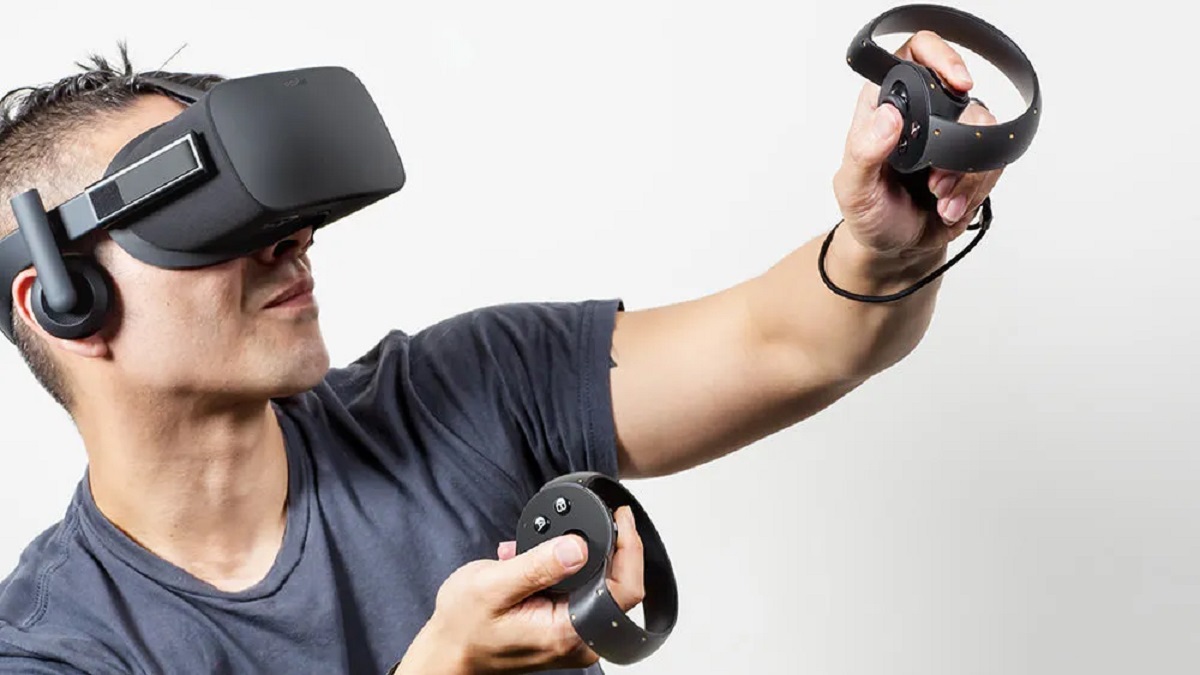
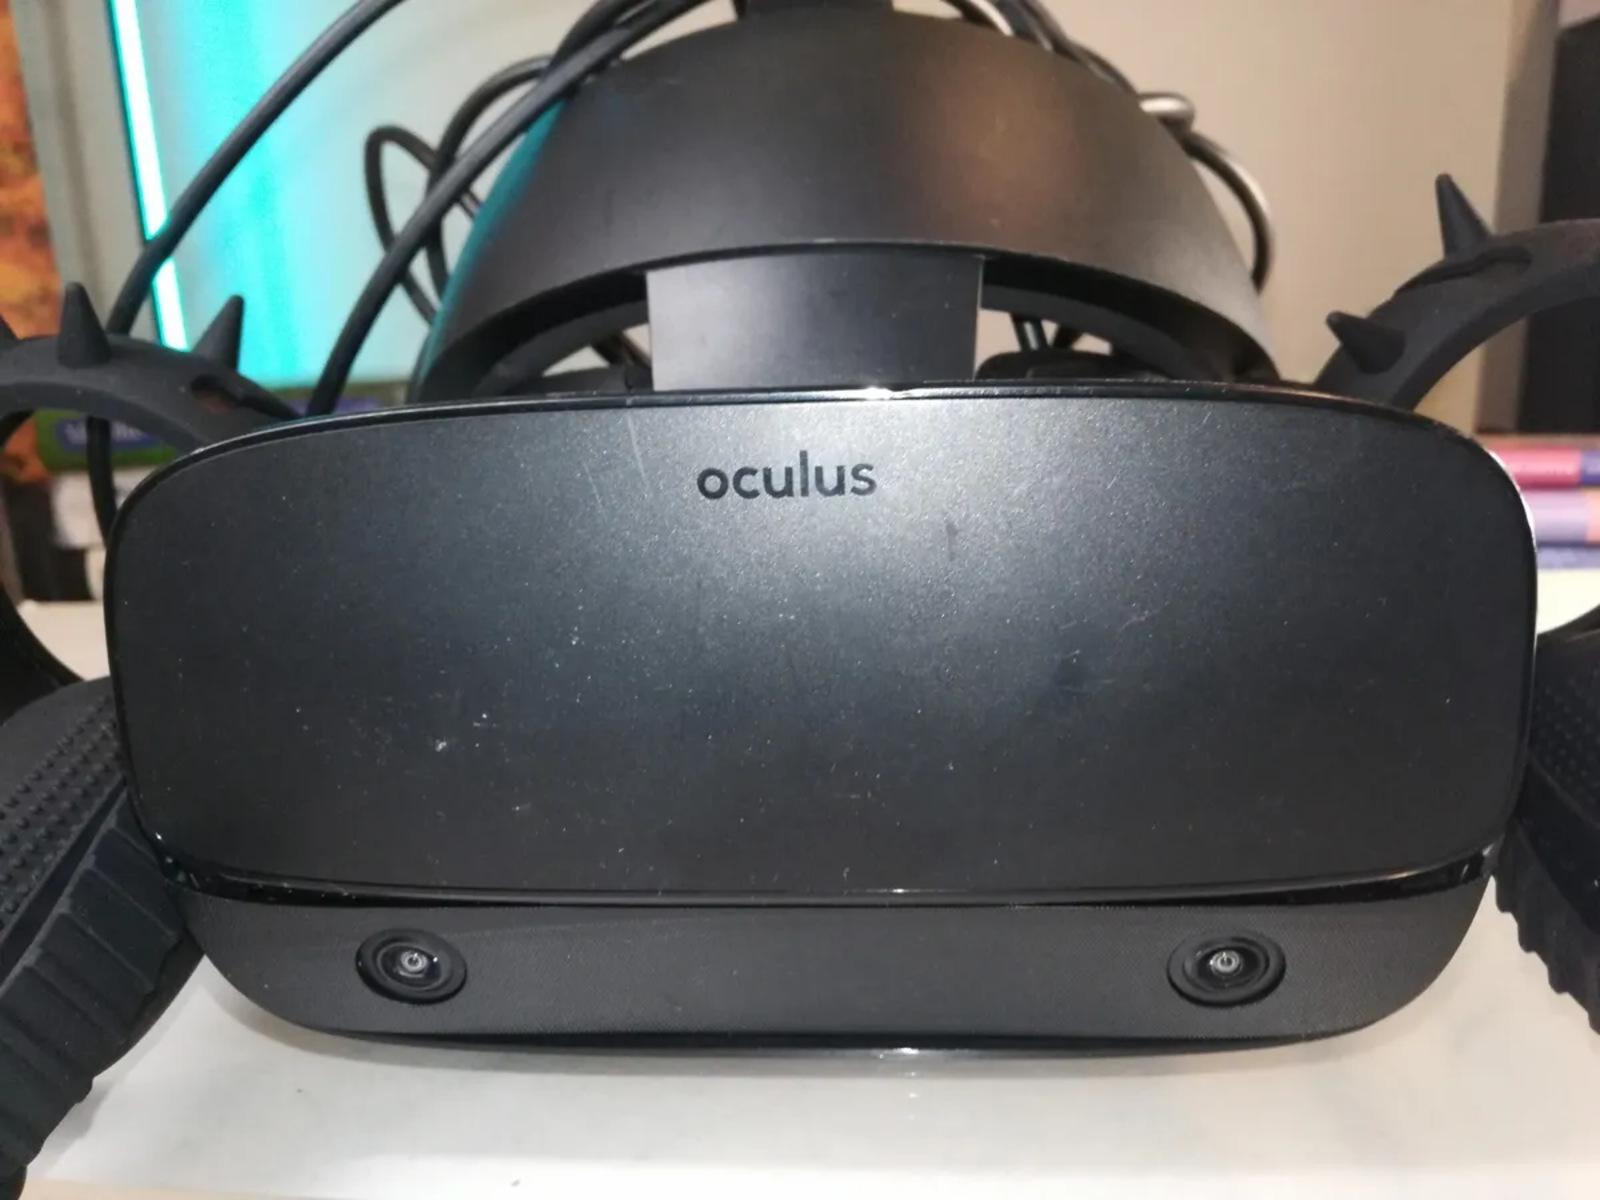
Upon receiving your Oculus Rift S, the first step is to unbox the contents and prepare for the setup process. Inside the box, you will find the Oculus Rift S headset, two touch controllers, a Mini DisplayPort to DisplayPort adapter, and a user manual. Before proceeding with the setup, ensure that your PC meets the system requirements as outlined in the previous section.
Begin by carefully unpacking the components and identifying the headset, controllers, and necessary cables. The next step is to connect the headset to your PC using the included Mini DisplayPort to DisplayPort adapter and USB 3.0 cable. Ensure that the connections are secure and free from any obstructions.
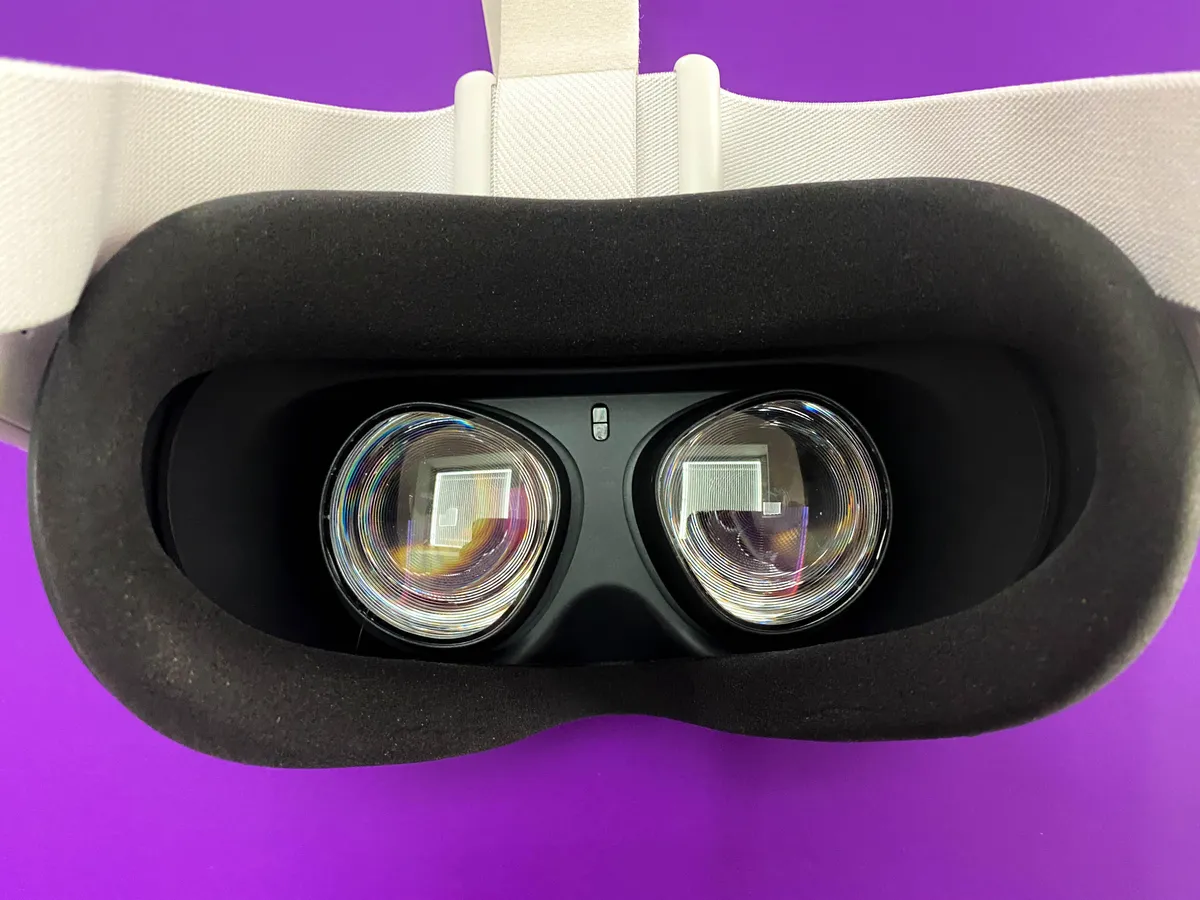
Once the headset is connected to your PC, put on the headset and adjust the fit for comfort. The Oculus Rift S features a halo headband design that can be adjusted to fit various head sizes. It’s essential to position the headset securely on your head to ensure a clear and immersive VR experience.
After securing the headset, adjust the interpupillary distance (IPD) using the slider located on the bottom of the headset. This allows you to align the lenses with your eyes for optimal clarity and visual comfort. Additionally, ensure that the built-in audio is positioned correctly over your ears to experience the full audio capabilities of the headset.
With the physical setup complete, the next step is to install the Oculus software on your PC. This software is essential for managing your VR experiences, accessing the Oculus store, and configuring your headset settings. We will delve into the installation process in the next section, guiding you through the necessary steps to get your Oculus Rift S up and running.
Now that the physical setup is complete, and you’ve familiarized yourself with the components, it’s time to move on to the next phase of the setup process: installing the Oculus software on your PC.
Installing Oculus Software
With the physical setup of your Oculus Rift S complete, the next step is to install the Oculus software on your PC. This software serves as the gateway to your VR experiences, providing access to a wide range of games, apps, and immersive content through the Oculus store.
Begin by visiting the official Oculus website to download the Oculus software. Once downloaded, run the installation file and follow the on-screen instructions to complete the setup process. During the installation, you’ll be prompted to create or log in to your Oculus account, which is necessary for accessing the full range of VR content available.
After creating an account or logging in, the software will guide you through the initial setup of your Oculus Rift S headset. This includes configuring the headset’s display and audio settings, as well as setting up the Guardian system to define your play area and ensure a safe and enjoyable VR experience.
Once the initial setup is complete, you’ll gain access to the Oculus store, where you can browse and download a diverse collection of VR games, experiences, and apps. The store offers a range of free and paid content, allowing you to tailor your VR library to suit your preferences and interests.
Furthermore, the Oculus software provides a user-friendly interface for managing your VR content, updating your headset firmware, and connecting with friends in VR. You can create a personalized VR environment, customize your avatar, and explore social features that enhance the overall VR experience.
By installing the Oculus software, you’re unlocking the full potential of your Oculus Rift S headset and gaining access to a vast ecosystem of VR content. With the software successfully installed, you’re now ready to move on to the next step in the setup process: setting up the Guardian system to define your play area.
Setting Up Guardian System
One of the essential features of the Oculus Rift S is the Guardian system, which helps create a safe and customizable play area within your physical space. This system uses boundary lines and virtual walls to prevent you from bumping into physical objects while immersed in VR experiences.
To set up the Guardian system, ensure that you are in a well-lit room with ample space for movement. Launch the Oculus software on your PC and follow the on-screen prompts to define your play area. The setup process will guide you through marking the boundaries of your play area using the touch controllers.
Using the touch controllers, you’ll be prompted to physically trace the perimeter of your available space. As you do this, virtual boundary lines will appear in your VR headset, outlining the safe play area. It’s important to ensure that the defined play area is free from obstacles and hazards, allowing you to move around comfortably without any obstructions.
Once the Guardian system has been set up, you’ll receive visual cues within the VR environment if you approach the boundaries of your play area. These cues serve as a reminder to stay within the safe zone, enhancing your overall safety and awareness while immersed in VR experiences.
Additionally, the Guardian system can be customized to suit your preferences, allowing you to adjust the appearance and sensitivity of the boundary lines. This level of customization ensures that the Guardian system aligns with your specific play space and provides a tailored experience that meets your needs.
By setting up the Guardian system, you’re taking an important step towards creating a safe and enjoyable VR environment. The system provides peace of mind, allowing you to fully immerse yourself in VR experiences without concerns about potential obstacles in your physical surroundings.
With the Guardian system in place, you’re now ready to move on to the next phase of the setup process: adjusting display and audio settings to optimize your VR experience.
Adjusting Display and Audio Settings
After setting up the Guardian system, the next crucial step in optimizing your Oculus Rift S experience is adjusting the display and audio settings. These settings play a significant role in enhancing the visual and auditory aspects of your VR experience, ensuring optimal clarity and immersion.
Begin by putting on your Oculus Rift S headset and accessing the Oculus software on your PC. Within the software, navigate to the settings menu, where you’ll find options to adjust the display settings. These settings allow you to fine-tune the visual clarity and comfort of the headset’s display.
One of the key display settings to consider is the interpupillary distance (IPD) adjustment. This setting allows you to align the lenses with your eyes for optimal clarity and visual comfort. Use the IPD adjustment slider to customize the distance between the lenses, ensuring a clear and well-defined visual experience tailored to your individual needs.
Additionally, explore the display quality settings to adjust the resolution and refresh rate of the headset’s display. These settings can impact the overall visual fidelity and smoothness of your VR experiences, allowing you to find the optimal balance between performance and visual quality based on your PC’s capabilities.
Next, turn your attention to the audio settings. The Oculus Rift S features built-in audio that delivers spatial, 3D positional audio directly to your ears, enhancing the immersive nature of VR experiences. Within the settings menu, you can adjust the audio output and spatial audio settings to ensure that the audio complements the visual aspects of your VR experiences.
By fine-tuning the display and audio settings, you’re customizing your VR environment to deliver the best possible visual and auditory experience. These adjustments cater to your individual preferences and ensure that your Oculus Rift S headset is optimized for maximum immersion and comfort.
With the display and audio settings adjusted to your liking, you’re now prepared to move on to the next step in the setup process: pairing the touch controllers with your Oculus Rift S headset.
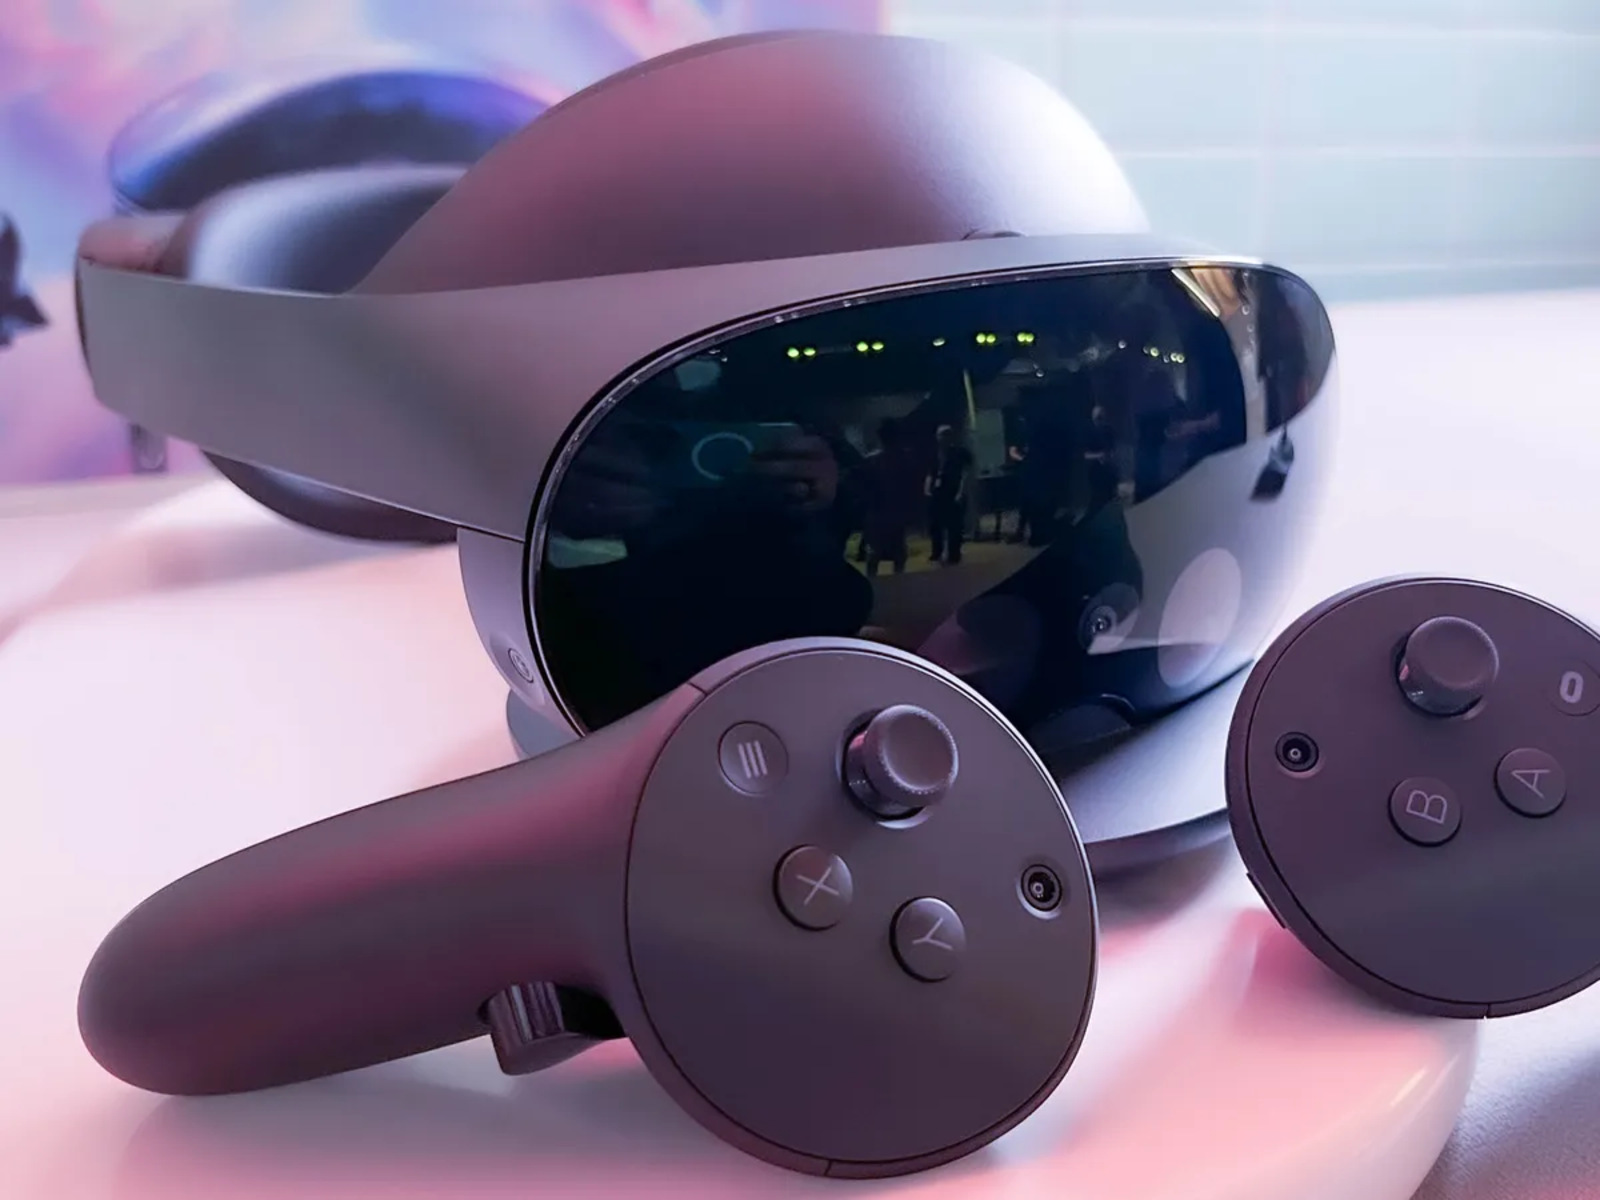
Pairing Controllers
Pairing the touch controllers with your Oculus Rift S headset is a pivotal step in preparing for your VR gaming experiences. These controllers serve as your primary interface for interacting with virtual environments, providing intuitive and responsive input for a wide range of games and applications.
To begin the pairing process, ensure that the touch controllers are powered on and within the tracking range of the Oculus Rift S headset. The headset’s inside-out tracking system enables seamless tracking of the touch controllers, allowing for precise and natural movements within the VR environment.
Once the touch controllers are powered on, they will be automatically detected by the Oculus Rift S headset. The Oculus software will guide you through the pairing process, ensuring that the controllers are successfully linked to the headset and ready for use. Follow the on-screen instructions to complete the pairing process.
After the controllers are paired, take a moment to familiarize yourself with the button layout and functionality of the touch controllers. These controllers feature an array of buttons, triggers, and joysticks that provide versatile input options for interacting with VR content.
As you explore the VR environment, you’ll find that the touch controllers offer precise and responsive tracking, allowing you to interact with virtual objects, navigate menus, and engage in immersive gameplay with ease. The ergonomic design and intuitive button layout contribute to a comfortable and natural user experience.
Furthermore, the touch controllers feature capacitive sensors that can detect your hand movements and gestures, adding an extra layer of interactivity to your VR experiences. This level of responsiveness and versatility enhances the overall immersion and engagement of VR gaming.
By successfully pairing the touch controllers with your Oculus Rift S headset, you’ve completed a crucial step in preparing for your VR adventures. These controllers are your gateway to a wide range of interactive and immersive experiences, providing intuitive input and precise tracking for an unparalleled gaming experience.
With the touch controllers paired and ready for action, you’re now poised to move on to the next phase of the setup process: testing your VR experience and familiarizing yourself with the diverse array of content available through the Oculus store.
Testing Your VR Experience
With your Oculus Rift S headset, touch controllers, and software fully set up, it’s time to embark on an exciting journey into the world of virtual reality gaming. Testing your VR experience not only allows you to familiarize yourself with the capabilities of your headset but also provides an opportunity to explore the diverse range of content available through the Oculus store.
Begin by launching a VR experience or game of your choice from the Oculus store. The intuitive interface of the Oculus software allows you to browse through a plethora of VR titles, ranging from immersive games and simulations to creative experiences and educational content.
As you delve into your chosen VR experience, take note of the stunning visual fidelity and immersive 3D environments that come to life within your Oculus Rift S headset. The high-resolution display and precise tracking capabilities transport you to virtual worlds filled with rich detail and captivating interactions.
Utilize the touch controllers to navigate menus, interact with virtual objects, and engage in gameplay that leverages the full potential of VR technology. The responsive and accurate tracking of the touch controllers allows for natural and intuitive interactions, empowering you to fully immerse yourself in the virtual environments.
Explore the diverse genres of VR content available, from action-packed games and thrilling adventures to artistic experiences and social interactions. The Oculus store offers a wide selection of titles that cater to varied interests, ensuring that there’s something for every type of gamer and VR enthusiast.
Throughout your VR testing, pay attention to the spatial audio delivered through the built-in audio system of the Oculus Rift S. The spatial audio enhances the sense of presence within virtual environments, providing immersive soundscapes that complement the visual experiences and further draw you into the virtual worlds.
By testing your VR experience, you’re not only immersing yourself in captivating content but also gaining a deeper appreciation for the transformative potential of virtual reality gaming. The Oculus Rift S opens the door to a new dimension of gaming, creativity, and exploration, offering an unparalleled level of immersion and interactivity.
With your VR experience thoroughly tested, you’re now equipped to fully embrace the diverse and captivating world of virtual reality gaming. As you continue your VR journey, you’ll have the opportunity to discover an ever-expanding library of content and experiences that push the boundaries of traditional gaming and entertainment.
Troubleshooting Tips
While the Oculus Rift S offers a seamless and immersive VR gaming experience, encountering technical issues or challenges may occasionally arise. Here are some troubleshooting tips to help address common issues and ensure that your VR setup operates smoothly:
- Check System Compatibility: Ensure that your PC meets the minimum system requirements for the Oculus Rift S. Verify that your graphics drivers and Windows updates are up to date to maintain optimal performance.
- USB and DisplayPort Connections: If you encounter connectivity issues, try unplugging and reseating the USB and DisplayPort connections between the headset and your PC. Additionally, ensure that the connections are secure and free from damage.
- Guardian System Setup: If the Guardian system is not functioning correctly, recalibrate the play area by redefining the boundaries within the Oculus software. Ensure that the play area is free from obstructions and well-lit for reliable tracking.
- Controller Pairing: If your touch controllers are not pairing correctly, power them off and on again to initiate the pairing process. Ensure that the controllers are within the tracking range of the headset and that there are no obstructions obstructing the line of sight.
- Display and Audio Settings: If you encounter display or audio issues, navigate to the settings menu within the Oculus software to adjust the display resolution, refresh rate, and audio output settings. Fine-tuning these settings can help resolve visual or auditory inconsistencies.
- Software Updates: Regularly check for updates to the Oculus software and firmware for your headset and touch controllers. Keeping the software up to date ensures that you have access to the latest features, performance improvements, and bug fixes.
- Environmental Considerations: Pay attention to the lighting conditions and reflective surfaces in your play area, as these factors can impact tracking accuracy. Minimize direct sunlight and reflective objects to enhance tracking reliability.
By following these troubleshooting tips, you can address common issues that may arise during the setup and usage of your Oculus Rift S headset. Should you encounter persistent issues that cannot be resolved through these tips, consider reaching out to Oculus support for further assistance and guidance.
Conclusion
Congratulations on successfully setting up your Oculus Rift S PC-powered VR gaming headset and embarking on an exhilarating journey into the immersive world of virtual reality. The process of unboxing, configuring, and testing your VR experience has opened the door to a new dimension of gaming and entertainment, offering unparalleled levels of immersion and interactivity.
As you’ve navigated through the setup process, you’ve familiarized yourself with the essential components of the Oculus Rift S, including the headset, touch controllers, and the Oculus software. Each step has contributed to creating a seamless and enjoyable VR gaming environment tailored to your individual preferences and needs.
By ensuring that your PC meets the system requirements, setting up the Guardian system, adjusting display and audio settings, pairing the touch controllers, and testing your VR experience, you’ve laid the foundation for a captivating and personalized VR journey. The Oculus Rift S has empowered you to explore a diverse array of content, from thrilling games to immersive experiences, all within the comfort of your own space.
With the Guardian system in place, your play area has been defined, ensuring a safe and enjoyable VR experience free from physical obstacles. The precise tracking and responsive nature of the touch controllers have provided you with intuitive input, allowing you to interact with virtual environments in a natural and immersive manner.
As you move forward with your Oculus Rift S VR headset, continue to explore the vast library of content available through the Oculus store, discovering new adventures, creative experiences, and social interactions that redefine the boundaries of traditional gaming. Embrace the transformative potential of virtual reality, and immerse yourself in captivating worlds that come to life within your headset.
Remember that as you encounter challenges or technical issues, the troubleshooting tips provided can serve as valuable resources for maintaining the optimal performance of your VR setup. Regularly check for software updates and stay informed about the latest developments in VR technology to enhance your overall experience.
With the setup process complete and your VR experience thoroughly tested, you are now equipped to fully embrace the captivating world of virtual reality gaming. Your Oculus Rift S headset stands as a gateway to limitless possibilities, inviting you to embark on a thrilling and immersive journey unlike any other in the realm of gaming and entertainment.