Introduction
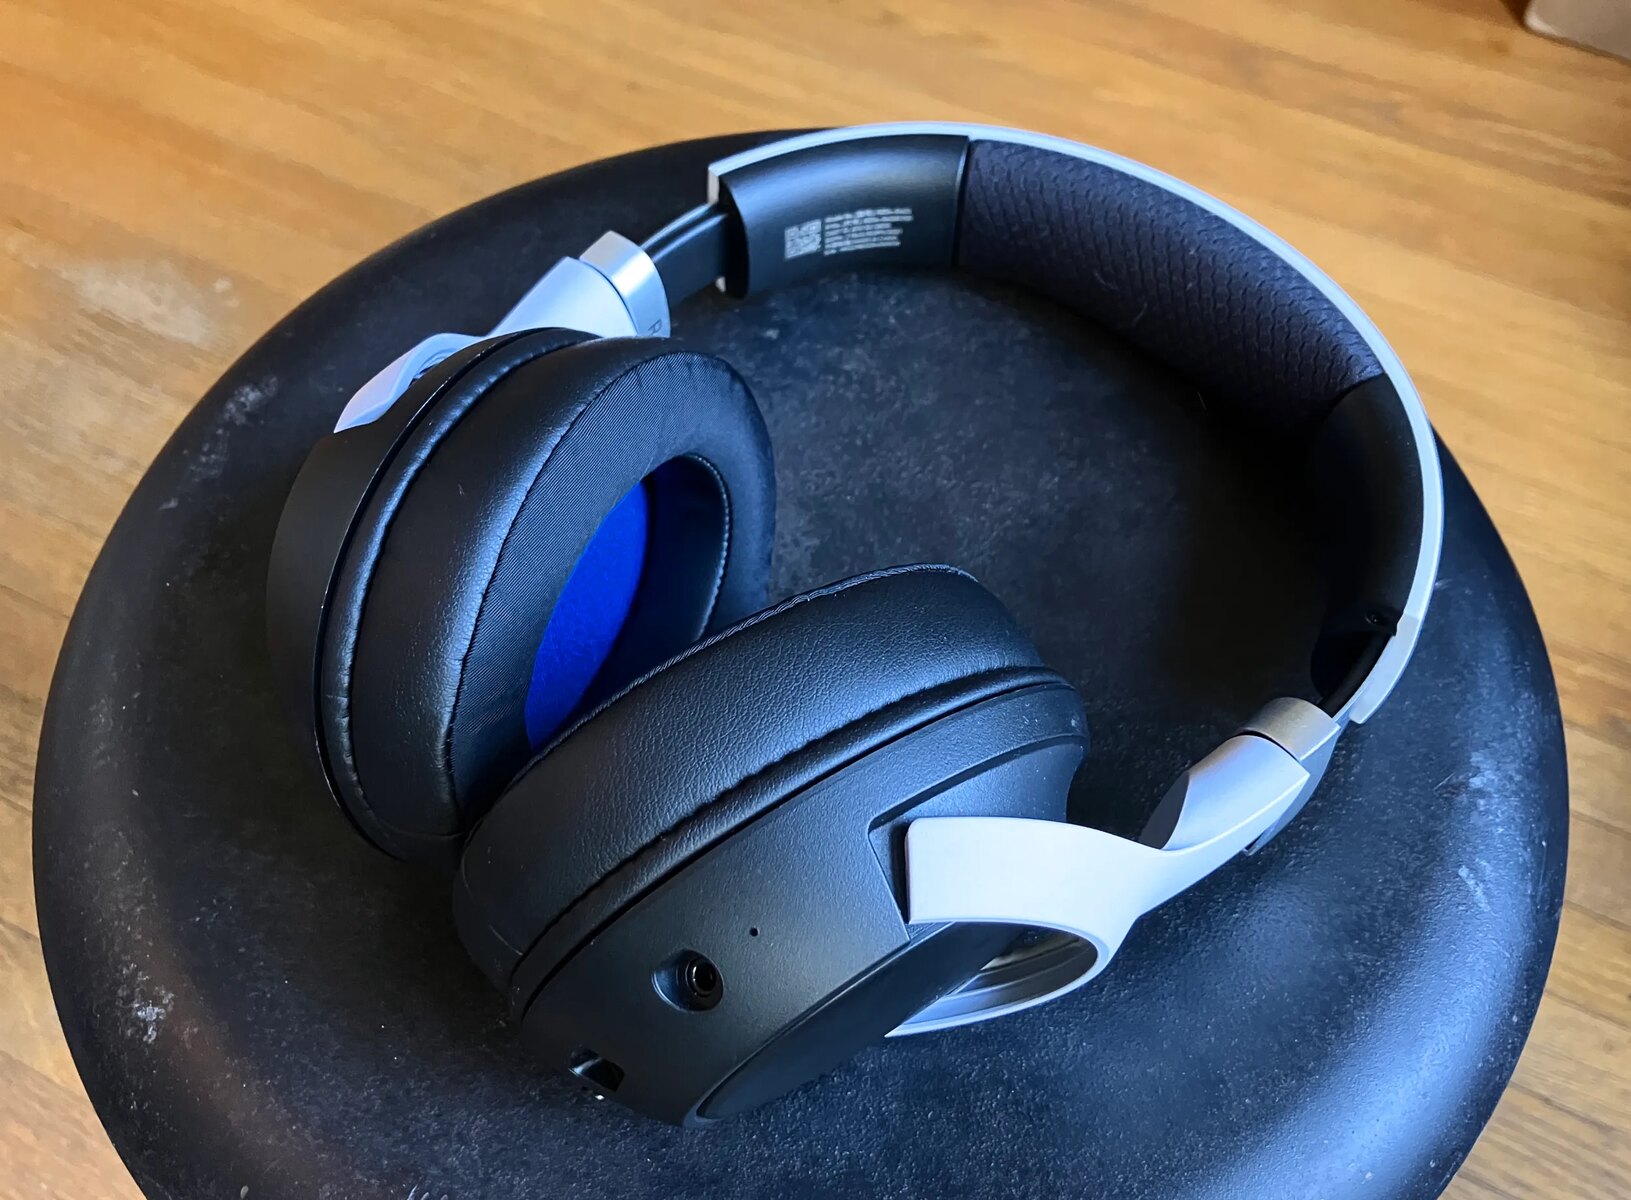
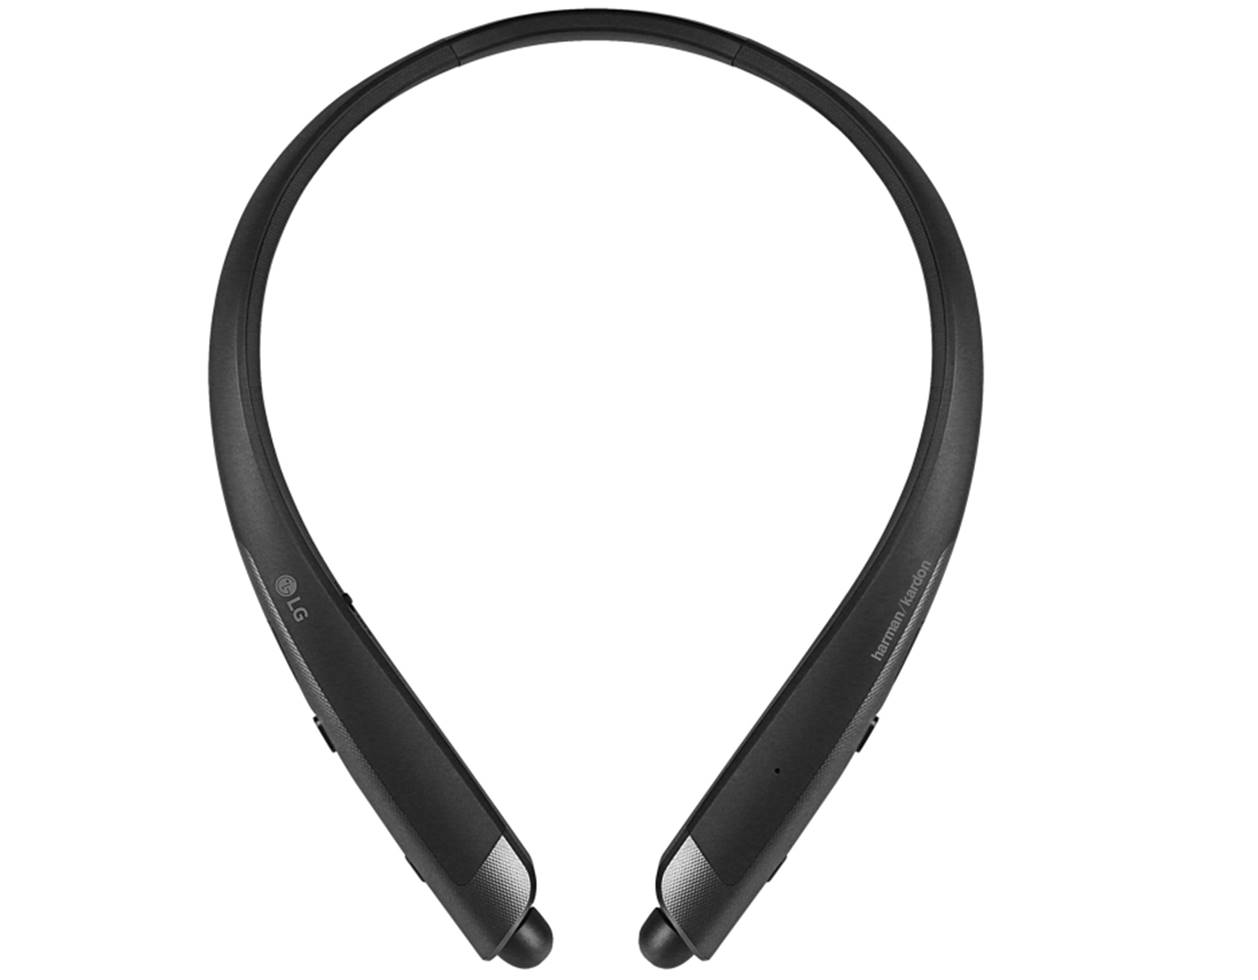
Are you ready to take your gaming experience to the next level with the SL100 gaming headset? Connecting your SL100 gaming headset to your Xbox One is a fantastic way to immerse yourself in the world of gaming, with crystal-clear audio and seamless communication. Whether you're gearing up for an intense battle or diving into a captivating storyline, the SL100 headset can elevate your gaming adventures.
In this guide, you'll discover the simple steps to connect your SL100 gaming headset to your Xbox One, allowing you to enjoy an enhanced auditory experience while playing your favorite games. By following these straightforward instructions, you'll be able to seamlessly integrate your headset with your Xbox One, ensuring that you can fully appreciate the immersive sound effects, communicate clearly with your gaming buddies, and become fully engrossed in the gaming universe.
Let's dive into the step-by-step process of connecting your SL100 gaming headset to your Xbox One, so you can start enjoying an unparalleled gaming experience without any hassle. Whether you're a seasoned gamer or just starting your gaming journey, this guide will walk you through the process, ensuring that you can unleash the full potential of your SL100 gaming headset and Xbox One console. Let's get started!
Step 1: Check the Headset Compatibility
Before diving into the process of connecting your SL100 gaming headset to your Xbox One, it’s crucial to ensure that the headset is compatible with the console. The SL100 gaming headset is designed to work seamlessly with the Xbox One, offering exceptional audio quality and communication features. However, it’s always prudent to double-check the compatibility to avoid any potential issues.
To verify the compatibility of your SL100 gaming headset with the Xbox One, you can refer to the product manual or visit the manufacturer’s website for detailed information. Additionally, you can inspect the headset’s packaging for compatibility labels or look for any specific indications related to Xbox One compatibility.
If you’re unsure about the compatibility or require further assistance, reaching out to the headset’s manufacturer or customer support team can provide you with the necessary clarification. They can offer insights into any specific requirements or additional accessories that may be needed to ensure seamless compatibility between the SL100 gaming headset and the Xbox One.
Ensuring compatibility at the outset will set the stage for a smooth and hassle-free connection process, allowing you to fully leverage the capabilities of your SL100 gaming headset while gaming on the Xbox One. Once you’ve confirmed the compatibility, you’re ready to proceed to the next step of connecting the headset to your Xbox One controller.
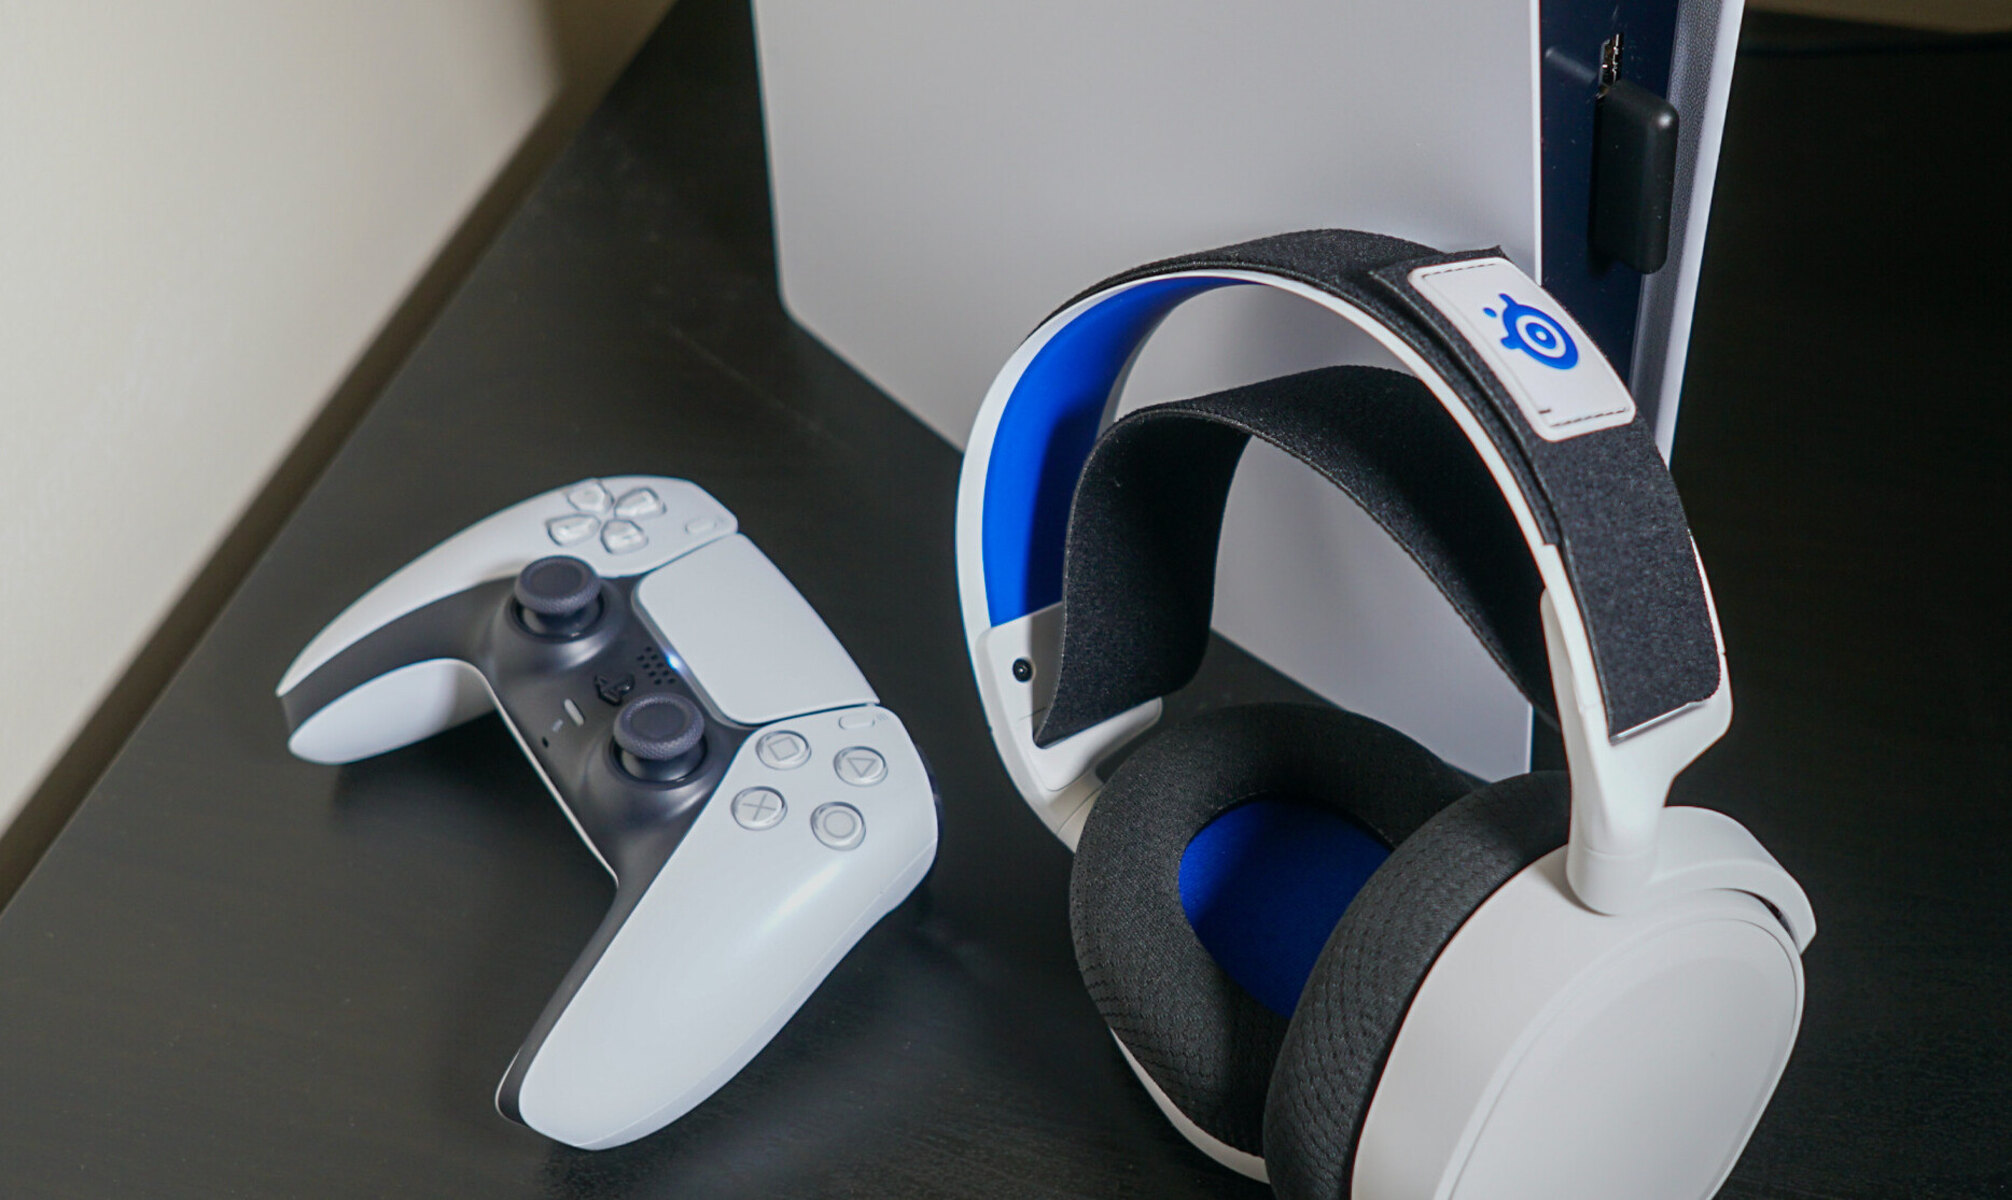
Step 2: Connecting the Headset to the Xbox One Controller
Now that you’ve confirmed the compatibility of your SL100 gaming headset with the Xbox One, it’s time to establish the physical connection between the headset and the console’s controller. The Xbox One controller serves as the gateway for audio transmission and communication, allowing you to seamlessly integrate the SL100 gaming headset into your gaming setup.
To begin, ensure that the Xbox One controller is powered on and within reach. Locate the 3.5mm audio jack on the bottom of the controller, which serves as the primary port for connecting compatible headsets, including the SL100 gaming headset. The 3.5mm audio jack is conveniently positioned for easy access, enabling a straightforward connection process.
Next, take the audio cable attached to the SL100 gaming headset and gently insert the 3.5mm connector into the audio jack on the Xbox One controller. Apply a gentle, yet firm, pressure to ensure that the connector is securely seated in the audio jack, establishing a stable connection for audio transmission.
Once the SL100 gaming headset is connected to the Xbox One controller, you’re one step closer to immersing yourself in the captivating world of gaming with enhanced audio quality and seamless communication. With the physical connection in place, you’re ready to fine-tune the audio settings on the Xbox One to optimize the performance of your SL100 gaming headset.
By seamlessly connecting your SL100 gaming headset to the Xbox One controller, you’re poised to elevate your gaming experience, whether you’re engaging in intense multiplayer battles or exploring immersive single-player adventures. With the physical connection established, the stage is set for you to fine-tune the audio settings and fully embrace the auditory enhancements offered by the SL100 gaming headset.
Step 3: Adjusting Audio Settings on the Xbox One
With the SL100 gaming headset seamlessly connected to your Xbox One controller, it’s essential to optimize the audio settings on the console to ensure an immersive and personalized auditory experience. By fine-tuning the audio settings, you can unlock the full potential of your SL100 gaming headset, allowing you to enjoy rich, dynamic soundscapes and clear communication during gaming sessions.
To begin, power on your Xbox One console and navigate to the “Settings” menu using the controller. Within the settings menu, select the “Audio” or “Sound” option to access the audio settings. Here, you’ll find a range of customizable options that can be tailored to suit your preferences and enhance the performance of your SL100 gaming headset.
One of the key settings to adjust is the “Headset Audio” or “Headset Volume” option, which allows you to control the volume levels specific to the connected headset. By adjusting the headset volume, you can fine-tune the audio output to achieve the optimal balance between game sound effects, voice chat, and overall immersion, catering to your individual preferences.
Additionally, explore the “Mic Monitoring” or “Microphone Monitoring” settings, which enable you to adjust the level of feedback from your own voice that is relayed through the headset. This feature can be particularly useful for maintaining clear communication with fellow gamers while avoiding speaking too loudly or inadvertently raising your voice during intense gaming moments.
Furthermore, if the SL100 gaming headset offers additional audio customization features, such as equalizer presets or surround sound settings, take the time to explore and configure these options within the Xbox One audio settings menu. Customizing the audio output to align with your gaming preferences can significantly enhance the overall gaming experience.
By meticulously adjusting the audio settings on your Xbox One, you’re effectively tailoring the auditory landscape to complement the capabilities of your SL100 gaming headset, ensuring that every gaming session is enriched by immersive soundscapes and seamless communication. With the audio settings optimized, you’re ready to put your SL100 gaming headset to the test and experience the enhanced audio fidelity it offers.
Step 4: Testing the Headset
With the SL100 gaming headset connected to your Xbox One controller and the audio settings fine-tuned to your preferences, it’s time to put the headset to the test. By conducting a comprehensive test, you can ensure that the audio output, microphone functionality, and overall performance of the SL100 gaming headset meet your expectations, allowing you to seamlessly integrate it into your gaming experience.
Begin the testing process by launching a game on your Xbox One console, preferably one that features immersive sound effects, dynamic audio landscapes, and opportunities for in-game communication. As the game unfolds, pay close attention to the audio output delivered through the SL100 gaming headset, assessing the clarity, depth, and positional accuracy of the sound effects.
During gameplay, engage in voice chat with friends or fellow gamers to evaluate the microphone performance of the SL100 gaming headset. Confirm that your voice is transmitted clearly and accurately, allowing for seamless communication without distortion, background noise, or connectivity issues. This step is crucial for ensuring that the headset’s microphone meets the demands of in-game communication scenarios.
As you navigate through different gaming environments and scenarios, take note of how the SL100 gaming headset enhances your overall gaming experience. Pay attention to subtle audio details, directional cues, and the immersive quality of the soundscapes, all of which contribute to a heightened sense of immersion and engagement during gameplay.
Furthermore, if the SL100 gaming headset offers additional features such as surround sound or customizable audio profiles, explore their impact during the testing phase. Assess how these features influence the overall audio fidelity and your ability to pinpoint in-game audio cues, contributing to a more immersive and captivating gaming experience.
By thoroughly testing the SL100 gaming headset in various gaming scenarios, you can gain a comprehensive understanding of its capabilities and performance within the Xbox One ecosystem. This testing phase allows you to validate the seamless integration of the headset, ensuring that it elevates your gaming experience through superior audio quality and reliable communication features.
Conclusion
Congratulations! You’ve successfully navigated the process of connecting your SL100 gaming headset to your Xbox One, paving the way for an enhanced and immersive gaming experience. By following the simple steps outlined in this guide, you’ve established a seamless integration between the SL100 gaming headset and your Xbox One console, unlocking the full potential of your gaming setup.
Through careful verification of compatibility, physical connection to the Xbox One controller, fine-tuning of audio settings, and comprehensive testing, you’ve ensured that the SL100 gaming headset aligns perfectly with your gaming preferences and requirements. This meticulous approach has set the stage for you to immerse yourself in captivating gaming adventures with unparalleled audio quality and seamless communication.
As you embark on your gaming journeys, the SL100 gaming headset stands ready to deliver rich, dynamic soundscapes, clear voice communication, and an immersive auditory experience that elevates every gaming session. Whether you’re engaging in intense multiplayer battles, exploring expansive open worlds, or unraveling gripping narratives, the SL100 gaming headset is your reliable companion for an enriched gaming experience.
By embracing the capabilities of the SL100 gaming headset and leveraging its seamless integration with the Xbox One, you’re poised to embark on gaming adventures that resonate with immersive soundscapes, clear communication, and heightened engagement. The successful connection of the SL100 gaming headset to your Xbox One represents a pivotal step towards unlocking the full potential of your gaming setup and immersing yourself in the captivating world of gaming.
With the SL100 gaming headset seamlessly integrated into your gaming arsenal, you’re primed to experience gaming in a whole new light, where every auditory detail and communication exchange contributes to an enriched and immersive gaming journey. Embrace the power of the SL100 gaming headset as you embark on thrilling gaming escapades, knowing that its audio fidelity and communication prowess are poised to elevate every moment of your gaming experience.