Introduction
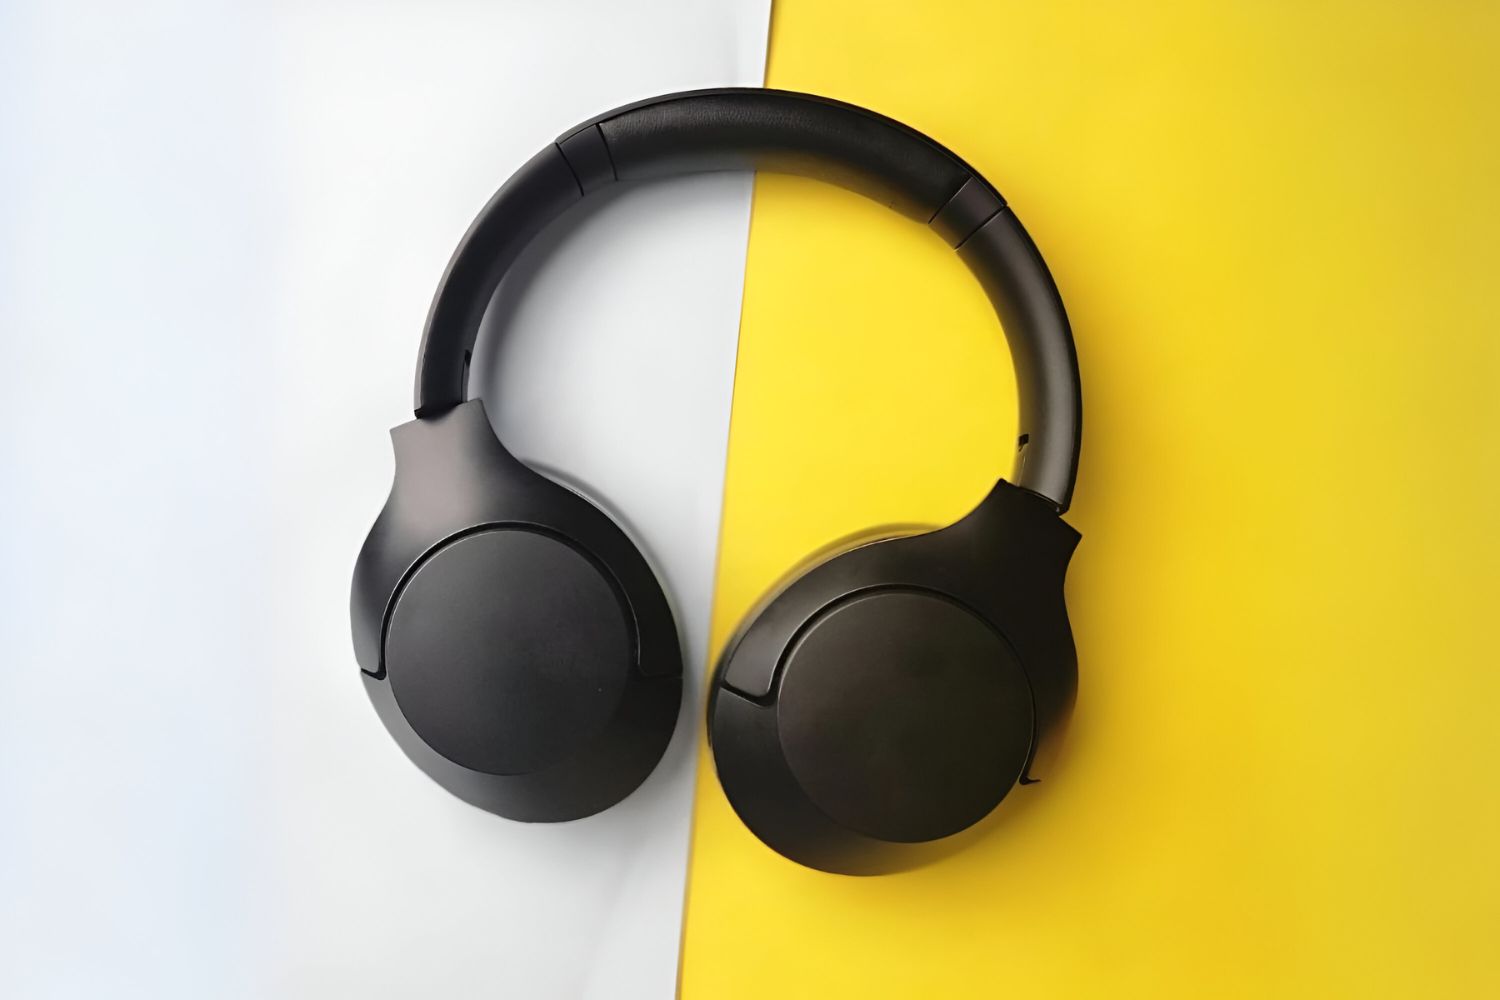
So, you've been enjoying your Philips noise-canceling headphones for a while now, and you've noticed that the battery isn't holding a charge as long as it used to. Don't worry, it's a common issue with rechargeable batteries. The good news is that changing the battery on your Philips noise-canceling headphones is a relatively simple process that you can do at home with just a few tools and a little know-how.
In this guide, we'll walk you through the step-by-step process of changing the battery on your Philips noise-canceling headphones. Whether you're an audiophile who can't bear the thought of parting with your beloved headphones or just someone looking to save a few bucks on a repair, this guide is for you.
By the end of this tutorial, you'll have the confidence and knowledge to tackle this task with ease. So, grab your tools, set aside a few minutes, and let's get started on reviving your trusty Philips noise-canceling headphones!
Step 1: Gather the Necessary Tools
Before you begin the battery replacement process, it’s essential to gather the necessary tools to ensure a smooth and efficient procedure. Here’s what you’ll need:
- New Battery: Ensure that you have the correct replacement battery for your specific Philips noise-canceling headphones. Refer to the user manual or the manufacturer’s website to identify the compatible battery model.
- Small Screwdriver Set: A precision screwdriver set with various head sizes will be required to open the battery compartment and handle the tiny screws securely.
- Clean Cloth: Having a clean cloth or microfiber towel on hand can help you maintain a tidy workspace and handle the headphones with care.
- Work Area: Set up your workspace in a well-lit, clutter-free area to prevent misplacing small components and to ensure a comfortable working environment.
By ensuring that you have these tools at your disposal, you’ll be well-prepared to proceed with the battery replacement process for your Philips noise-canceling headphones. Once you’ve gathered these items, you’re ready to move on to the next step in the battery replacement process.
Step 2: Locate the Battery Compartment
Before you can replace the battery in your Philips noise-canceling headphones, you’ll need to locate the battery compartment. The location of the battery compartment may vary depending on the specific model of your headphones, so it’s essential to refer to the user manual for precise instructions. However, in most cases, the battery compartment is strategically positioned for easy access without compromising the sleek design of the headphones.
Typically, the battery compartment is discreetly integrated into one of the ear cups of the headphones. To locate it, gently inspect the ear cups for a compartment cover or panel. The cover may be secured with tiny screws or a simple locking mechanism that can be easily released with the appropriate tools.
Once you’ve identified the battery compartment, take a moment to familiarize yourself with its design and any specific instructions provided by Philips for accessing the battery. This step is crucial in ensuring that you approach the compartment with confidence and precision, minimizing the risk of damaging any components during the battery replacement process.
By locating the battery compartment and understanding its design, you’re now ready to proceed to the next step of removing the old battery from your Philips noise-canceling headphones.
Step 3: Remove the Old Battery
With the battery compartment of your Philips noise-canceling headphones located, the next step is to carefully remove the old battery. Follow these steps to ensure a safe and effective removal process:
- Turn Off the Headphones: Before proceeding, ensure that the headphones are powered off to prevent any electrical mishaps during the battery removal process.
- Open the Battery Compartment: Using the appropriate screwdriver or unlocking mechanism, gently open the battery compartment cover to reveal the existing battery.
- Handle with Care: When handling the old battery, exercise caution and avoid touching the metal contacts to prevent any potential damage or interference with the electrical connections.
- Remove the Old Battery: Carefully extract the old battery from its housing, taking note of its orientation and placement within the compartment. Some batteries may be secured with additional clips or connectors, so proceed with attentiveness to avoid any damage.
- Dispose of the Old Battery Responsibly: Once the old battery is removed, it’s important to dispose of it in accordance with local regulations and recycling guidelines for electronic waste. Many communities offer designated recycling centers for safe battery disposal.
By following these steps, you can safely remove the old battery from your Philips noise-canceling headphones, paving the way for the next crucial phase of the battery replacement process.
Step 4: Insert the New Battery
Now that the old battery has been carefully removed from your Philips noise-canceling headphones, it’s time to proceed with inserting the new battery. Follow these steps to ensure a seamless and secure installation:
- Verify the New Battery: Before inserting the new battery, double-check that it is the correct model and size recommended for your specific Philips noise-canceling headphones. Ensuring compatibility is essential for optimal performance and safety.
- Position the New Battery: Carefully place the new battery into the designated compartment, aligning it according to the markings or orientation indicators within the housing. Take note of any securing clips or connectors that may need to be engaged to hold the battery in place.
- Close the Battery Compartment: Once the new battery is securely positioned, gently close the battery compartment cover, ensuring that it is properly aligned and fastened to maintain a snug fit.
- Test the Connection: Before fully securing the battery compartment, it’s advisable to briefly power on the headphones to confirm that the new battery is functioning correctly and that the connection is secure. This quick test can help identify any potential issues before finalizing the installation.
By following these steps, you can effectively insert the new battery into your Philips noise-canceling headphones, setting the stage for the final phase of the battery replacement process.
Step 5: Test the Headphones
With the new battery successfully inserted into your Philips noise-canceling headphones, it’s crucial to perform a thorough testing process to ensure that the headphones are functioning optimally. Follow these steps to conduct a comprehensive test:
- Power On the Headphones: Turn on the headphones and verify that they power up without any issues. Listen for any unusual sounds or indicators that may suggest a faulty connection or battery installation.
- Check Noise Cancellation: Activate the noise-canceling feature on your headphones and assess its effectiveness. Listen for any irregularities or disruptions in the noise-canceling functionality that may indicate a potential issue with the new battery.
- Monitor Battery Performance: Keep an eye on the battery performance over a reasonable period, noting any unexpected power drainage or irregularities in the headphones’ operation. This observation will help confirm the stability of the new battery’s performance.
- Test Audio Quality: Play various audio tracks at different volume levels to evaluate the overall audio quality and ensure that the headphones deliver the expected sound output. Pay attention to any distortions or inconsistencies that may arise during the testing process.
By meticulously testing the headphones after the battery replacement, you can gain confidence in the successful installation of the new battery and verify that your Philips noise-canceling headphones are fully operational.
Conclusion
Congratulations! You’ve successfully navigated the process of changing the battery on your Philips noise-canceling headphones. By following the step-by-step instructions in this guide, you’ve not only revitalized your beloved headphones but also gained valuable insight into the maintenance and care of your audio equipment.
As you reflect on the journey of replacing the battery, it’s important to acknowledge the empowerment that comes with taking charge of the maintenance of your devices. With the right tools and knowledge, you’ve demonstrated the ability to address a common issue and extend the lifespan of your headphones, all while saving time and resources.
Furthermore, by engaging in the hands-on experience of replacing the battery, you’ve deepened your understanding of the intricate components that contribute to the exceptional performance of your Philips noise-canceling headphones. This newfound familiarity with your headphones can enhance your overall appreciation for their craftsmanship and functionality.
Remember, the successful replacement of the battery is a testament to your resourcefulness and commitment to preserving the quality of your audio equipment. By prioritizing regular maintenance and addressing issues promptly, you can continue to enjoy the immersive audio experience that your Philips noise-canceling headphones provide.
As you revel in the rejuvenated performance of your headphones, take pride in the accomplishment of mastering the battery replacement process. Your dedication to maintaining and caring for your devices sets the stage for a seamless and enjoyable audio experience, ensuring that your Philips noise-canceling headphones remain a reliable companion in your daily pursuits.