Introduction
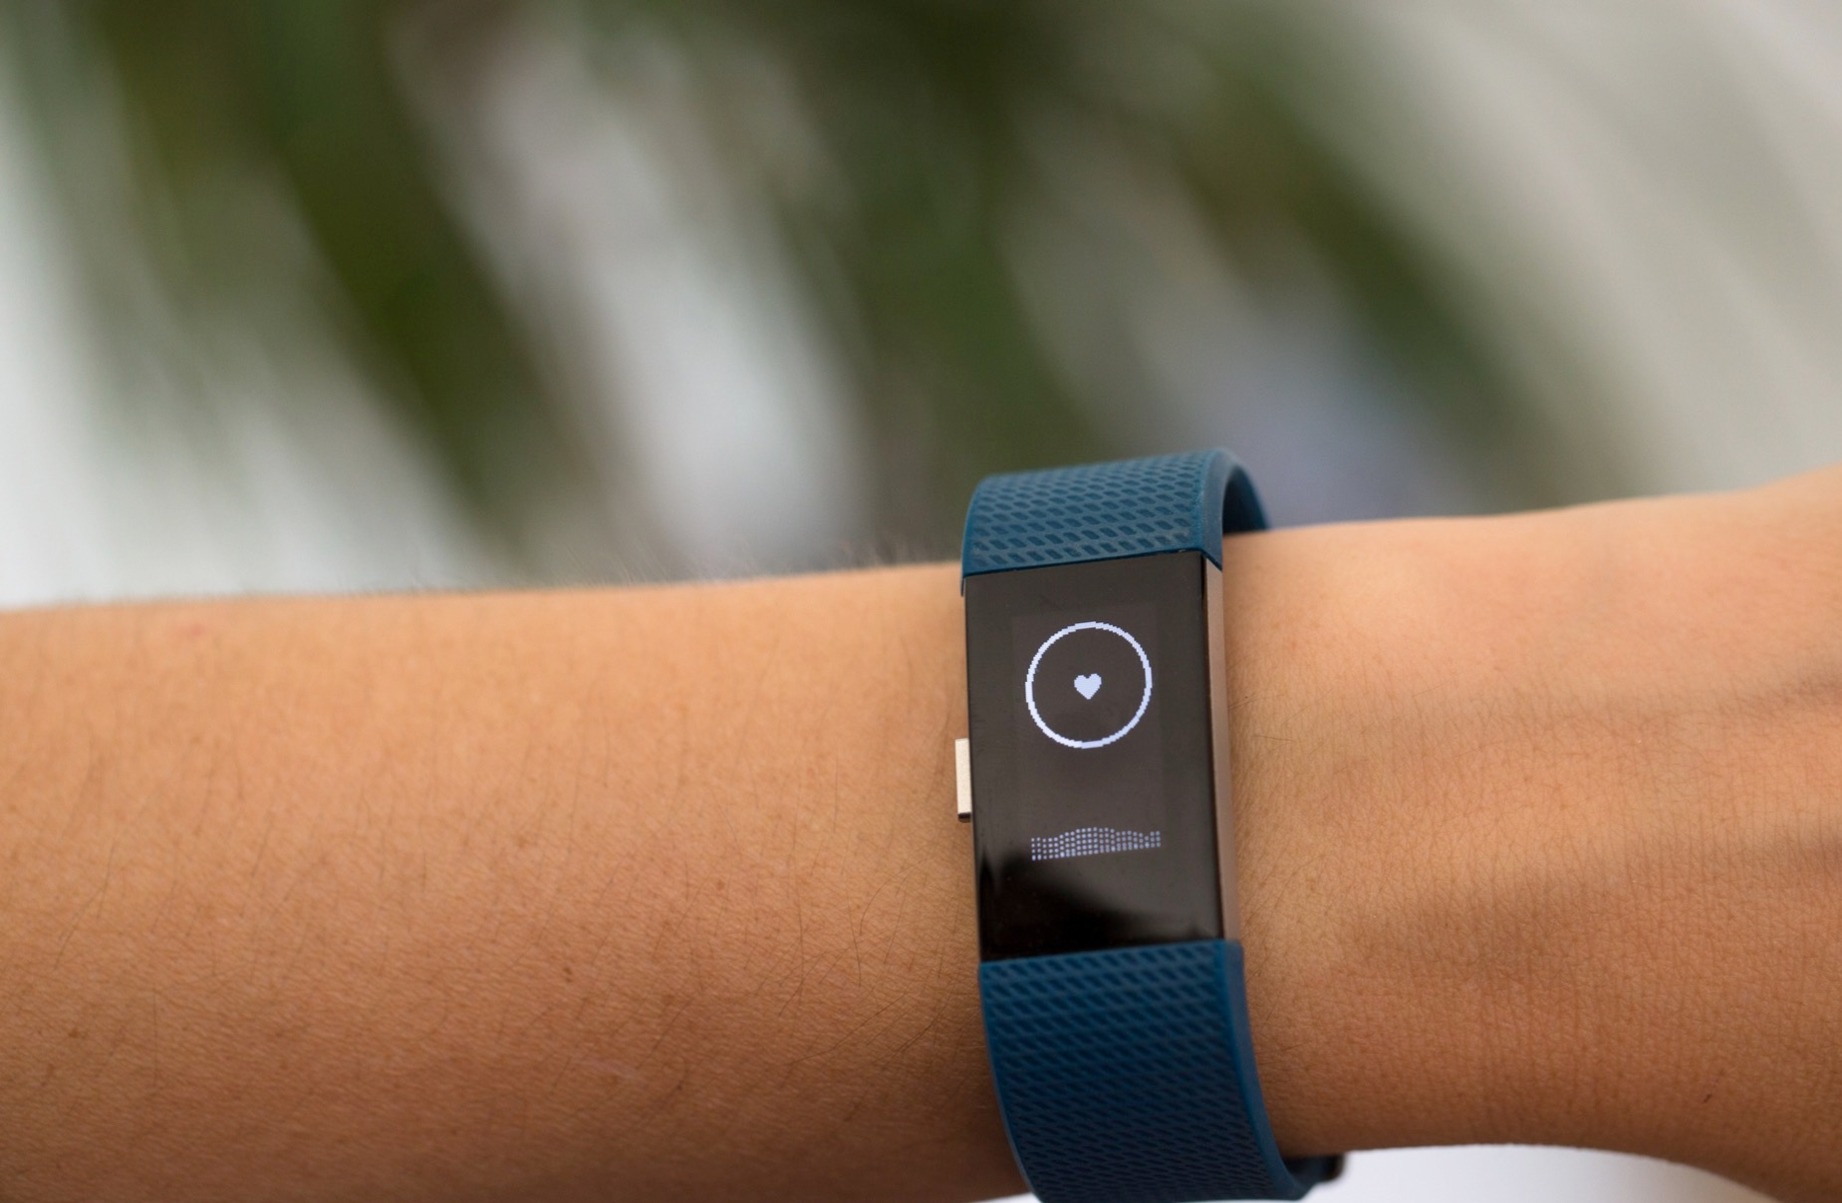
Setting the time on your Fitbit Charge 2 is a fundamental step in personalizing your wearable device and ensuring accurate tracking of your daily activities. The Fitbit Charge 2, renowned for its advanced features and sleek design, serves as a reliable companion on your fitness journey. Whether you are an avid athlete, a health-conscious individual, or someone aiming to lead an active lifestyle, the Fitbit Charge 2 offers valuable insights into your daily physical activities, heart rate, and sleep patterns.
By configuring the time settings on your Fitbit Charge 2, you can synchronize it with your local time zone, thereby ensuring that all recorded data aligns with your daily routine. This process is essential for accurate activity tracking and maintaining a seamless experience with your Fitbit device.
In this comprehensive guide, we will walk you through the step-by-step process of setting the time on your Fitbit Charge 2. By following these instructions, you will gain a deeper understanding of your device's functionality and maximize its potential in assisting you with your fitness and wellness goals. Let's embark on this journey to seamlessly configure the time on your Fitbit Charge 2, empowering you to make the most of your wearable device.
Step 1: Turning on the Fitbit Charge 2
Upon unboxing your Fitbit Charge 2, the first step is to power on the device. This process is straightforward and sets the stage for customizing the settings, including the time configuration, to align with your daily routine.
To turn on your Fitbit Charge 2, locate the charging cable that came with the device. The charging cable is an essential accessory that not only powers up your Fitbit but also facilitates data synchronization with the Fitbit app on your smartphone or computer.
Begin by connecting one end of the charging cable to the port on the underside of your Fitbit Charge 2. Once securely connected, plug the other end of the cable into a USB port on your computer, a USB wall charger, or a power outlet. As the device charges, the Fitbit logo will appear on the screen, indicating that the device is powering on.
Upon initiating the power-up sequence, the Fitbit Charge 2 will display the familiar logo, signifying that the device is booting up. This process may take a few seconds, so allow the device to complete its startup routine before proceeding to the next step.
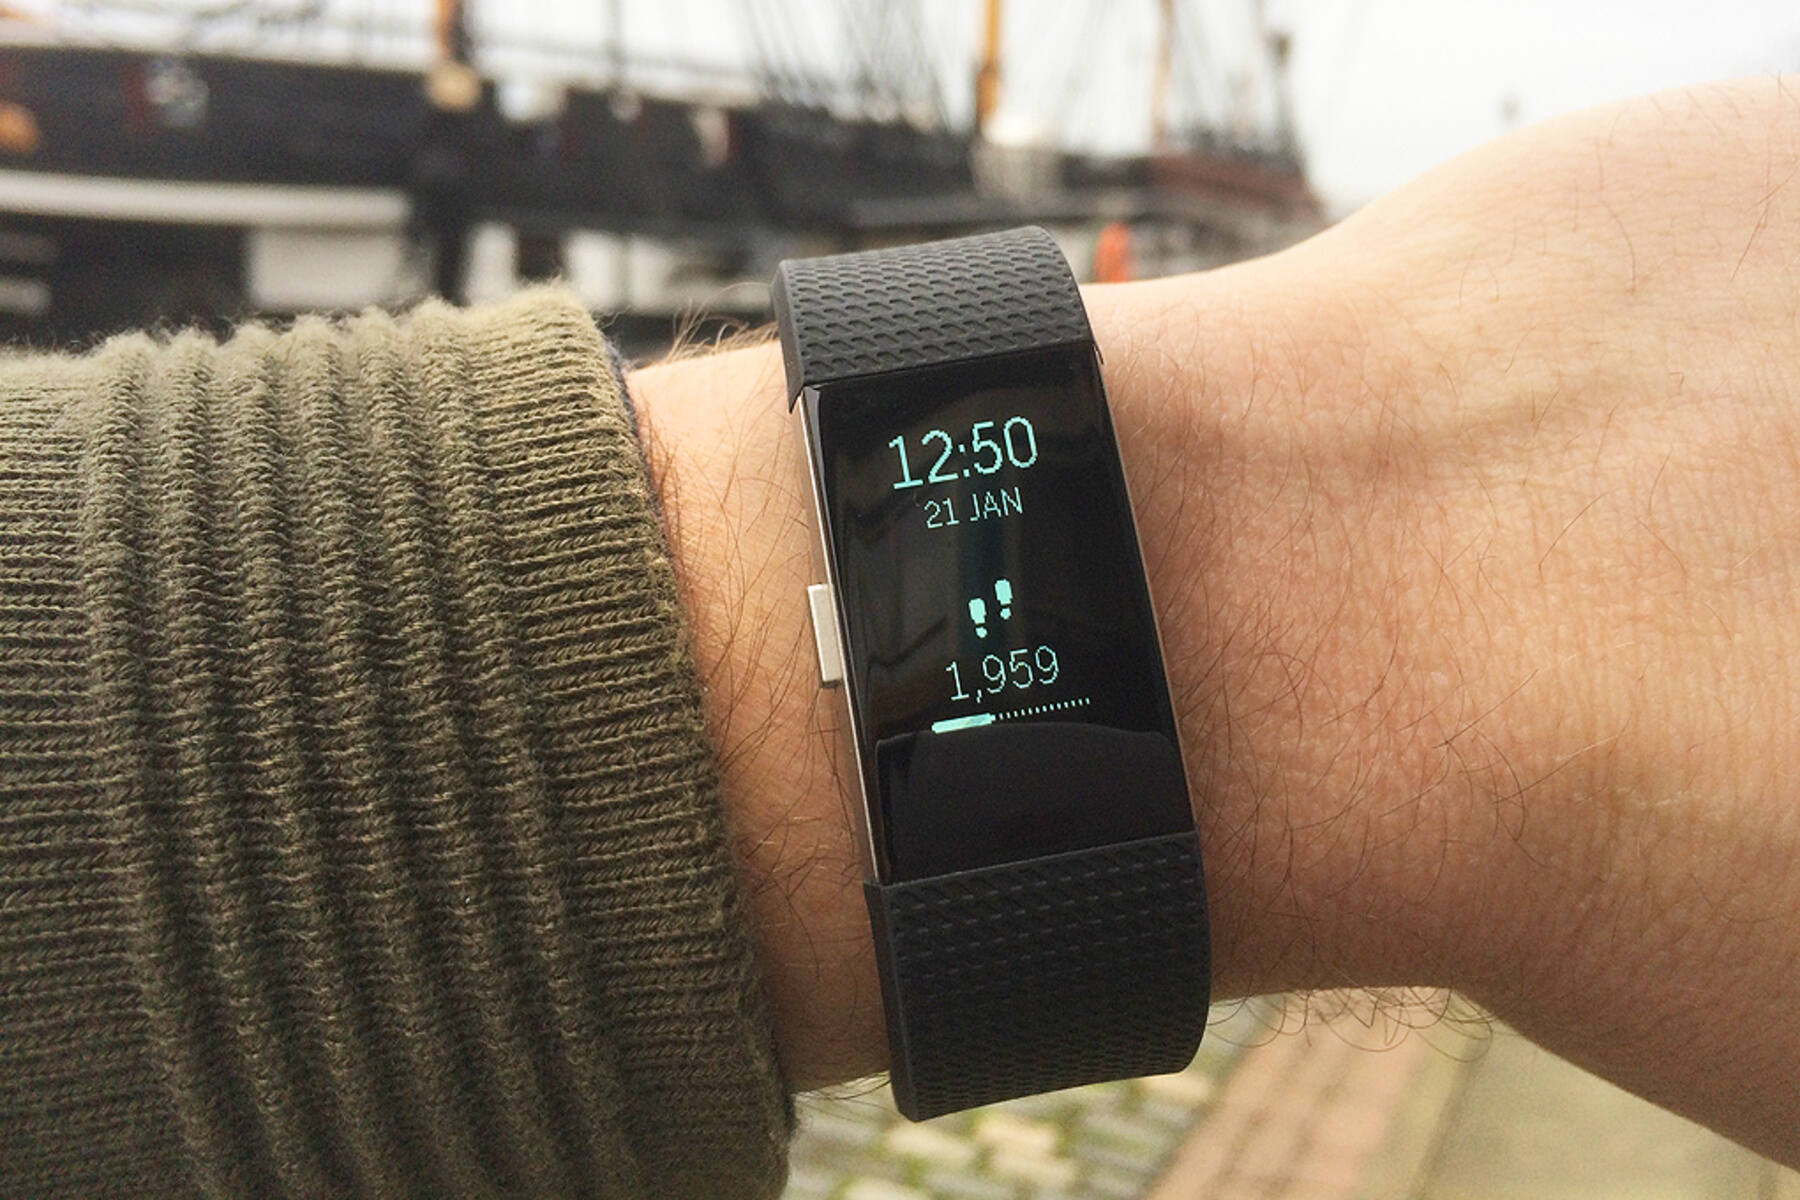
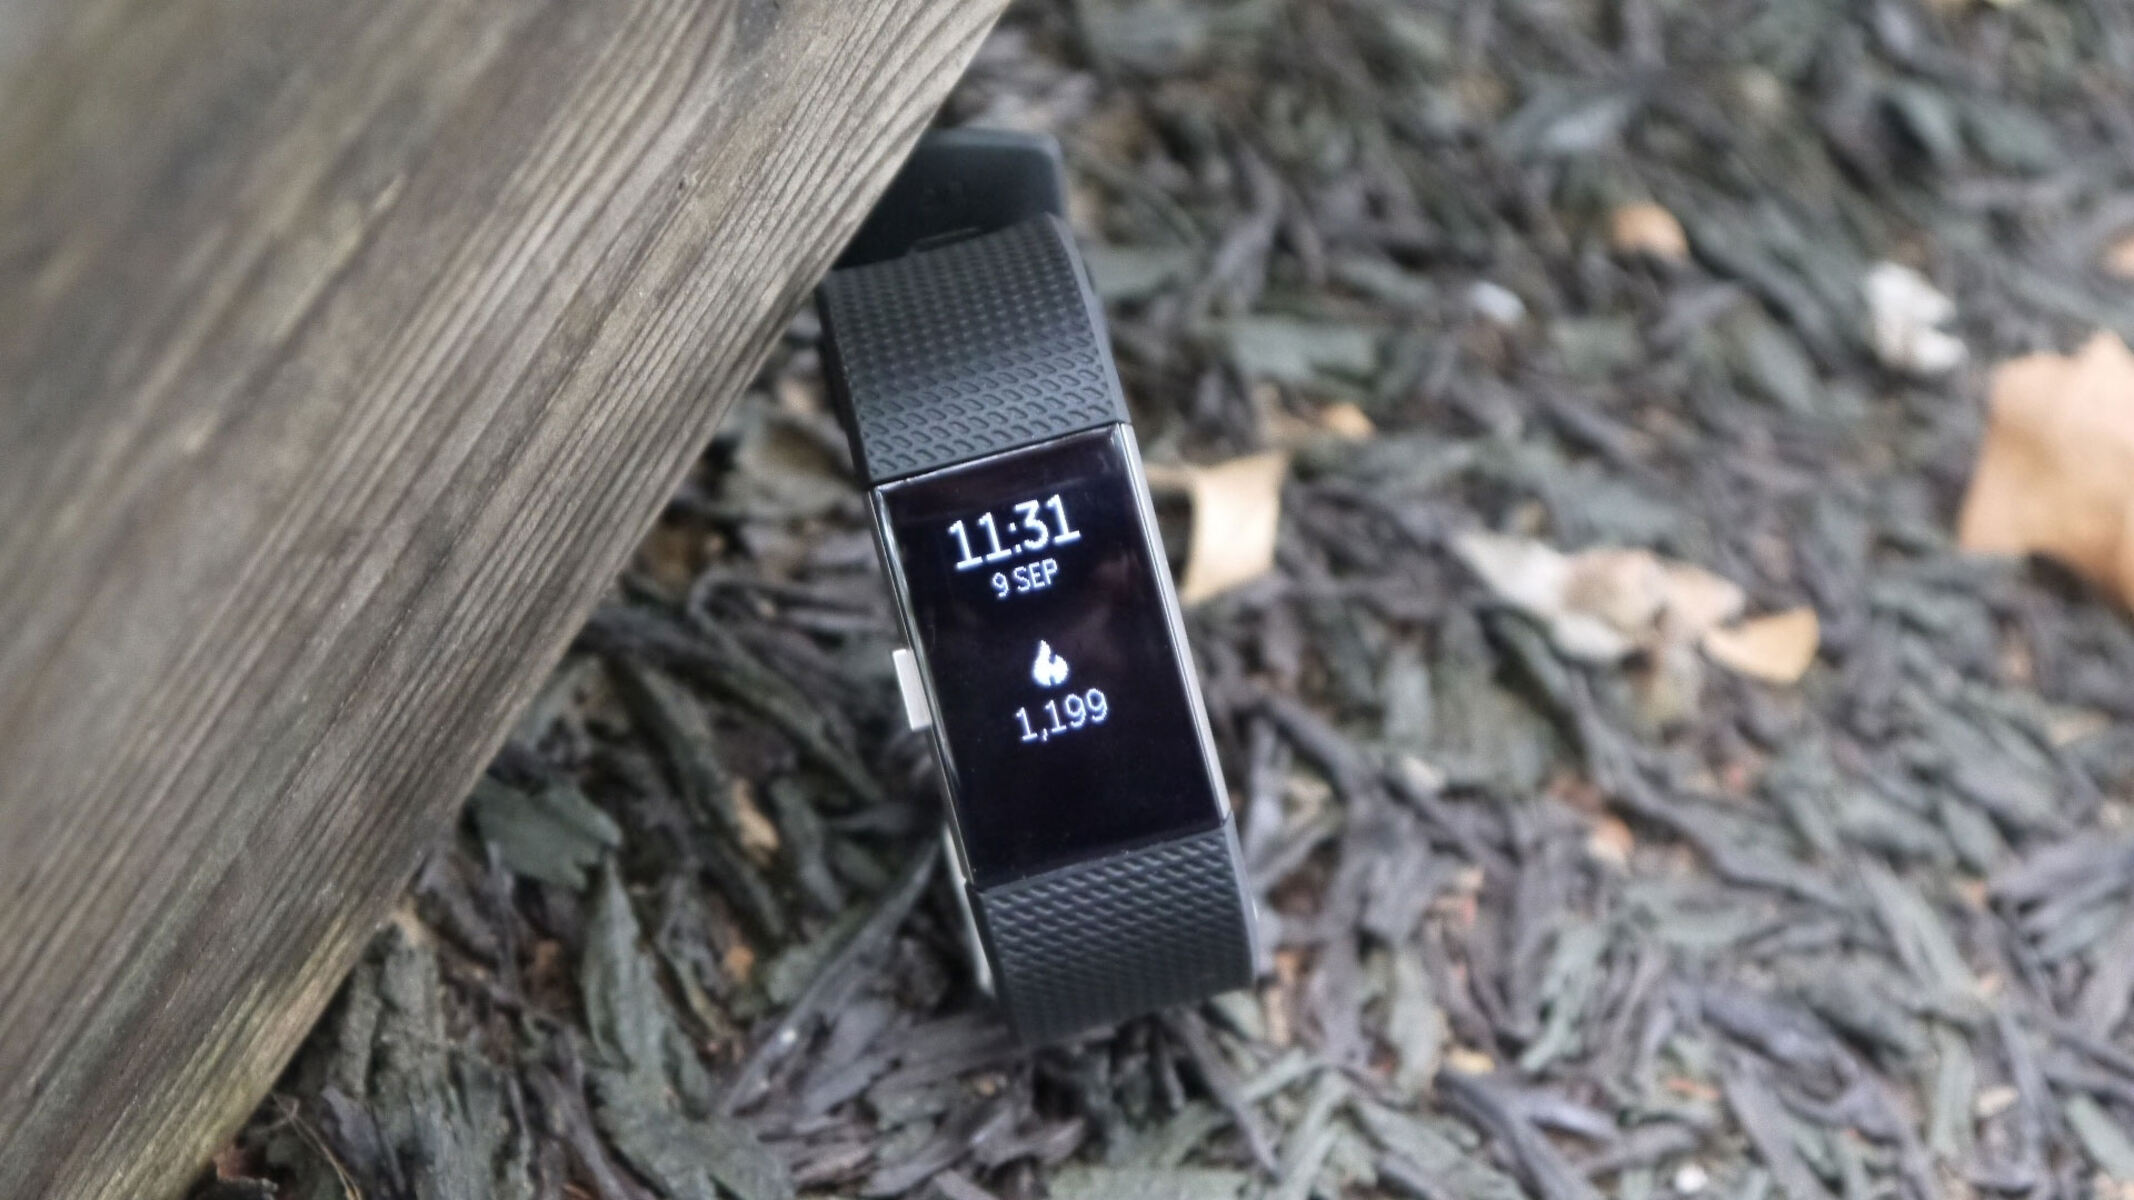
Once the Fitbit Charge 2 has successfully powered on, you will be greeted by the main screen, which showcases the time, date, and various fitness metrics. At this point, your device is ready to be personalized according to your preferences, starting with the essential task of setting the correct time.
By following these simple steps to power on your Fitbit Charge 2, you have initiated the journey toward harnessing the full potential of this advanced wearable device. With the device now operational, you are well-positioned to navigate through the settings and configure the time to ensure accurate activity tracking and seamless integration into your daily routine.
In the subsequent sections, we will delve into the intricacies of navigating to the time setting and configuring the time on your Fitbit Charge 2, empowering you to make the most of this innovative fitness companion.
Step 2: Navigating to the Time Setting
After successfully turning on your Fitbit Charge 2, the next crucial step is to navigate to the time setting. This process allows you to access the device's settings menu, where you can precisely configure the time to align with your local time zone. The accurate time setting is pivotal for ensuring that all recorded activities and notifications are synchronized with your daily routine.
To begin, lightly tap the screen of your Fitbit Charge 2 to wake up the device. Once the screen is active, swipe left to explore the various menus and options available. As you navigate through the intuitive interface of the Fitbit Charge 2, you will encounter the "Settings" menu, which serves as the gateway to customizing the device according to your preferences.
Upon locating the "Settings" menu, tap on it to delve into the array of configuration options. Within the settings, you will find the "Clock Face" option, which is where the time setting functionality is housed. By selecting "Clock Face," you will gain access to a range of clock face designs and, most importantly, the ability to adjust the time settings.
Once you have entered the "Clock Face" menu, look for the "Set Time" or "Time Display" option, which will direct you to the interface for configuring the time on your Fitbit Charge 2. Here, you can meticulously set the hours, minutes, and, if applicable, the time format (12-hour or 24-hour) to accurately reflect your local time.
Navigating to the time setting on your Fitbit Charge 2 is an essential step in personalizing the device to suit your lifestyle and preferences. By seamlessly accessing the time setting functionality within the device's settings menu, you are one step closer to optimizing the functionality of your Fitbit Charge 2 and ensuring that it seamlessly integrates into your daily routine.
In the subsequent section, we will delve into the intricacies of setting the time on your Fitbit Charge 2, empowering you to configure this fundamental aspect of the device with precision and ease.
Step 3: Setting the Time
With the navigation to the time setting completed, you are now poised to meticulously configure the time on your Fitbit Charge 2. This pivotal step ensures that your device accurately reflects the local time, aligning seamlessly with your daily activities and schedule.
Upon entering the time setting interface, you will be presented with intuitive options to adjust the hours and minutes, allowing for precise customization of the time display. The user-friendly interface of the Fitbit Charge 2 simplifies this process, enabling you to effortlessly fine-tune the time settings to suit your specific time zone.
To initiate the time-setting process, tap on the designated fields for hours and minutes, and utilize the intuitive controls to adjust the time to the exact hour and minute corresponding to your local time. The responsive touchscreen of the Fitbit Charge 2 ensures a seamless and interactive experience as you input the accurate time details.
Furthermore, if your preference dictates, you can select the time format, choosing between the 12-hour and 24-hour display options. This flexibility allows you to tailor the time representation to your accustomed format, enhancing the device's usability and personalization.
As you meticulously configure the time on your Fitbit Charge 2, envision the device seamlessly integrating into your daily routine, accurately tracking your activities and providing timely notifications. The precision in setting the time ensures that the recorded data aligns with your lifestyle, fostering a cohesive and reliable experience with your Fitbit device.
By embracing this step with attentiveness and precision, you are not only customizing the time display but also enhancing the overall functionality of your Fitbit Charge 2. The accuracy in time representation is fundamental to the device's role as your fitness and wellness companion, empowering you to make informed decisions based on precise activity tracking and time-sensitive notifications.
With the time meticulously set on your Fitbit Charge 2, you have taken a significant stride towards optimizing the device to reflect your unique lifestyle and schedule. This meticulous configuration ensures that your Fitbit Charge 2 seamlessly aligns with your daily activities, providing accurate insights and enhancing your overall experience with this advanced wearable companion.
In the subsequent section, we will explore the crucial step of confirming the time setting, cementing the seamless integration of your Fitbit Charge 2 into your daily routine.
Step 4: Confirming the Time
After meticulously setting the time on your Fitbit Charge 2, the final step involves confirming the configured time to solidify its accuracy and seamless integration into your daily routine. This crucial verification process ensures that the time displayed on your device aligns precisely with your local time zone, laying the foundation for accurate activity tracking and timely notifications.
To confirm the configured time on your Fitbit Charge 2, simply navigate back to the main clock face or time display screen. Upon reaching this interface, take a moment to review the displayed time, ensuring that it accurately reflects the current hour and minute according to your local time zone. This confirmation step serves as a pivotal checkpoint, allowing you to validate the precision of the time setting and make any necessary adjustments if discrepancies are observed.
As you confirm the time on your Fitbit Charge 2, envision the device seamlessly integrating into your daily routine, serving as a reliable companion in tracking your activities and providing timely notifications. The accuracy of the confirmed time setting is paramount, as it forms the basis for the device's functionality in aligning with your lifestyle and ensuring that all recorded data corresponds to your actual daily schedule.
Furthermore, take a moment to observe the time display over a brief period, ensuring that the minutes increment accurately and the time format, if applicable, remains consistent with your preferred representation. This attentive confirmation process reinforces the reliability of your Fitbit Charge 2 in accurately tracking your daily activities and providing real-time insights into your fitness journey.
By confirming the time on your Fitbit Charge 2, you are validating the meticulous configuration performed earlier, solidifying the device's role as your dedicated fitness and wellness companion. This final verification step instills confidence in the accuracy of the time setting, empowering you to leverage the full potential of your Fitbit Charge 2 in achieving your health and fitness goals.
With the time on your Fitbit Charge 2 duly confirmed, you have completed the essential process of setting and validating the accuracy of the time display. This meticulous attention to detail ensures that your Fitbit Charge 2 seamlessly aligns with your lifestyle, providing precise activity tracking and timely notifications, thereby enhancing your overall experience with this advanced wearable companion.
Conclusion
In conclusion, the process of setting the time on your Fitbit Charge 2 encompasses a seamless journey towards personalizing and optimizing this advanced wearable device to align with your unique lifestyle and schedule. By meticulously configuring the time settings, you have empowered your Fitbit Charge 2 to accurately track your daily activities, provide timely notifications, and seamlessly integrate into your fitness and wellness routine.
Throughout this comprehensive guide, we have navigated through the essential steps of turning on the Fitbit Charge 2, accessing the time setting interface, configuring the time with precision, and confirming the accuracy of the time display. Each step in this process serves as a testament to the device's user-friendly design and intuitive functionality, enabling you to seamlessly customize the time settings to align with your local time zone and preferred time format.
The meticulous attention to detail in setting the time on your Fitbit Charge 2 reinforces the device's role as a reliable fitness and wellness companion, providing invaluable insights into your daily activities, heart rate, and sleep patterns. The accuracy of the time setting forms the foundation for the device's functionality, ensuring that all recorded data corresponds to your actual daily schedule and fosters a cohesive experience with your Fitbit device.
By embracing the intricacies of configuring the time on your Fitbit Charge 2, you have taken a significant stride towards harnessing the full potential of this innovative wearable device. The seamless integration of the device into your daily routine, bolstered by the accurate time settings, positions your Fitbit Charge 2 as a dedicated partner in your fitness journey, empowering you to make informed decisions and stay connected to your health and wellness goals.
As you embark on your fitness and wellness endeavors, the precision in setting the time on your Fitbit Charge 2 underscores the device's commitment to providing accurate and reliable data, ultimately enhancing your overall experience and contributing to your well-being. The seamless synchronization of the device with your daily routine, facilitated by the accurate time settings, reinforces its pivotal role as a steadfast companion in your pursuit of a healthier and more active lifestyle.
In essence, setting the time on your Fitbit Charge 2 transcends a mere configuration task; it symbolizes the initiation of a harmonious partnership between you and your wearable device, culminating in a cohesive and empowering experience that propels you towards your fitness and wellness aspirations. With the time meticulously configured, your Fitbit Charge 2 stands ready to accompany you on your journey, providing invaluable support and insights every step of the way.