Introduction
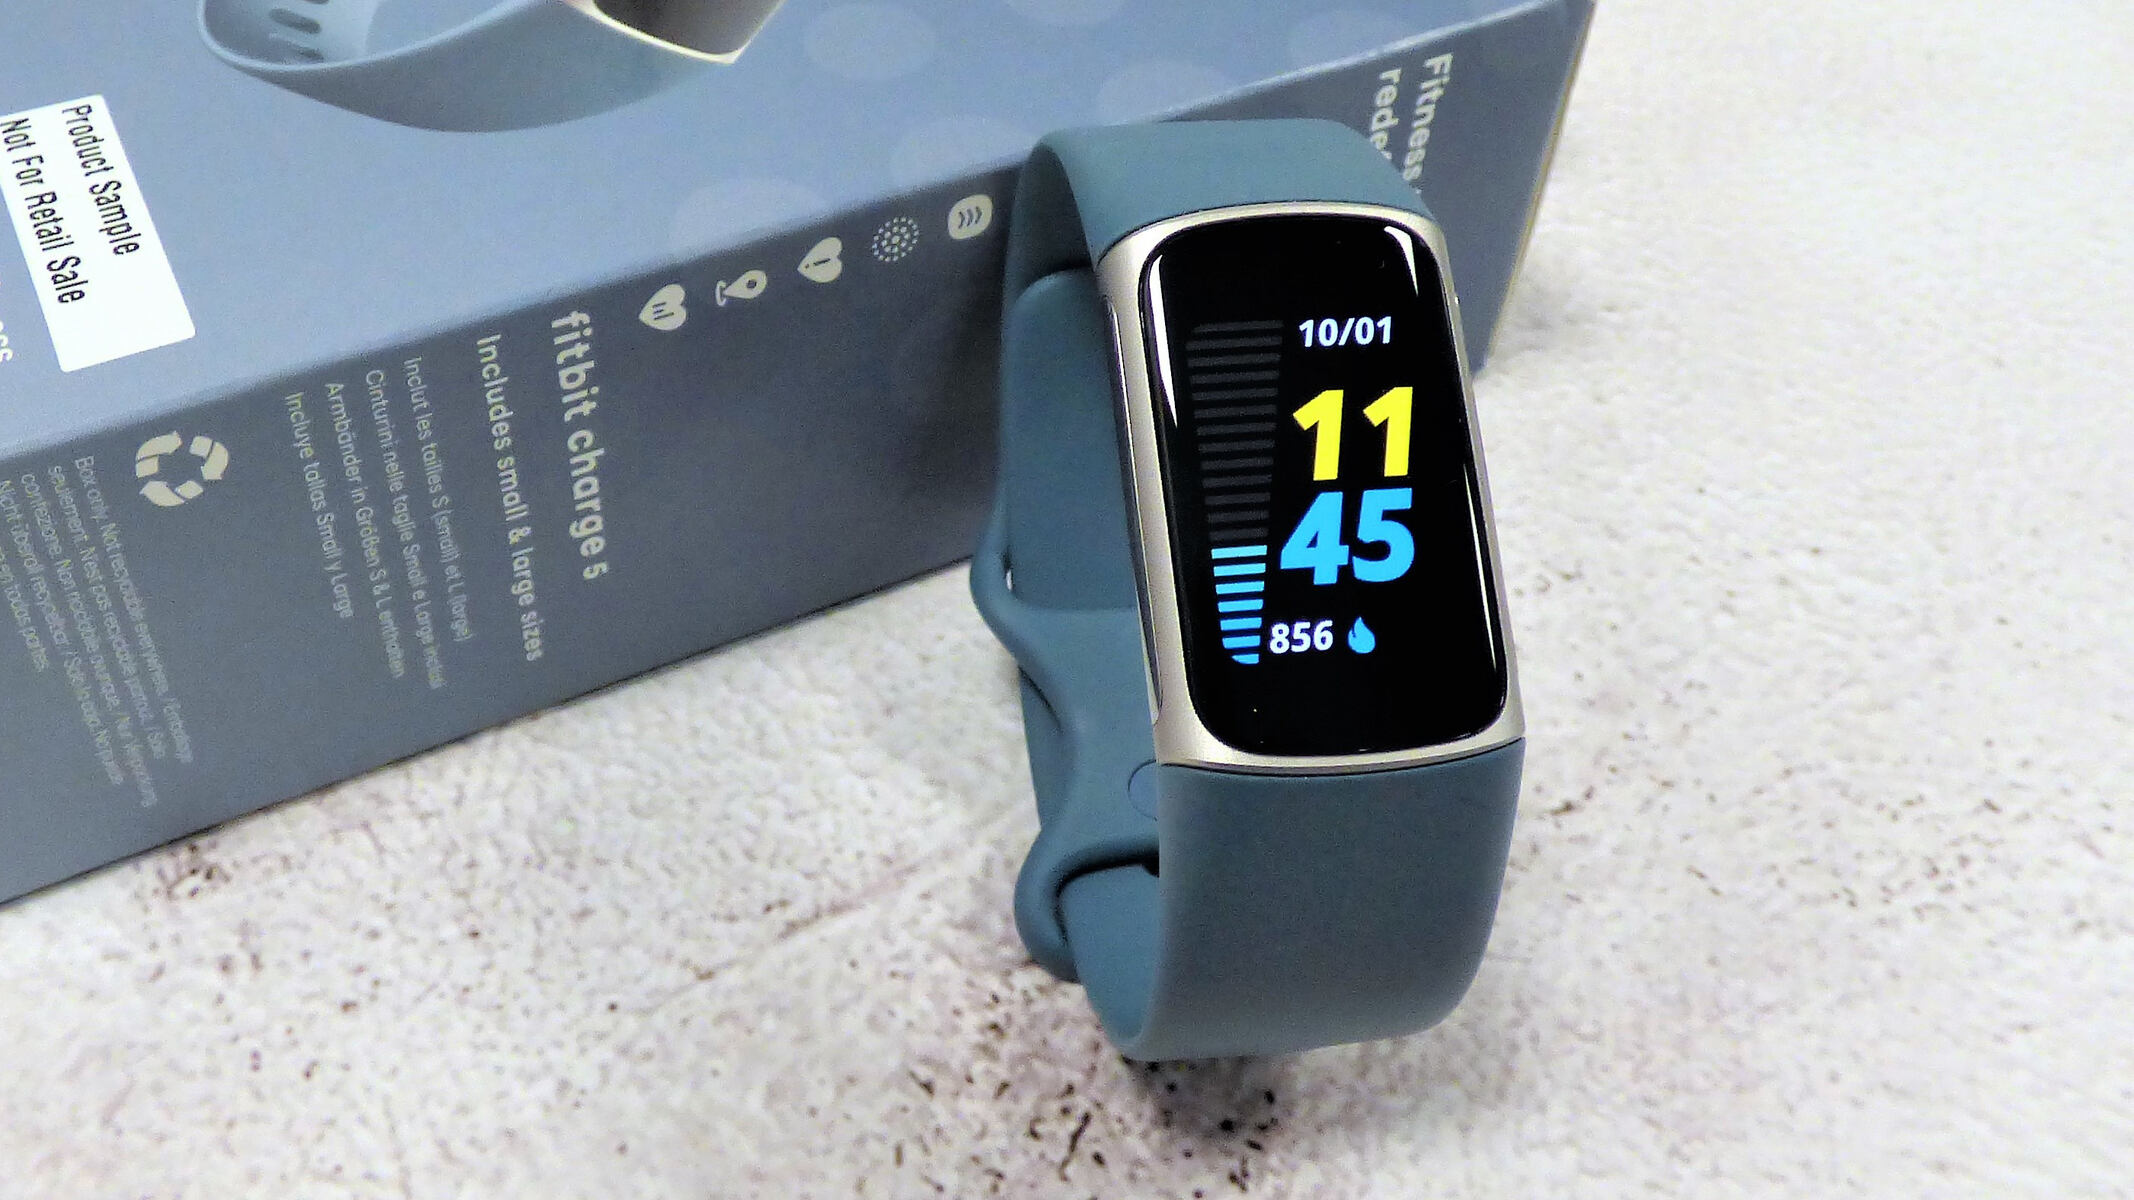
The Fitbit Charge is a popular wearable device that helps individuals monitor their daily fitness activities, including steps taken, distance traveled, and calories burned. However, like all electronic devices, the Fitbit Charge's battery has a limited lifespan and may eventually require replacement. Understanding how to access and replace the battery is essential for ensuring the continued functionality of this valuable device.
In this comprehensive guide, you will learn how to open the Fitbit Charge safely, remove the old battery, install a new one, and close the device properly. By following these step-by-step instructions, you can extend the lifespan of your Fitbit Charge and continue enjoying its features for years to come. Whether you're a fitness enthusiast, a tech-savvy individual, or someone who simply wants to prolong the life of their Fitbit Charge, this guide will equip you with the knowledge and skills needed to replace the battery with confidence.
It's important to note that attempting to replace the battery in your Fitbit Charge requires careful attention to detail and a willingness to work with small components. Therefore, it's recommended to gather the necessary tools and prepare a clean, well-lit workspace before proceeding with the battery replacement process. By doing so, you'll create an environment conducive to a successful battery replacement, minimizing the risk of damage to the device and ensuring a smooth transition to the new battery.
With the right tools and a clear understanding of the steps involved, you can take control of the battery replacement process and avoid the need for costly professional repairs or premature device replacement. So, let's dive into the essential tools required and the step-by-step process of opening, replacing, and testing the battery in your Fitbit Charge, empowering you to maintain and prolong the lifespan of this indispensable wearable device.
Tools Required
Before embarking on the battery replacement process for your Fitbit Charge, it's crucial to gather the necessary tools to ensure a smooth and successful procedure. By having the right tools at your disposal, you can approach the task with confidence and precision, minimizing the risk of damage to the device and maximizing the likelihood of a seamless battery replacement.
Here are the essential tools required for replacing the battery in your Fitbit Charge:
-
Small Phillips Head Screwdriver: The Fitbit Charge is secured with small screws, typically requiring a Phillips head screwdriver for removal. It's important to use a screwdriver that fits snugly into the screw heads to avoid slippage and potential damage to the screws or surrounding components.
-
Plastic Opening Tools or Pry Tool: Given the compact and intricate design of the Fitbit Charge, plastic opening tools or a pry tool can be invaluable for gently prying open the device without causing damage. These tools help create separation between the device's components, allowing for safe access to the internal components, including the battery.
-
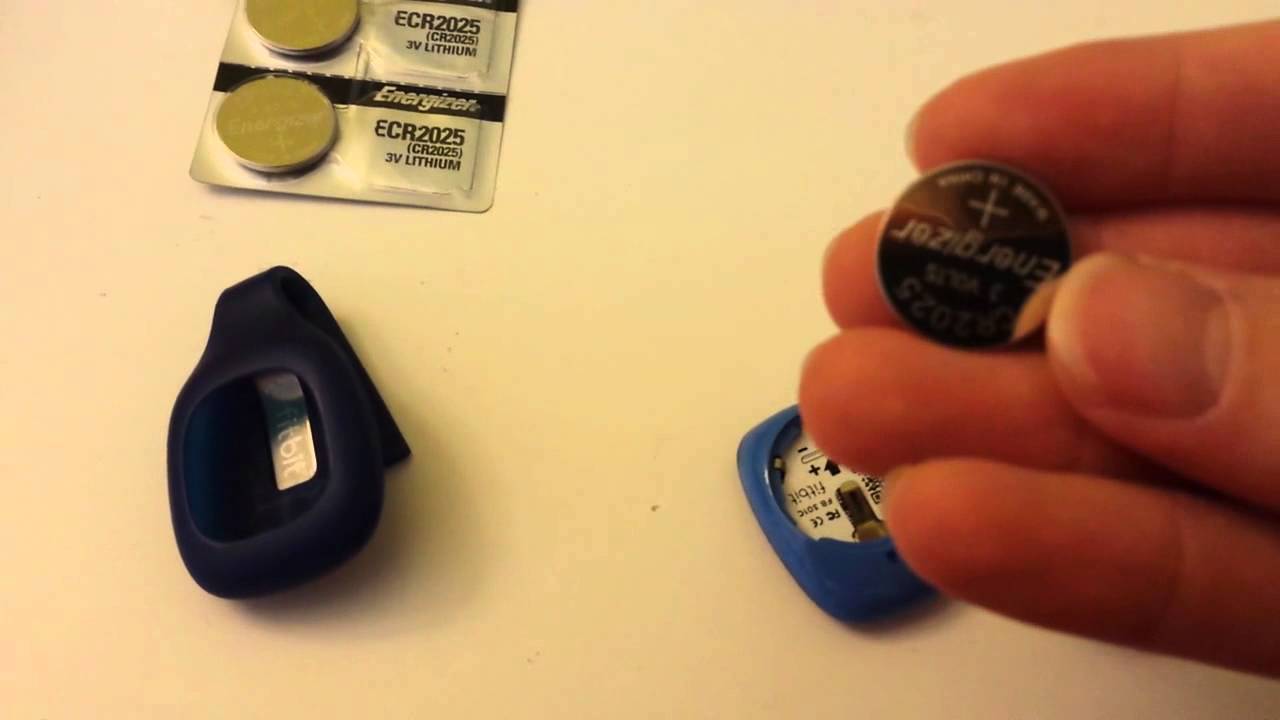
Replacement Battery: Depending on the specific model of your Fitbit Charge, you'll need a compatible replacement battery. It's essential to source a high-quality, compatible battery to ensure optimal performance and longevity for your wearable device. Be sure to verify the correct battery type and specifications for your Fitbit Charge model before proceeding with the replacement.
-
Clean Workspace: While not a traditional tool, a clean and well-lit workspace is crucial for the battery replacement process. Working in a clutter-free environment with ample lighting can help prevent misplacement of small components and ensure clear visibility during each step of the procedure.
By ensuring you have these essential tools on hand, you'll be well-prepared to open your Fitbit Charge, safely remove the old battery, install the replacement battery, and close the device with confidence. With the right tools and a methodical approach, you can navigate the battery replacement process smoothly, extending the lifespan of your Fitbit Charge and maintaining its functionality for the long term.
Opening the Fitbit Charge
To begin the battery replacement process for your Fitbit Charge, the first step is to safely open the device to access the internal components, including the existing battery. Opening the Fitbit Charge requires careful attention to detail and a methodical approach to avoid damaging the device's exterior or internal components. By following these step-by-step instructions, you can confidently navigate the process of opening your Fitbit Charge in preparation for the battery replacement.
-
Prepare the Workspace: Before opening the Fitbit Charge, ensure that you are working in a clean, well-lit environment with ample space to maneuver. A clutter-free workspace minimizes the risk of misplacing small components and allows for clear visibility during the opening process.
-
Identify the Screws: Using a small Phillips head screwdriver, carefully identify and locate the screws securing the outer casing of the Fitbit Charge. These screws are typically positioned discreetly along the edges of the device and may require a keen eye to spot.
-
Remove the Screws: With the appropriate screwdriver, gently remove the screws from their designated positions, taking care to keep them organized and separate from other components. It's essential to apply controlled force to avoid stripping the screws or causing damage to the device's casing.
-
Utilize Opening Tools: Once the screws are removed, it's time to utilize plastic opening tools or a pry tool to create separation between the outer casing and the internal components of the Fitbit Charge. Insert the opening tool into the gaps around the device's edges, exerting gentle pressure to gradually release the clasps holding the casing together.
-
Work Methodically: As you navigate around the edges of the Fitbit Charge, continue using the opening tools to create an even separation, ensuring that the casing is released uniformly without placing excessive stress on any specific area. Working methodically helps prevent unintended damage to the device's exterior.
-
Lift the Casing: Once the clasps are released, carefully lift the outer casing of the Fitbit Charge, taking note of any internal cables or connections that may be attached. It's crucial to lift the casing gently and be mindful of any delicate components within the device.
By following these steps, you can safely open your Fitbit Charge, gaining access to the internal components and the existing battery. With the device opened, you are now ready to proceed with the next stages of the battery replacement process, including removing the old battery and installing the replacement with precision and care.
Removing the Old Battery
With the Fitbit Charge successfully opened, the next critical step in the battery replacement process is removing the old battery. This step requires precision, patience, and a keen eye for detail to ensure the safe extraction of the existing battery without causing damage to the surrounding components. By following the step-by-step instructions outlined below, you can confidently navigate the process of removing the old battery from your Fitbit Charge, setting the stage for the installation of the replacement battery.
-
Identify the Old Battery: Upon accessing the internal components of the Fitbit Charge, locate the existing battery within the device. The battery is typically positioned in a designated compartment or secured in place by connectors and adhesive.
-
Disconnect Power Source: Before proceeding with the removal of the old battery, it's crucial to disconnect any power source or electrical connections that may be linked to the battery. This may involve carefully detaching cables or connectors to ensure the safe handling of the battery.
-
Exercise Caution: When handling the old battery, exercise caution to avoid applying excessive force or causing damage to the surrounding components. The goal is to remove the battery gently and methodically, minimizing the risk of unintended damage to the device.
-
Release Securing Mechanisms: Depending on the specific design of the Fitbit Charge, the old battery may be secured in place by adhesive or additional fastening mechanisms. Carefully release any securing mechanisms, ensuring that the battery can be safely extracted without resistance.
-
Gently Remove the Battery: With the securing mechanisms released, gently lift or slide the old battery out of its compartment. Take care to observe any additional cables or connections that may be attached to the battery, ensuring that they are disconnected before fully removing the old battery.
-
Organize and Store the Old Battery: Once the old battery is successfully removed, it's essential to store it in a safe and secure location. Properly organizing and storing the old battery ensures that it can be disposed of or recycled responsibly, in accordance with applicable regulations and environmental best practices.
By meticulously following these steps, you can effectively remove the old battery from your Fitbit Charge, paving the way for the installation of the replacement battery. With the old battery safely extracted, you are now prepared to proceed with the crucial next phase of the battery replacement process: installing the new battery with precision and care.
Installing the New Battery
With the old battery successfully removed from your Fitbit Charge, the next pivotal step in the battery replacement process is installing the new battery. This phase demands meticulous attention to detail, steady hands, and a methodical approach to ensure the seamless integration of the replacement battery into the device. By adhering to the step-by-step instructions outlined below, you can confidently navigate the process of installing the new battery, setting the stage for the rejuvenation of your Fitbit Charge.
-
Verify Compatibility: Before proceeding with the installation, carefully verify that the replacement battery is compatible with your specific model of Fitbit Charge. Confirm that the new battery matches the required specifications and dimensions, ensuring a snug and secure fit within the device.
-
Prepare the New Battery: Take a moment to inspect the replacement battery, ensuring that it is free from any defects or damage. Handle the new battery with care, avoiding unnecessary pressure or impact that could compromise its integrity.
-
Reconnect Power Source: If the replacement battery features connectors or cables, carefully reconnect them to their designated ports within the device. Ensure that the power source is securely reestablished, setting the stage for the smooth integration of the new battery.
-
Position the New Battery: Align the replacement battery with the designated compartment within the Fitbit Charge, ensuring that it sits flush and securely within the allocated space. Take note of any guiding markers or indicators that facilitate the correct positioning of the new battery.
-
Secure the Battery: If the replacement battery requires adhesive or securing mechanisms, carefully apply them as per the manufacturer's recommendations. Ensure that the new battery is firmly and securely in place, minimizing the risk of displacement during regular usage.
-
Test the Fit: Before proceeding with the reassembly of the device, perform a quick test to ensure that the new battery is functioning as expected. Power on the Fitbit Charge and verify that it boots up without issues, indicating the successful installation of the replacement battery.
By meticulously following these steps, you can seamlessly install the new battery in your Fitbit Charge, revitalizing the device and extending its lifespan. With the replacement battery securely integrated, you are now poised to proceed with the final phase of the battery replacement process: closing the Fitbit Charge with precision and care.
Closing the Fitbit Charge
After successfully replacing the battery in your Fitbit Charge, the final crucial step is to securely close the device, ensuring that all internal components are properly aligned and the outer casing is firmly reattached. This phase demands meticulous attention to detail and a methodical approach to avoid damaging the device's exterior or internal components. By following the step-by-step instructions outlined below, you can confidently navigate the process of closing your Fitbit Charge, culminating in the restoration of its sleek and functional form.
-
Position the Casing: With the new battery securely installed, carefully position the outer casing of the Fitbit Charge over the internal components, ensuring that it aligns seamlessly with the device's frame. Take note of any guiding markers or grooves that facilitate the proper alignment of the casing.
-
Reconnect Internal Cables: If any internal cables or connections were detached during the opening process, ensure that they are securely reconnected to their respective ports within the device. Verify that each connection is snug and properly seated to avoid any potential issues upon reassembly.
-
Align and Secure Clasps: As you lower the casing onto the device, ensure that the clasps along the edges align accurately with their corresponding slots. Apply gentle pressure along the edges to secure the clasps, gradually working your way around the device to achieve uniform closure.
-
Reinsert Screws: Once the casing is securely in place, carefully reinsert the screws into their designated positions, using a small Phillips head screwdriver. Apply controlled force to tighten the screws, ensuring that they are snug without over-tightening, which could potentially damage the threads.
-
Verify Sealing and Alignment: After reattaching the screws, perform a visual inspection to verify that the outer casing is uniformly sealed and aligned with the device's frame. Ensure that there are no gaps or unevenness, indicating a secure closure.
-
Perform Functionality Test: Power on the Fitbit Charge and verify that all functions, including the display, buttons, and tracking capabilities, are operational. This test confirms that the device has been successfully reassembled and that the replacement battery is seamlessly integrated.
By meticulously following these steps, you can effectively close your Fitbit Charge, completing the battery replacement process with precision and care. With the device securely reassembled, you can now enjoy the renewed functionality and extended lifespan of your Fitbit Charge, empowered by a fresh battery and a seamlessly closed casing.
Testing the Replacement Battery
Once the replacement battery has been installed and the Fitbit Charge is securely reassembled, it is crucial to conduct thorough testing to ensure that the new battery functions optimally within the device. Testing the replacement battery serves as a critical validation step, providing confidence in the successful integration of the new power source and the overall functionality of the wearable device.
To effectively test the replacement battery, follow these essential steps:
-
Power On and Initialization: Begin by powering on the Fitbit Charge and observing its startup sequence. As the device boots up, pay close attention to the display and any accompanying indicators to ensure that the initialization process proceeds smoothly. A successful startup indicates that the replacement battery is providing the necessary power for the device to function.
-
Functional Testing: Once the Fitbit Charge is powered on, proceed to test its various functions and features. This includes checking the responsiveness of the device's buttons, verifying the accuracy of the display, and assessing the tracking capabilities such as step counting and heart rate monitoring. By engaging with the device's functions, you can confirm that the replacement battery adequately supports its operational requirements.
-
Charging and Battery Life: After initial startup and functional testing, it is essential to assess the charging process and the overall battery life. Connect the Fitbit Charge to a power source and monitor its charging behavior, ensuring that the device recognizes the new battery and charges accordingly. Additionally, track the battery life over a period of typical usage to gauge its longevity and stability.
-
Long-Term Performance: Beyond immediate testing, it is advisable to observe the long-term performance of the replacement battery. Use the Fitbit Charge consistently over several days, tracking its battery consumption and overall performance. By monitoring its sustained functionality, you can gain confidence in the reliability of the replacement battery for extended usage.
-
Environmental Considerations: Throughout the testing process, consider the environmental conditions in which the Fitbit Charge operates. Assess how the device performs in varying temperatures, humidity levels, and activity scenarios, ensuring that the replacement battery maintains consistent performance across diverse settings.
By diligently conducting these testing procedures, you can ascertain the effectiveness of the replacement battery and validate its seamless integration within the Fitbit Charge. The successful testing of the replacement battery provides assurance of the device's extended functionality and sets the stage for continued usage with confidence in its power source.
As you navigate the testing phase, remain attentive to any irregularities or unexpected behaviors, promptly addressing any concerns that may arise. By prioritizing thorough testing, you can uphold the integrity of the battery replacement process and ensure the sustained performance of your Fitbit Charge for the foreseeable future.
Conclusion
In conclusion, the process of replacing the battery in your Fitbit Charge is a valuable skill that empowers you to extend the lifespan of this essential wearable device. By following the step-by-step instructions outlined in this guide, you have gained the knowledge and confidence to open the Fitbit Charge safely, remove the old battery, install a new one, and close the device with precision. This comprehensive approach ensures that the battery replacement process is conducted with care and attention to detail, ultimately contributing to the prolonged functionality and usability of the Fitbit Charge.
As you embarked on the battery replacement journey, you began by preparing a clean and well-lit workspace, gathering the essential tools required for the task. The careful opening of the Fitbit Charge, removal of the old battery, and installation of the replacement battery were executed with precision, emphasizing the importance of methodical and cautious handling of the device's components. The subsequent closure of the Fitbit Charge marked the successful culmination of the replacement process, ensuring that all internal components were securely reassembled within the device's sleek casing.
Furthermore, the thorough testing of the replacement battery provided essential validation of its seamless integration within the Fitbit Charge. By assessing the device's startup sequence, functional capabilities, charging behavior, and long-term performance, you were able to verify the reliability and effectiveness of the new battery, setting the stage for continued usage with confidence.
It's important to recognize that the ability to replace the battery in your Fitbit Charge not only contributes to the device's longevity but also reduces electronic waste by promoting sustainable practices. By responsibly handling the old battery and ensuring its proper disposal or recycling, you have actively participated in environmental conservation efforts, aligning with the principles of eco-conscious consumerism.
Ultimately, the knowledge and skills acquired through this battery replacement process empower you to take ownership of the maintenance and care of your Fitbit Charge, fostering a deeper connection with your wearable device. As you continue to enjoy the benefits of your rejuvenated Fitbit Charge, remember the value of proactive maintenance and the positive impact of sustainable practices in prolonging the lifespan of electronic devices.
In embracing the journey of battery replacement for your Fitbit Charge, you have exemplified a commitment to device longevity, environmental responsibility, and self-sufficiency in device maintenance. With a renewed battery and a comprehensive understanding of the replacement process, your Fitbit Charge is poised to continue supporting your fitness journey and daily activities for years to come.