Introduction
Welcome to the world of smart thermostats, where controlling the comfort of your home is just a tap away. If you’re tired of constantly adjusting your zoned HVAC system manually and looking for a more efficient and convenient way to manage your home’s temperature, then this guide is for you.
A zoned HVAC (Heating, Ventilation, and Air Conditioning) system allows you to independently control the temperature in different areas or zones of your home. This can help you optimize energy usage and ensure maximum comfort for every household member. However, traditional zoned HVAC systems often rely on complex wiring and programming, making them challenging to control and maintain.
That’s where a smart thermostat comes in. By replacing your zoned HVAC system with a smart thermostat, you can take control of your home’s climate in a more intuitive and efficient way. Smart thermostats offer features like remote accessibility, learning capabilities, and energy-saving algorithms that can help you save money on your utilities while enhancing your comfort levels.
In this guide, we will explore the benefits of using a smart thermostat and provide you with a step-by-step guide to replacing your zoned HVAC system. We will also discuss important factors to consider before making the switch and address common troubleshooting issues you might encounter.
Whether you’re looking to update your HVAC system for a more user-friendly experience or you’re interested in reducing your energy consumption, this guide will serve as your comprehensive resource for replacing zoned HVAC with a smart thermostat.
Understanding Zoned HVAC Systems
Zoned HVAC systems are designed to provide customized temperature control for different areas or zones within a home. This allows homeowners to create distinct climate zones to meet the specific comfort needs of each area, rather than treating the entire home as a single unit. Understanding how zoned HVAC systems work will help you make an informed decision when considering a switch to a smart thermostat.
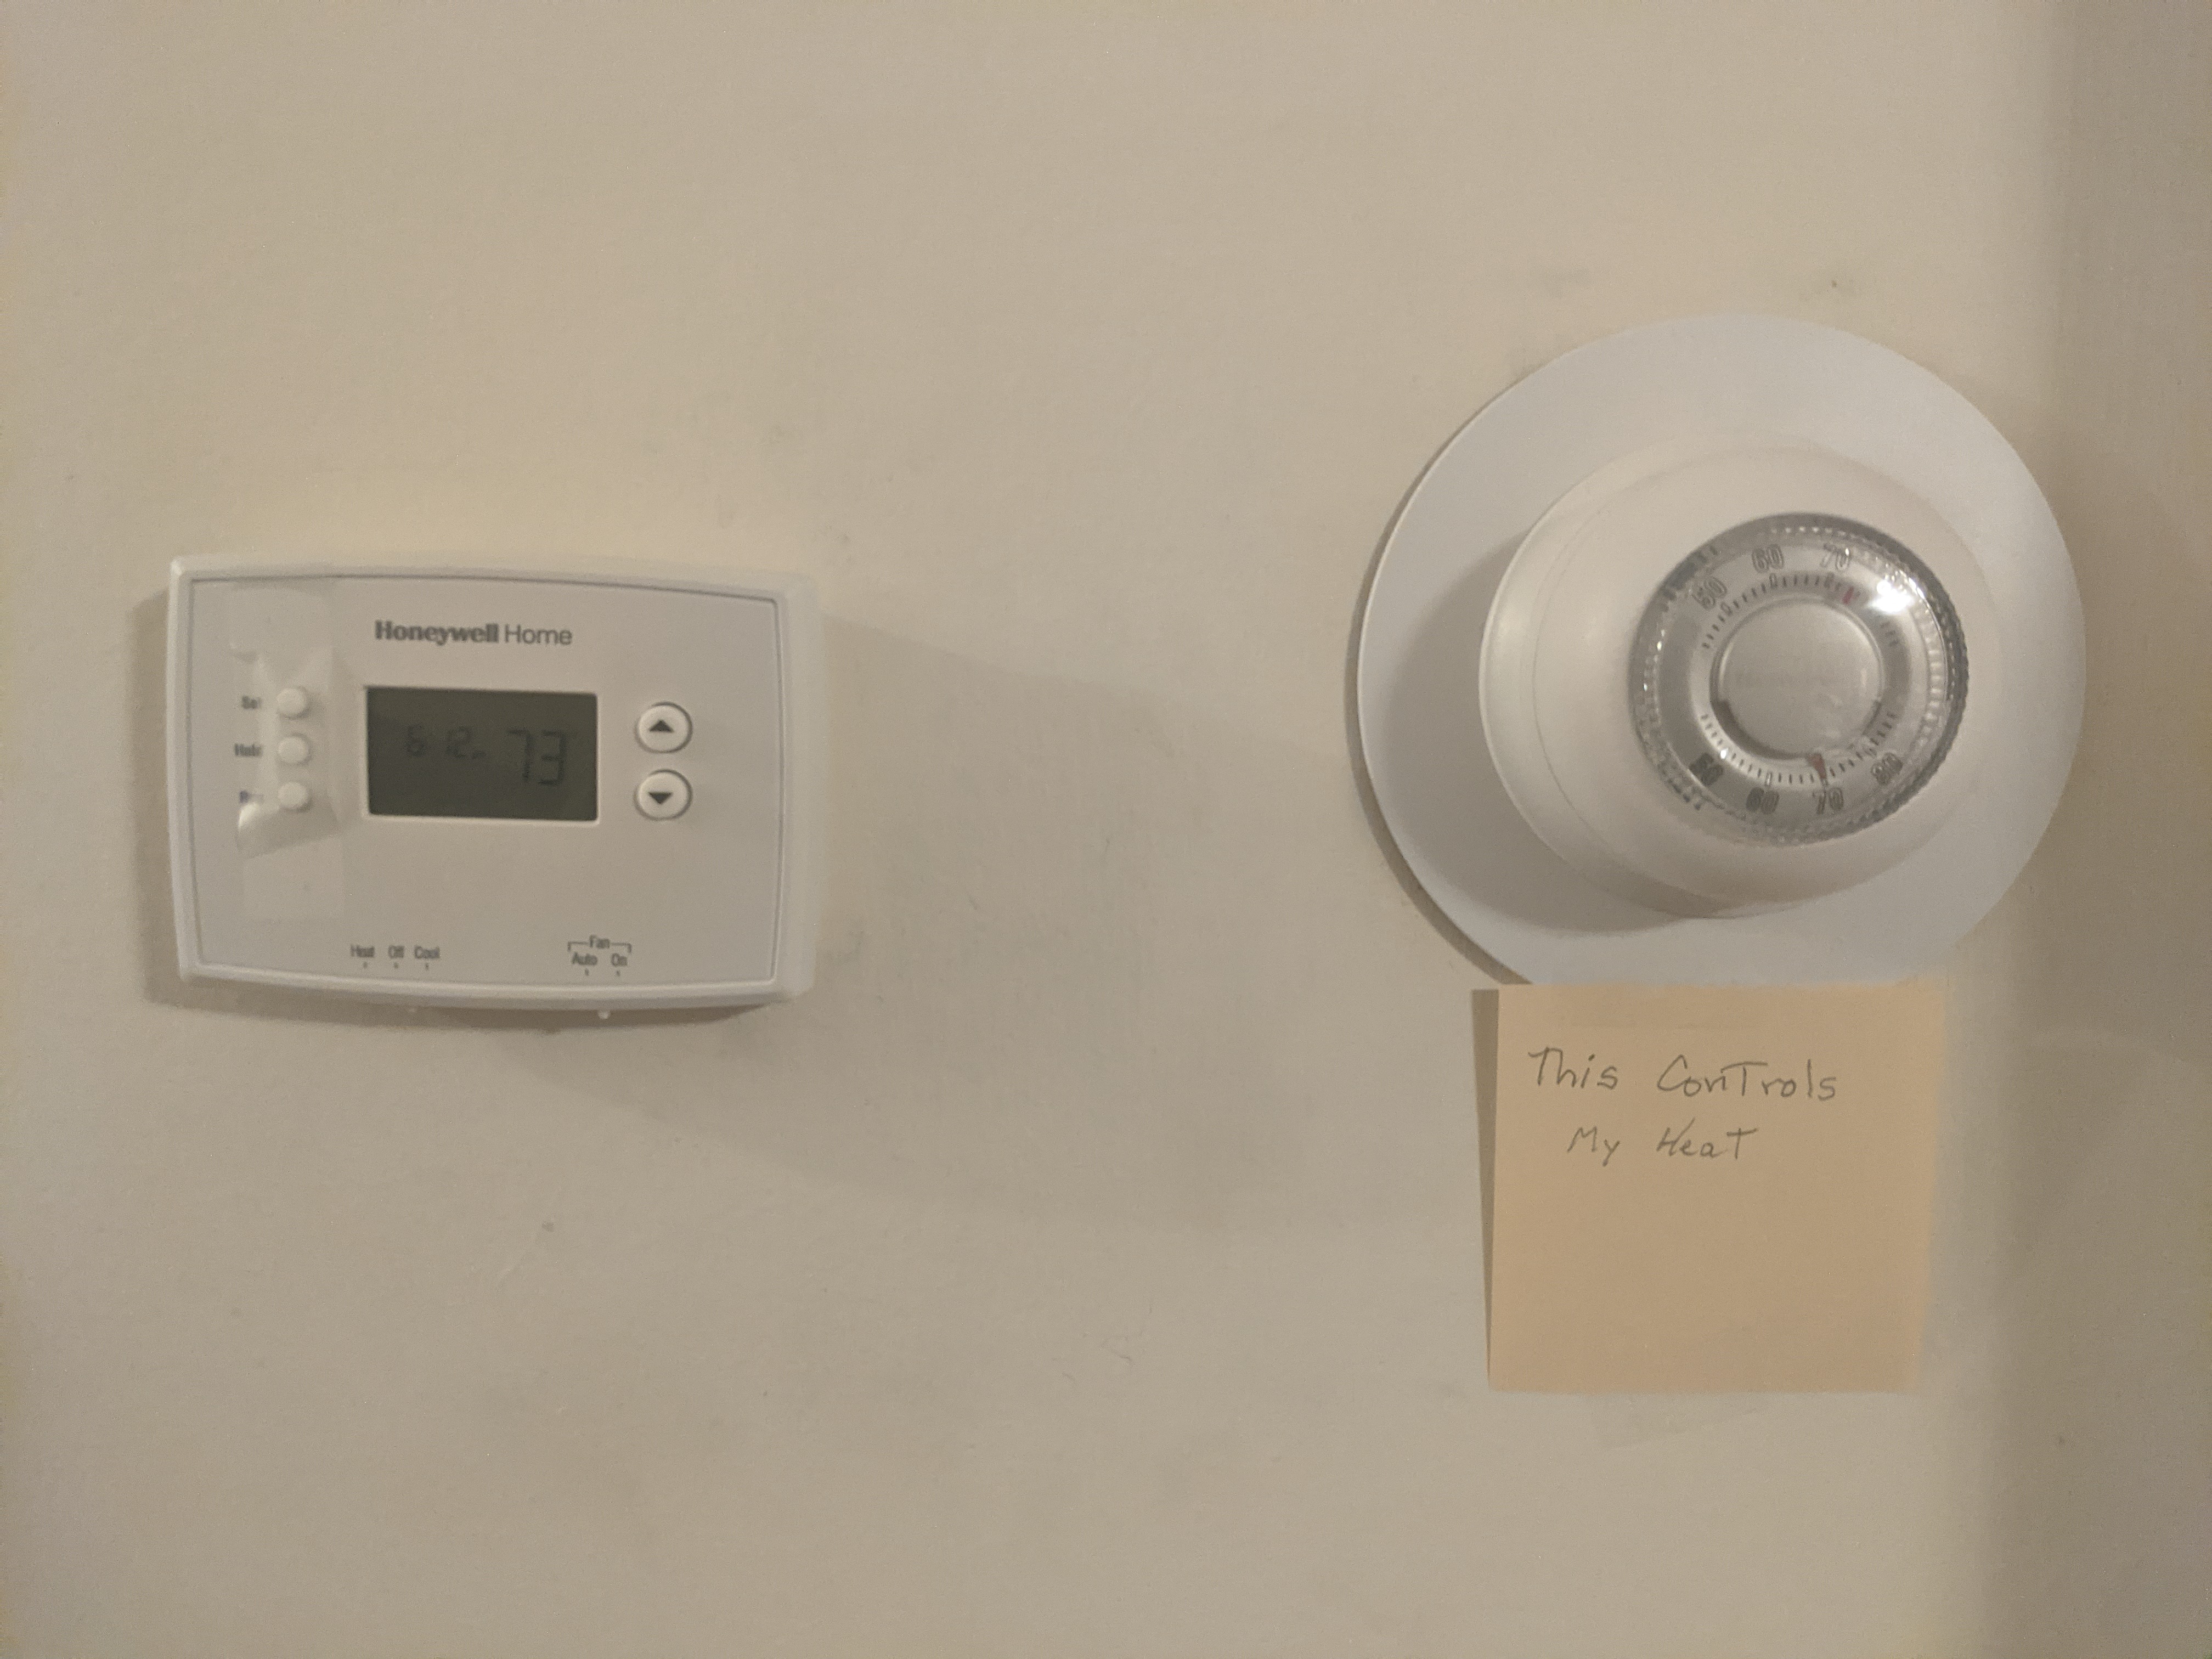
At the core of a zoned HVAC system are dampers, which are installed in the ductwork to regulate airflow to different zones. These dampers can be manually adjusted or controlled automatically based on the thermostat settings. By opening or closing the dampers, warm or cool air can be directed to specific areas of the home, providing individualized temperature control.
Zoned HVAC systems typically have multiple thermostats that are installed in different zones. Each thermostat is responsible for monitoring and controlling the temperature in its respective zone. By having multiple thermostats strategically located throughout the house, you can achieve precise temperature control and avoid wasting energy in unoccupied areas.
Traditional zoned HVAC systems rely on wired connections between the thermostats, dampers, and HVAC equipment. This can make the installation and maintenance process complex and time-consuming. However, smart thermostats have revolutionized the way we control zoned HVAC systems, offering wireless connectivity and advanced features that simplify the process.
To effectively utilize zoned HVAC systems, it’s important to understand the layout and insulation of your home. Identifying the areas that receive the most sun exposure or experience temperature fluctuations can help you create zones that reflect your needs. By dividing your home into zones, you can customize the temperature settings to optimize comfort and energy efficiency for each area.
Overall, understanding zoned HVAC systems gives you the knowledge to make informed decisions about your home’s comfort. By recognizing the benefits of personalized temperature control and the functionality of zoned HVAC systems, you’ll be well-prepared to replace your current setup with a smart thermostat.
Benefits of Using a Smart Thermostat
Replacing your zoned HVAC system with a smart thermostat can bring numerous benefits to your home comfort, energy efficiency, and overall convenience. Let’s explore some of the key advantages of using a smart thermostat:
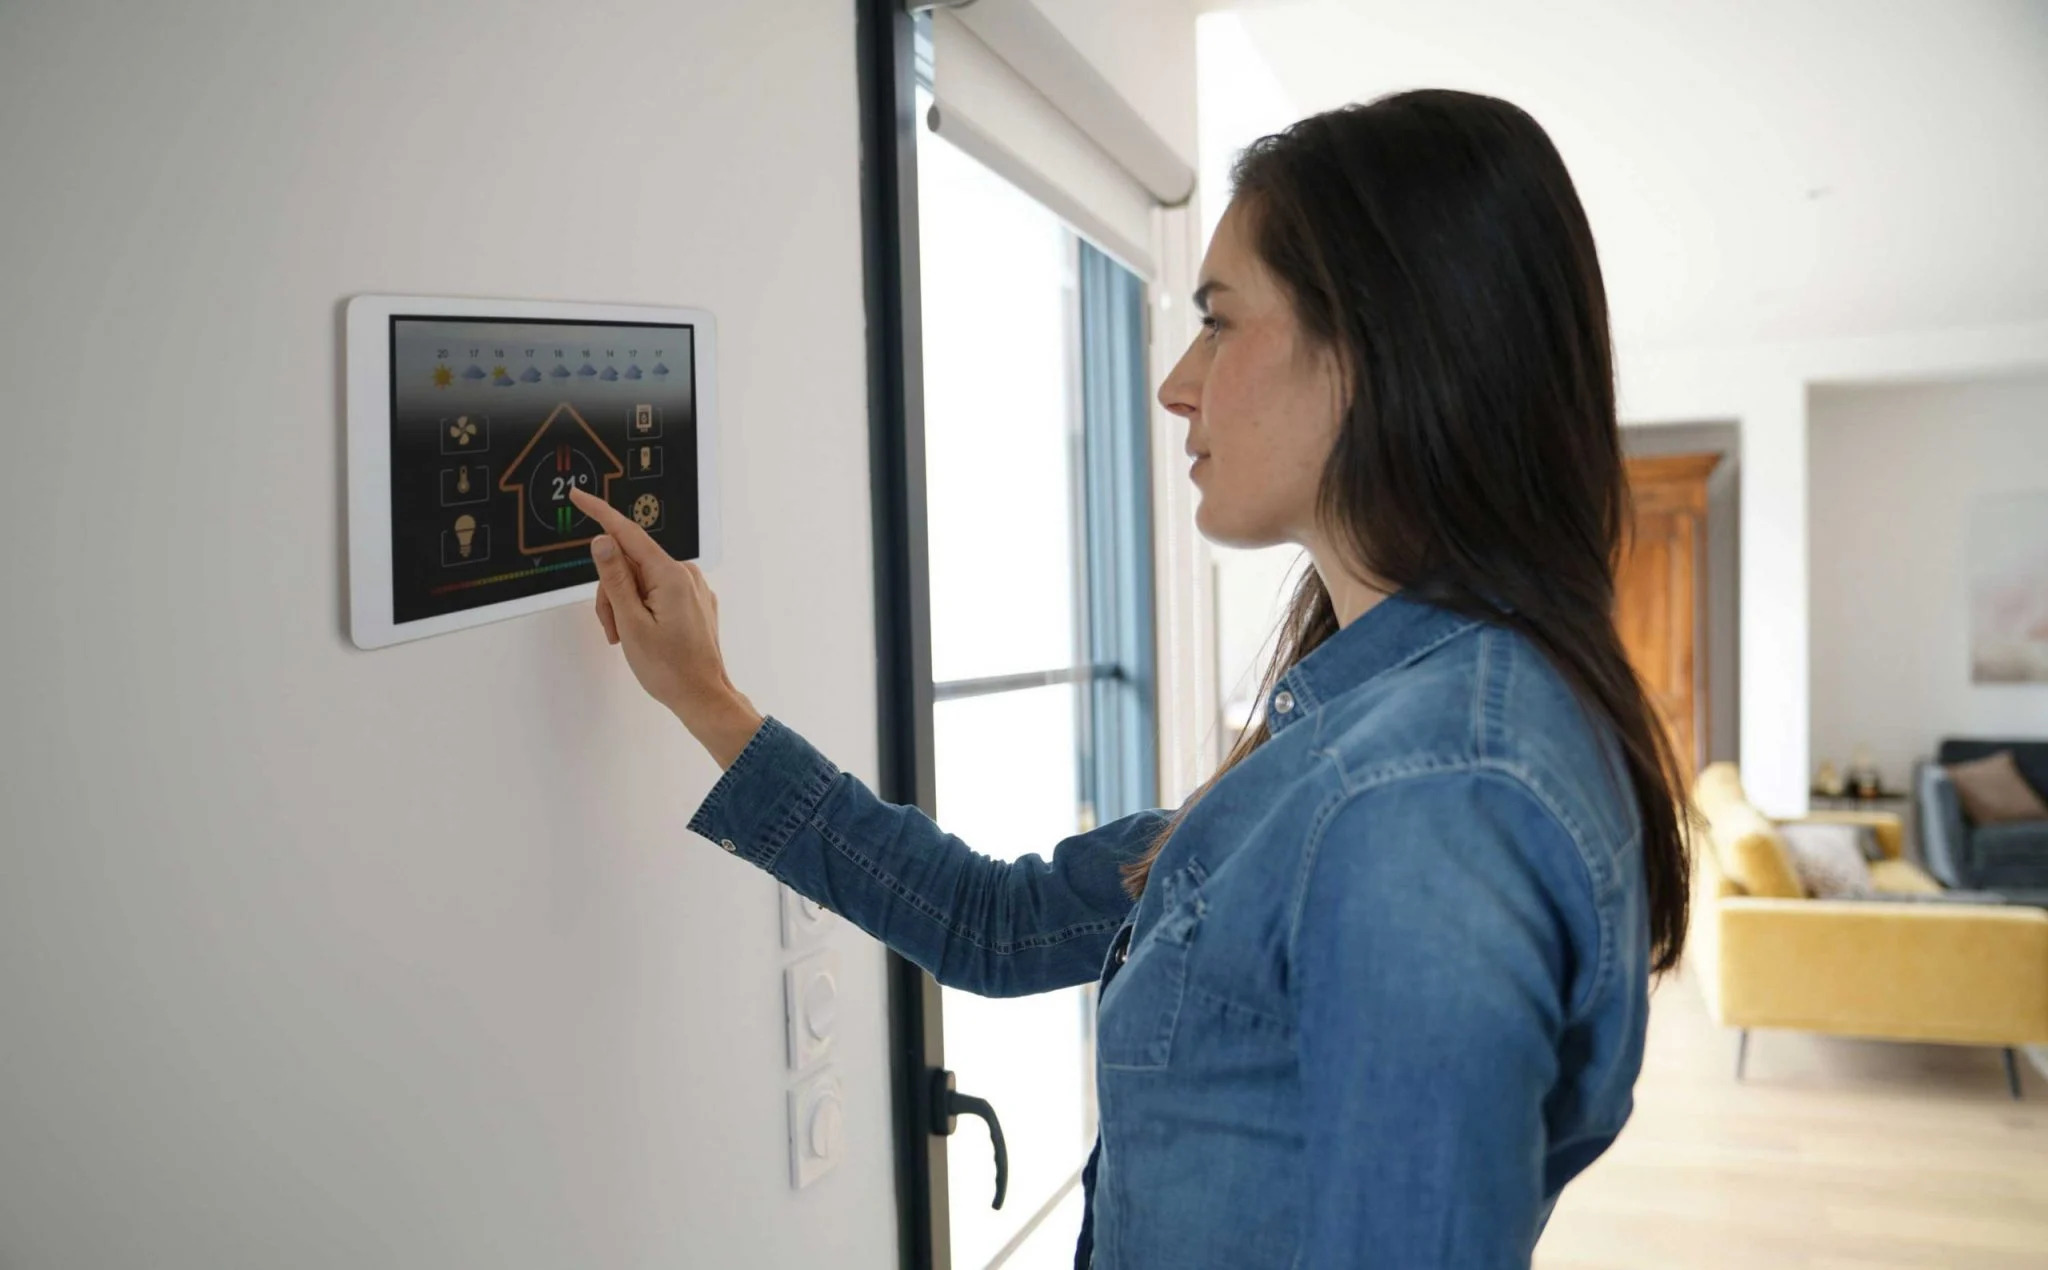
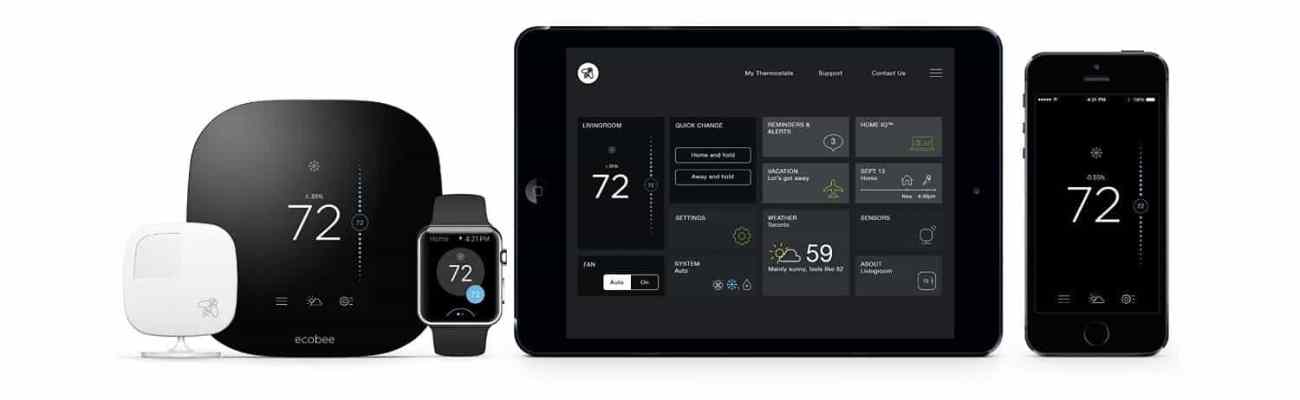
1. Remote Accessibility: With a smart thermostat, you can control your home’s temperature from anywhere using your smartphone or smart device. This means you can adjust the settings while you’re away, ensuring that your home is perfectly comfortable when you arrive.
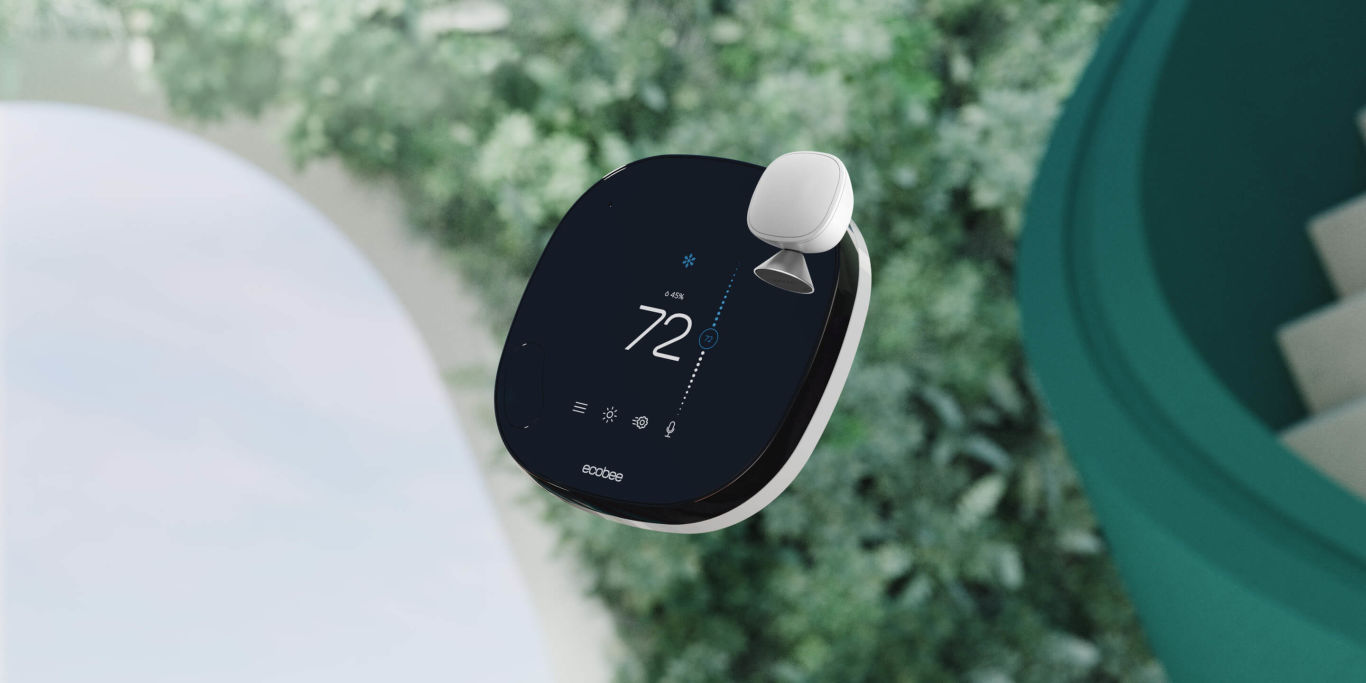
2. Energy Savings: Smart thermostats offer advanced features like learning algorithms and motion sensors that can analyze your heating and cooling patterns. This allows the thermostat to automatically adjust the temperature based on your schedule and occupancy, resulting in potential energy savings and lower utility bills.
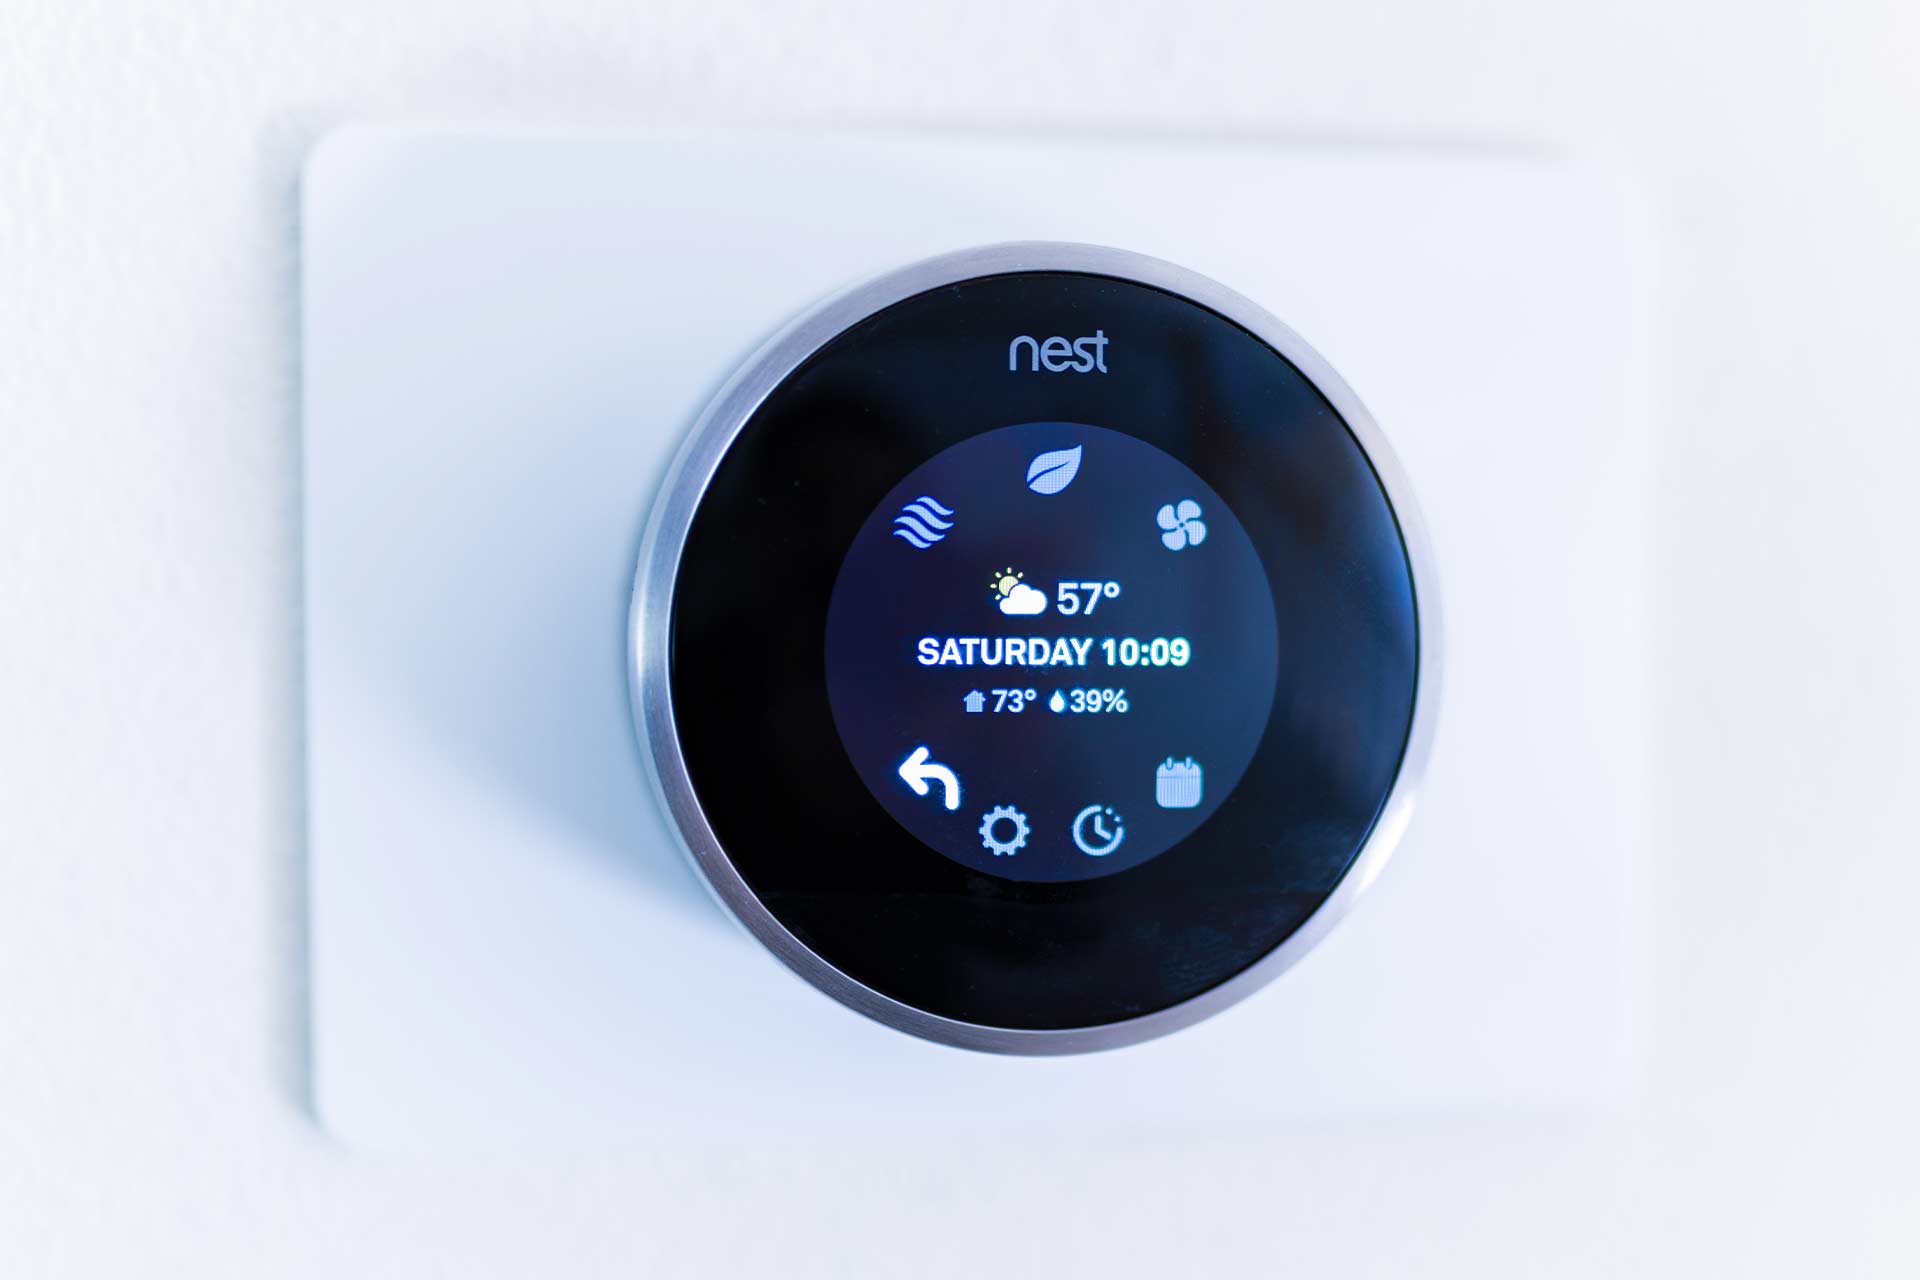
3. Intuitive Programming: Unlike traditional thermostats that require manual programming, smart thermostats come with user-friendly interfaces and intuitive programming options. Some models even have learning capabilities, adapting to your temperature preferences over time and adjusting accordingly.
4. Smart Home Integration: Smart thermostats can seamlessly integrate with other smart home devices, such as voice assistants or home automation systems. This allows you to control your thermostat through voice commands or create automated routines that optimize energy usage and comfort.
5. Enhanced Comfort: Smart thermostats offer precise temperature control and can create customized schedules for each zone. This means you can enjoy the ideal temperature in every area of your home, achieving optimal comfort for everyone in your household.
6. Data and Insights: Many smart thermostats provide detailed energy consumption reports and insights. This information helps you understand your energy usage patterns, identify areas for improvement, and make informed decisions to further optimize your home’s energy efficiency.
7. Easy Installation: Smart thermostats are designed for easy installation and can often be installed by homeowners themselves. With simple wiring instructions and user-friendly setup processes, you can quickly replace your existing thermostat and start enjoying the benefits of a smart home.
By leveraging the capabilities of a smart thermostat, you can transform your home’s heating and cooling system into a personalized and energy-efficient setup. With remote accessibility, energy savings, intuitive programming, and enhanced comfort, a smart thermostat can greatly improve your overall home experience.
Things to Consider Before Replacing Zoned HVAC
Before making the decision to replace your zoned HVAC system with a smart thermostat, there are several important factors to consider. Taking these into account will ensure a smooth transition and optimize the benefits of your new smart thermostat. Let’s delve into the key considerations:
1. Compatibility: Ensure that the smart thermostat you choose is compatible with your existing HVAC system. Check the specifications and requirements of the smart thermostat to confirm that it can be easily integrated and controlled with your heating and cooling equipment.
2. Wiring and Installation: Assess the wiring requirements for the smart thermostat installation. While some smart thermostats are designed to directly replace the existing thermostat without any additional wiring, others may require specific wiring configurations. If you’re uncertain about your wiring abilities, it’s recommended to consult a professional HVAC technician for the installation.
3. Home Wi-Fi Network: Smart thermostats rely on a stable and reliable internet connection to provide remote accessibility and smart features. Ensure that your home’s Wi-Fi network is strong and can support the connection requirements of the smart thermostat. Additionally, check if there are any compatibility issues between the smart thermostat and your specific network setup.
4. Zoning Needs: Evaluate your home’s zoning needs and determine if a smart thermostat can sufficiently meet them. Consider the number of zones in your home, their size, and the level of temperature control required. Some smart thermostats can support multiple zones, while others may be more suitable for single-zone applications.
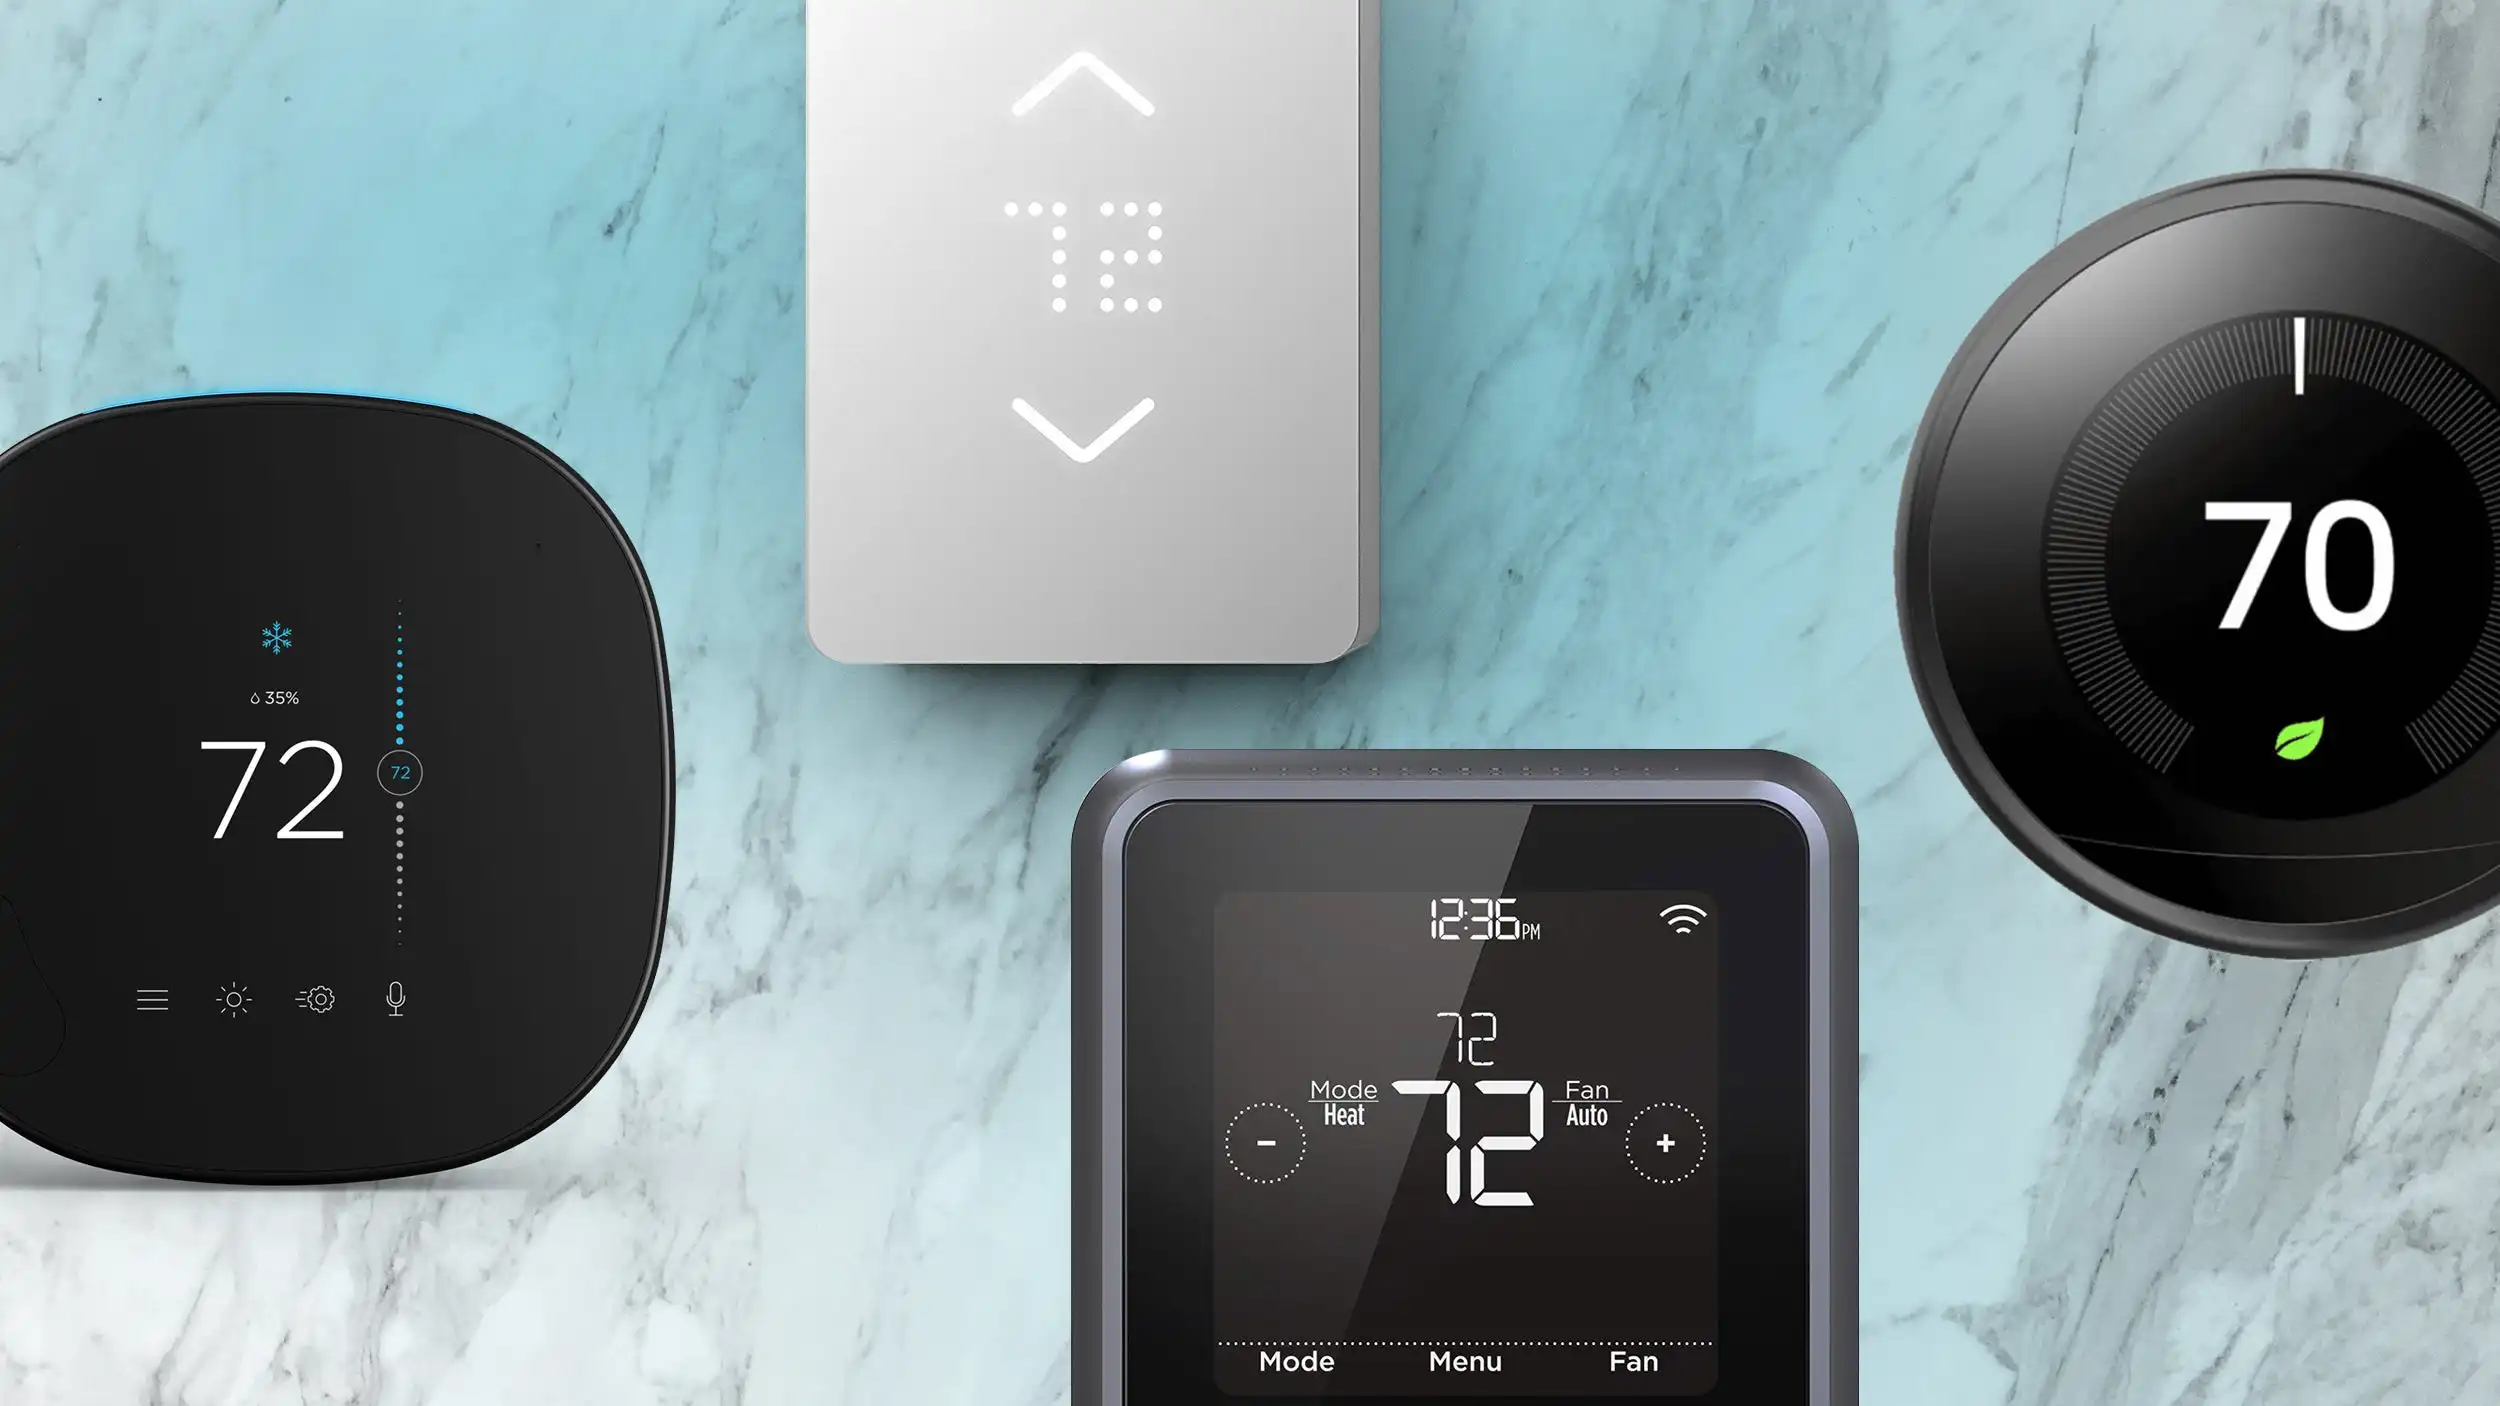
5. User Interface: Evaluate the user interface and features of the smart thermostat you plan to purchase. Ensure that it has a user-friendly and intuitive interface that suits your preferences. Look for features like touchscreen displays, clear temperature readouts, and easy-to-navigate menus.
6. Smart Features: Determine the specific smart features you desire from a smart thermostat. Different models may offer various capabilities, such as learning algorithms, motion sensors, geofencing, and compatibility with smart home devices and voice assistants. Consider which features align with your lifestyle and heating/cooling habits.
7. Budget: Review your budget and allocate a reasonable amount for the purchase and installation of the smart thermostat. Consider the long-term savings that can be achieved through improved energy efficiency and potential utility bill reductions when evaluating the cost-effectiveness of the investment.
By carefully considering these factors, you can make an informed decision about replacing your zoned HVAC system with a smart thermostat. Taking the time to evaluate compatibility, wiring, network requirements, and specific needs will help ensure a successful and seamless integration of the smart thermostat into your home’s heating and cooling system.
Step-by-Step Guide to Replacing Zoned HVAC with a Smart Thermostat
If you’ve decided to replace your zoned HVAC system with a smart thermostat, follow these steps to ensure a smooth and successful installation:
Step 1: Research and Purchase: Begin by researching different smart thermostat models that are compatible with your HVAC system and meet your specific needs. Consider factors such as user interface, features, and budget. Once you’ve made your selection, purchase the smart thermostat.
Step 2: Turn Off Power: Before starting the installation, turn off the power to your HVAC system at the circuit breaker or main power supply. This ensures safety during the process.
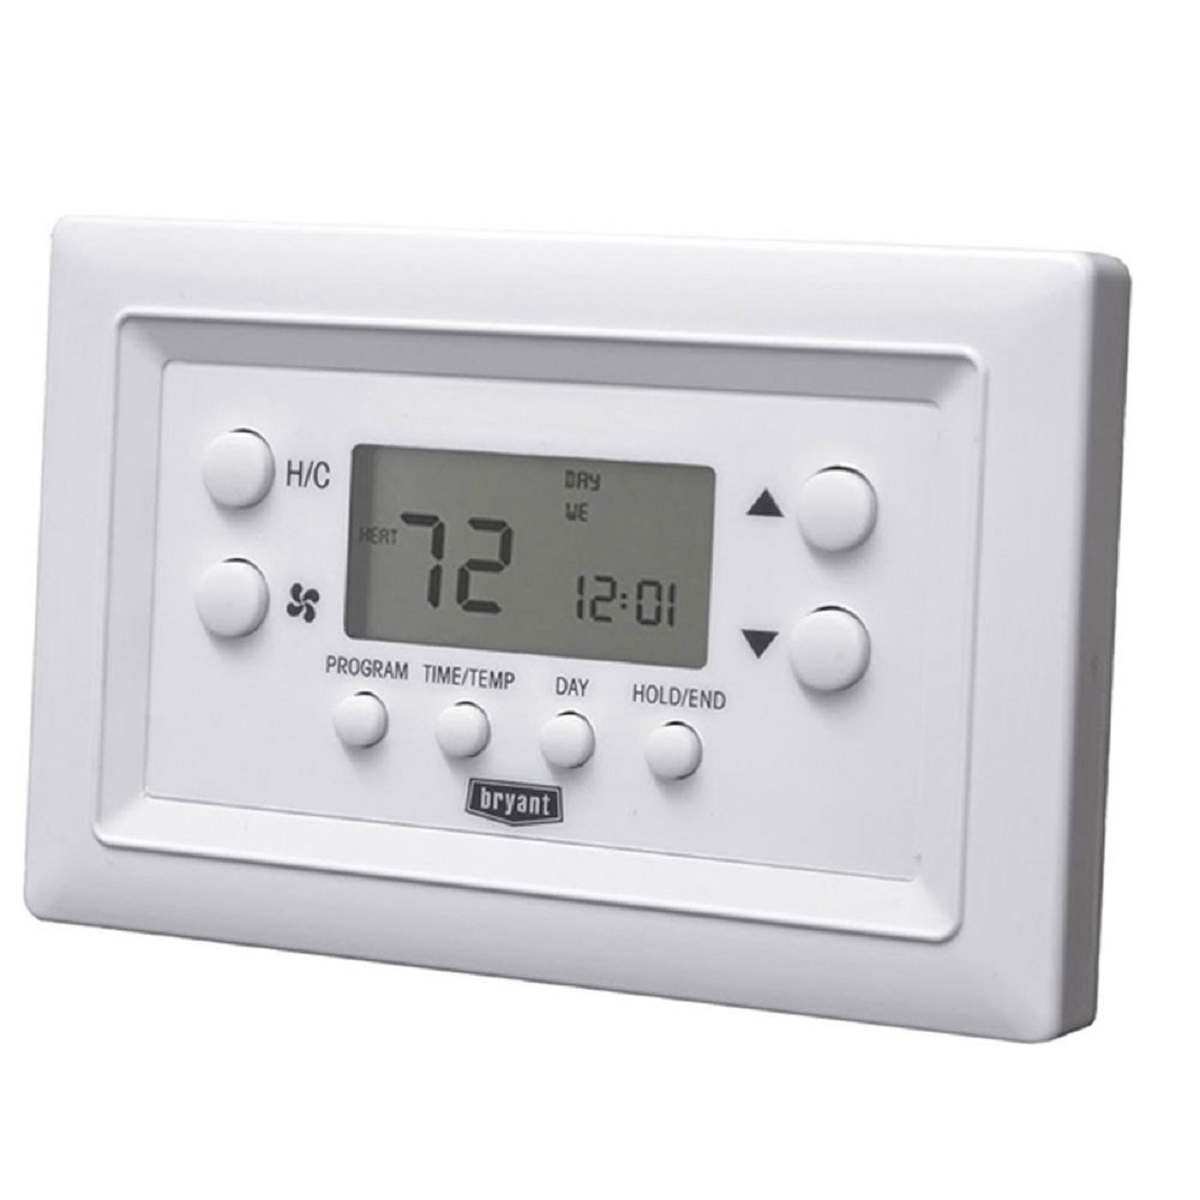
Step 3: Remove Existing Thermostat: Remove the existing thermostat from the wall by carefully unscrewing it and disconnecting the wires from the terminals. Take note of the wire colors and their corresponding labels or markings to ensure proper reconnection later.
Step 4: Inspect and Label Wires: Inspect the wires for any damage or wear. If necessary, replace any damaged wires. Label each wire with the corresponding terminal letter or number to facilitate a smooth installation process.
Step 5: Mount and Connect New Thermostat: Follow the manufacturer’s instructions to mount the new smart thermostat onto the wall. Connect the labeled wires to their respective terminals on the smart thermostat, ensuring a secure and tight connection.
Step 6: Power On and Test: Once the wiring is complete, restore power to your HVAC system at the circuit breaker or main power supply. The smart thermostat should power on and display the setup screen. Follow the on-screen prompts to configure your preferred settings, such as time, date, and preferences for temperature control.
Step 7: Connect to Wi-Fi Network: Use the thermostat’s interface to connect it to your home’s Wi-Fi network. Follow the prompts and enter your Wi-Fi network name and password to establish a stable wireless connection.
Step 8: Install Companion App: Download and install the companion app for your smart thermostat on your smartphone or smart device. Follow the app’s instructions to link it with your thermostat and establish remote accessibility.
Step 9: Set Up Zones and Schedules: Configure the thermostat to recognize and control the different zones in your home. Define temperature settings and create customized schedules for each zone, optimizing comfort and energy efficiency. Some smart thermostats have learning capabilities, so they may adjust to your preferences over time.
Step 10: Familiarize Yourself with Features: Take the time to explore and familiarize yourself with the features and settings of your new smart thermostat. Learn how to adjust the temperature, create energy-saving modes, and utilize any additional functions it offers.
By following these step-by-step instructions, you can successfully replace your zoned HVAC system with a smart thermostat. Enjoy the convenience of remote accessibility, energy savings, and customized temperature control that a smart thermostat brings to your home.
Wiring and Installation Instructions
The wiring and installation process of a smart thermostat will vary depending on the model and your specific HVAC system. However, here are some general guidelines to help you with the process:
Step 1: Turn off Power: Before starting any wiring or installation work, turn off the power to your HVAC system at the circuit breaker or main power supply. This precautionary step ensures safety during the installation process.
Step 2: Remove Existing Thermostat: Carefully remove the existing thermostat from the wall by unscrewing it and disconnecting the wires from the terminals. Take note of the wire colors and their corresponding labels or markings to ensure correct reconnection later.
Step 3: Inspect and Prepare Wiring: Inspect the wiring for any signs of damage or wear. If wires are damaged, replace them as needed. Strip the ends of the wires to expose a small section of copper for proper connection.
Step 4: Identify Wiring Compatibility: Review the wiring compatibility requirements of your chosen smart thermostat. Some models may require a specific wiring configuration or additional accessories for compatibility.
Step 5: Connect Wiring: Connect the labeled wires from your HVAC system to the corresponding terminal screws on the smart thermostat. Ensure that the connections are secure and tight. Refer to the manufacturer’s installation guide for the specific terminal assignments.
Step 6: Mount Smart Thermostat: Mount the smart thermostat onto the wall, aligning it with the existing thermostat box and screw holes. Use the provided hardware or follow the manufacturer’s instructions for proper installation.
Step 7: Power on and Test: Once the wiring is complete, restore power to your HVAC system at the circuit breaker or main power supply. The smart thermostat should power on and display the setup screen or initial configuration prompts. Follow the on-screen instructions to ensure proper functionality.
Step 8: Set Up Wi-Fi Connection: Use the thermostat’s interface to connect it to your home’s Wi-Fi network. Follow the prompts and enter your Wi-Fi network name and password to establish a stable wireless connection. Refer to the manufacturer’s instructions or accompanying documentation for specific details on connecting to Wi-Fi.
Step 9: Configure Settings: Configure the thermostat’s settings according to your preferences, such as language, time, and date. Some models may offer additional settings for temperature adjustments, scheduling, or advanced features like geofencing.
Step 10: Install Companion App: Download and install the companion app for your smart thermostat on your smartphone or smart device. Follow the app’s instructions to link it with your thermostat and establish remote accessibility and control.
Remember, it’s essential to follow the manufacturer’s specific instructions and any applicable local electrical codes when wiring and installing a smart thermostat. If you’re unsure or uncomfortable with the process, it’s recommended to consult a professional HVAC technician for assistance.
Configuring and Programming Your Smart Thermostat
Configuring and programming your smart thermostat is crucial to ensure it functions optimally and meets your specific heating and cooling needs. Here are the key steps to follow:
Step 1: Language and Display: Begin by selecting the desired language and display preferences on your smart thermostat. Typically, you can find these options in the settings or configuration menu.
Step 2: Wi-Fi Connection: If you haven’t already connected your smart thermostat to your home Wi-Fi network during the installation process, navigate to the Wi-Fi settings menu. Follow the prompts to connect your thermostat to your network using your Wi-Fi name and password. A stable internet connection is essential for accessing remote features and updates.
Step 3: Time and Date: Set the correct time and date on your smart thermostat. This ensures accurate scheduling and synchronization with other connected devices.
Step 4: Temperature Preferences: Adjust the temperature preferences according to your comfort levels. You can typically set a desired temperature range and choose the cooling and heating set points in the settings menu.
Step 5: Zone Configuration: If your smart thermostat supports multiple zones, configure each zone accordingly. Assign names or labels to the different areas in your home and set individual temperature settings for each zone.
Step 6: Scheduling: Take advantage of the scheduling feature to create customized temperature settings based on your daily routine. Set different temperatures for specific times of the day, allowing your smart thermostat to automatically adjust the temperature according to your schedule.
Step 7: Energy-Saving Features: Explore the energy-saving features provided by your smart thermostat. These may include learning algorithms, motion sensors, or geofencing capabilities. Enable and configure these features to optimize energy efficiency and reduce utility costs.
Step 8: Smart Home Integration: If your smart thermostat is compatible with other smart home devices, integrate them to enhance your overall smart home experience. This can include voice assistants, home automation systems, or smart speakers. Follow the manufacturer’s instructions to connect and customize the integrations.
Step 9: Firmware Updates: Regularly check for firmware updates for your smart thermostat. These updates often introduce new features, bug fixes, and security enhancements. Check the manufacturer’s website or the companion app for firmware update notifications.
Step 10: Familiarize Yourself with the App: If your smart thermostat comes with a companion app, spend some time familiarizing yourself with its features and functionalities. This allows you to control and monitor your smart thermostat remotely, access energy usage reports, and adjust settings on the go.
By following these steps to configure and program your smart thermostat, you can optimize its performance, create personalized comfort settings, and maximize energy efficiency in your home. Remember to consult the manufacturer’s documentation and user manual for specific instructions and guidance related to your smart thermostat model.
Troubleshooting Common Issues
While smart thermostats are designed to be user-friendly and reliable, occasional issues may arise. Here are some common problems you may encounter with your smart thermostat and troubleshooting steps to resolve them:
1. Connectivity Issues: If your smart thermostat is not connecting to your Wi-Fi network or experiencing intermittent connectivity, check your network settings. Ensure that your Wi-Fi signal is strong and that you’ve entered the correct network credentials. If the problem persists, reset your smart thermostat and try reconnecting to Wi-Fi.
2. Temperature Inaccuracy: If you notice temperature discrepancies between your smart thermostat and the actual room temperature, check the thermostat placement. Make sure it’s away from direct heat sources, drafts, or frequently opened doors. Recalibrate the temperature reading if necessary, following the manufacturer’s instructions.
3. HVAC Equipment Not Responding: If your HVAC system is not responding to temperature changes or commands from the smart thermostat, check the wiring connections. Ensure that the wires are securely connected to the correct terminals. If the problem persists, consult a professional HVAC technician to troubleshoot your HVAC equipment.
4. Battery Issues: If your smart thermostat has battery backup and you notice that it’s not charging or holding a charge, replace the batteries with fresh ones. Make sure to use the recommended battery type and ensure proper insertion. If the problem continues, contact the manufacturer for assistance.
5. Compatibility Challenges: If you find that your smart thermostat is not compatible with your HVAC system, double-check the specifications and requirements. Some older HVAC systems may not be compatible with certain smart thermostats. Consider consulting a professional HVAC technician or contacting the thermostat manufacturer for guidance.
6. Inconsistent Schedule: If your smart thermostat is not following the programmed schedule or is displaying incorrect information, review and adjust the scheduling settings. Ensure that the correct time and date are set on the thermostat. If necessary, delete the existing schedule and create a new one to rectify any discrepancies.
7. App or Software Issues: If you’re experiencing problems with the companion app or software for your smart thermostat, try closing and reopening the app, or reinstalling it if necessary. Keep the app up to date by checking for any available updates in your device’s app store. If the problem persists, reach out to the manufacturer’s customer support for assistance.
8. Sensor Obstruction: If your smart thermostat has a built-in occupancy or motion sensor and it’s not functioning correctly, check for any obstructions blocking the sensor’s view. Remove any objects, dust, or debris that may be interfering with the sensor’s operation.
If you have exhausted the troubleshooting steps and your smart thermostat continues to experience issues, it’s best to contact the manufacturer’s customer support or seek the assistance of a professional technician. They can provide you with further guidance and solutions specific to your smart thermostat model and HVAC system.
Conclusion
Replacing your zoned HVAC system with a smart thermostat offers a multitude of benefits, including remote accessibility, energy savings, and optimized comfort. By understanding zoned HVAC systems and the advantages of smart thermostats, you can make an informed decision that enhances your home’s climate control.
In this guide, we covered the key steps involved in replacing your zoned HVAC system with a smart thermostat. From understanding zoned HVAC systems and the benefits of smart thermostats to considering compatibility and configuring settings, you now have a roadmap to follow.
Remember to thoroughly research and choose a smart thermostat that is compatible with your HVAC system and meets your specific needs. Proper wiring and installation are crucial for seamless integration, and configuring the thermostat settings and programming schedules will help you personalize your home’s temperature control.
While smart thermostats offer many advantages, it’s important to troubleshoot common issues that may arise, such as connectivity problems or temperature inaccuracies. Following the troubleshooting steps or reaching out to customer support will ensure smooth operation and optimal performance.
By embracing the convenience, energy savings, and enhanced comfort of a smart thermostat, you can transform your home into a more efficient and comfortable space. Take advantage of the features and capabilities of your smart thermostat and enjoy the ease of controlling your home’s climate with just a few taps on your device.
Make the transition today and experience the benefits of a smart thermostat – a step towards a more connected and efficient home environment.