Introduction
Welcome to our guide on how to install the B30 Low Power Wifi Video Doorbell. In this article, we will walk you through the step-by-step process of unboxing the doorbell, preparing for installation, connecting the wires, and setting up the mobile app. By the end of this guide, you’ll have your B30 Video Doorbell up and running, allowing you to monitor your front door from anywhere using your smartphone.
The B30 Low Power Wifi Video Doorbell is a cutting-edge device designed to provide you with enhanced security and convenience. With its sleek and compact design, it blends seamlessly with any home decor. Equipped with advanced features such as video and audio functionality, motion detection, and two-way communication, the B30 ensures that you never miss a visitor or package delivery.
Installing the B30 Video Doorbell may seem like a daunting task, but rest assured, we have simplified the process to make it easy for you. Whether you’re a tech enthusiast or a beginner, our step-by-step instructions will guide you through each stage of the setup process.
Before we dive into the installation process, let’s take a moment to familiarize ourselves with the contents of the B30 package. Inside the box, you will find the B30 Video Doorbell unit, a mounting bracket, a power adapter, screws and anchors, a user manual, and any additional accessories that may be included.
Now that we have a good understanding of what to expect, let’s move on to the first step: unboxing the doorbell.
Step 1: Unboxing the Doorbell
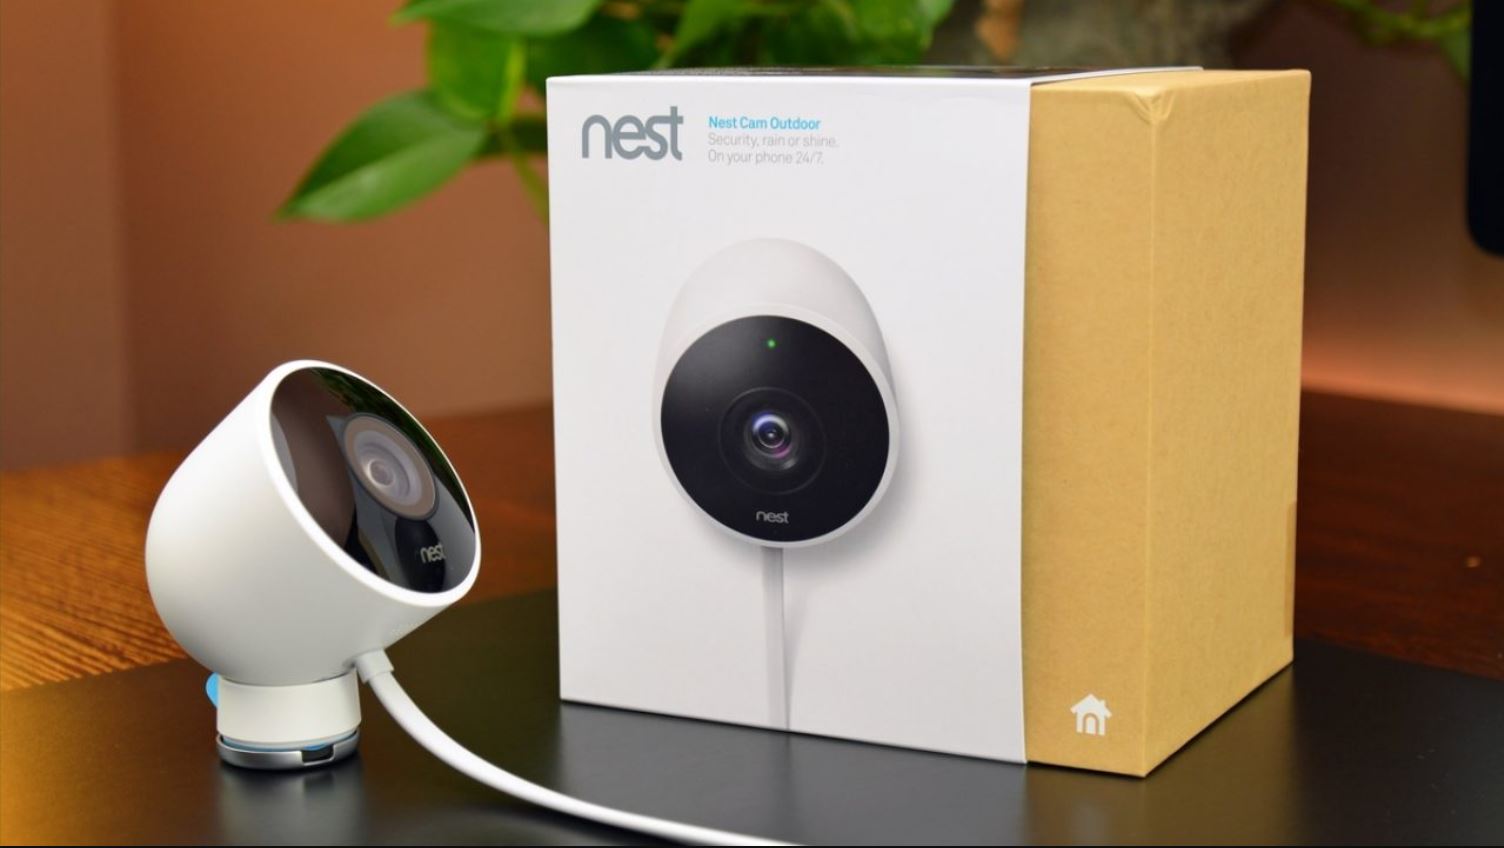
The first step in installing the B30 Low Power Wifi Video Doorbell is to unbox the device and familiarize yourself with its components. Carefully open the packaging and remove all the items, ensuring that you don’t discard any important pieces.
Inside the box, you will find the B30 Video Doorbell unit, a mounting bracket, a power adapter, screws and anchors, a user manual, and any additional accessories that may be included depending on your package.
Take a moment to inspect the doorbell unit. It should have a sleek and compact design with a camera lens, microphone, speaker, and indicator lights. The mounting bracket is typically made of durable materials such as metal or plastic. Ensure that all the parts are in good condition without any damage.
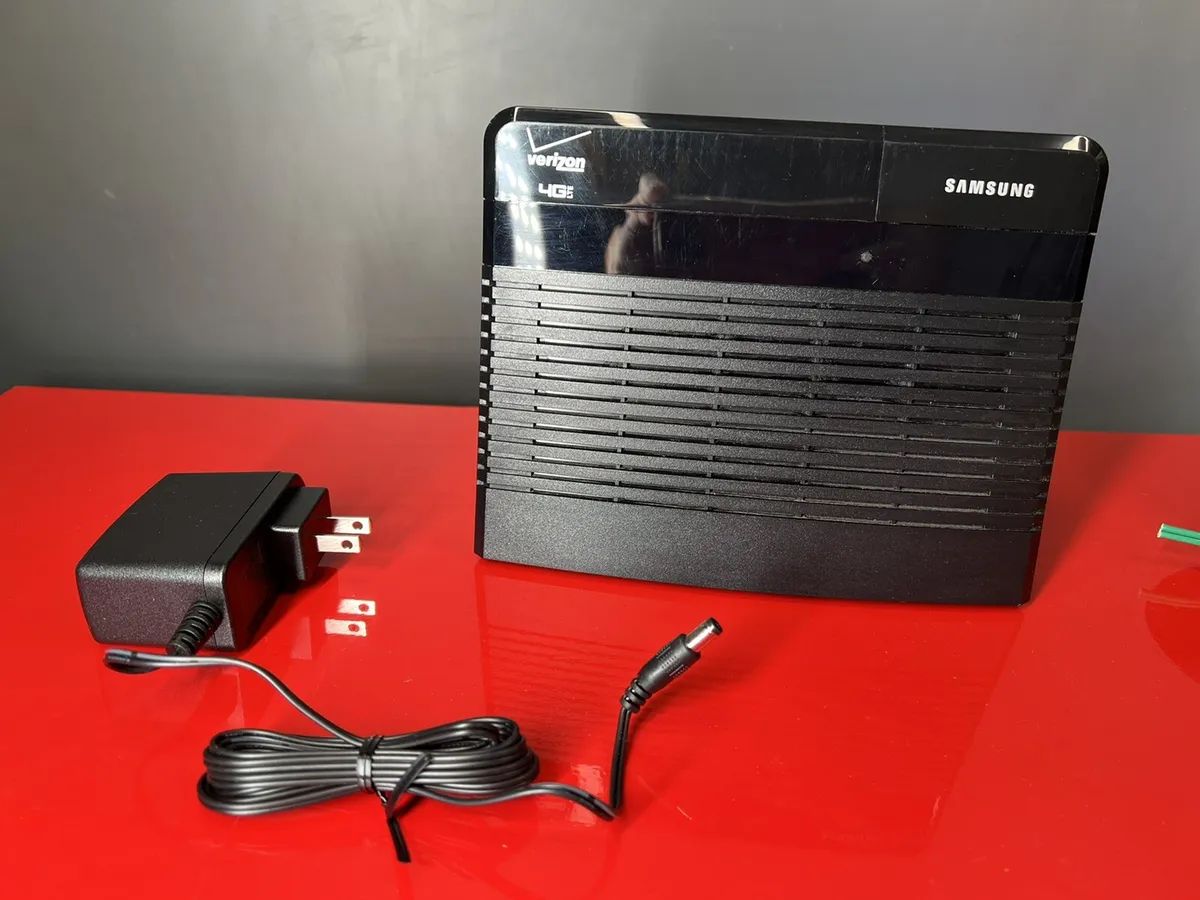
Next, locate the power adapter and examine its specifications. The power adapter is responsible for supplying the necessary power to operate the video doorbell. Make sure it matches the electrical standards of your region and has the appropriate voltage and plug type.
Lastly, check the user manual for any additional information or guidelines. It provides valuable instructions on installation, troubleshooting, and configuring the doorbell. Familiarize yourself with the manual, as it will be a useful reference throughout the installation process.
By completing this first step of unboxing the B30 Low Power Wifi Video Doorbell, you have all the necessary components to move forward with the installation. With the doorbell and its accompanying accessories in hand, you’re ready to proceed to the next step: preparing for installation.
Step 2: Preparing for Installation
Before installing the B30 Low Power Wifi Video Doorbell, it’s crucial to properly prepare the area where you’ll be mounting the device. Taking the time to ensure a solid foundation will make the installation process smoother and more secure.
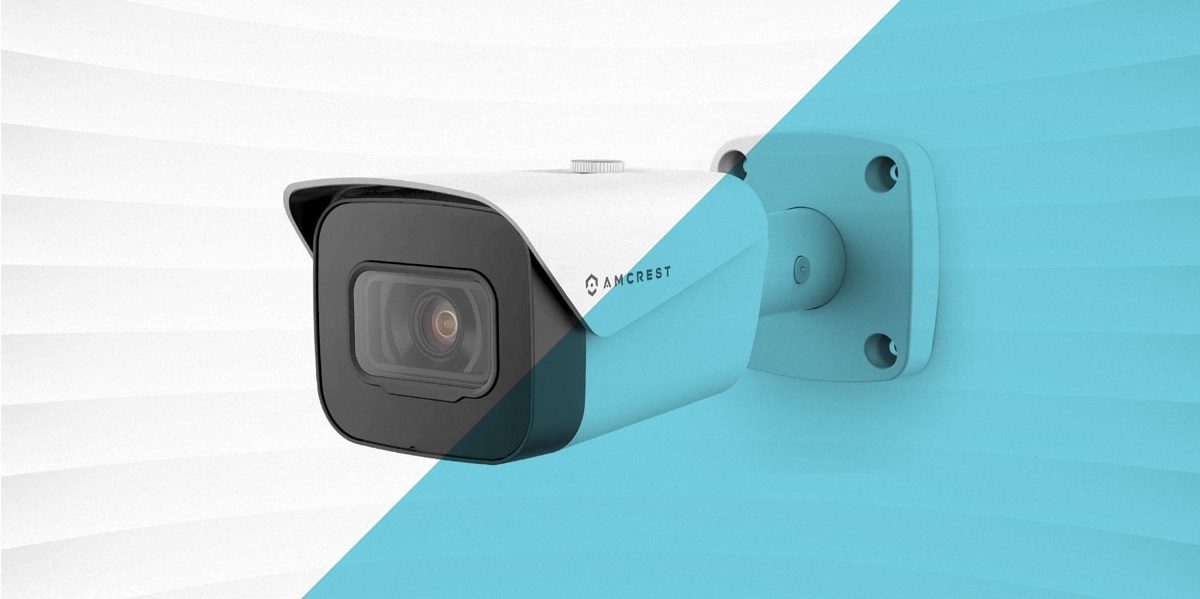
Start by identifying the ideal location for your video doorbell. Consider factors such as the proximity to your front door, the field of view of the camera, and the availability of a power source. The B30 is designed to be mounted near your front door, providing a clear view of any visitors or activity.
Once you’ve chosen the location, ensure that the mounting surface is clean, smooth, and sturdy. Remove any dirt, debris, or loose objects that could affect the adhesion of the mounting bracket. If the surface is rough or uneven, consider using sandpaper or a suitable adhesive to create a flat surface.
It’s important to note that the B30 requires a stable internet connection. Check the strength of your Wi-Fi signal in the area where the doorbell will be installed. If the signal is weak, consider boosting it with a Wi-Fi extender or repositioning your router to ensure a reliable connection.
Next, locate the power source for the doorbell. The B30 Video Doorbell can be powered by either existing doorbell wiring or the provided power adapter. If you choose to use existing doorbell wiring, ensure that it is in good condition and meets the required voltage specifications.
If you’re opting for the power adapter, find a nearby power outlet that is easily accessible but discreet. Ensure that the outlet is in good working condition and doesn’t have any loose connections that may result in power interruptions.
Finally, gather all the tools and equipment you’ll need for the installation. This may include a screwdriver, drill, level, and any additional items mentioned in the user manual. Having everything prepared beforehand will save time and prevent any unnecessary interruptions during the installation process.
With the area prepared, the mounting surface clean, and the power source identified, you’re now ready to move on to the next step: installing the mounting bracket.
Step 3: Installing the Mounting Bracket
Now that you’ve prepared the area, it’s time to install the mounting bracket for your B30 Low Power Wifi Video Doorbell. The mounting bracket acts as a secure base for your device, ensuring it stays in place and provides optimal functionality.
Begin by choosing the orientation of the mounting bracket. Depending on your preference, you can opt for a vertical or horizontal alignment. Align the bracket according to the desired orientation and mark the positions where the screws will go.
Using a drill, create pilot holes at the marked positions. These pilot holes will make it easier to insert the screws and prevent any damage to the mounting surface. Ensure that the pilot holes are the appropriate size for the screws that came with the doorbell.
Once the pilot holes are ready, place the mounting bracket over them and align it with the holes. Make sure the bracket is level by using a level tool and adjusting as necessary. Achieving a level position is crucial for proper functionality and a visually pleasing installation.
Next, insert the screws provided with the doorbell into the pilot holes. Using a screwdriver, tighten the screws until the mounting bracket is securely fastened to the wall. Be careful not to overtighten as it may damage the bracket or wall surface.
After the mounting bracket is installed, give it a gentle tug to ensure it is securely attached. It should feel sturdy and not move or loosen.
With the mounting bracket in place, your B30 Low Power Wifi Video Doorbell will have a solid foundation for installation. The bracket provides the necessary stability for the device to function properly. Now that the bracket is securely installed, it’s time to move on to the next step: connecting the wires.
Step 4: Connecting the Wires
Once the mounting bracket is securely installed, it’s time to connect the necessary wires for your B30 Low Power Wifi Video Doorbell. The proper connection of the wires is essential for the device to receive power and function as intended.
If you’re using existing doorbell wiring, locate the doorbell transformer in your home. This typically is located near your electrical panel or in the basement. Make sure the power to the transformer is turned off before proceeding. Remove the cover from the transformer to access the wiring.
Start by identifying the wiring connections for your doorbell. There are usually two wires: one for power (commonly labeled “C” or “B”) and one for the doorbell signal (commonly labeled “D” or “T”). If your existing wiring doesn’t have clear labels, use a multimeter to determine which wire carries power.
Once you’ve identified the power wire, strip the end of the wire and connect it to the power terminal on the B30 Video Doorbell. If necessary, consult the user manual for specific instructions on how to connect the wires. Ensure a secure connection by tightening the terminal screws.
Next, connect the doorbell signal wire to the appropriate terminal on the B30 Video Doorbell. This wire is responsible for activating the doorbell chime when someone presses the button. Again, consult the user manual for guidance if needed, and make sure the connection is secure.
If you’re using the provided power adapter instead of existing doorbell wiring, connect the adapter’s cable to the corresponding power input on the B30 Video Doorbell. The power adapter typically has a plug that can be directly inserted into a nearby power outlet. Plug the adapter in, ensuring a stable power connection.
It’s important to double-check all the wire connections to ensure they are secure and properly attached to the B30 Video Doorbell. A loose connection can result in a loss of power or malfunctioning of the device.
With the wires securely connected, you’ve successfully completed the fourth step: connecting the necessary wires for the B30 Low Power Wifi Video Doorbell. Now that the power is properly wired, it’s time to move on to the next step: attaching the doorbell to the mounting bracket.
Step 5: Attaching the Doorbell to the Mounting Bracket
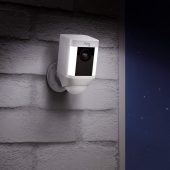
With the mounting bracket securely installed and the wires properly connected, it’s time to attach the B30 Low Power Wifi Video Doorbell to the bracket. This step ensures that the doorbell is securely in place and ready for operation.
Start by aligning the B30 Video Doorbell with the mounting bracket. The doorbell should slide smoothly into position, fitting snugly onto the bracket. Make sure the camera lens is facing outward and the indicator lights are clearly visible.
Once aligned, press the doorbell firmly against the bracket to ensure a secure attachment. You may hear a click or feel a slight resistance as the doorbell locks into place. This ensures that the doorbell is securely fastened and won’t come loose over time.
Gently give the doorbell a slight tug to confirm that it’s firmly attached. It should not move or come off the bracket. If it feels loose, double-check the installation and ensure that the doorbell is properly aligned and pressed into place.
Take a step back and observe the installed doorbell. Make any necessary adjustments, such as straightening or repositioning the device, to ensure that it’s level and aesthetically pleasing.
Now that the B30 Low Power Wifi Video Doorbell is securely attached to the mounting bracket, it’s time to move on to the next step: powering on the doorbell and configuring it with the mobile app.
Note: If your doorbell has a battery-powered option, follow the manufacturer’s instructions for installing and securing the battery before attaching the doorbell to the mounting bracket.
Step 6: Powering On the B30 Low Power Wifi Video Doorbell
With the B30 Low Power Wifi Video Doorbell securely attached to the mounting bracket, it’s time to power on the device and ensure that it’s ready for setup and configuration.
If you’re using existing doorbell wiring, turn the power back on at the doorbell transformer. This will supply power to the B30 doorbell and activate its functionality. You may need to wait a few moments for the doorbell to power on and initialize.
If you’re using the provided power adapter, ensure that it is plugged into a nearby power outlet and that the power source is switched on. The B30 Video Doorbell should start powering on automatically once it receives power.
Observe the doorbell’s indicator lights or listen for any audio cues that confirm its power-on status. The specific lights and sounds may vary depending on the model, so consult the user manual if needed. Once powered on, the B30 Video Doorbell is ready for configuration.
During the power-on process, the doorbell may go through a brief initialization phase. This could involve updating the firmware, connecting to the Wi-Fi network, or syncing with the mobile app. Allow the doorbell a few moments to complete these processes before proceeding to the next step.
Remember that a stable internet connection is essential for the B30 Video Doorbell to function properly. Ensure that the Wi-Fi signal is strong and within range of the doorbell. If needed, consider using a Wi-Fi extender to boost the signal strength in the area.
Once the doorbell is powered on and connected, it’s time to move on to the next step: downloading and installing the mobile app that will allow you to control and monitor your B30 Low Power Wifi Video Doorbell from your smartphone or tablet.
Step 7: Downloading the Mobile App
With the B30 Low Power Wifi Video Doorbell powered on and ready for setup, the next step is to download the mobile app that will allow you to control and monitor your doorbell from your smartphone or tablet. The mobile app provides a user-friendly interface to configure settings, receive notifications, and access the live video feed from your doorbell.
Start by opening the app store on your mobile device. Both iOS and Android platforms offer app stores where you can find a wide variety of applications. Search for the app associated with your doorbell, typically provided by the manufacturer or brand.
Once you find the app, tap the “Download” or “Install” button to initiate the installation process. The app will begin downloading and installing onto your device. Depending on your internet connection speed, this process may take a few moments.
Once the app is installed, locate and tap on its icon to open it. You may be prompted to create an account or sign in if you already have an existing account with the app or manufacturer. Follow the on-screen instructions to complete the account setup or login process.
After signing in, the app will guide you through the initial setup for your B30 Video Doorbell. This may include connecting the doorbell to the Wi-Fi network, selecting notifications preferences, and personalizing settings to fit your needs.
Ensure that your mobile device is connected to the same Wi-Fi network that you want to connect the doorbell to. This will facilitate a seamless connection process between the app and the doorbell. Follow the app’s instructions to complete the Wi-Fi setup and get the doorbell connected.
Once the doorbell is successfully connected to the app, you can start exploring its features and customizing its settings. Familiarize yourself with the app’s interface, including options for motion detection, video recording, and two-way communication.
Congratulations! You’ve successfully downloaded and installed the mobile app for your B30 Low Power Wifi Video Doorbell. With the app in hand, you can now move on to the next step: setting up the doorbell within the app.
Step 8: Setting Up the Doorbell on the Mobile App
With the mobile app downloaded and installed on your device, it’s time to set up your B30 Low Power Wifi Video Doorbell within the app. This step involves configuring the doorbell’s settings, connecting it to your Wi-Fi network, and personalizing its features to fit your preferences.
Open the mobile app and sign in to your account, if you haven’t already done so. Once logged in, look for an option or menu that allows you to add a new device or set up a doorbell. This can typically be found in the app’s settings section or a dedicated “Add Device” option.
Follow the on-screen instructions provided by the app to begin the setup process. This may involve scanning a QR code on the doorbell or selecting the specific model from a list of supported devices. Make sure the doorbell is within range of your mobile device for a stable connection.
Next, the app will prompt you to connect the doorbell to your Wi-Fi network. Select your network from the list of available options and enter the password when prompted. The app will establish a connection between the doorbell and your Wi-Fi network, allowing for real-time communication and remote access.
Once the doorbell is connected to your Wi-Fi network, you may have the option to customize certain settings. This could include adjusting motion detection sensitivity, setting up activity zones, enabling night vision, and configuring notification preferences.
Take some time to explore the various features and options within the app. Familiarize yourself with the settings and customization options, ensuring that the doorbell is configured according to your specific needs and preferences.
After completing the setup process and customizing the doorbell’s settings, it’s time to test its video and audio features. This will ensure that the doorbell is functioning as intended and that you can effectively monitor and communicate with the visitors at your front door.
Congratulations! You have successfully set up your B30 Low Power Wifi Video Doorbell on the mobile app. The next step is to test its video and audio features to ensure everything is in working order.
Step 9: Testing the Video and Audio Features
Now that you have set up your B30 Low Power Wifi Video Doorbell on the mobile app, it’s time to test its video and audio features. This step ensures that you can effectively monitor and communicate with anyone who approaches your front door.
Start by launching the mobile app on your device and accessing the live video feed from the doorbell. Depending on the app, this may involve tapping on a specific button or navigating to the “Video” or “Live Feed” section.
Once the video feed is displayed, observe the image quality and clarity. The B30 Video Doorbell is designed to deliver crisp and clear video, allowing you to see the details of any visitors or activity at your front door. If the image quality is not satisfactory, adjust the camera angle or lighting conditions for optimal results.
Next, test the two-way audio feature by selecting the option to speak through the doorbell. This allows you to communicate with someone at the front door without physically opening it. Speak towards the device and ensure that your voice is transmitted clearly. Adjust the microphone sensitivity or volume settings if necessary.
During the testing process, you can also explore additional features offered by the mobile app. This may include options for recording and saving video clips, customizing motion detection settings, or accessing saved footage from previous events.
Engage with the different settings and features within the mobile app to familiarize yourself with its capabilities. This ensures that you can fully utilize the B30 Video Doorbell and its associated functionalities for enhanced security and convenience.
If you encounter any issues during the testing process, consult the user manual or reach out to the manufacturer’s customer support for assistance. They can provide guidance or troubleshoot any potential problems you may experience.
Once you are satisfied with the performance of the video and audio features, you can move on to the final step: adjusting additional doorbell settings according to your preferences.
Step 10: Adjusting the Doorbell Settings
After testing the video and audio features of your B30 Low Power Wifi Video Doorbell, it’s time to adjust the doorbell settings to further personalize its functionality and ensure it meets your specific needs. This step allows you to fine-tune various aspects of the doorbell to optimize its performance and enhance your overall experience.
Open the mobile app and navigate to the settings section specific to the B30 Video Doorbell. This section may be labeled as “Device Settings” or “Doorbell Settings.” Here, you’ll find a range of adjustable options and customization features.
One of the primary settings to adjust is the motion detection sensitivity. This determines how sensitive the doorbell is to detecting motion in its field of view. Experiment with different sensitivity levels to find the one that suits your specific requirements, ensuring that you receive accurate motion notifications without being overwhelmed by false alarms.
Additionally, consider setting up customized activity zones within the app. This allows you to define specific areas within the camera’s field of view where you want motion detection to be active. For example, you can create an activity zone that covers only your front porch and excludes the street or neighboring areas.
Explore the options for notification preferences as well. Determine whether you prefer to receive push notifications, email alerts, or both when motion is detected or when someone rings the doorbell. You may be able to customize the settings to receive notifications on multiple devices or specific timeframes, depending on the app’s capabilities.
Take some time to familiarize yourself with other settings, such as night vision modes, video recording options, or audio sensitivity. Customize these settings based on your personal preferences and the specific environment surrounding your front door.
Remember to save your changes after adjusting each setting to ensure they are applied to the B30 Video Doorbell. The app should provide clear instructions on how to save or apply the settings properly.
If you’re unsure about any setting or need further guidance, consult the user manual or reach out to the manufacturer’s customer support for assistance. They can provide additional information or clarification on specific settings or features.
By adjusting the doorbell settings to your liking, you have personalized the B30 Low Power Wifi Video Doorbell to fit your unique requirements. It’s now ready to provide you with enhanced security and convenience at your front door.
Conclusion
Congratulations! You have successfully installed and set up the B30 Low Power Wifi Video Doorbell. By following the step-by-step guide, you have transformed your front door into a more secure and convenient entry point for your home. The B30 Video Doorbell offers advanced features such as video and audio functionality, motion detection, and two-way communication, allowing you to monitor and interact with visitors from anywhere using your smartphone or tablet.
Throughout the installation process, you unboxed the doorbell, prepared the installation area, installed the mounting bracket, connected the necessary wires, attached the doorbell to the bracket, powered it on, downloaded the mobile app, set up the doorbell on the app, tested the video and audio features, and adjusted the doorbell settings to personalize its functionality.
Remember to consult the user manual for further guidance or specific instructions regarding your B30 Video Doorbell. Should you encounter any issues or have questions, reach out to the manufacturer’s customer support for assistance.
With your B30 Video Doorbell up and running, you can now enjoy the added security and convenience it brings to your home. Monitor your front door, receive notifications, communicate with visitors, and keep an eye on your property from anywhere. Whether you’re at work, running errands, or relaxing at home, the B30 Low Power Wifi Video Doorbell keeps you connected.
Thank you for choosing the B30 Low Power Wifi Video Doorbell. We hope this installation guide has been helpful and that you enjoy the benefits of having a smart and secure doorbell system. Stay safe, and enjoy the peace of mind that comes with knowing who’s at your door at all times.