Introduction
Welcome to our guide on how to connect your Xbox 360 to a surround sound system. If you’re looking to take your gaming experience to the next level, immersing yourself in high-quality sound is essential. By connecting your Xbox 360 to a surround sound system, you can enjoy the full audio potential of your games, movies, and music.
Whether you’re a casual gamer or a dedicated enthusiast, we’ll walk you through the step-by-step process of connecting your Xbox 360 to your surround sound system, ensuring that you’re up and running in no time. Before we dive into the details, it’s important to note that the exact setup process may vary depending on the specific model of your Xbox 360 and the type of surround sound system you have.
In this guide, we’ll cover the basic steps that apply to most setups, including connecting the necessary cables and configuring the audio output options on your Xbox 360. By following these instructions, you’ll be able to enjoy an immersive audio experience that adds depth and realism to your gaming sessions.
Before we get started, let’s take a look at the equipment you’ll need to connect your Xbox 360 to a surround sound system.
Equipment Needed
Before you begin the process of connecting your Xbox 360 to a surround sound system, make sure you have the following equipment:
- Xbox 360 Console – This is the main gaming unit that you’ll be connecting to your surround sound system.
- HDMI or AV Cable – Depending on the model of your Xbox 360, you’ll need either an HDMI cable or an AV cable to connect it to your surround sound system.
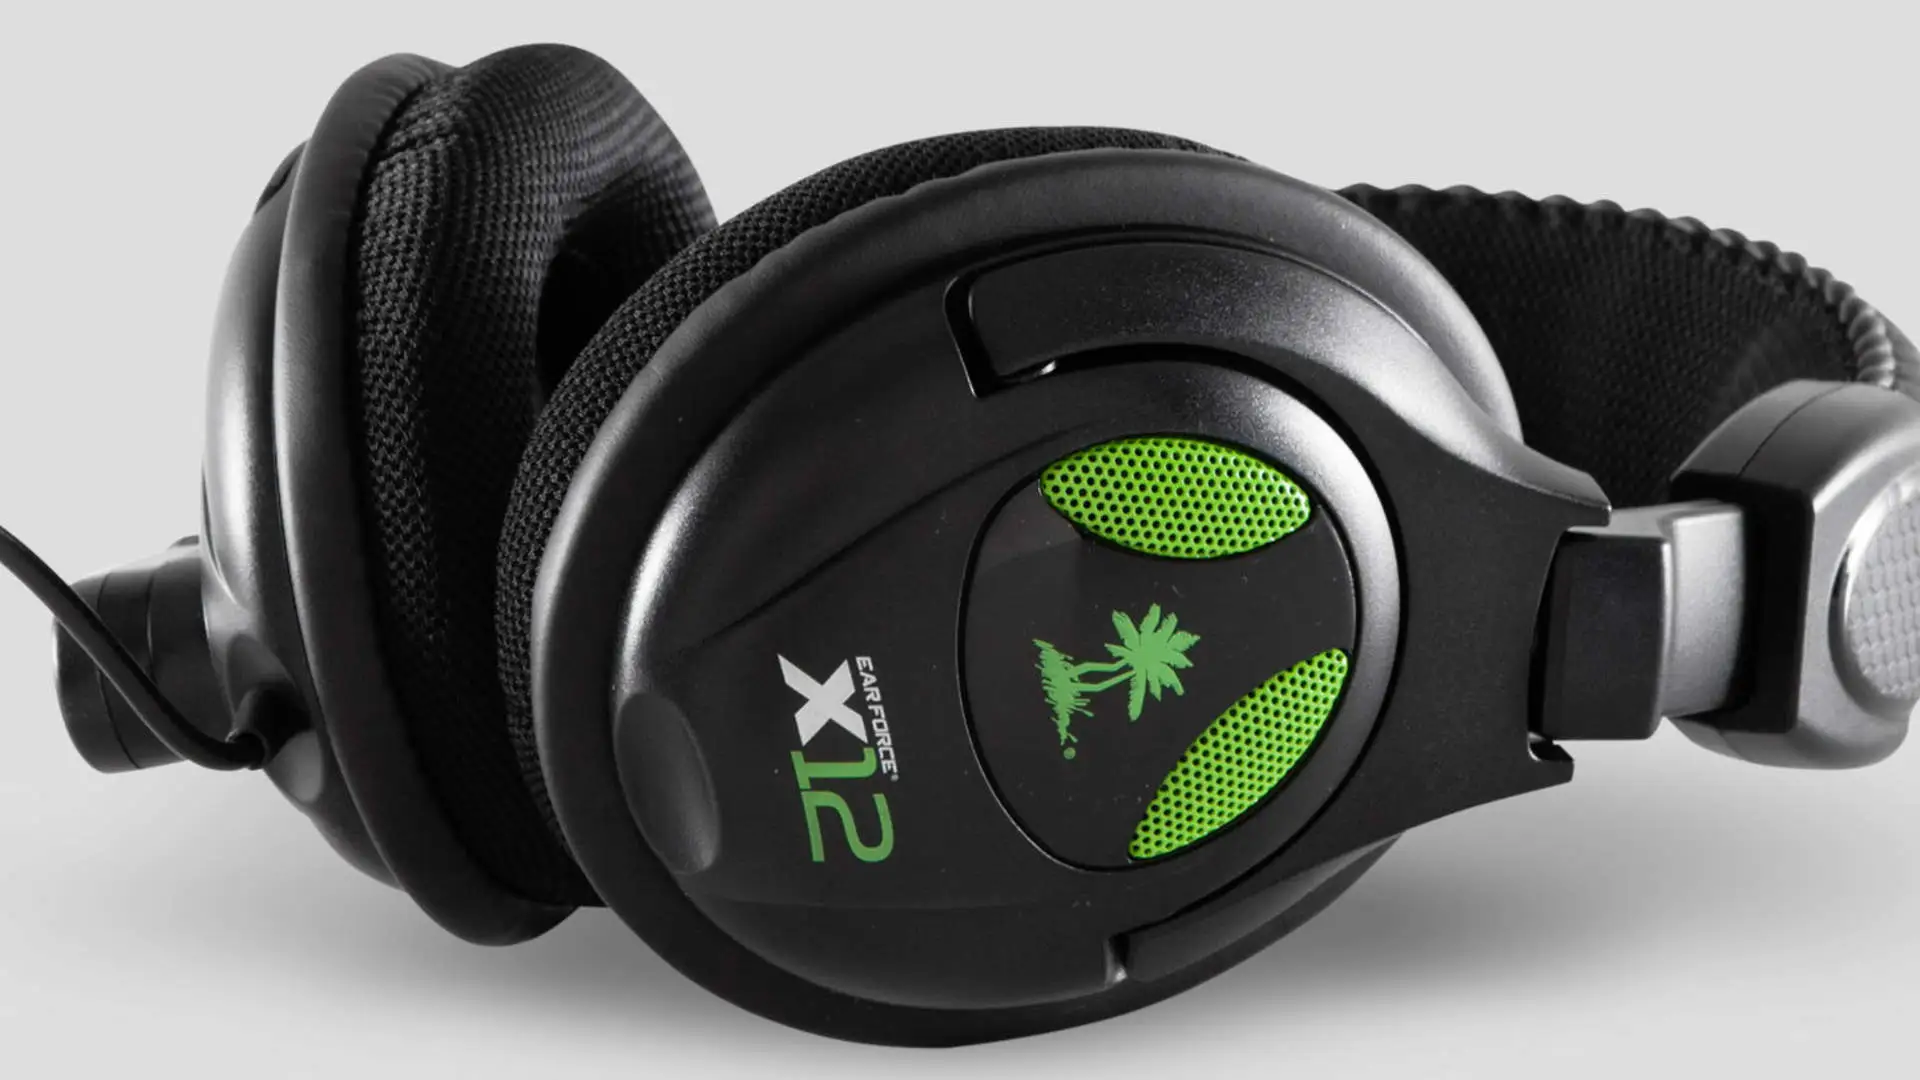
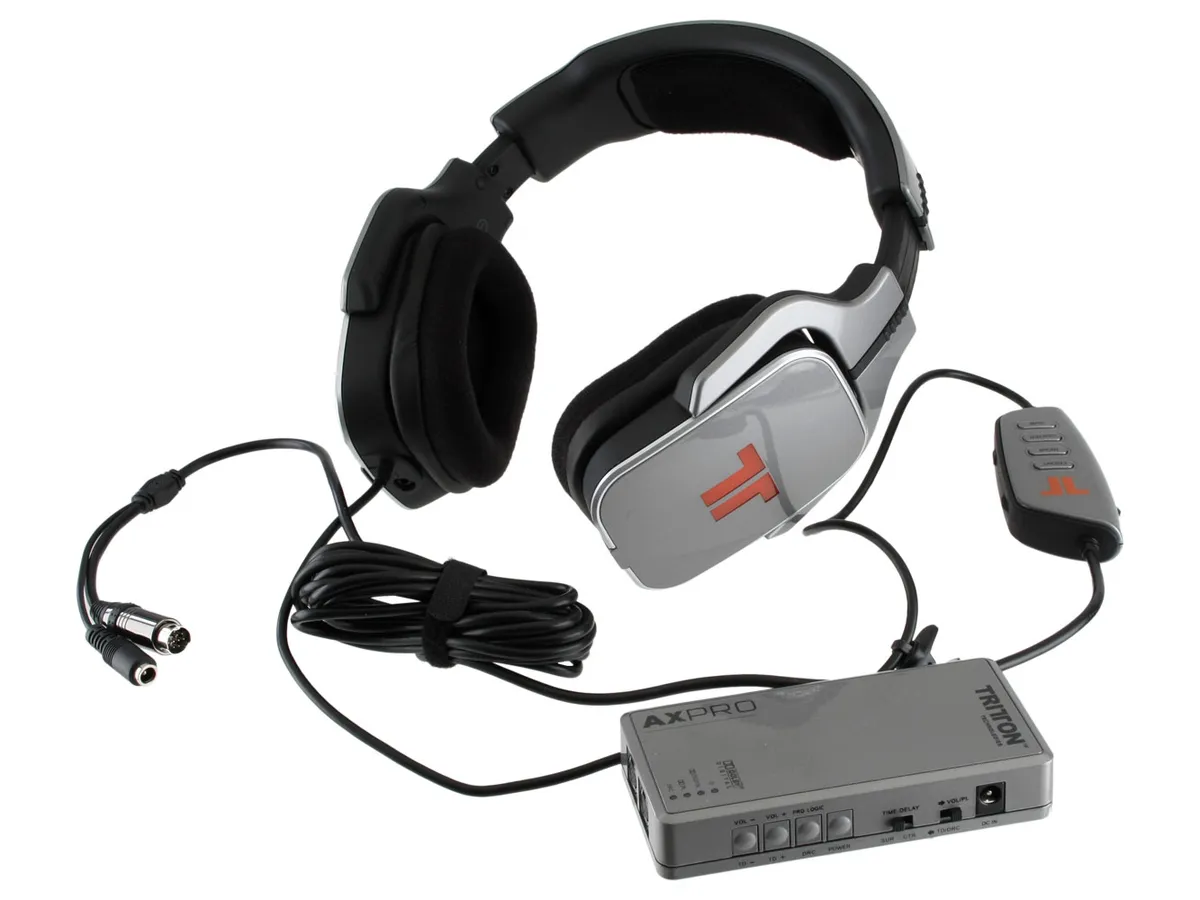
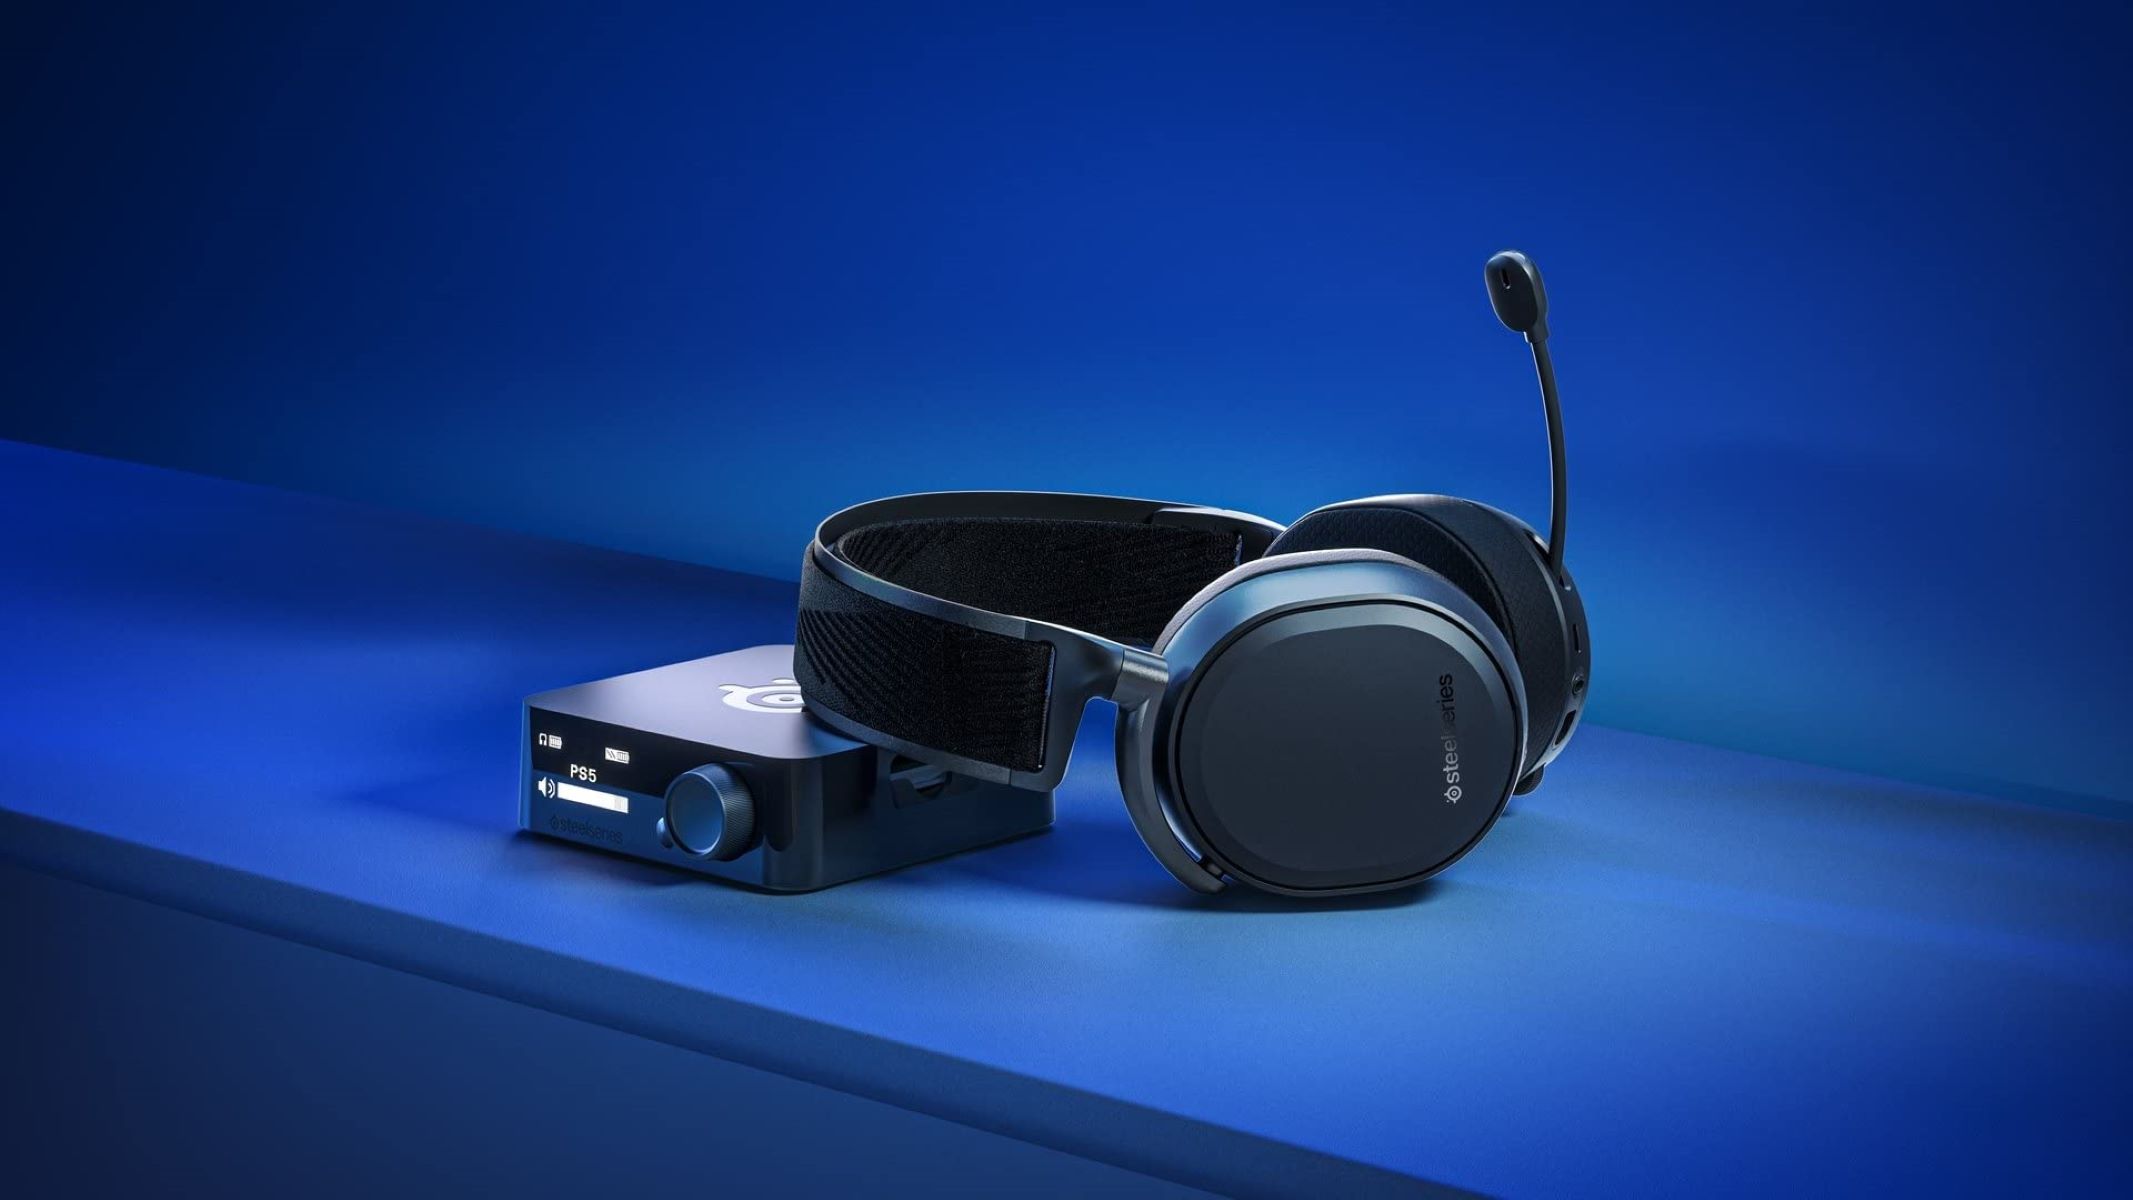
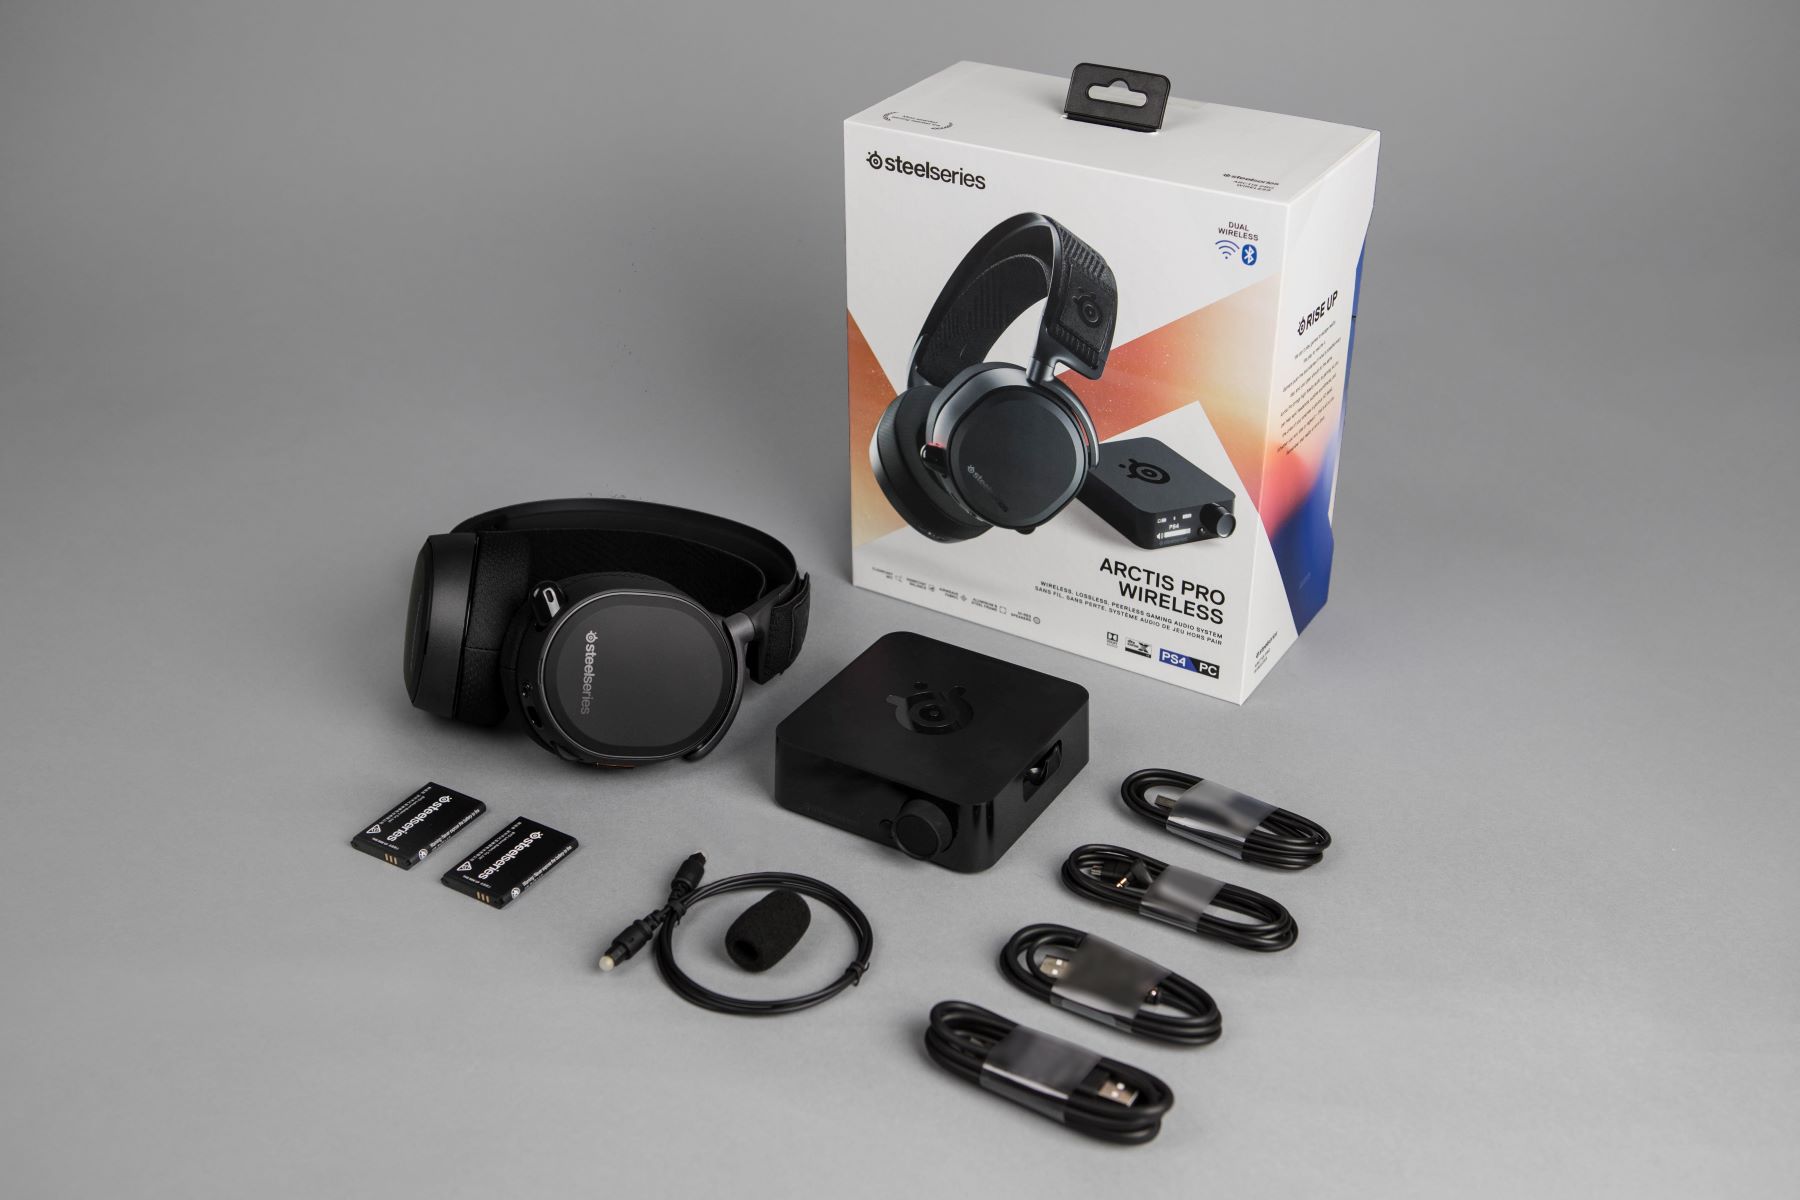
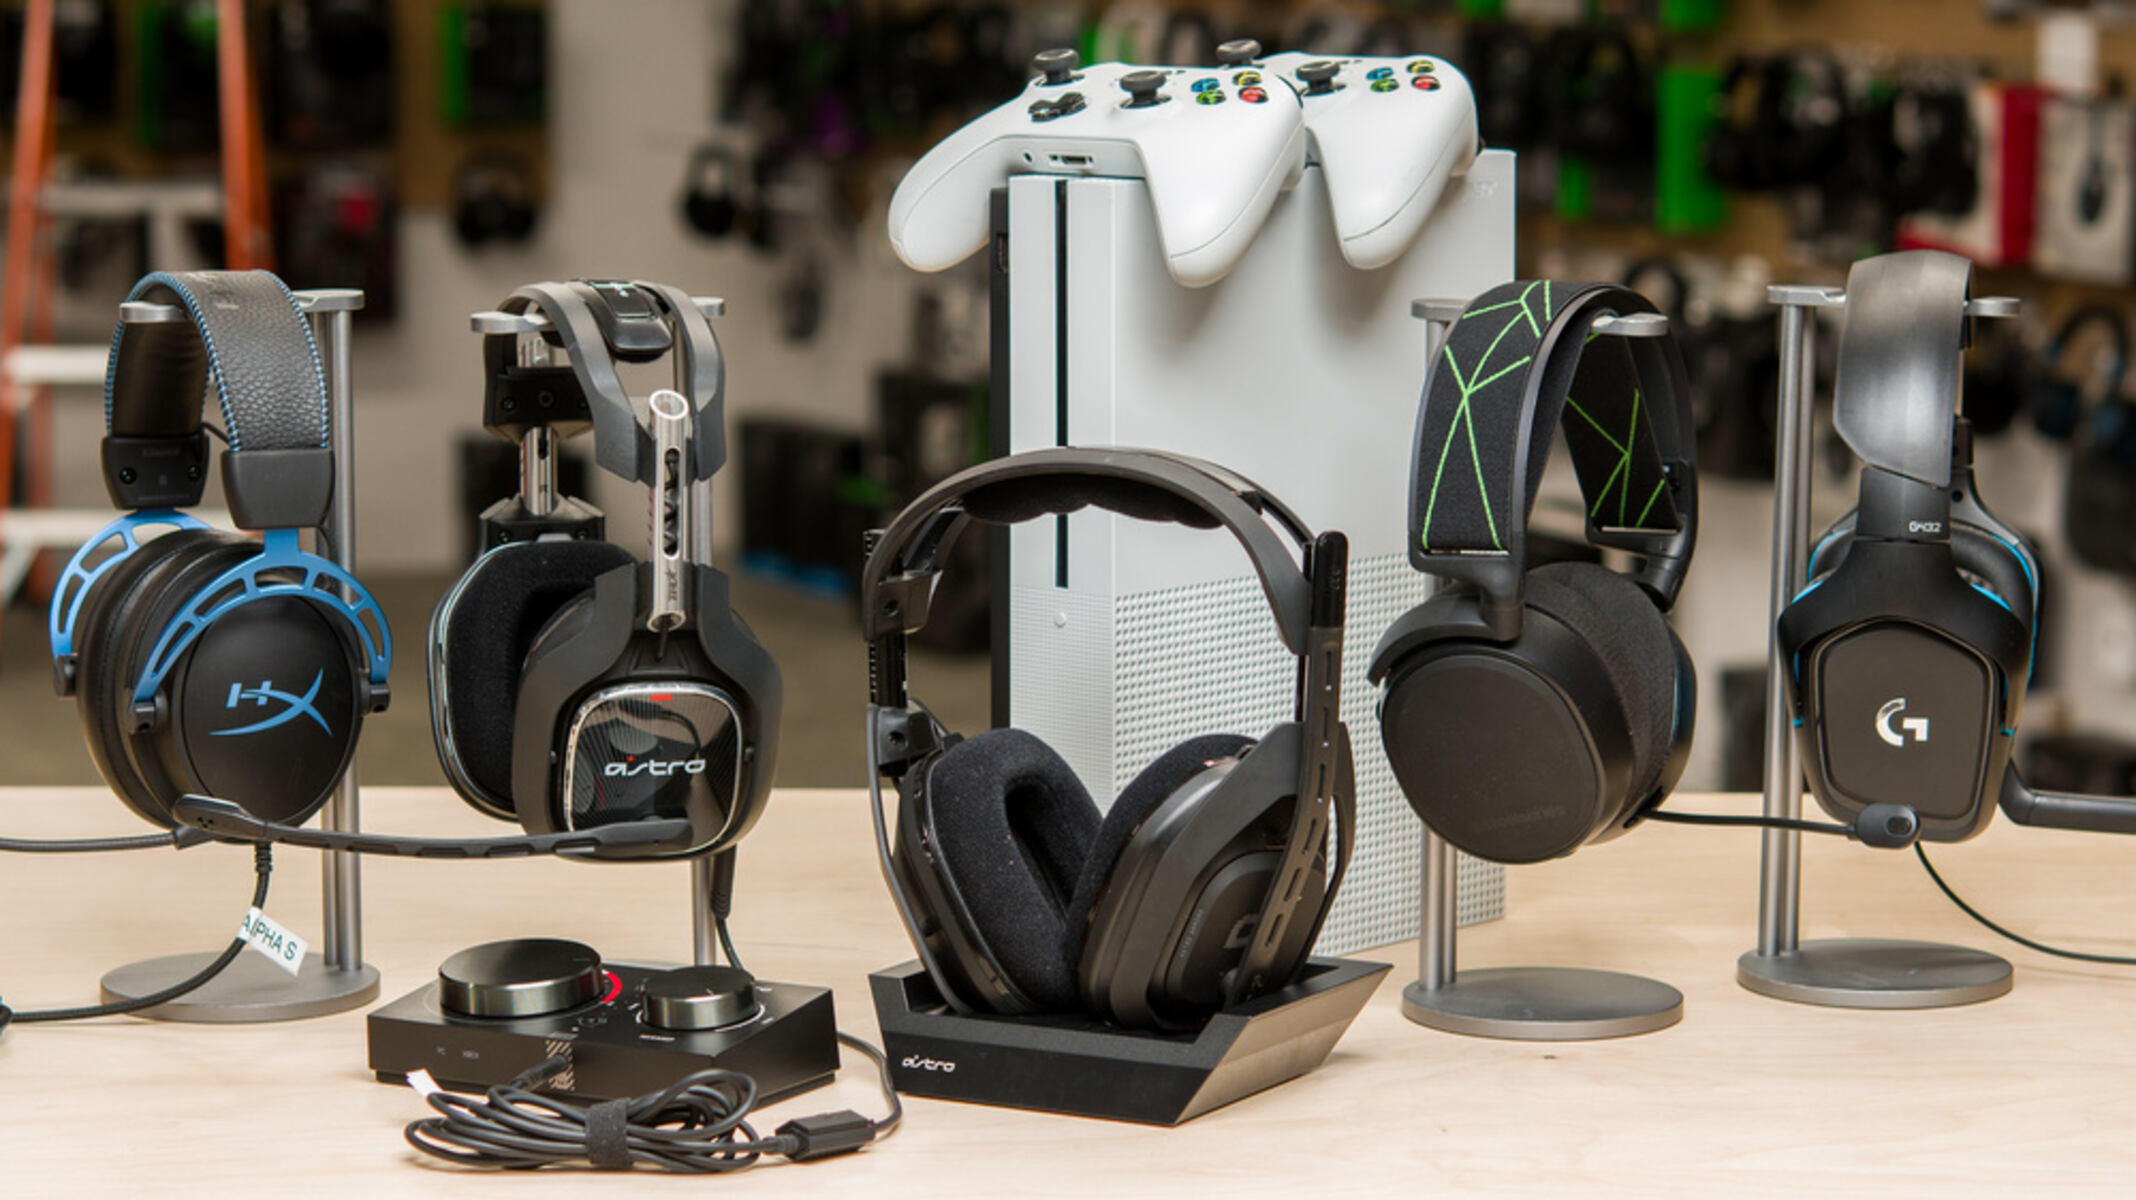
- Surround Sound System – You’ll need a surround sound system with multiple speakers to create an immersive audio experience.
- Audio Cable – To connect the audio output from your Xbox 360 to your surround sound system, you’ll need an audio cable. The type of cable you need will depend on the audio output options of your Xbox 360 and the input options of your surround sound system.
It’s important to ensure that all the necessary cables are in good condition and capable of transmitting audio signals without any loss of quality. If you don’t have the required cables, you can find them at electronic stores or online retailers.
Once you have all the necessary equipment ready, you can proceed to the next steps of the setup process. Remember, the specific cables and connections may vary depending on your Xbox 360 model and the surround sound system you have. It’s always a good idea to consult the manuals or online resources specific to your devices for detailed instructions.
Step 1: Check Your Surround Sound System and Xbox 360 Compatibility
Before you begin connecting your Xbox 360 to a surround sound system, it’s crucial to ensure that both devices are compatible with each other. Compatibility issues can arise if the Xbox 360 model doesn’t support the necessary audio output options or if the surround sound system doesn’t have the required input options.
To check the compatibility between your Xbox 360 and surround sound system, follow these steps:
- Refer to the user manuals or documentation of both your Xbox 360 and surround sound system. Look for information on audio output and input options, as well as any specific compatibility requirements.
- Identify the audio output options of your Xbox 360. The most common options are HDMI and AV. If your Xbox 360 model supports HDMI, make sure your surround sound system has an HDMI input. If your Xbox 360 has AV output, ensure that your surround sound system has the corresponding AV input.
- Check the supported audio formats of your surround sound system. Some older models may only support stereo audio, while newer models may be capable of handling surround sound formats like Dolby Digital or DTS.
- Verify that your surround sound system has enough audio input ports to accommodate the connection from your Xbox 360.
If you find that your Xbox 360 and surround sound system are not compatible, you may need to consider alternative solutions. This could involve using adapters or converters to bridge the gap between the devices or upgrading one or both components to ensure compatibility.
Once you have confirmed the compatibility between your Xbox 360 and surround sound system, you can proceed to the next steps of the setup process. In the following steps, we’ll guide you through connecting the necessary cables and configuring the audio settings on your Xbox 360 to ensure optimal sound output.
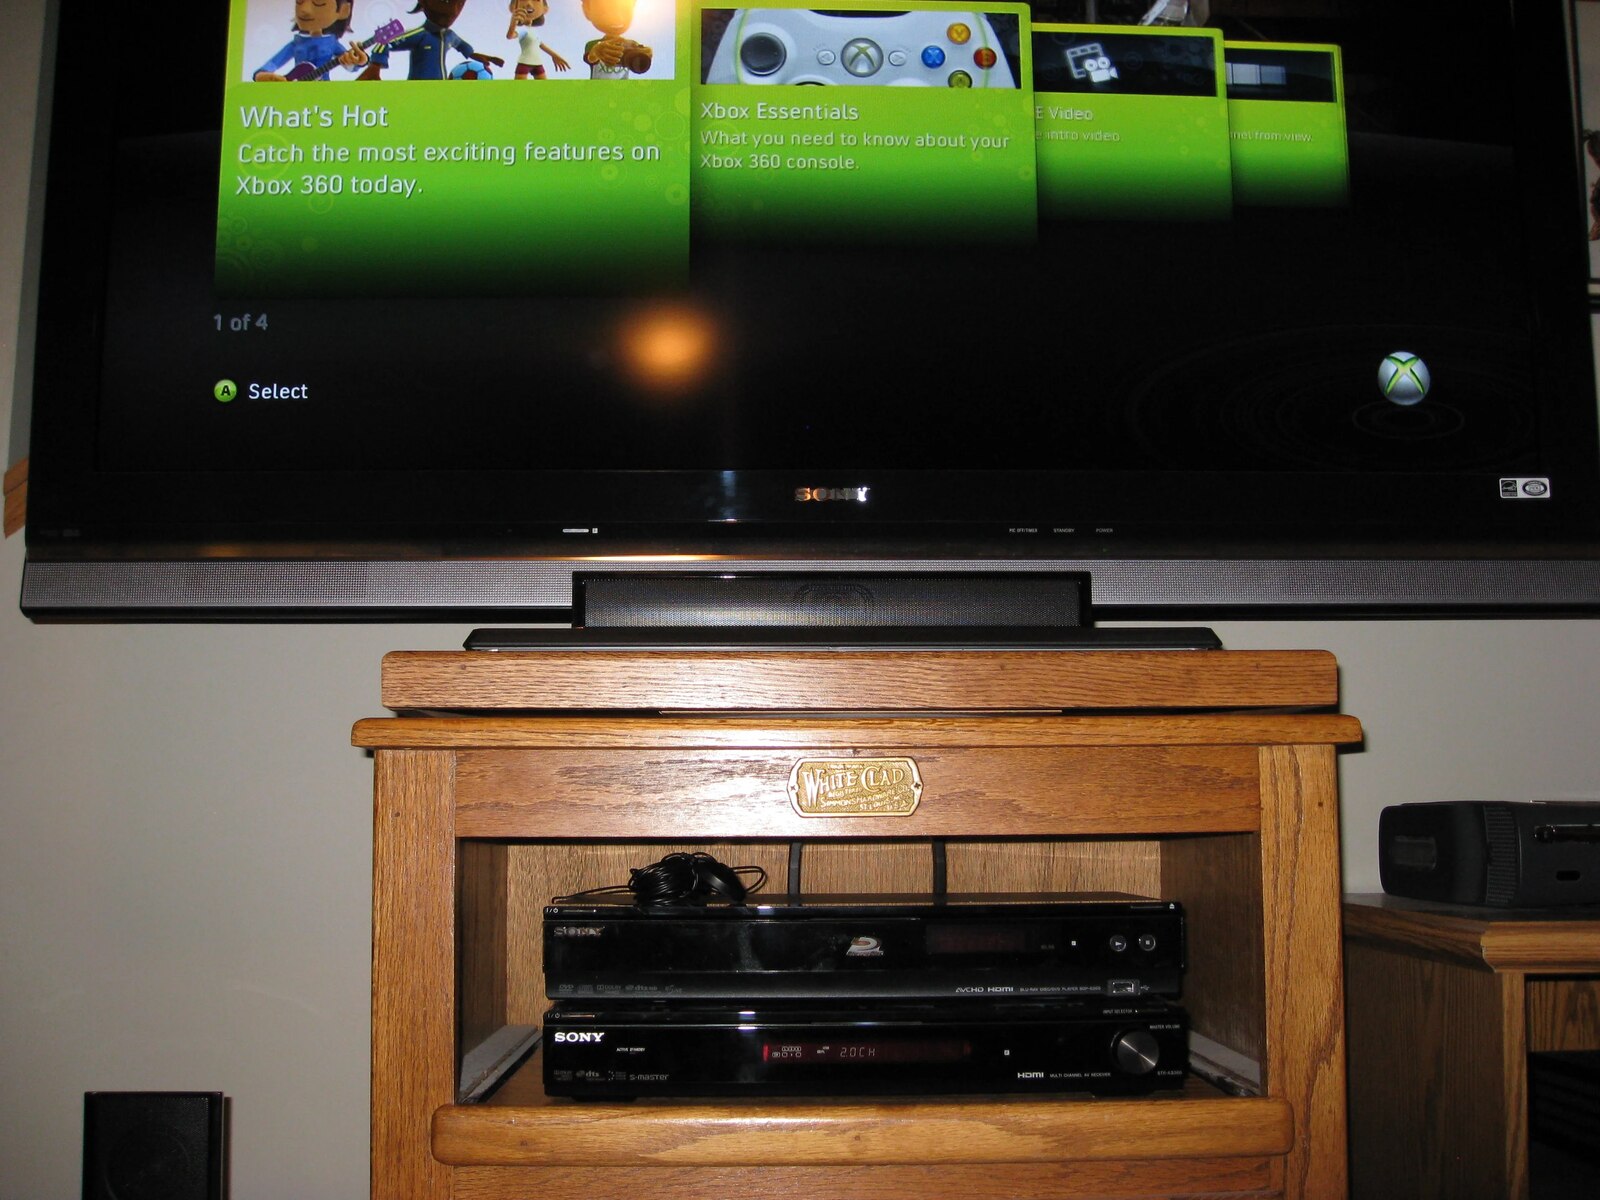
Step 2: Connect the HDMI or AV Cable to Your Xbox 360
Once you have confirmed the compatibility between your Xbox 360 and surround sound system, it’s time to connect the necessary cables. Depending on the audio output options of your Xbox 360 and the input options of your surround sound system, you’ll either need an HDMI cable or an AV cable for this step.
Follow these steps to connect the HDMI or AV cable to your Xbox 360:
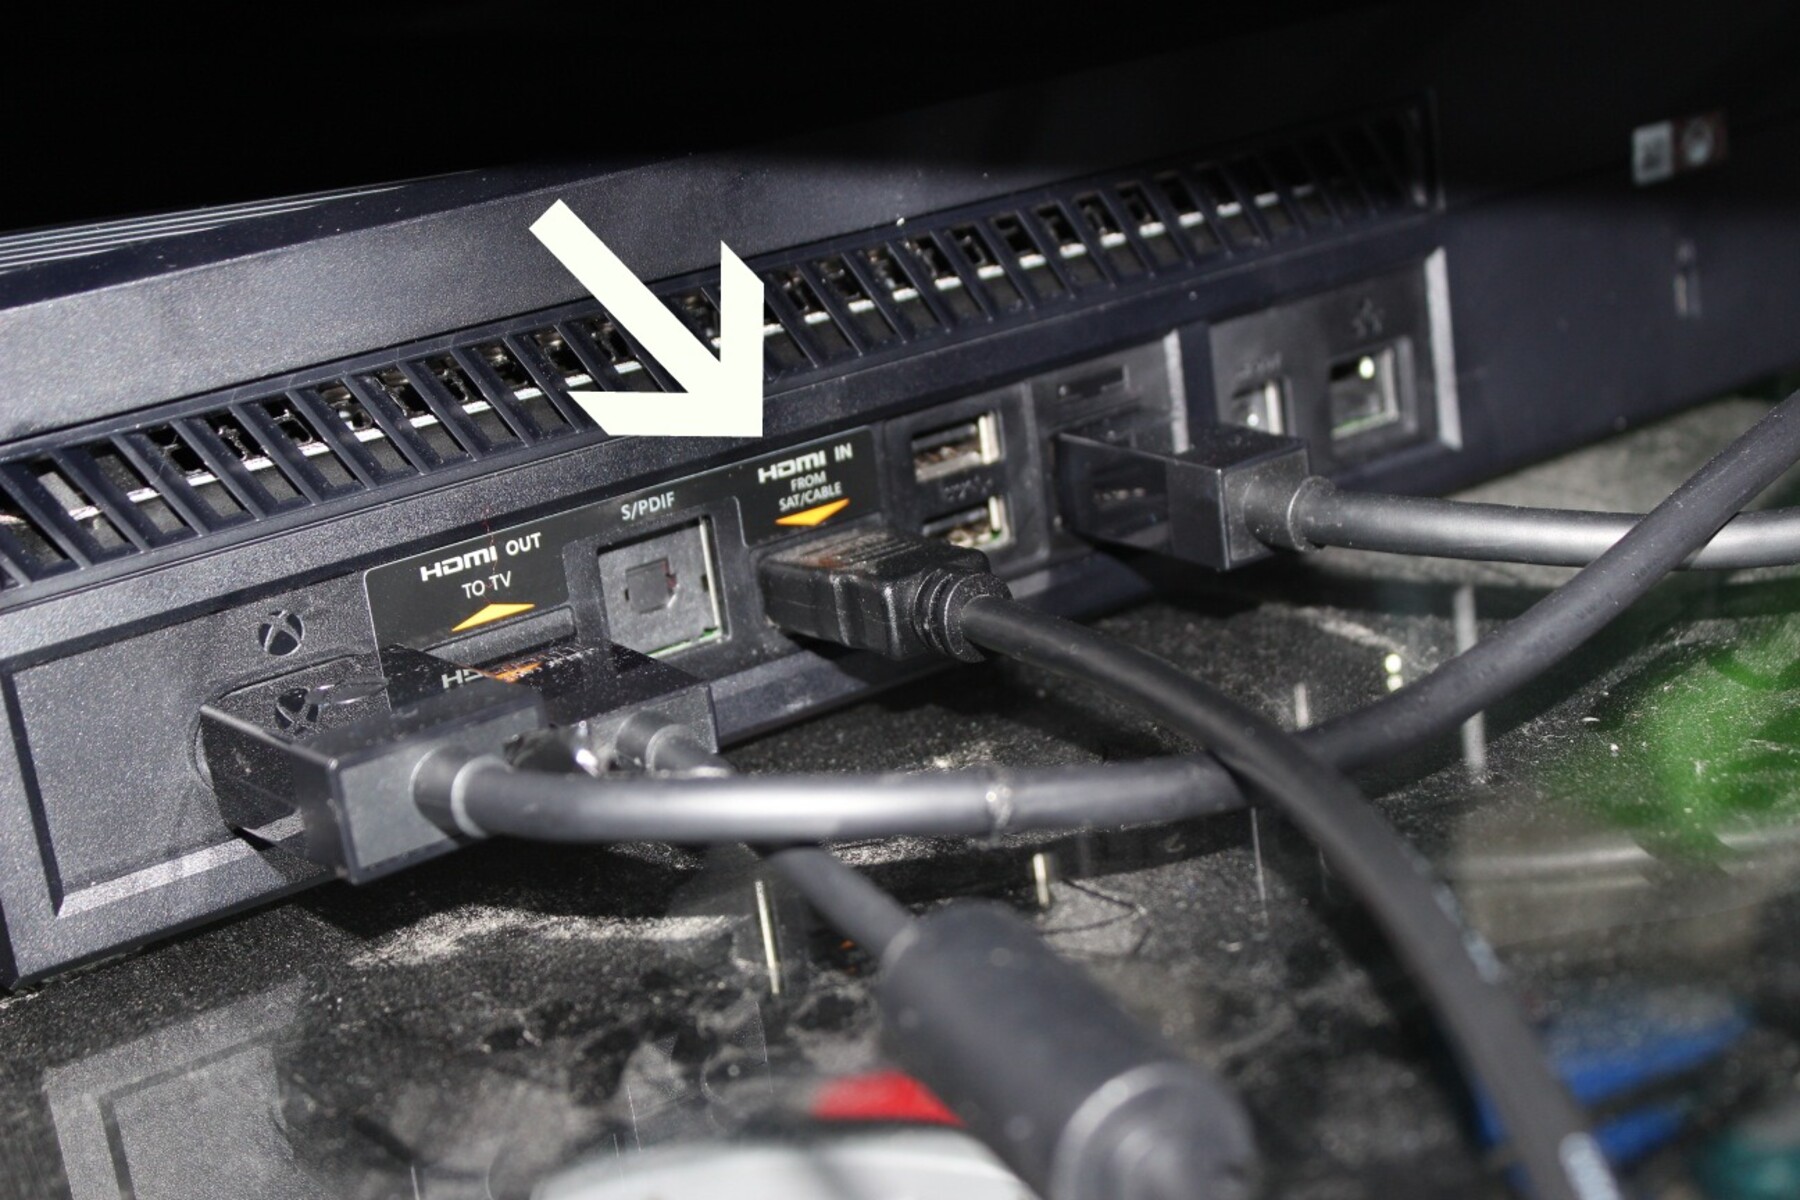
- Locate the HDMI or AV port on the back of your Xbox 360 console. The HDMI port is rectangular and labeled as “HDMI,” while the AV port consists of three colored jacks (red, white, and yellow) for audio and video.
- If using an HDMI cable, connect one end of the cable to the HDMI port on your Xbox 360. Ensure that the HDMI cable is securely attached.
- If using an AV cable, connect the colored jacks of the AV cable to their corresponding ports on your Xbox 360. The red and white jacks are for audio, while the yellow jack is for video. Make sure the connections are tight.
- On the other end of the cable, connect the HDMI or AV cable to the appropriate input port on your surround sound system. Refer to the manual of your surround sound system for the specific input port labeled for Xbox 360 or similar.
Once the HDMI or AV cable is properly connected, you have established the audio and video connection between your Xbox 360 and surround sound system. In the next step, we’ll look at the different audio output options on your Xbox 360 and how to configure them.
Step 3: Determine the Audio Output Options on Your Xbox 360
After connecting the HDMI or AV cable to your Xbox 360, it’s important to determine the audio output options available on your console. This step will allow you to configure the audio settings correctly to ensure optimal sound output through your surround sound system.
Follow these steps to determine the audio output options on your Xbox 360:
- Power on your Xbox 360 and navigate to the System Settings.
- Select the Display & Sound option from the menu.
- Within the Display & Sound settings, locate the Audio output option.
- Check the available output options, which may include HDMI audio, Digital Stereo, or other settings depending on your Xbox 360 model.
If you connected an HDMI cable in Step 2 and your surround sound system has an HDMI input, it is recommended to select the HDMI audio output option. This will ensure that both audio and video are transmitted over a single cable, simplifying the setup process.
If your surround sound system does not have an HDMI input or you prefer to use an alternative audio connection, you may need to select a different audio output option. In this case, refer to the user manual of your surround sound system to determine the preferred audio connection and select the corresponding output option on your Xbox 360.
Once you have chosen the appropriate audio output option, save the settings and exit the menu. This will enable the Xbox 360 to output audio based on your selected configuration.
In the next step, we will connect the audio cable from your Xbox 360 to your surround sound system to ensure that the audio is properly routed to your speakers or receiver.
Step 4: Connect the Audio Cable to Your Surround Sound System
With the audio output options configured on your Xbox 360, it’s time to connect the audio cable from your console to your surround sound system. This step will ensure that the audio signals from your Xbox 360 are correctly routed to your speakers or receiver, providing you with immersive sound during gaming sessions or while watching movies.
Follow these steps to connect the audio cable to your surround sound system:
- Locate the audio output ports on your Xbox 360. These ports are usually located near the HDMI or AV ports on the back of your console. Depending on your Xbox 360 model, you may have RCA or optical audio output options.
- If using an RCA cable, connect the red and white connectors of the audio cable to the corresponding audio output ports on your Xbox 360.
- If using an optical audio cable, remove the protective caps from both ends of the cable. Then, insert one end of the optical cable into the optical audio output port on your Xbox 360.
- On the other end of the audio cable, connect the corresponding connectors to the audio input ports on your surround sound system. Ensure a secure connection.
If you’re using an RCA cable, make sure to match the red connector to the red audio input port and the white connector to the white audio input port on your surround sound system. For optical audio cables, align the optical connector with the optical audio input port on your surround sound system and insert it firmly.
Once the audio cable is connected, your Xbox 360 will be able to transmit audio signals to your surround sound system. In the next step, we’ll test your surround sound system to ensure that everything is set up properly.
Step 5: Test Your Surround Sound System
Now that you have connected your Xbox 360 to your surround sound system, it’s crucial to test the setup to ensure everything is working correctly. By conducting a sound test, you can verify that the audio signals are being properly transmitted from your Xbox 360 to your surround sound speakers or receiver.
Follow these steps to test your surround sound system:
- Power on your Xbox 360 and your surround sound system.
- Launch a game or play a movie or music that you know has surround sound capabilities.
- Check the audio settings on your Xbox 360 and the audio input settings on your surround sound system to ensure they are configured correctly.
- Play the content and listen carefully to determine if the audio is being outputted through all the speakers or channels of your surround sound system.
- Pay attention to the positional audio, such as sounds coming from the front, rear, and sides, to confirm that the surround sound effect is working properly.
If you notice any issues, such as audio only playing through certain speakers or channels, double-check your connections and audio settings. Make sure that all cables are securely connected and that the audio output and input options are correctly configured.
If you are still experiencing issues, consult the user manuals or online resources for troubleshooting steps specific to your Xbox 360 and surround sound system models. It may be necessary to update firmware or drivers, adjust audio settings, or replace faulty cables or components.
Once you are satisfied with the performance of your surround sound system, you can sit back, relax, and enjoy the immersive audio experience while gaming, watching movies, or listening to music on your Xbox 360.
Remember to adjust the volume levels on your surround sound system to your desired level, and make any additional fine-tuning adjustments based on your personal preferences.
Conclusion
Connecting your Xbox 360 to a surround sound system can greatly enhance your gaming experience by immersing you in rich, high-quality audio. By following the step-by-step guide outlined in this article, you should now have a clear understanding of how to connect your Xbox 360 to your surround sound system.
Remember to ensure compatibility between your Xbox 360 and surround sound system, check the necessary equipment, connect the appropriate cables, configure the audio output options, and test the setup to ensure optimal performance.
Keep in mind that the specific steps may vary depending on the exact models of your Xbox 360 and surround sound system. It’s always a good idea to consult the user manuals or online resources specific to your devices for detailed instructions and troubleshooting tips.
Once your Xbox 360 and surround sound system are successfully connected, you can enjoy the immersive audio experience that adds depth and realism to your gaming sessions, movies, and music.
Now, grab your controller, put on your favorite game, and get ready to be blown away by the incredible sound quality of your newly connected surround sound system!