Introduction
Welcome to our guide on how to connect a Samsung subwoofer to a soundbar. If you’re looking to enhance your audio experience and bring some powerful bass to your entertainment setup, connecting a subwoofer to your soundbar is a great way to do it. Samsung offers a range of soundbars and subwoofers that can easily be paired together to create a more immersive soundstage.
Having a subwoofer adds depth and richness to your audio by reproducing low-frequency sounds that regular speakers might struggle to deliver. Whether you’re watching movies, playing games, or simply enjoying your favorite music, a subwoofer can truly enhance the overall audio experience.
Before we dive into the steps, it’s important to note that not all soundbars and subwoofers are compatible with each other. To ensure a successful connection, it’s crucial to check compatibility between your Samsung soundbar and subwoofer. Once you have confirmed compatibility, you can proceed with the connection process.
In this guide, we will walk you through the steps required to connect your Samsung subwoofer to your soundbar, whether it supports wireless connectivity or requires a cable. We will also provide tips for adjusting the settings and testing the connection to ensure optimal audio performance.
Now, let’s gather the necessary equipment and get started on connecting your Samsung subwoofer to your soundbar. Make sure to follow the instructions carefully to ensure a seamless setup process.
What you’ll need
Before you begin connecting your Samsung subwoofer to your soundbar, make sure you have the following items:
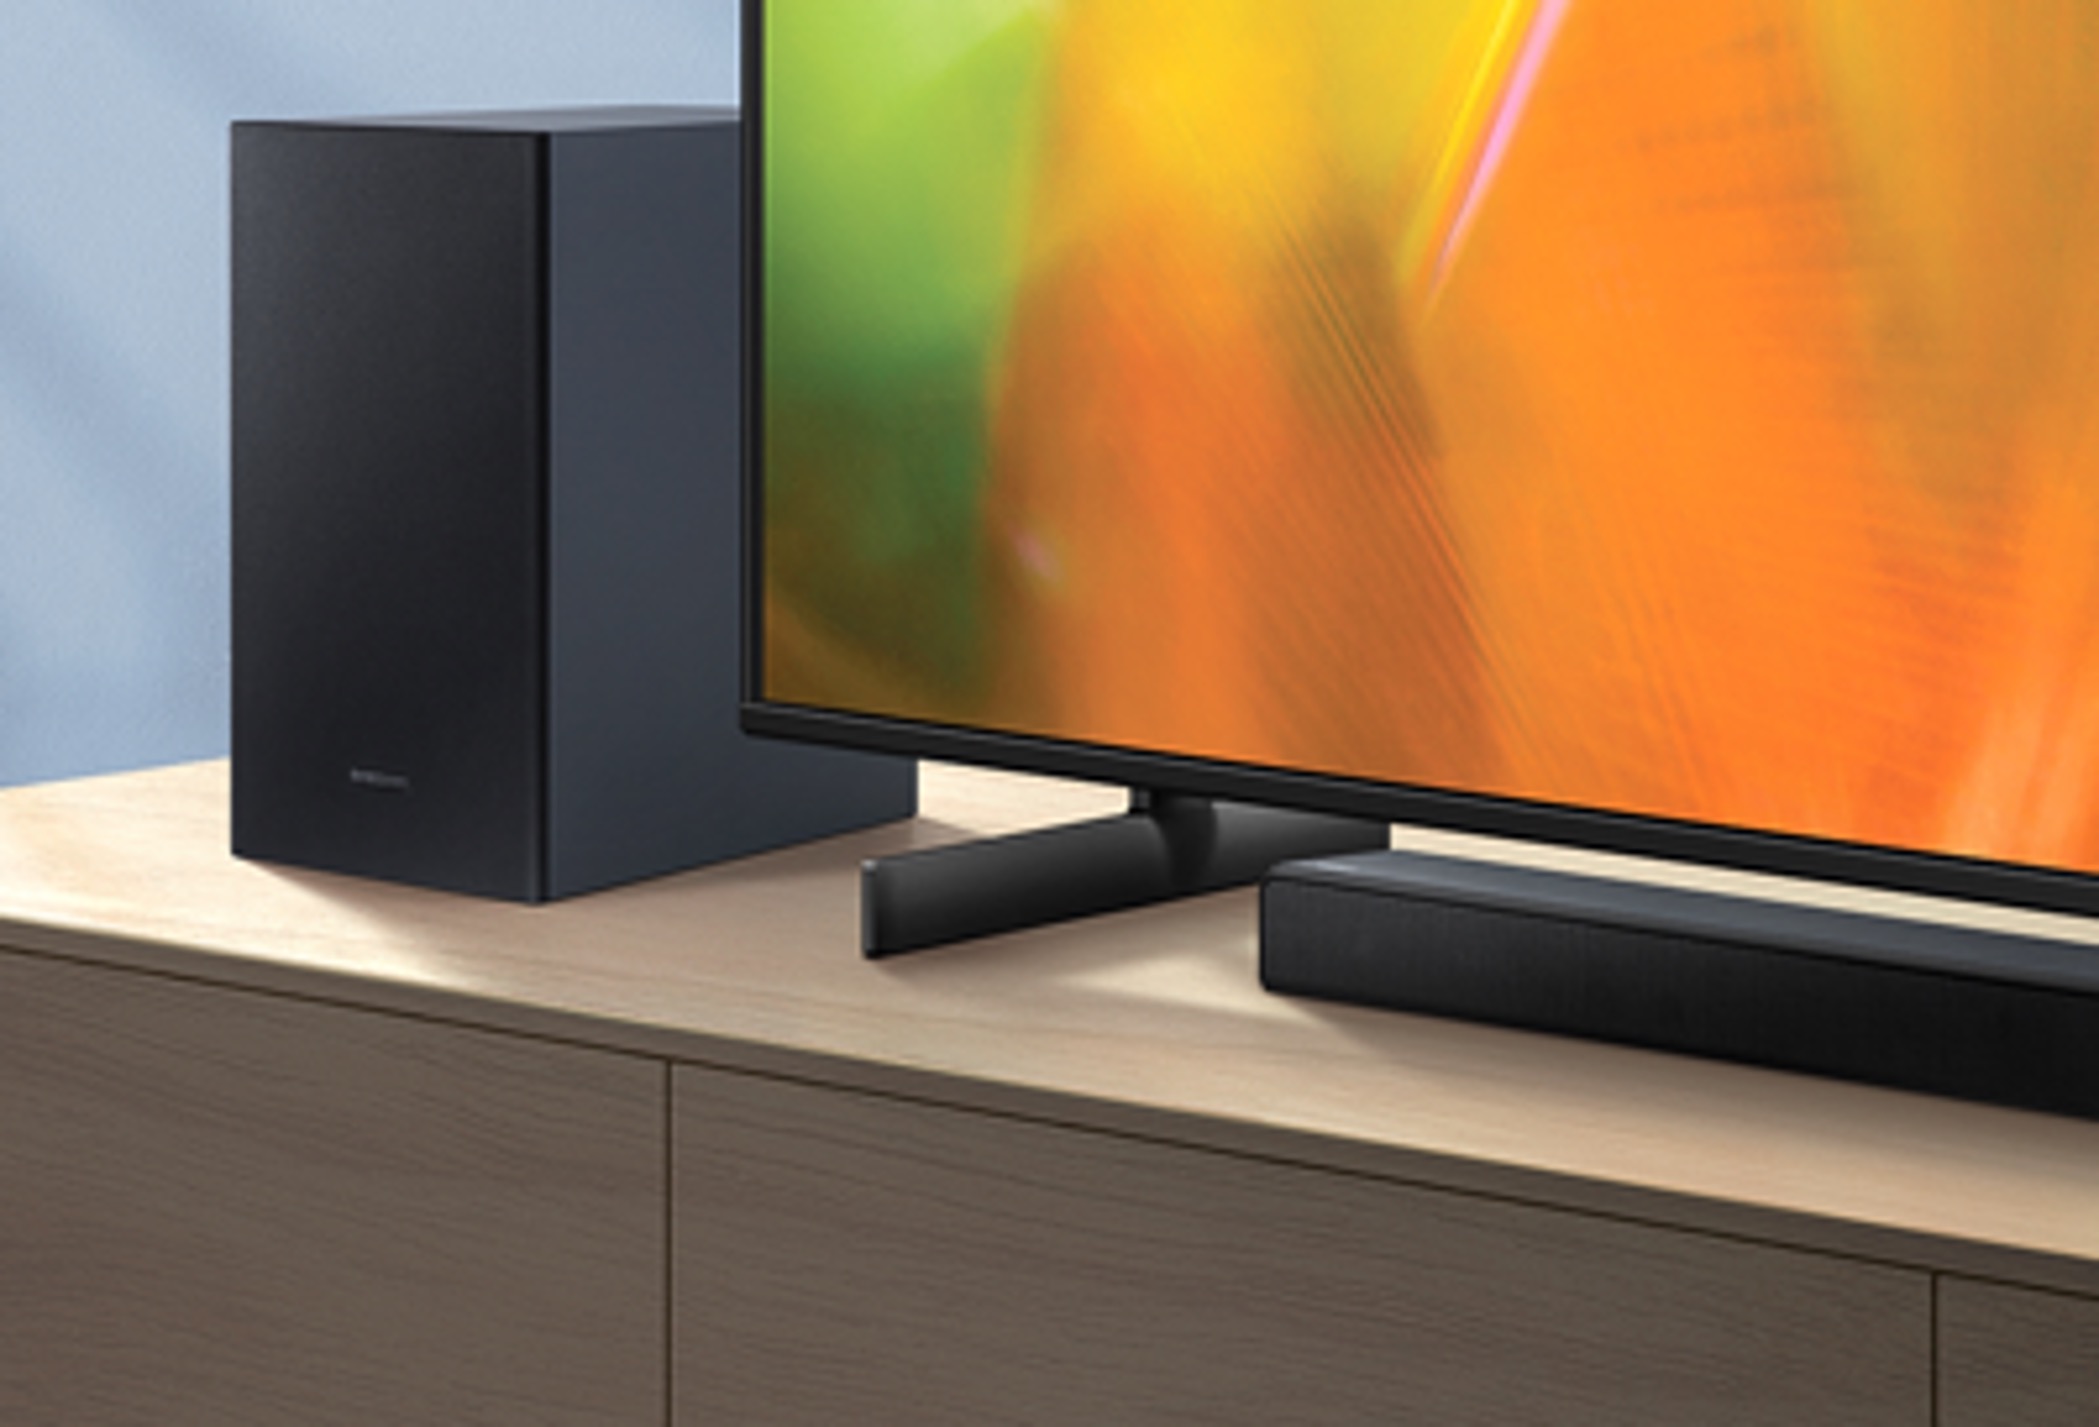
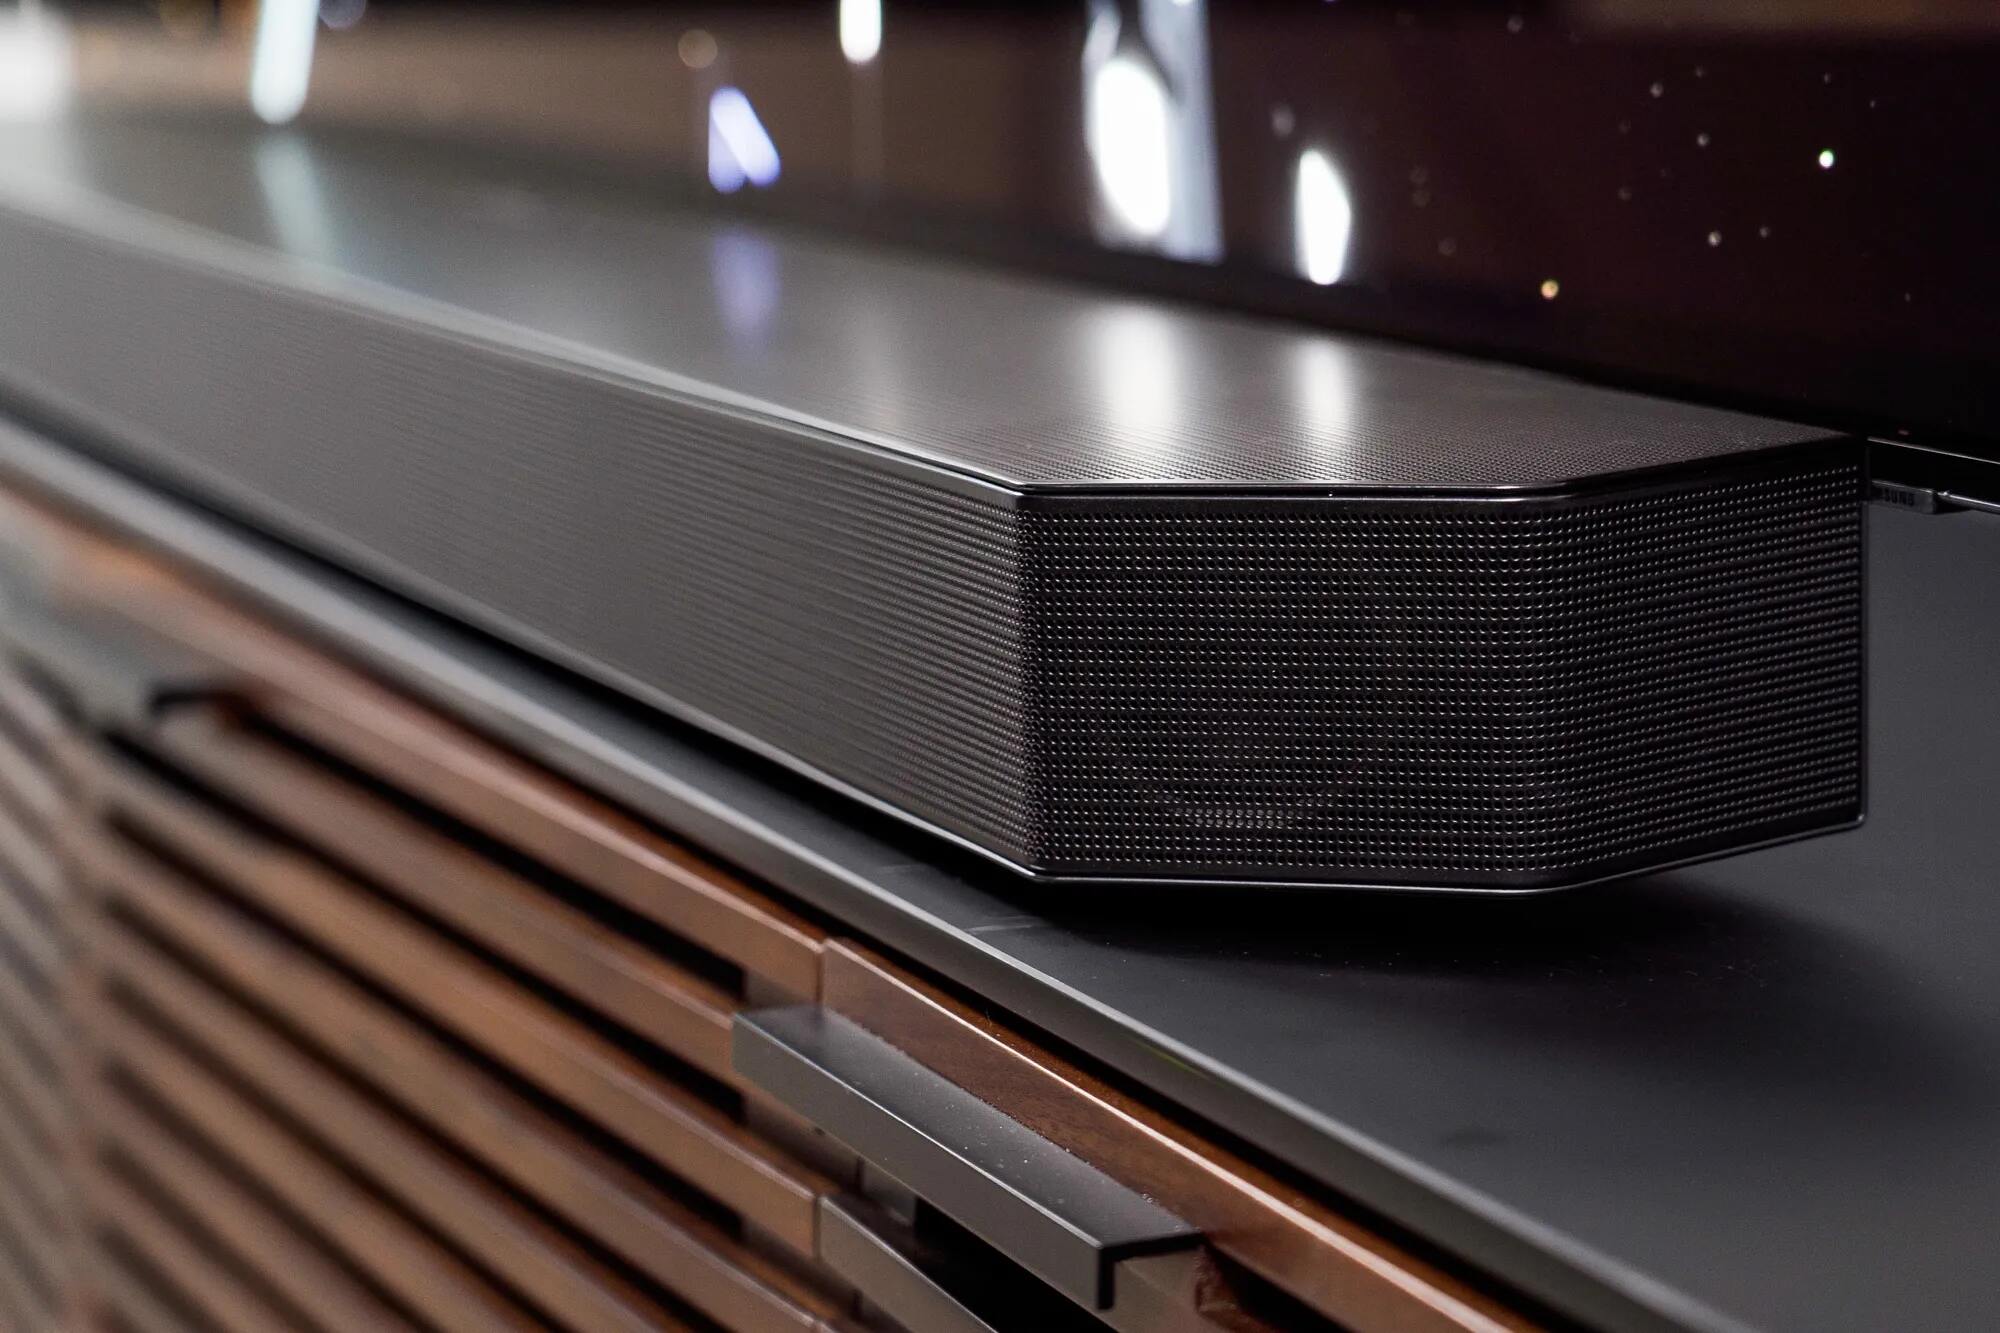
- A Samsung soundbar: This is the main audio device that your subwoofer will be connected to. Ensure that your soundbar has a subwoofer output or is compatible with a wireless subwoofer.
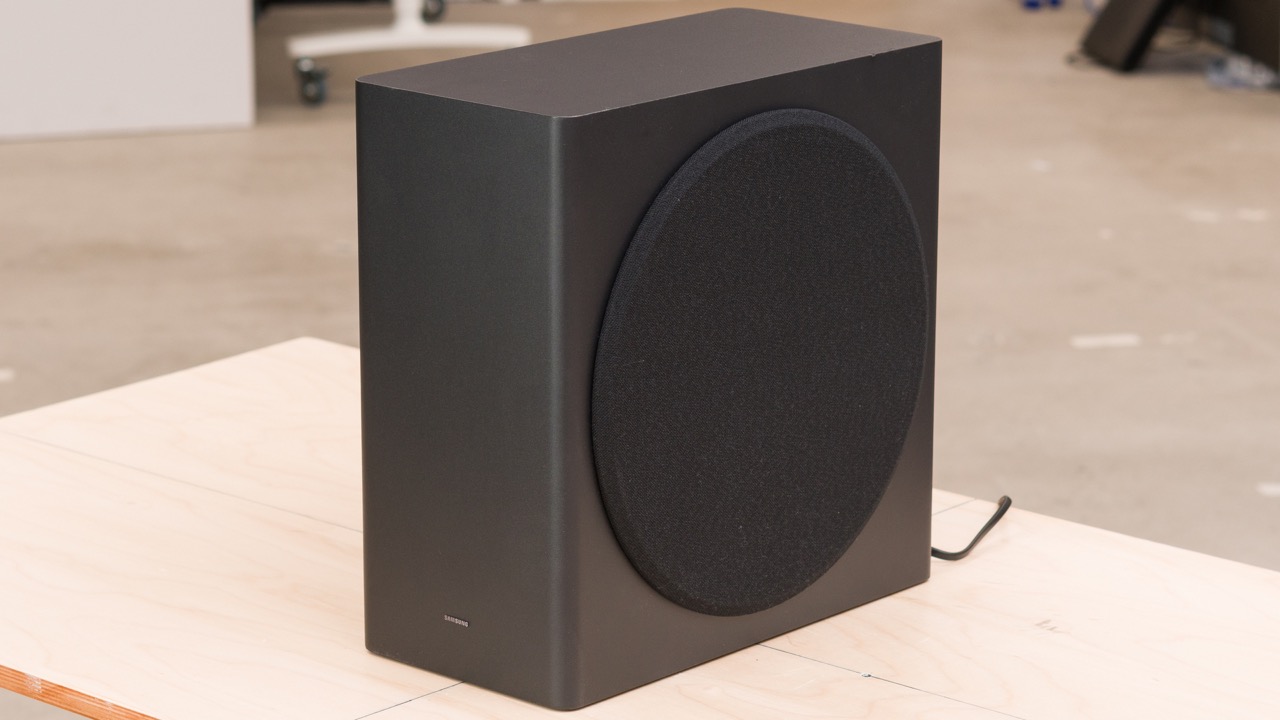
- A Samsung subwoofer: This is the device responsible for producing deep bass frequencies. It should be designed to work with your specific soundbar model.
- Power cables: You will need power cables to connect both the soundbar and subwoofer to a power source.
- An HDMI cable or optical cable: Depending on your soundbar’s connectivity options, you will need an HDMI cable or optical cable to establish an audio connection between the soundbar and your TV or other audio sources.
- An internet connection (if using wireless connectivity): If your soundbar and subwoofer support wireless connectivity, you will need an internet connection to establish a wireless connection between the devices. Ensure that you have a stable internet connection available.
- The user manual: This is an important resource that provides specific instructions and setup information for your soundbar and subwoofer models. Keep it handy throughout the process.
It’s essential to have all the required equipment on hand before starting the connection process. This will ensure a smooth and hassle-free setup experience. If any of the items mentioned above are missing or incompatible, you may need to acquire the necessary components or consult with Samsung customer support for further assistance.
Now that you have all the necessary equipment, let’s move on to the step-by-step process of connecting your Samsung subwoofer to your soundbar.
Step 1: Determine compatibility between the subwoofer and soundbar
Before you start connecting your Samsung subwoofer to your soundbar, it’s important to ensure that they are compatible with each other. Compatibility ensures that the devices can communicate effectively and deliver the desired audio experience. Here are a few steps to determine compatibility:
- Check the model numbers: Look for the model numbers of both your soundbar and subwoofer. They should be clearly labeled on the devices or mentioned in the user manuals. Verify that both devices are designed to work together.
- Refer to the user manuals: Consult the user manual provided with your soundbar and subwoofer for compatibility information. It will provide detailed instructions on how to connect the subwoofer and any compatibility considerations to keep in mind.
- Online research: If you’re unsure about the compatibility of your devices, consider conducting some online research. Visit Samsung’s official website or other reliable tech forums to find compatibility information, user experiences, and troubleshooting guides related to your specific soundbar and subwoofer models.
- Contact Samsung support: If you’re still unsure about compatibility or need additional assistance, reach out to Samsung support. They can provide accurate information and guidance based on your specific soundbar and subwoofer models.
It’s crucial to ensure compatibility between your Samsung subwoofer and soundbar to avoid any connectivity issues or suboptimal audio performance. Proceeding with incompatible devices can result in audio distortion, lack of sound output from the subwoofer, or even device malfunctions.
Once you have confirmed compatibility between your subwoofer and soundbar, you can proceed to the next steps of connecting them. If you encounter any compatibility issues or uncertainties, it’s always recommended to seek professional assistance or contact Samsung support for guidance.
Step 2: Connect the subwoofer to the power source
After confirming compatibility between your Samsung subwoofer and soundbar, the next step is to connect the subwoofer to a power source. This provides the necessary electrical power for the subwoofer to function properly. Here’s how to do it:
- Locate the power cord: Find the power cord that came with your Samsung subwoofer. It should have a specific connector that fits into the power input on the back of the subwoofer.
- Connect the power cord: Plug the power cord into the power input on the back of the subwoofer. Ensure that it is securely inserted.
- Connect to a power outlet: Plug the other end of the power cord into a nearby power outlet. Make sure the outlet is easily accessible and switched on.
- Power on the subwoofer: Locate the power button on the subwoofer, usually located on the front or side. Press the power button to turn on the subwoofer. You may see a power indicator light up to indicate that it is receiving power.
- Verify power status: Double-check that the subwoofer is receiving power by listening for any startup sounds or noticing any LED indicators that indicate its power status. If you don’t hear or see anything, ensure that the power cord is properly connected and the power outlet is functioning correctly.
By connecting your Samsung subwoofer to a power source, you are providing it with the necessary electrical power to operate. This step is crucial for the subwoofer to function properly and deliver the expected bass performance. Once you have completed this step, you can proceed to connect the subwoofer to the soundbar in the next steps.
Note: The specific location of the power input and power button may vary depending on your subwoofer model. Refer to the user manual that came with your subwoofer for detailed instructions specific to your model.
Step 3: Connect the subwoofer to the soundbar wirelessly (if compatible)
If your Samsung subwoofer and soundbar support wireless connectivity, you have the option to connect them without the need for any physical cables. This wireless connection offers convenience and flexibility in placement. Follow these steps to connect the subwoofer to the soundbar wirelessly:
- Power on the soundbar: Make sure your Samsung soundbar is powered on and ready for setup.
- Activate the wireless connection on the subwoofer: On your subwoofer, locate the wireless connection button or switch. Press and hold this button for a few seconds until the wireless indicator light starts blinking or turns solid.
- Put the soundbar into pairing mode: Refer to your soundbar’s user manual to determine the specific method to put it into pairing mode. This usually involves pressing and holding a button or a combination of buttons on the soundbar or its remote control.
- Pair the subwoofer with the soundbar: After activating the wireless connection on the subwoofer and putting the soundbar into pairing mode, the devices should automatically detect and pair with each other. Wait for a few moments while they establish a wireless connection.
- Confirm the wireless connection: Once the wireless pairing is complete, you should see a solid wireless indicator light on the subwoofer. Additionally, some soundbars may also display a confirmation message or indicator on the display panel.
Wirelessly connecting your Samsung subwoofer to the soundbar eliminates the need for physical cables and allows for more flexible placement options. It reduces clutter and provides a clean and streamlined setup. However, not all Samsung soundbar and subwoofer models support wireless connectivity, so make sure to check the compatibility and features of your specific devices.
If you encounter any issues during the wireless setup process, refer to the user manuals or contact Samsung support for further assistance. They can provide troubleshooting steps or guide you through the setup process for your specific models.
Step 4: Connect the subwoofer to the soundbar using a cable
If your Samsung subwoofer and soundbar do not support wireless connectivity or if you prefer a wired connection, you can connect them using an appropriate cable. Follow these steps to connect the subwoofer to the soundbar:
- Power off both the soundbar and the subwoofer: Before connecting them with a cable, it’s important to ensure that both the soundbar and subwoofer are turned off.
- Identify the subwoofer output on the soundbar: Locate the subwoofer output jack on the back of your Samsung soundbar. It is usually labeled as “Subwoofer Out” or “Sub Out”.
- Connect the subwoofer to the soundbar: Take one end of the appropriate cable (e.g., RCA cable or proprietary cable) and plug it into the subwoofer output on the soundbar. Then, connect the other end of the cable to the subwoofer’s input port, typically labeled as “Sub In”.
- Secure the cable connections: Ensure that the cable connections are secure and firmly plugged in at both ends. Loose connections can result in audio distortion or intermittent sound.
- Power on both the soundbar and the subwoofer: After connecting the cable, turn on both the soundbar and the subwoofer. Follow the instructions in the user manual for powering on your specific devices.
- Adjust the volume and settings: Once the soundbar and subwoofer are powered on, you may need to adjust the volume levels and settings to achieve the desired sound balance. Refer to the user manuals for instructions on adjusting the settings specific to your models.
By connecting the subwoofer to the soundbar using a cable, you establish a reliable and direct audio connection. This ensures optimal audio performance and reduces the chances of interference or signal loss.
Remember to select the appropriate cable based on the available ports on your soundbar and subwoofer. If you are unsure about which type of cable to use, consult the user manuals or contact Samsung support for guidance.
Once you have completed the cable connection, you can move on to the next step to adjust the settings and test the connection between your Samsung subwoofer and soundbar.
Step 5: Adjust the settings and test the connection
After connecting your Samsung subwoofer to the soundbar, it’s essential to adjust the settings and test the connection to ensure optimal audio performance. Follow these steps to fine-tune the settings and verify the connection:
- Access the soundbar settings: Use the remote control or the buttons on the soundbar to access the settings menu. Refer to the user manual for instructions specific to your soundbar model.
- Adjust the subwoofer volume: Look for the subwoofer volume settings in the soundbar’s audio settings menu. Increase or decrease the subwoofer volume to your desired level. You can also adjust other audio parameters, such as bass and treble, to customize the sound to your preferences.
- Test the sound output: Play some audio content, such as music or a movie, to test the sound output. Observe whether the subwoofer is producing rich bass frequencies and contributing to an immersive audio experience.
- Position the subwoofer: Experiment with the placement of the subwoofer to optimize the bass response. Moving the subwoofer closer or farther from walls or corners can affect the bass quality.
- Listen for balanced sound: Pay attention to the overall sound balance. The subwoofer should seamlessly integrate with the soundbar, providing a smooth transition between the low-frequency sounds from the subwoofer and the other audio from the soundbar’s speakers.
- Make further adjustments if necessary: If you are not satisfied with the sound quality or balance, revisit the settings and make further adjustments. Experiment with different settings to find the best configuration for your listening environment.
Testing the connection and adjusting the settings allows you to optimize the audio experience when using your Samsung subwoofer and soundbar combination. Fine-tuning the volume, positioning the subwoofer correctly, and ensuring a balanced sound will greatly enhance your immersive audio experience.
If you encounter any issues or have difficulty adjusting the settings, refer to the user manuals provided with your devices or contact Samsung support for additional assistance. They can provide troubleshooting steps or further guidance based on your specific soundbar and subwoofer models.
Conclusion
Connecting a Samsung subwoofer to a soundbar allows you to enhance your audio experience and enjoy deep, immersive bass frequencies. Whether you opt for a wireless connection or a wired one, the process is relatively straightforward and can be done with a few simple steps.
In this guide, we covered the essential steps to connect your Samsung subwoofer to your soundbar. We started by emphasizing the importance of determining compatibility between the devices. Ensuring compatibility is crucial to establish a smooth and successful connection.
We then discussed how to connect the subwoofer to a power source and provided instructions for both wireless and wired connections. Depending on the specific capabilities of your devices, you can choose the method that best suits your setup and preferences.
After connecting the subwoofer, we walked you through the process of adjusting the settings and testing the connection. This step is crucial to achieve optimal audio performance and ensure a balanced sound output between the subwoofer and the soundbar.
Remember, it’s always important to refer to the user manuals provided with your Samsung subwoofer and soundbar for detailed instructions regarding your specific models.
By following these steps and taking the time to set up your Samsung subwoofer and soundbar correctly, you can create a more immersive and enjoyable audio experience. Now, sit back, relax, and immerse yourself in the rich and deep sound produced by your Samsung subwoofer and soundbar combination.