Introduction
Connecting a Laptop to a Surround Sound System: Enhancing Your Audio Experience
When it comes to enjoying multimedia content on your laptop, the audio experience plays a vital role in immersing yourself in the content. While your laptop speakers can deliver decent sound, connecting your laptop to a surround sound system can elevate the audio experience to a whole new level. With surround sound, you can enjoy the crisp and immersive audio that complements the high-quality visuals on your laptop.
However, the process of connecting a laptop to a surround sound system may seem daunting if you’re not familiar with the necessary steps. But fear not! In this guide, we will walk you through the process, step by step, making it easy for you to enjoy the benefits of a surround sound system with your laptop.
Whether you want to enhance your gaming experience, enjoy your favorite movies and TV shows, or simply listen to music at its best, connecting your laptop to a surround sound system is a worthwhile endeavor. So, let’s dive into the steps and explore the various options you have in order to connect your laptop to a surround sound system.
Step 1: Check the available ports on your laptop and surround sound system
Before you begin the process of connecting your laptop to a surround sound system, it is important to identify the available ports on both your laptop and the surround sound system. This will help you determine which type of cable you need to establish the connection.
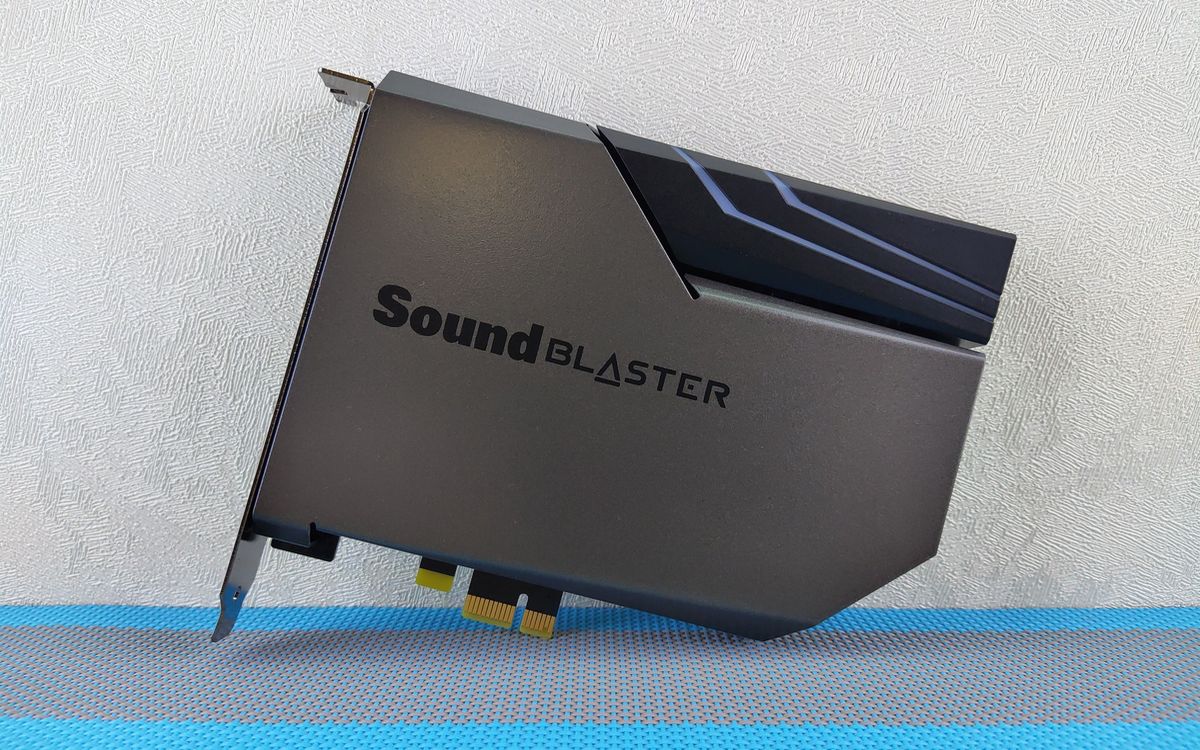
First, examine your laptop and look for any audio output ports. Common audio output ports found on laptops include 3.5mm headphone jacks, HDMI ports, and optical audio output ports. Take note of these ports as they will be crucial in determining the type of cable you’ll need to connect your laptop to the surround sound system.
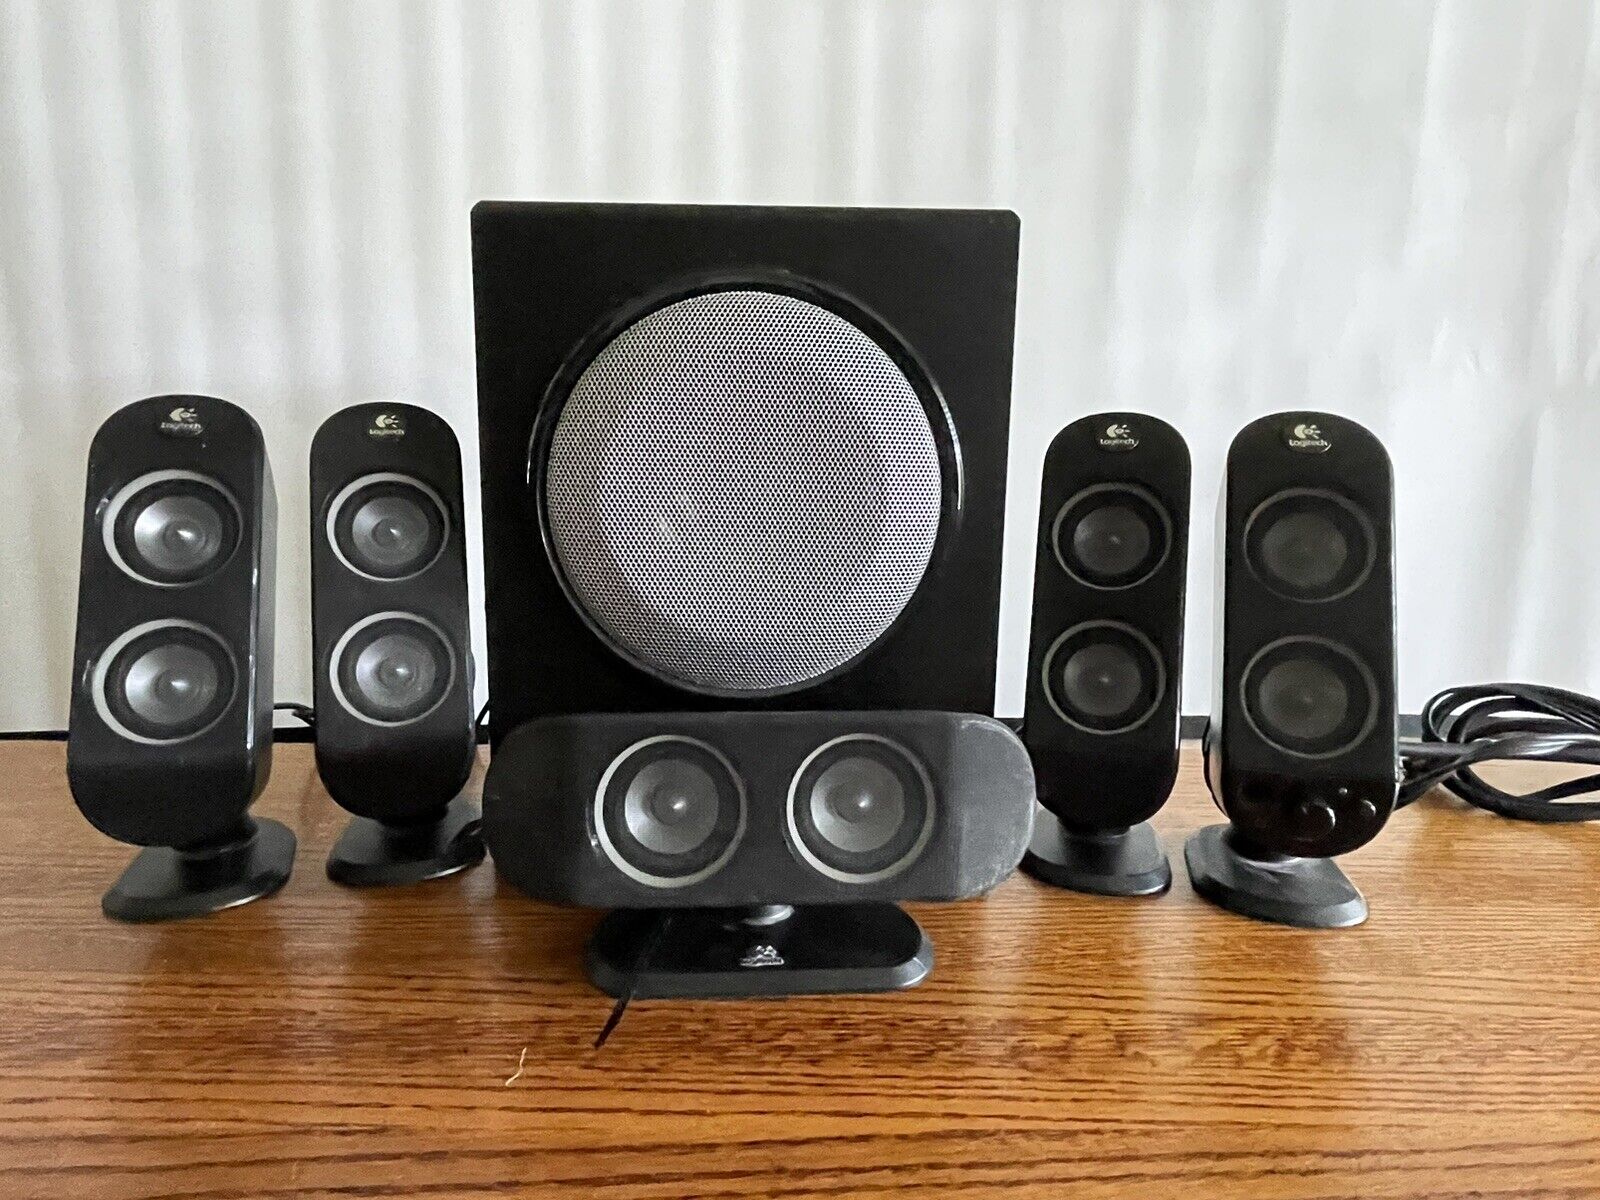
Next, inspect your surround sound system and identify the available audio input ports. Some of the commonly found audio input ports on surround sound systems include HDMI inputs, optical audio input ports, and RCA inputs. Make sure to take note of the available ports as this will help you choose the appropriate cable for connecting your laptop to the surround sound system.
It’s important to mention that the availability of ports may vary depending on the model and brand of your laptop and surround sound system. Therefore, referring to the user manuals or conducting a quick online search for your specific device model can provide you with accurate information regarding the available ports.
Once you have identified the available ports on both your laptop and surround sound system, you can move on to the next step, which involves gathering the necessary cables to establish the connection.
Step 2: Gather the necessary cables
In order to connect your laptop to a surround sound system, you will need to gather the appropriate cables. The type of cable you require depends on the available ports on your laptop and surround sound system.
If your laptop has an HDMI port and your surround sound system also has an HDMI input, using an HDMI cable is the most convenient option. This type of cable transmits both audio and video signals, allowing for a seamless connection between your laptop and surround sound system. Ensure that you have an HDMI cable that is compatible with your devices.
If your laptop has an optical audio output port, and your surround sound system has an optical audio input port, you will need an optical audio cable. This cable transmits digital audio signals, providing high-quality sound to your surround sound system. Make sure you have an optical audio cable with the appropriate connectors for your devices.
In some cases, your laptop may have RCA output ports, while your surround sound system may have RCA input ports. In this scenario, you will need RCA cables to make the connection. RCA cables consist of three connectors: one for the left audio channel (typically colored white), one for the right audio channel (typically colored red), and one for the video (usually yellow). Ensure you have RCA cables with the correct connectors for your devices.
It’s important to check the length of the cables you require, depending on the distance between your laptop and surround sound system. Opt for cables that are long enough to provide flexibility in terms of positioning your devices.
Now that you have gathered the necessary cables, you are ready to proceed to the next step, which involves connecting your laptop to the surround sound system using an HDMI cable.
Step 3: Connect the laptop to the surround sound system using an HDMI cable
If your laptop and surround sound system have HDMI ports, connecting them using an HDMI cable is a simple and effective option. Follow the steps below to establish the connection:
- Locate the HDMI port on your laptop. It is usually found on the side or back of the device.
- Identify the HDMI input port on your surround sound system. It is typically labeled as HDMI IN.
- Take one end of the HDMI cable and insert it into the HDMI port on your laptop.
- Connect the other end of the HDMI cable into the HDMI input port on your surround sound system.
- Once the HDMI cable is securely connected, power on both your laptop and the surround sound system.
- Use the remote control or the control panel of your surround sound system to select the appropriate HDMI input source.
- On your laptop, navigate to the audio settings and choose the HDMI audio output option. This ensures that the audio is routed through the HDMI cable to the surround sound system.
- Adjust the volume levels on both your laptop and the surround sound system to find the desired audio level.
With the HDMI cable properly connected and the audio settings adjusted, your laptop is now connected to the surround sound system. Enjoy the enhanced audio experience as you watch movies, play games, or listen to music on your laptop.
If your laptop doesn’t have an HDMI port or your surround sound system doesn’t have an HDMI input, don’t worry! There are alternative methods to connect your devices, which we will discuss in the following steps.
Step 4: Adjust the audio settings on your laptop
After connecting your laptop to the surround sound system using an HDMI cable, it’s important to make sure that the audio settings on your laptop are properly configured to optimize the audio output to the surround sound system. Follow these steps to adjust the audio settings:
- Access the audio settings on your laptop by right-clicking on the volume icon in the taskbar and selecting “Open Sound settings.”
- In the Sound settings window, click on the “Playback” tab.
- Locate the HDMI device or the name of your surround sound system in the list of playback devices. It is usually labeled as “HDMI” or with the name of your surround sound system.
- Select the HDMI device or the name of your surround sound system as the default playback device.
- Click on the “Apply” button to save the changes.
- Ensure that the volume level is turned up on your laptop, as well as on the surround sound system.
- Play a test audio file or video to check if the audio is coming through the surround sound system.
- If the audio isn’t playing through the surround sound system, double-check the cable connections and repeat the above steps to ensure the correct audio settings are selected.
By adjusting the audio settings on your laptop, you can ensure that the sound is directed to the surround sound system and enjoy the full benefits of the enhanced audio experience. Now you can sit back and immerse yourself in the rich and immersive sound while watching movies, playing games, or listening to music on your laptop.
If your laptop doesn’t have an HDMI port, don’t worry. In the following steps, we will explore alternative methods to connect your laptop to the surround sound system using other types of cables.
Step 5: Connect the laptop to the surround sound system using an optical audio cable
If your laptop and surround sound system have optical audio ports, connecting them using an optical audio cable is another option to achieve high-quality audio. Follow these steps to establish the connection:
- Locate the optical audio output port on your laptop. It is usually labeled as “Optical Out” or “S/PDIF Out”.
- Identify the optical audio input port on your surround sound system. It is typically labeled as “Optical In” or “S/PDIF In”.
- Take one end of the optical audio cable and insert the square-shaped connector into the optical audio output port on your laptop.
- Connect the other end of the optical audio cable to the optical audio input port on your surround sound system.
- Ensure that the optical audio cable is securely connected at both ends.
- Power on your laptop and the surround sound system.
- Use the remote control or the control panel of your surround sound system to select the appropriate optical audio input source.
- Navigate to the audio settings on your laptop and select the optical audio output option to route the audio through the optical audio cable.
- Adjust the volume levels on your laptop and the surround sound system as needed.
With the optical audio cable connected and the audio settings adjusted, your laptop is now successfully connected to the surround sound system. Enjoy the immersive audio experience as you enjoy your favorite movies, games, or music on your laptop.
If your laptop doesn’t have an optical audio output port or your surround sound system doesn’t have an optical audio input port, don’t worry. In the next steps, we will explore alternative methods to connect your laptop to the surround sound system using other types of cables.
Step 6: Adjust the audio settings on your laptop
After connecting your laptop to the surround sound system using an optical audio cable, it’s important to ensure that the audio settings on your laptop are properly configured to optimize the audio output to the surround sound system. Follow these steps to adjust the audio settings:
- Access the audio settings on your laptop by right-clicking on the volume icon in the taskbar and selecting “Open Sound settings.”
- In the Sound settings window, click on the “Playback” tab.
- Check if the optical audio device or the name of your surround sound system is listed in the playback devices. It is usually labeled as “Digital Audio (S/PDIF)” or with the name of your surround sound system.
- Select the optical audio device or the name of your surround sound system as the default playback device.
- Click on the “Apply” button to save the changes.
- Make sure the volume levels on your laptop and the surround sound system are set at an appropriate level.
- Play a test audio file or video to check if the audio is coming through the surround sound system. Adjust the volume levels as necessary.
- If the audio isn’t playing through the surround sound system, double-check the cable connections and repeat the above steps to ensure the correct audio settings are selected.
By adjusting the audio settings on your laptop, you can ensure that the sound is directed to the surround sound system via the optical audio cable. This will enable you to enjoy a captivating audio experience while watching movies, playing games, or listening to music on your laptop.
If your laptop doesn’t have an optical audio output port, don’t worry. In the following steps, we will explore alternative methods to connect your laptop to the surround sound system using other types of cables.
Step 7: Connect the laptop to the surround sound system using RCA cables
If your laptop and surround sound system have RCA ports, you can connect them using RCA cables. Follow these steps to establish the connection:
- Locate the RCA output ports on your laptop. The RCA ports are usually color-coded, with the red connector for the right audio channel and the white connector for the left audio channel.
- Identify the RCA input ports on your surround sound system. These ports are also color-coded to match the RCA cables.
- Take one end of the RCA cables and insert the red connector into the right audio output port on your laptop.
- Connect the white connector of the RCA cables into the left audio output port on your laptop.
- Attach the other end of the RCA cables to the corresponding input ports on your surround sound system.
- Ensure that the RCA cables are securely connected at both ends.
- Power on your laptop and the surround sound system.
- Use the remote control or the control panel of your surround sound system to select the appropriate audio input source.
- Navigate to the audio settings on your laptop and ensure that the audio output is directed to the RCA connection.
- Adjust the volume levels on both your laptop and the surround sound system to achieve the desired audio level.
With the RCA cables connected and the audio settings adjusted, your laptop is now successfully connected to the surround sound system. Enjoy an enhanced audio experience as you indulge in movies, games, or music on your laptop.
If your laptop doesn’t have RCA output ports or your surround sound system doesn’t have RCA input ports, don’t worry. In the next steps, we will explore alternative methods to connect your laptop to the surround sound system using other types of cables.
Step 8: Adjust the audio settings on your laptop
After connecting your laptop to the surround sound system using RCA cables, it’s essential to adjust the audio settings on your laptop to ensure optimal audio output. Follow these steps to adjust the audio settings:
- Access the audio settings on your laptop by right-clicking on the volume icon in the taskbar and selecting “Open Sound settings.”
- In the Sound settings window, click on the “Playback” tab.
- Check if the RCA device or the name of your surround sound system is listed in the playback devices. It may have a generic name like “Speakers” or with the name of your surround sound system.
- Select the RCA device or the name of your surround sound system as the default playback device.
- Click on the “Apply” button to save the changes.
- Adjust the volume levels on your laptop and the surround sound system to achieve a balanced and clear sound.
- Play a test audio file or video to verify that the sound is playing through the surround sound system. Make any necessary adjustments to the volume levels.
- If the audio is not coming through the surround sound system, double-check the cable connections and repeat the above steps to ensure the correct audio settings are selected.
By adjusting the audio settings on your laptop, you can ensure that the sound is directed to the surround sound system via the RCA cables. This will provide you with an immersive audio experience while enjoying movies, games, or music on your laptop.
If your laptop doesn’t have RCA output ports or your surround sound system doesn’t have RCA input ports, don’t worry. In the next steps, we will explore alternative methods to connect your laptop to the surround sound system using other types of cables.
Step 9: Test the connection and enjoy your surround sound experience
After connecting your laptop to the surround sound system, it’s time to test the connection and bask in the immersive surround sound experience. Follow these steps to ensure everything is working properly:
- Choose your preferred media, such as a movie, game, or music, on your laptop.
- Play the selected media and pay attention to the audio output.
- Ensure that the sound is coming through the surround sound system and not just the laptop speakers.
- Listen for the surround sound effect, with distinct audio channels coming from different speakers in your surround sound system.
- If the audio is not coming through the surround sound system, recheck the cable connections and audio settings on your laptop.
- Make any necessary adjustments to the volume levels to achieve the desired audio balance.
- Enjoy the enhanced audio experience with the full immersive surround sound effect.
With the connection successfully tested, you can now fully dive into the cinematic experience, gaming adventures, or musical bliss on your laptop, enriched by the powerful and dynamic sound delivered by your surround sound system.
Remember, if you encounter any issues with the connection or audio settings, refer back to the appropriate steps and double-check the cables, ports, and settings to ensure everything is correctly configured.
Now, sit back, relax, and immerse yourself in the captivating world of sound as you enjoy your digital content with the enhanced audio experience offered by your laptop connected to a surround sound system.
Conclusion
Connecting your laptop to a surround sound system can significantly enhance your audio experience, whether you’re watching movies, playing games, or listening to music. By following the step-by-step process outlined in this guide, you can easily establish a connection and enjoy the immersive sound quality provided by a surround sound system.
We began by checking the available ports on your laptop and surround sound system, ensuring compatibility between the devices. Then, we gathered the necessary cables based on the ports identified, such as HDMI, optical audio, or RCA cables.
We explored different methods of connection, including using HDMI cables, optical audio cables, and RCA cables. Each method offers its own advantages depending on the available ports on your devices. By adjusting the audio settings on your laptop, such as selecting the appropriate playback device and adjusting volume levels, you can ensure that the sound is directed to the surround sound system.
We also emphasized the importance of testing the connection and making any necessary adjustments to achieve optimal sound quality. By listening for the surround sound effect and ensuring that the audio is balanced and clear, you can fully enjoy the immersive experience that a surround sound system provides.
Remember, the specific steps may vary depending on your laptop and surround sound system models. Always consult the user manuals or conduct online research for your particular devices to ensure accurate and up-to-date information.
Now, armed with the knowledge and understanding of how to connect your laptop to a surround sound system, you can elevate your audio experience to new heights and immerse yourself in a world of captivating sound.
So, grab your laptop and start enjoying the immersive audio experience that a surround sound system brings. Get ready to be blown away by rich, cinematic sound as you dive into your favorite movies, games, and music!