Introduction
Switching your SIM card to a new phone on Metro can be a seamless process with the right guidance. Whether you've upgraded to a new device or simply need to replace a damaged phone, transferring your SIM card is a crucial step in ensuring uninterrupted access to your mobile network. This comprehensive guide will walk you through the necessary steps to successfully switch your SIM card to a new phone on Metro, empowering you to navigate the process with confidence and ease.
By following the steps outlined in this guide, you can swiftly transition your SIM card to your new device, allowing you to make calls, send messages, and access mobile data without any interruptions. Whether you're a seasoned mobile user or new to the process of switching SIM cards, this guide will provide you with the essential knowledge to carry out the transfer smoothly.
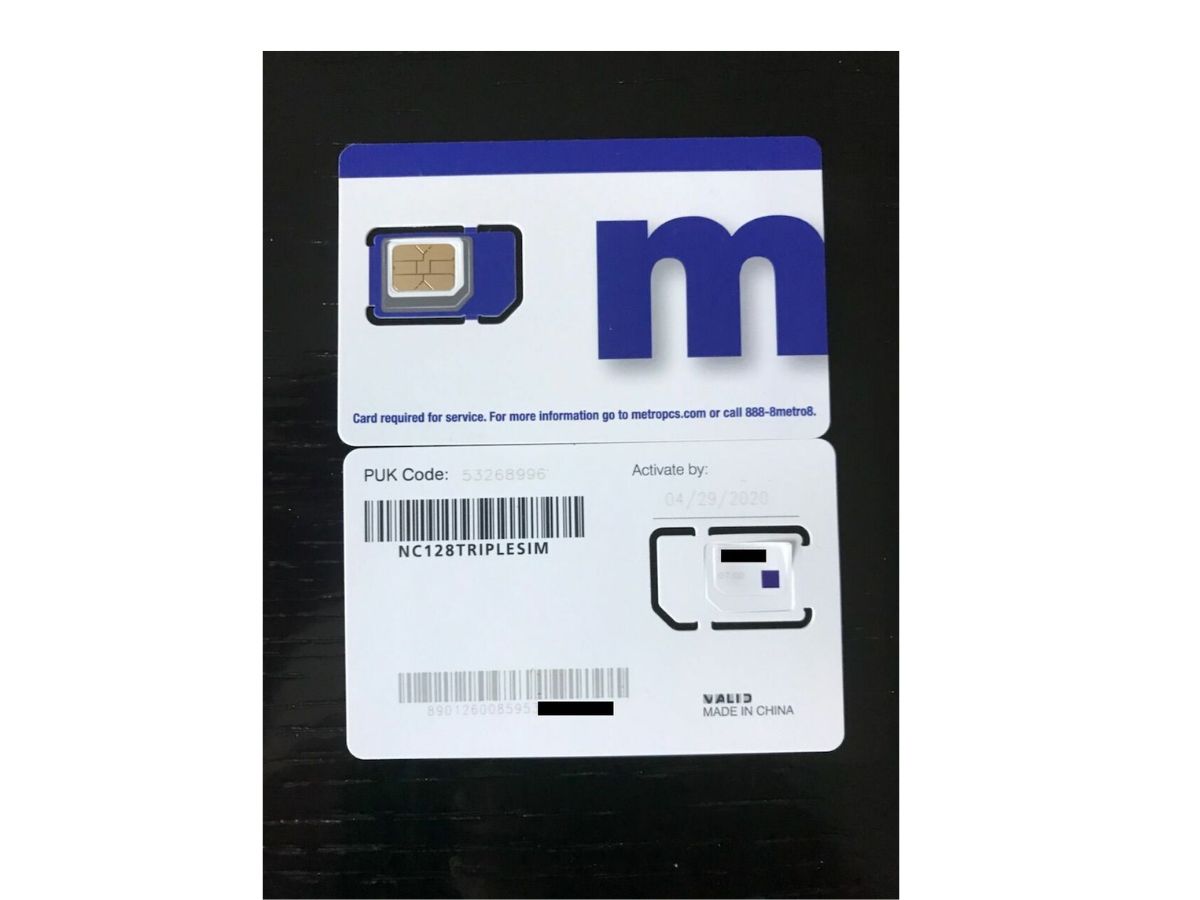
Understanding the significance of a SIM card in facilitating communication and connectivity on your mobile device is crucial. The SIM card, or Subscriber Identity Module, contains vital information that identifies you as a subscriber to the mobile network. It holds your unique subscriber identity, phone number, and security information, enabling you to access voice, text, and data services.
As you embark on the journey of switching your SIM card to a new phone on Metro, it's important to approach the process with a clear understanding of the steps involved. This guide will equip you with the knowledge and confidence to carry out the transfer seamlessly, ensuring that your new device is fully operational and ready to keep you connected in no time.
Now, let's delve into the step-by-step process of switching your SIM card to a new phone on Metro, empowering you to make a smooth transition to your new device.
Step 1: Check compatibility
Before embarking on the process of switching your SIM card to a new phone on Metro, it's crucial to ensure that the new device is compatible with the Metro network. This step is essential to avoid any potential issues that may arise from using an incompatible phone with your SIM card.
To begin, check if the new phone supports the same network bands and technologies as Metro. Different mobile carriers utilize specific frequency bands and technologies to deliver their services. Ensuring that your new phone is compatible with Metro's network bands and technologies is vital for seamless connectivity and optimal performance.
You can easily find this information by referring to the new phone's specifications provided by the manufacturer. Look for details related to network compatibility, including supported frequency bands (such as 4G LTE bands) and network technologies (like GSM or CDMA). Cross-referencing this information with Metro's network specifications will help you determine if the new phone is compatible with the carrier.
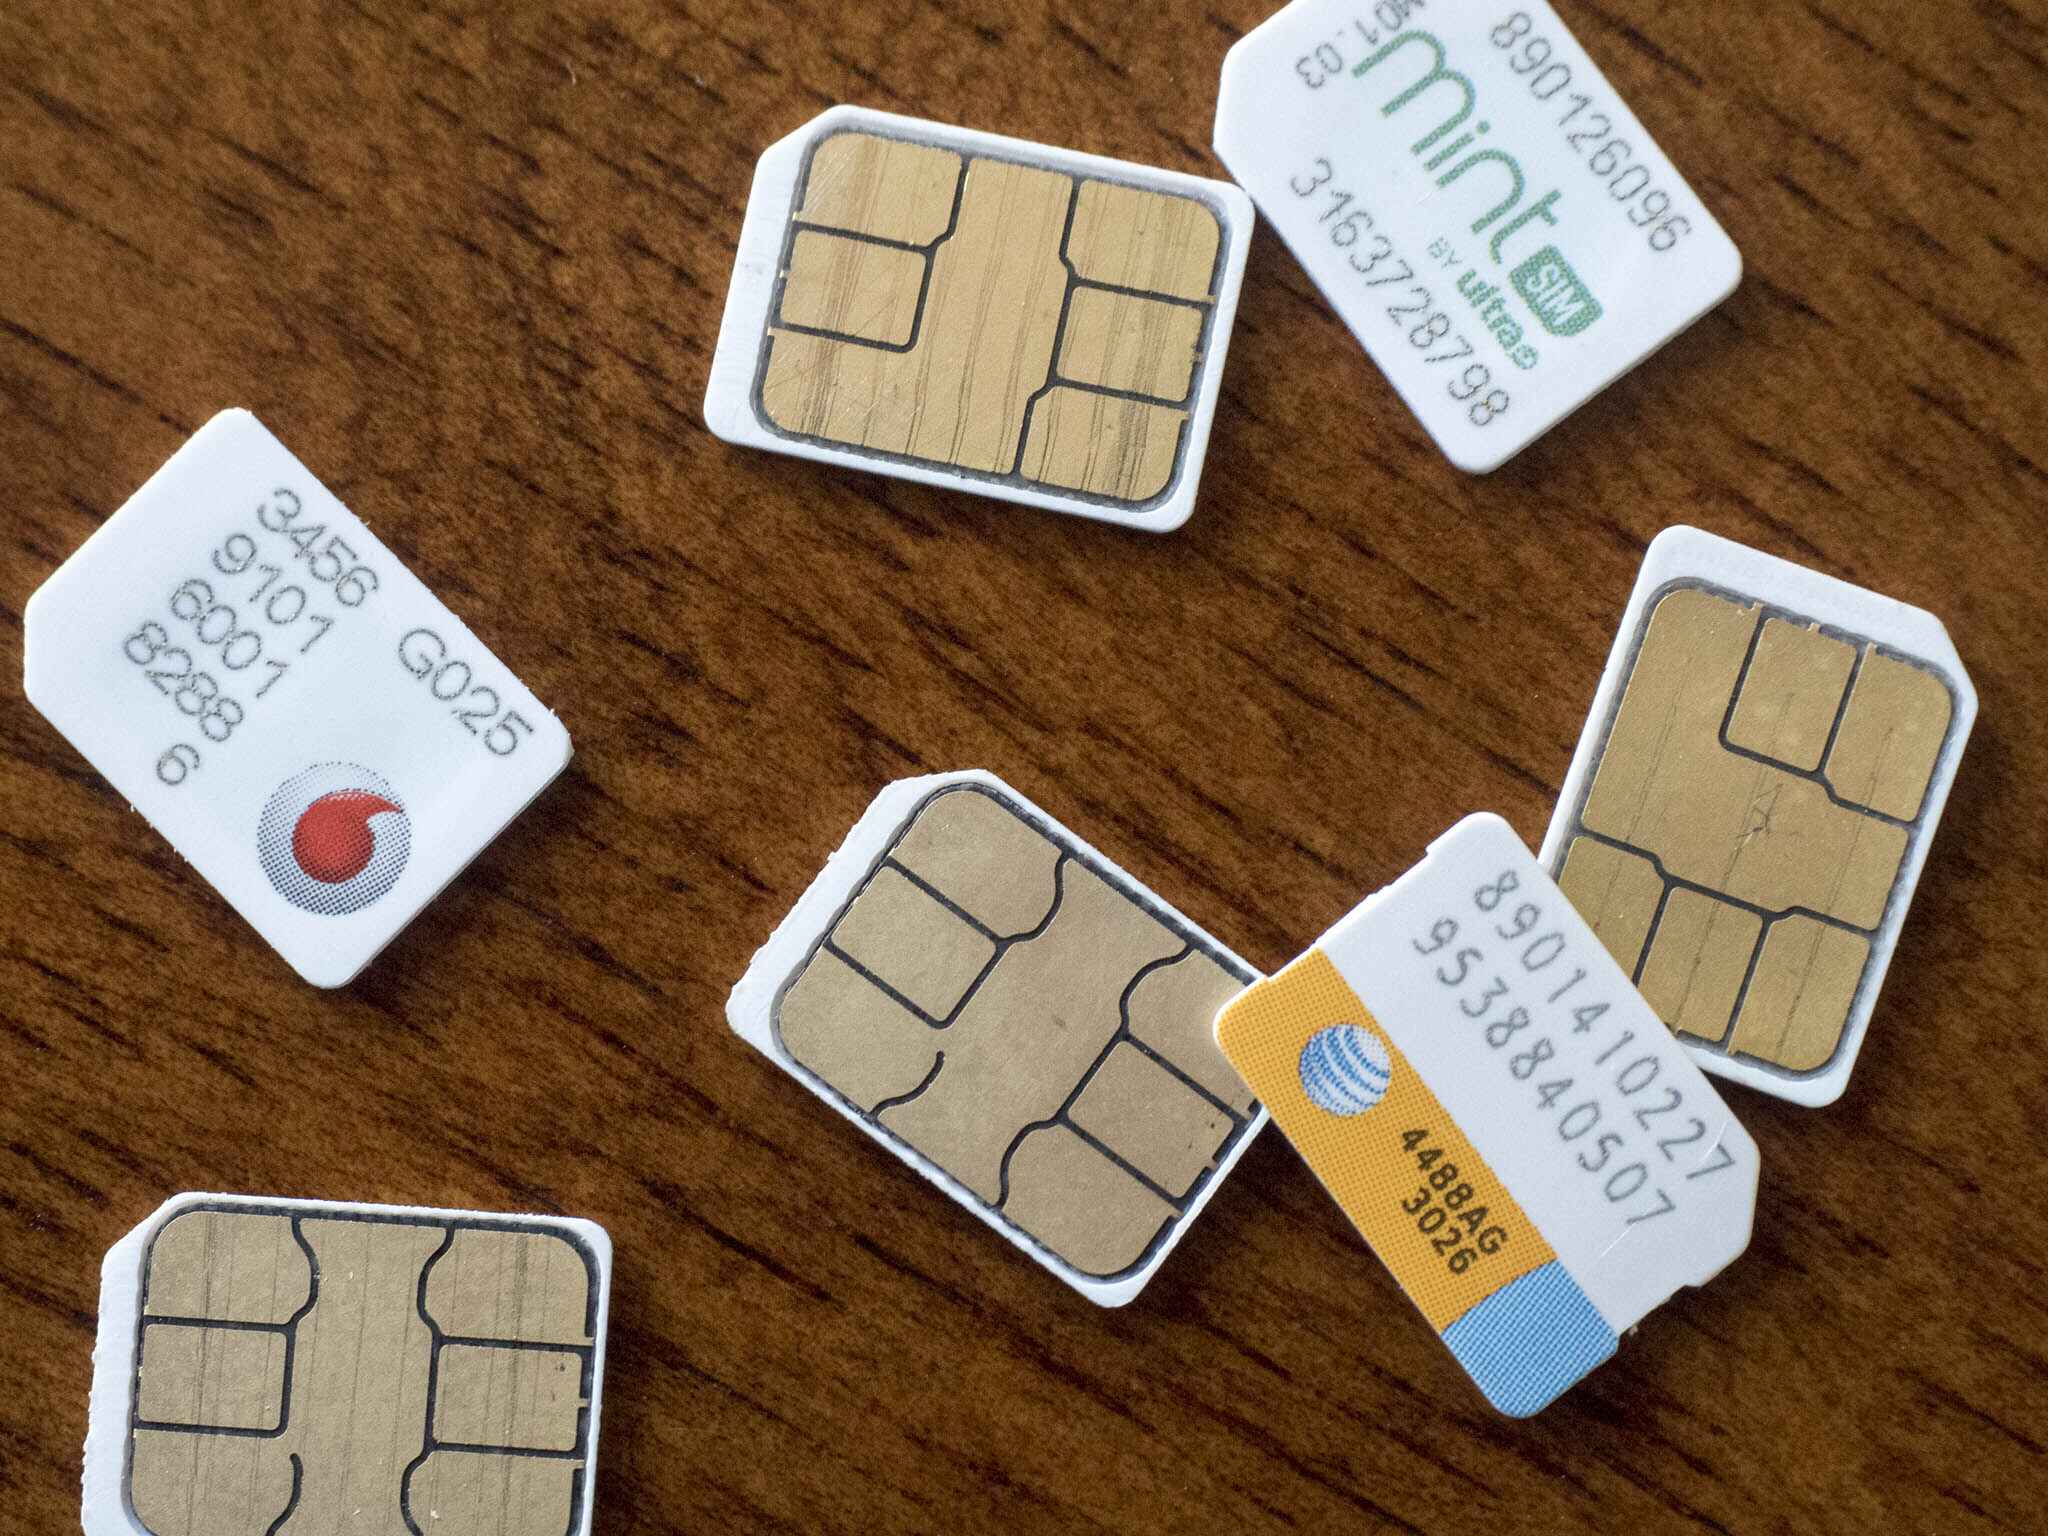
Additionally, it's important to consider any SIM card size requirements. Different phones may utilize standard SIM, micro-SIM, or nano-SIM cards. Ensure that the SIM card size in your possession matches the SIM card slot size of the new phone. If the sizes do not align, you may need to obtain a SIM card adapter or request a new SIM card from Metro to fit the new device.
Furthermore, if the new phone was previously used with a different carrier, it's crucial to check if it's unlocked. An unlocked phone is not tied to a specific carrier and can be used with different carriers by simply inserting a compatible SIM card. If the new phone is locked to a different carrier, you may need to contact the carrier to request an unlock or consider alternative solutions to ensure compatibility with Metro.
By diligently checking the compatibility of the new phone with Metro's network bands, technologies, SIM card size, and unlock status, you can lay a solid foundation for a successful SIM card switch. This proactive approach minimizes the risk of encountering compatibility issues and sets the stage for a smooth transition to your new device on the Metro network.
Step 2: Back up your data
Before proceeding with the SIM card switch to your new phone on Metro, it's crucial to prioritize the safety and security of your valuable data. Backing up your data ensures that your personal information, contacts, photos, videos, and other important content are securely preserved and readily accessible on your new device. This proactive step safeguards against potential data loss during the SIM card transfer process, providing peace of mind as you transition to your new phone.
To initiate the data backup process, consider utilizing the built-in backup features available on your current phone. Both Android and iOS devices offer convenient backup options that seamlessly store your data in the cloud, allowing for effortless retrieval when setting up your new device. For Android users, Google's integrated backup functionality enables the preservation of contacts, app data, settings, and more, ensuring a smooth transition to a new phone. Similarly, iOS users can leverage iCloud to back up their data, encompassing contacts, photos, app data, and settings for a seamless transfer experience.
In addition to cloud-based backups, you can also explore the option of local backups using a computer. Connecting your current phone to a computer and utilizing software such as iTunes for iOS devices or Samsung Smart Switch for Samsung phones can facilitate the creation of a comprehensive backup stored locally on your computer. This method provides an additional layer of security for your data, offering a tangible backup that can be easily transferred to your new phone.
Furthermore, consider transferring any media files, such as photos and videos, to an external storage device or cloud storage service to ensure their safekeeping. This extra precaution minimizes the risk of data loss and allows for convenient access to your media content on your new device.
By diligently backing up your data using the available cloud-based or local backup options, you can safeguard your personal information and content, paving the way for a seamless transition to your new phone on the Metro network. This proactive approach prioritizes data security and accessibility, empowering you to embark on the SIM card switch with confidence and peace of mind.
Step 3: Turn off both phones
Turning off both your current phone and the new device is a crucial preparatory step before proceeding with the SIM card switch. This simple yet essential action ensures a safe and controlled environment for the subsequent steps of the process.
Begin by locating the power button on your current phone and holding it down until the power-off prompt appears on the screen. Follow the on-screen instructions to power off the device completely. Similarly, for the new phone, locate the power button and initiate the power-off sequence to shut down the device entirely. Verifying that both phones are powered off mitigates the risk of any unexpected interruptions or complications during the SIM card transfer.
By powering off both phones, you create a stable and secure environment for handling the SIM card, minimizing the likelihood of data corruption or hardware issues. This deliberate action sets the stage for a smooth transition, allowing you to proceed with the subsequent steps of the process with confidence and clarity.
Ensuring that both phones are powered off also serves to protect the integrity of the SIM card and the devices themselves. This precautionary measure reduces the risk of potential damage to the SIM card or the phone's internal components during the transfer process, preserving the overall functionality and reliability of the devices.
Additionally, powering off both phones promotes a focused and organized approach to the SIM card switch, enabling you to concentrate on the precise handling of the SIM card and its insertion into the new device. This deliberate pause to power off the phones creates a moment of readiness, signaling the beginning of the transition process and allowing you to proceed with the subsequent steps in a methodical and composed manner.
In essence, turning off both phones serves as a foundational step that sets the tone for a seamless and controlled SIM card switch. This deliberate action fosters an environment of stability and preparedness, positioning you for a successful transition to your new phone on the Metro network.
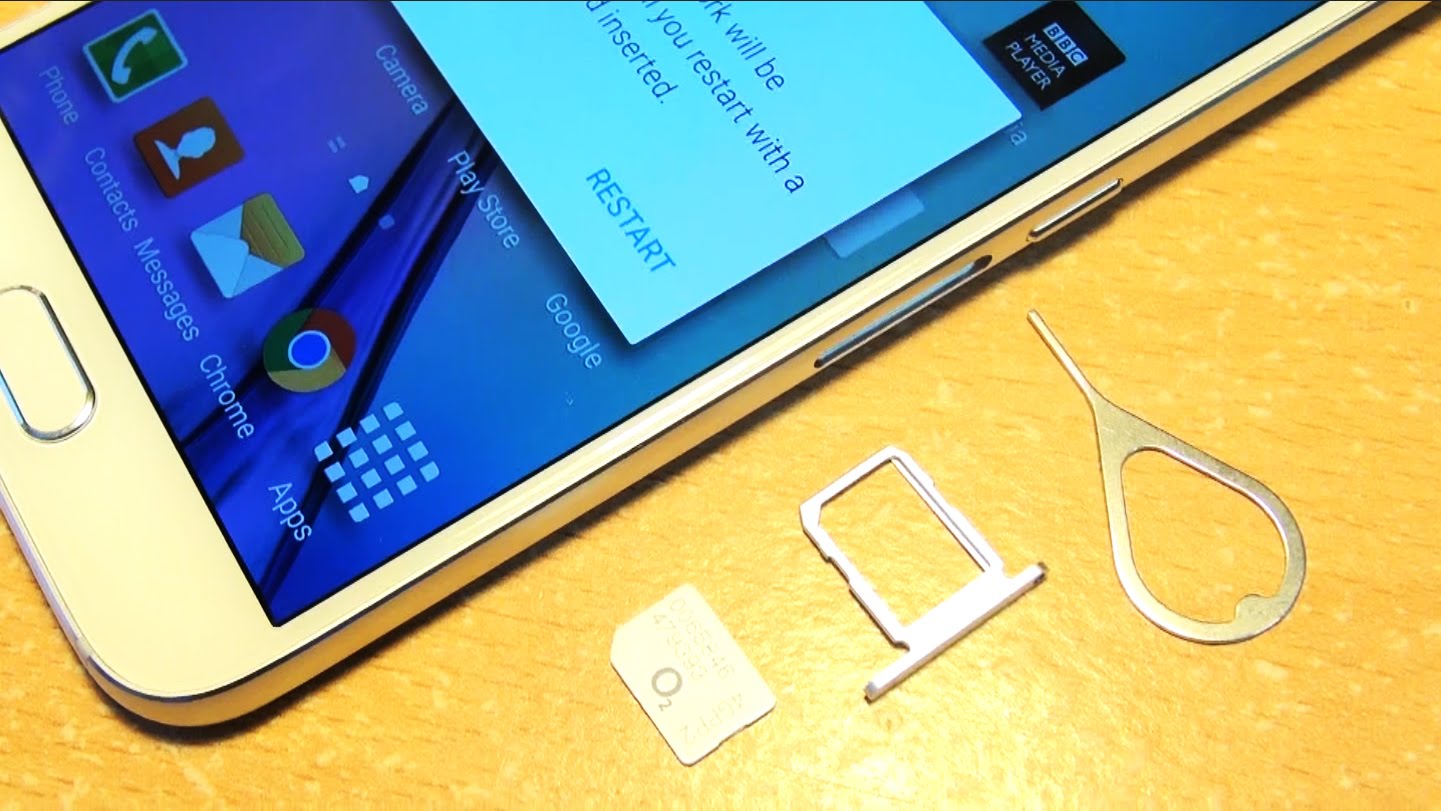
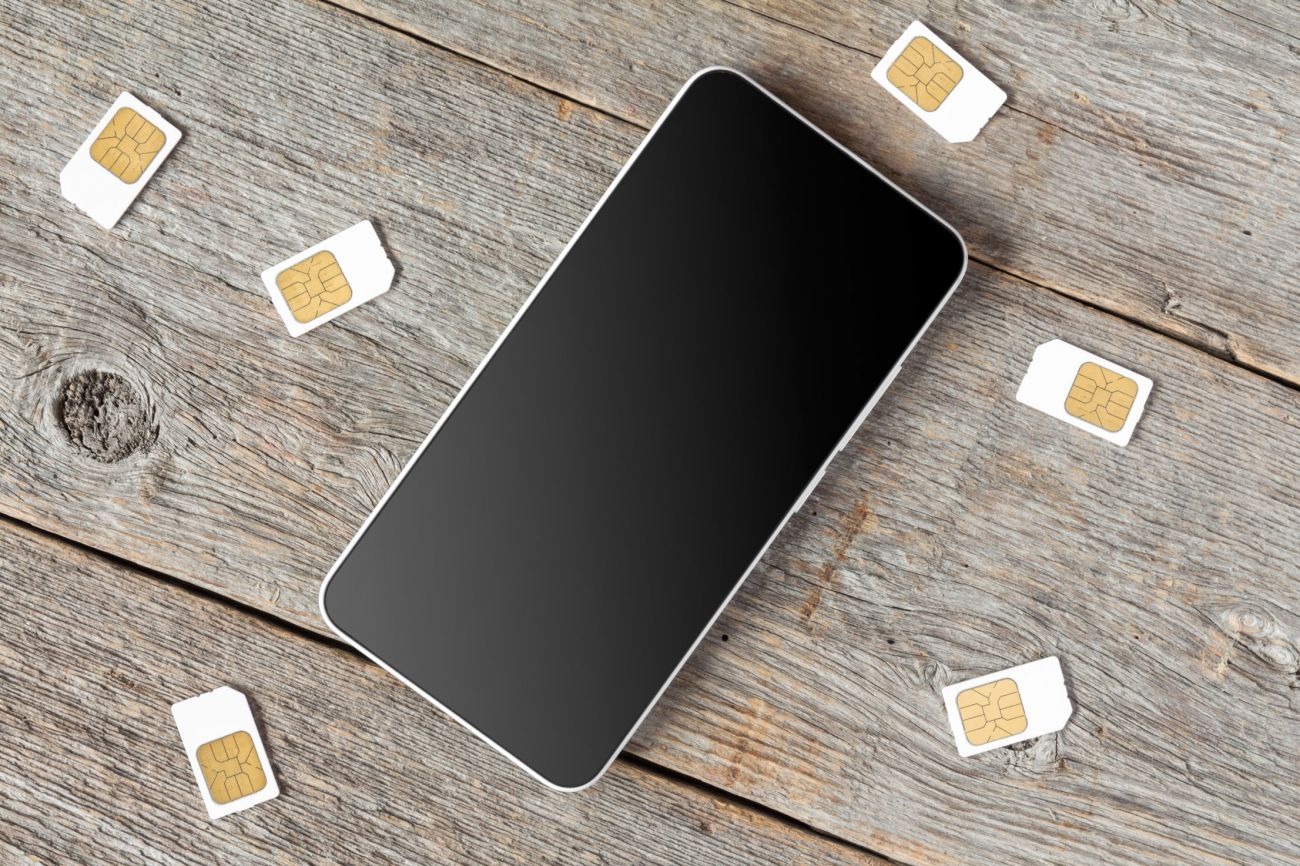
Step 4: Remove the SIM card
With both phones powered off, the next pivotal step in the process of switching your SIM card to a new phone on Metro involves delicately removing the SIM card from your current device. The SIM card is a small, rectangular chip that is typically located beneath the back cover or within a dedicated SIM card tray, depending on the phone model.
To begin, carefully locate the SIM card slot on your current phone. This may require removing the back cover or accessing a SIM card tray, depending on the design of your device. Once the SIM card slot is accessible, gently eject the SIM card tray using the provided tool or a small paperclip, taking care to apply even pressure to avoid any damage to the tray or the phone.
Upon removing the SIM card tray, delicately extract the SIM card from its slot, handling it with care to prevent any bending or damage to the chip. The SIM card is a crucial component that stores vital subscriber information, and its delicate nature necessitates cautious handling throughout the removal process.
Inspect the SIM card for any visible damage or debris, ensuring that the gold contacts and the chip itself are free from any obstructions or impairment. This thorough examination guarantees that the SIM card is in optimal condition for the subsequent insertion into your new phone, promoting seamless connectivity and functionality.
As you delicately remove the SIM card from your current phone, it's essential to maintain a steady hand and a focused approach, prioritizing the safety and integrity of the SIM card. By exercising precision and care during this step, you set the stage for a smooth transition to your new device, laying the groundwork for a successful SIM card switch on the Metro network.
Once the SIM card has been safely removed from your current phone, place it in a secure location, such as a SIM card holder or a designated compartment in your new phone's packaging. This precautionary measure ensures that the SIM card remains protected and readily accessible for the subsequent insertion into your new device, streamlining the transition process and preserving the integrity of the SIM card.
By delicately removing the SIM card from your current phone and safeguarding it for the upcoming steps, you demonstrate a meticulous and attentive approach to the SIM card switch, positioning yourself for a seamless transition to your new phone on the Metro network.
Step 5: Insert the SIM card into the new phone
With the SIM card safely removed from your current phone, the next pivotal step in the process of switching your SIM card to a new phone on Metro involves delicately inserting the SIM card into your new device. The SIM card slot on the new phone is typically located beneath the back cover or within a designated SIM card tray, depending on the device's design.
Begin by identifying the SIM card slot on your new phone, taking care to locate the corresponding orientation for the SIM card. Depending on the phone model, the SIM card slot may be accompanied by an illustration or label indicating the correct positioning for the SIM card. This visual guide ensures that you align the SIM card appropriately for seamless insertion.
Once you have identified the SIM card slot and its orientation, gently insert the SIM card into the designated slot, ensuring that it fits snugly and securely. Take care to align the gold contacts on the SIM card with the corresponding contacts within the slot, maintaining a steady hand and applying gentle pressure to facilitate a smooth insertion.
As you delicately insert the SIM card into your new phone, it's essential to exercise precision and caution, prioritizing the proper alignment and secure seating of the SIM card. This meticulous approach minimizes the risk of any damage to the SIM card or the phone, ensuring a seamless transition and optimal connectivity on the Metro network.
After securely inserting the SIM card into the new phone, carefully close the SIM card slot or replace the back cover, depending on the specific design of the device. This final step in the insertion process ensures that the SIM card remains firmly in place, safeguarding it against any potential dislodgment or instability.
By delicately inserting the SIM card into your new phone and ensuring its secure seating, you demonstrate a meticulous and attentive approach to the SIM card switch, positioning yourself for a seamless transition to your new device on the Metro network. This deliberate action sets the stage for uninterrupted access to voice, text, and data services, empowering you to stay connected with ease and reliability on your new phone.
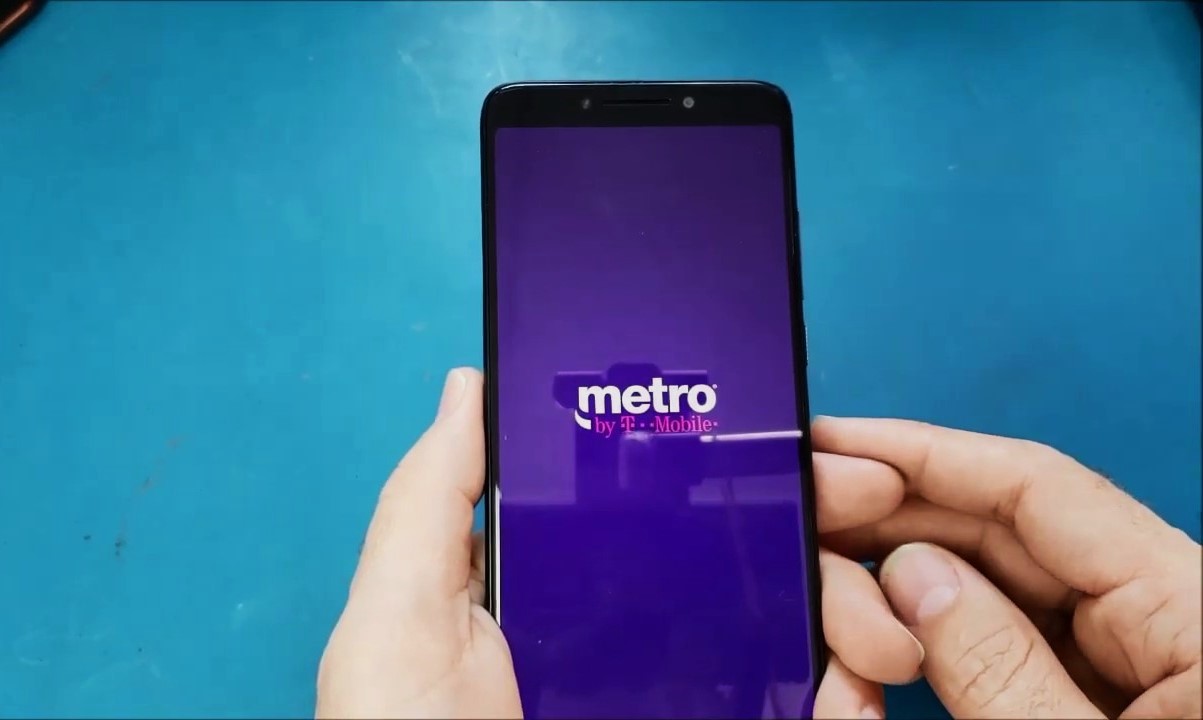
Step 6: Turn on the new phone
Having delicately inserted the SIM card into your new phone, the next pivotal step in the process of switching your SIM card to a new phone on Metro involves powering on the device. This simple yet essential action initiates the activation process for your new phone, setting the stage for seamless connectivity and functionality on the Metro network.
To begin, locate the power button on your new phone and hold it down until the device powers on. As the phone boots up, you will be greeted by the initial setup screen, prompting you to configure essential settings and personalize your device. This pivotal moment marks the beginning of your journey with the new phone, as you embark on the process of bringing the device to life and integrating it into your daily routine.
As the new phone powers on, take a moment to appreciate the anticipation and excitement of exploring a new device. The vibrant display illuminates, signaling the device's readiness to accompany you on your mobile journey. Whether you've upgraded to a more advanced model or are experiencing the features of a new device, this moment represents the potential for enhanced connectivity and productivity in your mobile experience.
As the initial setup screen appears, follow the on-screen prompts to configure essential settings such as language, region, and Wi-Fi connectivity. Additionally, you may be prompted to sign in to your Google or Apple account, enabling seamless access to your personalized apps, contacts, and content. This personalized setup process tailors the new phone to your preferences, ensuring a seamless transition from your previous device to the new one.
Upon completing the initial setup, take a moment to explore the intuitive interface and features of your new phone. Navigate through the home screen, access the app drawer, and familiarize yourself with the device's capabilities. This immersive experience allows you to acclimate to the new phone's interface and functionality, empowering you to harness its full potential in your daily endeavors.
As the new phone powers on and undergoes the initial setup process, revel in the anticipation of embracing a fresh mobile experience. The device's responsive interface, vibrant display, and advanced features beckon you into a world of enhanced connectivity and productivity. This pivotal step in the SIM card switch signifies the beginning of a seamless transition to your new phone on the Metro network, positioning you for uninterrupted access to voice, text, and data services.
By powering on the new phone and embarking on the initial setup process, you pave the way for a seamless transition to your new device, empowering you to stay connected with ease and reliability on the Metro network. This deliberate action sets the stage for a smooth integration of the new phone into your mobile lifestyle, ensuring that you can harness its full potential for communication and productivity.
Step 7: Test the new phone
After powering on your new phone and completing the initial setup, the pivotal step of testing the device ensures that all essential functions and features are operational, validating the successful transition of your SIM card to the new device on Metro.
Begin by conducting a comprehensive test of the phone's basic functionalities, including making a test call to verify voice connectivity. Dial a trusted contact or a designated test number to ascertain that the phone can establish a clear and reliable voice connection. Engaging in a brief conversation allows you to confirm the clarity of the call and the seamless operation of the phone's voice capabilities.
Following the test call, proceed to send a test text message to validate the functionality of the messaging service. Compose a brief message and send it to a trusted contact, ensuring that the message is delivered promptly and accurately. This step confirms the smooth operation of the phone's text messaging capabilities, essential for seamless communication on the Metro network.
Additionally, initiate a test browsing session to ensure that the phone can access mobile data effectively. Open the web browser and navigate to a trusted website to verify the device's ability to connect to the internet and load web pages efficiently. This critical test validates the phone's data connectivity, ensuring that you can access online content and services without any interruptions.
Furthermore, explore the device's camera functionality by capturing a test photo or video. This step allows you to assess the camera's performance, including image quality, focus accuracy, and video recording capabilities. By capturing a test photo or video, you can evaluate the device's imaging prowess and ensure that it meets your expectations for capturing memorable moments and visual content.
In addition to testing essential functionalities, explore the device's app ecosystem by launching and navigating through various pre-installed and downloaded apps. Assess the responsiveness and performance of the apps, ensuring that they operate smoothly and efficiently. This comprehensive app test allows you to familiarize yourself with the device's software capabilities and assess its overall responsiveness and usability.
By conducting a thorough test of the new phone's basic functionalities, including voice calls, text messaging, data connectivity, camera performance, and app usability, you validate the successful transition of your SIM card to the new device on the Metro network. This meticulous testing process ensures that the new phone is fully operational and ready to keep you connected with ease and reliability, empowering you to embrace a seamless mobile experience on your new device.
Conclusion
In conclusion, the process of switching your SIM card to a new phone on Metro encompasses a series of essential steps that culminate in a seamless transition to your new device. By following the comprehensive guide outlined in this article, you have gained the knowledge and confidence to navigate the SIM card switch with ease and precision, ensuring uninterrupted access to voice, text, and data services on the Metro network.
The journey begins with the crucial step of checking the compatibility of your new phone with Metro's network bands, technologies, and SIM card size requirements. This proactive approach minimizes the risk of encountering compatibility issues, laying a solid foundation for a successful SIM card transfer.
Prioritizing the safety and security of your valuable data, the process emphasizes the importance of backing up your personal information and content. By leveraging cloud-based or local backup options, you safeguard your data, ensuring its seamless transfer to the new device and preserving your digital assets.
Delicately handling the SIM card, the subsequent steps of removing it from your current phone and inserting it into the new device underscore the significance of precision and care. This meticulous approach safeguards the integrity of the SIM card, setting the stage for optimal connectivity and functionality on your new phone.
The deliberate actions of powering on the new phone, embarking on the initial setup, and conducting comprehensive tests validate the successful transition of your SIM card to the new device. These pivotal steps signify the beginning of a seamless integration of the new phone into your mobile lifestyle, empowering you to stay connected with ease and reliability on the Metro network.
As you embark on this journey of transitioning your SIM card to a new phone on Metro, the knowledge and insights gained from this guide equip you to navigate the process with confidence and clarity. By embracing the essential steps outlined in this comprehensive guide, you have demonstrated a proactive and attentive approach to the SIM card switch, ensuring a smooth and successful transition to your new device.
In essence, the process of switching your SIM card to a new phone on Metro embodies a blend of technical precision, proactive preparation, and a seamless integration of the new device into your mobile experience. By embracing the insights and guidance provided in this comprehensive guide, you are well-equipped to embark on this journey with confidence, empowering you to stay connected and productive on your new phone with ease and reliability.