Introduction
Changing the SIM card in your mobile device might seem like a daunting task, but with the right guidance, it can be a straightforward and rewarding experience. Whether you're upgrading to a new device, switching to a different carrier, or simply replacing a damaged SIM card, understanding the process of changing your SIM card is essential in ensuring seamless communication and connectivity. This step-by-step guide will walk you through the process, providing you with the confidence and knowledge needed to successfully change your SIM card without any hassle.
From gathering the necessary tools to testing the new SIM card, each step in this guide is designed to simplify the process and empower you to take control of your mobile device's connectivity. By following these clear instructions, you'll be able to navigate the intricacies of your device with ease, allowing you to stay connected with friends, family, and colleagues without any interruptions.
So, whether you're a tech enthusiast looking to explore the inner workings of your device or a casual user seeking to troubleshoot connectivity issues, this guide is tailored to meet your needs. By the end of this walkthrough, you'll have the knowledge and confidence to change your SIM card efficiently, ensuring that your mobile device remains a reliable and indispensable tool in your daily life. Let's embark on this journey together and unravel the simplicity behind changing your SIM card.
Step 1: Gather Necessary Tools
Before embarking on the journey of changing your SIM card, it's essential to gather the necessary tools to ensure a smooth and efficient process. Here's what you'll need:
-
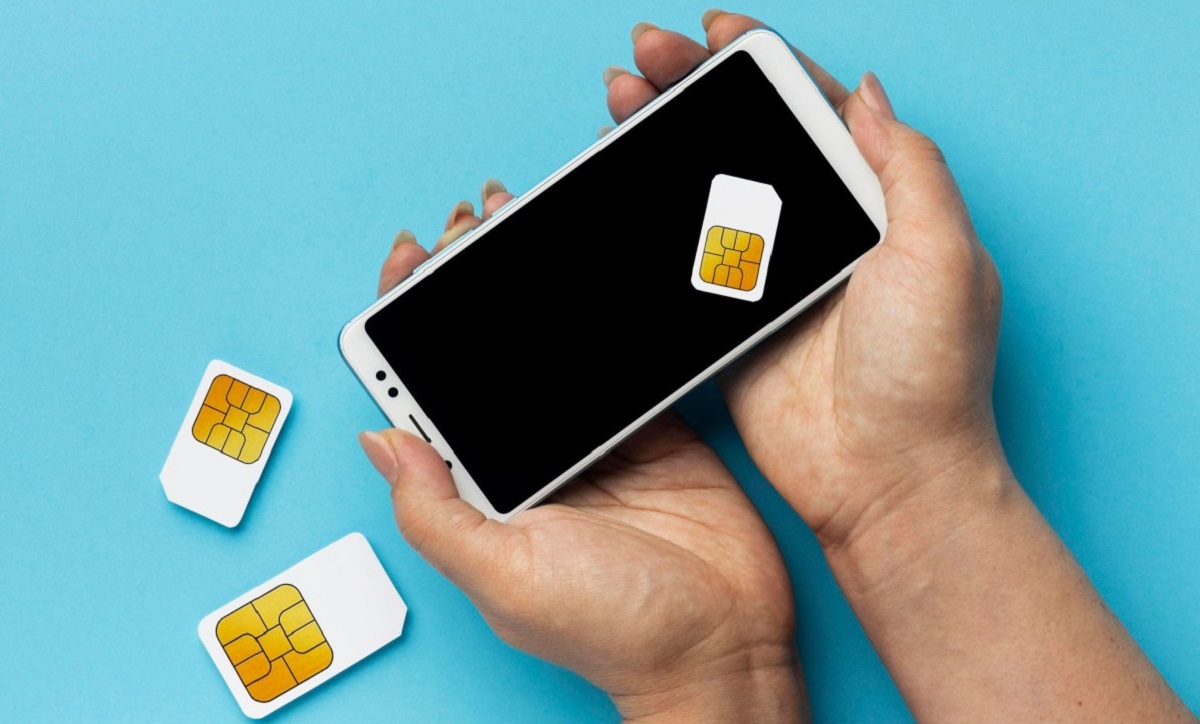
New SIM Card: Whether you're upgrading your device or switching to a new carrier, make sure you have the new SIM card ready. It's crucial to ensure that the new SIM card is compatible with your device and the network you intend to use.
-
SIM Card Ejector Tool or Paperclip: Most modern smartphones feature a SIM card tray that requires a specialized ejector tool or a small, unfolded paperclip to access. Ensure you have one of these tools on hand to safely remove the SIM card tray.
-
Device Manual: While it may seem old-fashioned, having your device's manual nearby can provide valuable insights into the location of the SIM card slot and the specific instructions for your device model.
-
Microfiber Cloth: Keeping a microfiber cloth handy can help in cleaning the SIM card slot and the new SIM card, ensuring a secure and uninterrupted connection.
-
Backup Power Source: In the event that your device needs to be powered off during the SIM card replacement, having a backup power source such as a portable charger can prevent any interruptions during the process.
By gathering these essential tools, you'll be well-prepared to navigate the process of changing your SIM card with confidence and ease. With everything in place, you can proceed to the next step, knowing that you have everything you need to successfully complete the task.
Step 2: Power Off Your Device
Before delving into the intricate process of changing your SIM card, it's crucial to power off your device. This simple yet essential step ensures the safety of both your device and the SIM card during the transition. By powering off your device, you minimize the risk of any electrical surges or potential damage to the internal components, creating a secure environment for the SIM card replacement.
To power off your device, locate the power button, usually situated along the sides or the top of the device. Press and hold the power button until the shutdown options appear on the screen. Depending on your device, you may be prompted to confirm the shutdown process. Once confirmed, the device will power down, indicated by the screen turning off and any indicator lights ceasing to illuminate.
If your device features a removable battery, it's advisable to open the device and carefully remove the battery after powering off the device. This additional step ensures that the device is completely powered down and eliminates any residual electrical charge, further safeguarding the SIM card and the device's internal components.
By powering off your device, you create a secure environment for the upcoming steps, setting the stage for a seamless SIM card replacement process. With your device safely powered down, you are now ready to proceed to the next step, where you will uncover the location of the SIM card slot and prepare for the removal of the old SIM card.
With your device powered off and the necessary tools at your disposal, you're well-equipped to navigate the subsequent steps with confidence and precision. The journey to changing your SIM card continues, and the next step will unveil the intricacies of locating the SIM card slot within your device.
Step 3: Locate the SIM Card Slot
Locating the SIM card slot is a crucial aspect of the SIM card replacement process. The SIM card slot is where the SIM card is housed within your device, and its precise location varies depending on the device model. To begin this step, you'll need to refer to your device's manual or conduct a visual inspection to identify the SIM card slot's placement.
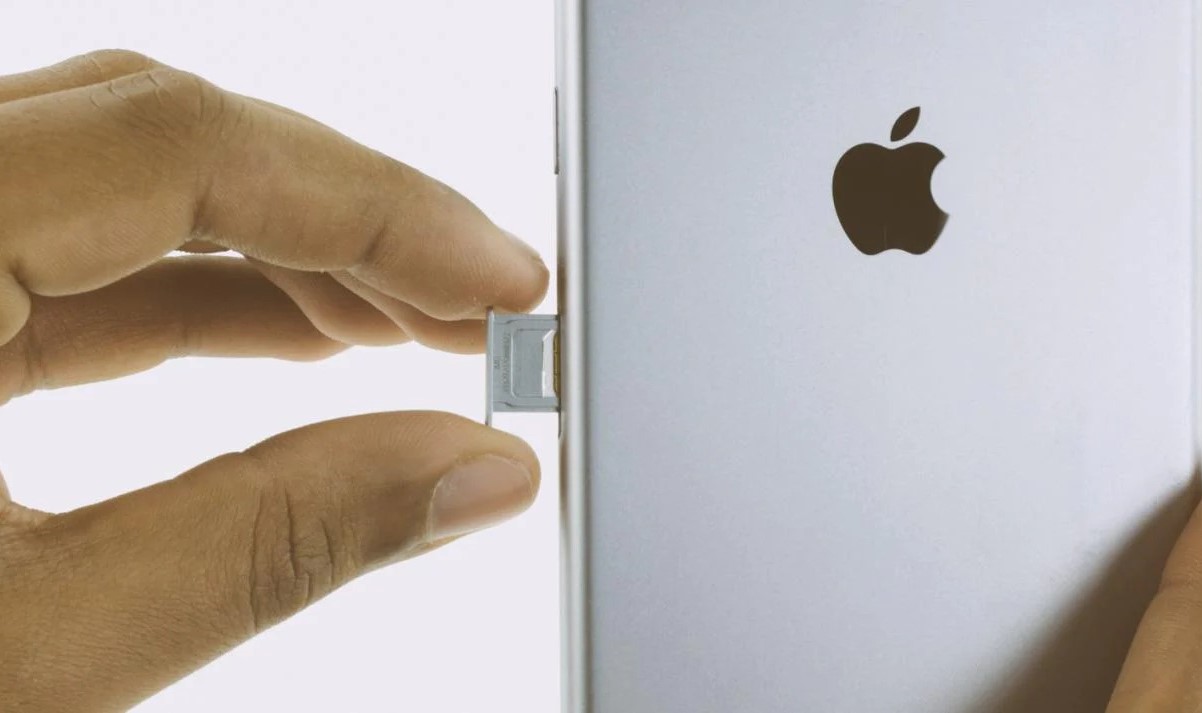
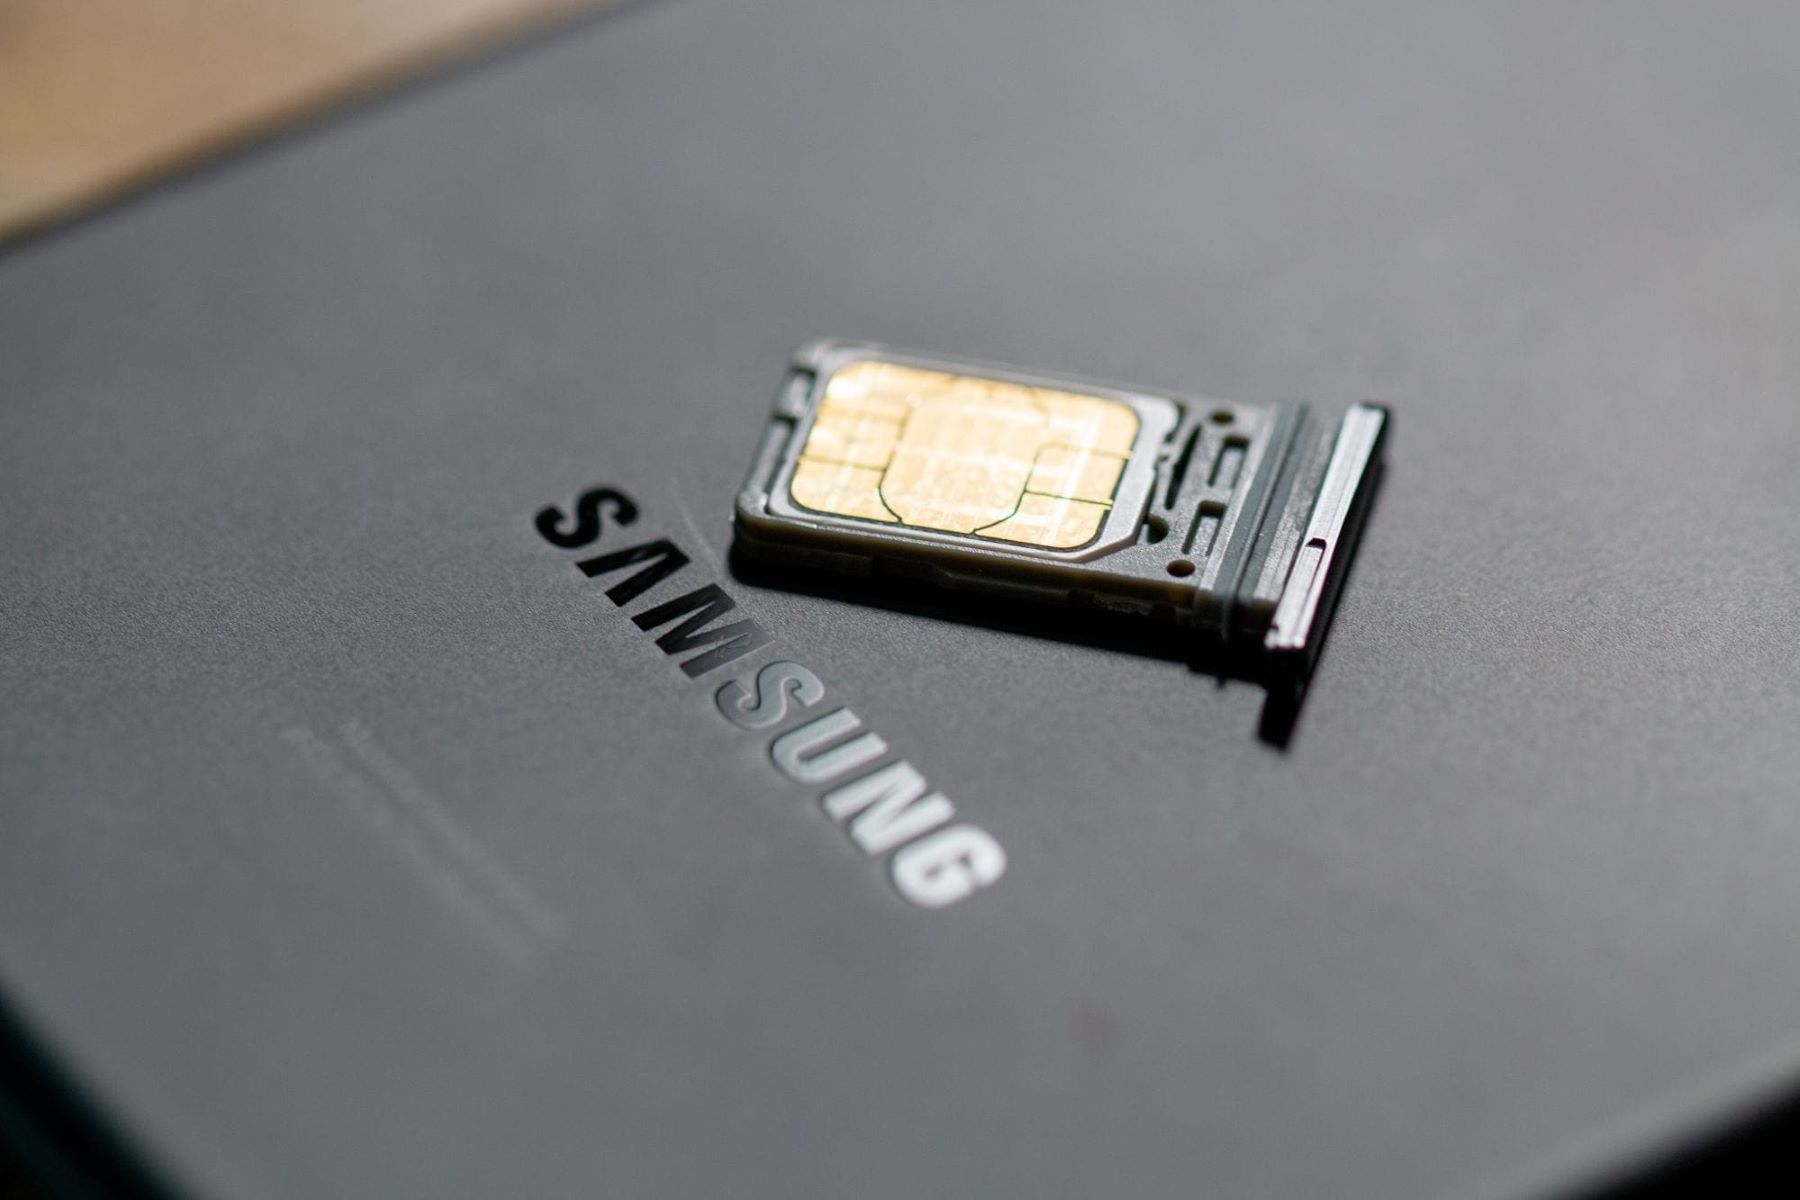
For most modern smartphones, the SIM card slot is typically situated on the side of the device. It may be concealed beneath a small panel that can be accessed using a SIM card ejector tool or a paperclip. In some devices, the SIM card slot may be located at the back, requiring the removal of the device's back cover to access it. Additionally, certain devices feature a SIM card tray that can be accessed by gently inserting the ejector tool into a small pinhole, releasing the tray for removal.
It's important to approach this step with patience and precision, as incorrectly accessing the SIM card slot can potentially damage the device or the SIM card slot itself. Take the time to familiarize yourself with your specific device's design and locate the SIM card slot following the manufacturer's recommended method.
Once you have successfully located the SIM card slot, take a moment to examine its orientation and the position of the old SIM card within it. Note any indicators or markings that illustrate the correct positioning of the SIM card, ensuring that you can confidently proceed with the next steps of the replacement process.
By effectively locating the SIM card slot, you've overcome a significant hurdle in the SIM card replacement journey. With the SIM card slot identified, you're now prepared to delicately remove the old SIM card, paving the way for the seamless insertion of the new SIM card. This accomplishment brings you one step closer to completing the SIM card replacement process and ensuring continued connectivity and functionality in your mobile device.
Step 4: Remove the Old SIM Card
With the SIM card slot successfully located, the next crucial step in the SIM card replacement process is the removal of the old SIM card. This step demands a delicate and precise approach to ensure the safe extraction of the old SIM card without causing any damage to the device or the SIM card itself.
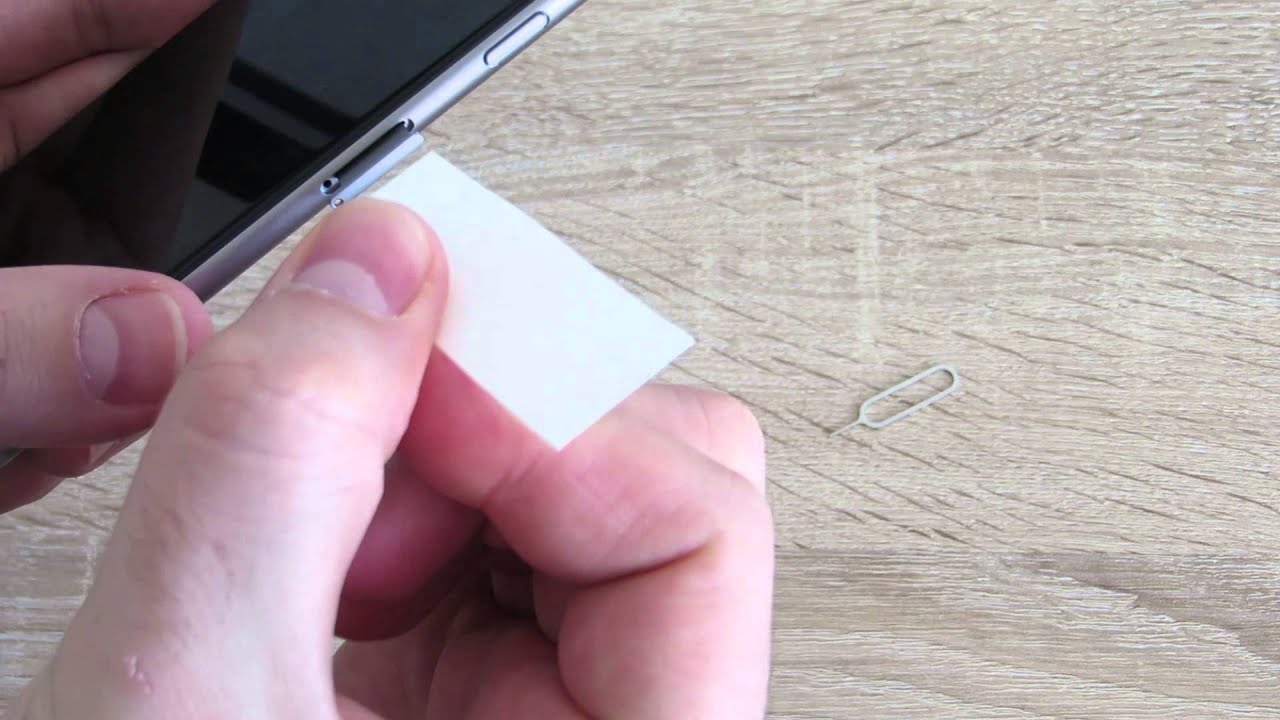
Using the SIM card ejector tool or a small, unfolded paperclip, gently insert the tool into the designated slot or pinhole, applying a slight amount of pressure. This action will initiate the release of the SIM card tray or the partial ejection of the SIM card itself, depending on your device's design. Exercise caution and avoid applying excessive force, as this may lead to unintended damage to the SIM card slot or the device.
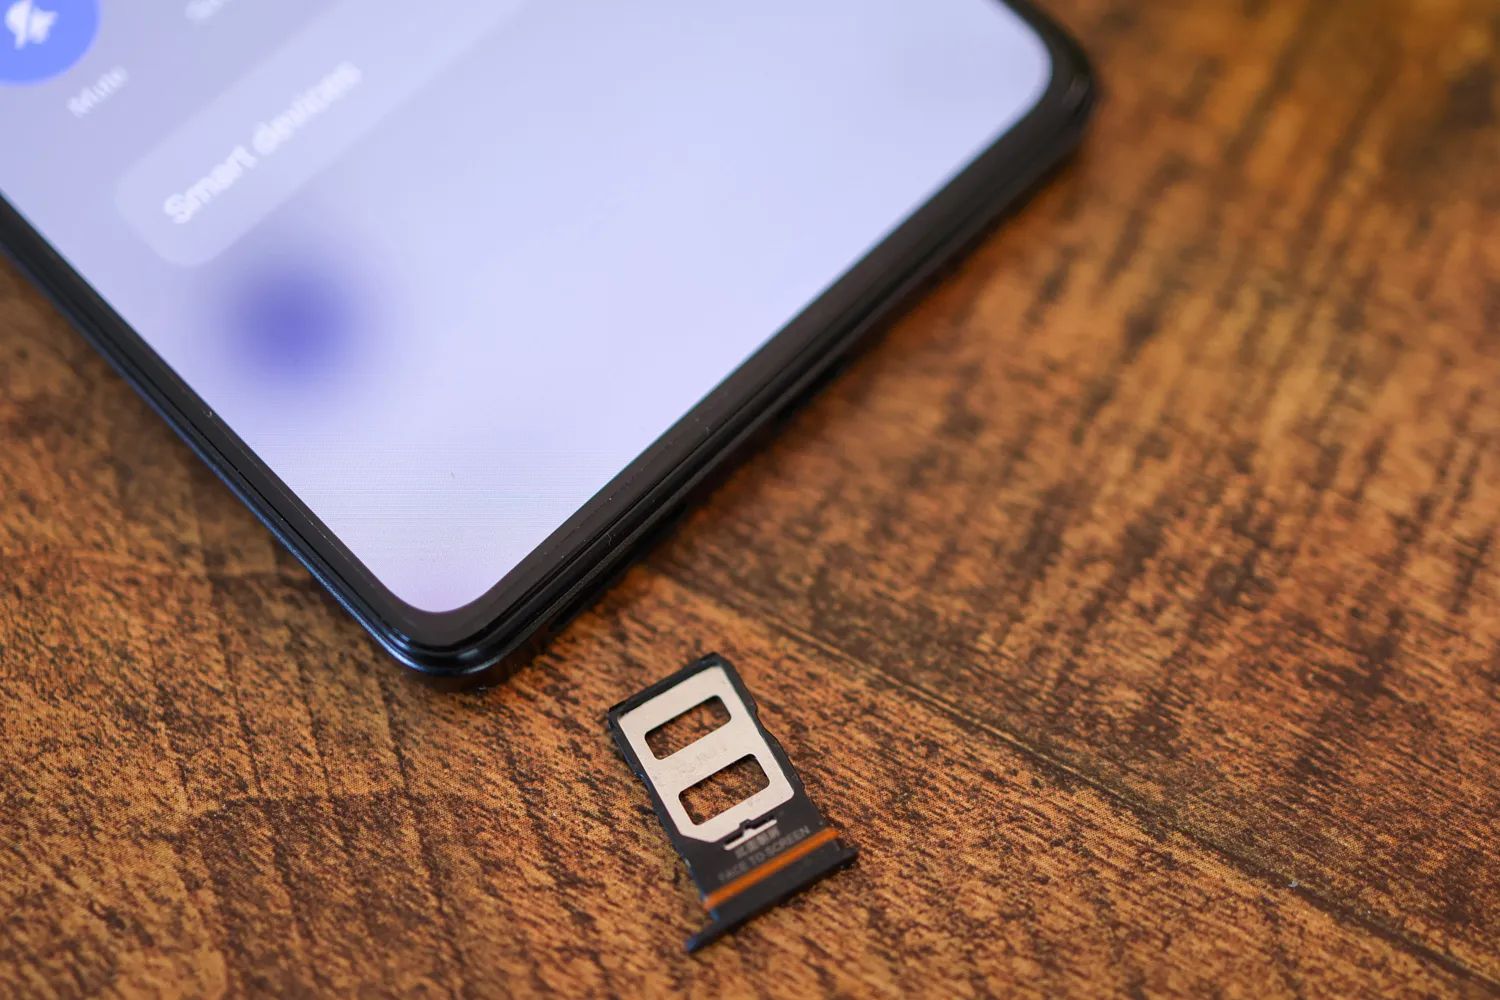
Once the SIM card tray is partially ejected, carefully slide it out from the device, revealing the old SIM card nestled within it. If your device features a tray-less design, the SIM card will be directly accessible upon ejecting it from the slot. Handle the SIM card with care, ensuring that it is not subjected to any bending or physical stress during the removal process.
Upon exposing the old SIM card, gently lift it out of the tray or slot, taking note of its orientation and position within the tray. Most SIM cards feature a notched corner or a specific design that aligns with the tray, ensuring the correct insertion and orientation. Observe any indicators or markings on the old SIM card, as these may provide valuable guidance for inserting the new SIM card.
Following the successful removal of the old SIM card, take a moment to inspect the SIM card slot for any debris or dust accumulation. Using a microfiber cloth, carefully clean the slot to ensure a pristine environment for the insertion of the new SIM card. Additionally, inspect the old SIM card for any signs of damage or wear, as these observations can offer insights into the device's connectivity issues and guide future troubleshooting steps.
By delicately removing the old SIM card and preparing the SIM card slot for the new insertion, you've navigated a pivotal phase in the SIM card replacement process. Your meticulous approach has set the stage for the seamless transition to the next step, where you'll confidently insert the new SIM card, ushering in a new era of connectivity and functionality for your mobile device.
Step 5: Insert the New SIM Card
With the old SIM card delicately removed and the SIM card slot meticulously prepared, the time has come to usher in a new era of connectivity by inserting the new SIM card. This pivotal step requires precision and attentiveness to ensure the seamless integration of the new SIM card into your device.
Begin by carefully examining the new SIM card, taking note of any notched corners or specific design features that align with the SIM card slot. These visual cues are essential in determining the correct orientation for inserting the new SIM card, ensuring a secure and functional connection with the device's network.
Align the new SIM card with the designated area within the SIM card tray or slot, ensuring that it rests snugly and securely within the allocated space. Exercise caution to avoid applying excessive force during the insertion process, as the delicate nature of the SIM card necessitates a gentle touch to prevent any damage.
Once the new SIM card is positioned within the tray or slot, gently slide it into place, ensuring a smooth and seamless integration. Take a moment to verify that the SIM card sits flush and level within the slot, indicating a proper insertion that facilitates optimal connectivity and functionality.
As you complete the insertion of the new SIM card, take a brief pause to appreciate the significance of this moment. With the new SIM card seamlessly integrated into your device, you have taken a definitive step towards unlocking enhanced connectivity and communication capabilities, empowering your mobile device to serve as a reliable companion in your daily endeavors.
The successful insertion of the new SIM card marks a significant milestone in the SIM card replacement process, setting the stage for the final steps that will culminate in the testing and validation of the new SIM card. With the new SIM card securely in place, you are now poised to power on your device and embark on the next phase of this transformative journey.
Step 6: Power On Your Device
With the new SIM card securely inserted into the device, the time has come to reignite the digital heart of your mobile companion. Powering on your device is a pivotal step that heralds the commencement of a new chapter in your connectivity journey. This step holds the promise of seamless integration and renewed functionality, marking the culmination of your efforts in changing the SIM card.
To power on your device, locate the power button, typically situated along the sides or the top of the device. Press and hold the power button until the device's screen illuminates, signaling its reawakening. As the device powers on, observe the display for any indications of the initial boot-up process, which may include the device manufacturer's logo or an animated loading screen.
As the device initializes, it undergoes a sequence of internal checks and configurations, preparing itself to embrace the new SIM card and establish a secure connection with the designated network. This transitional phase symbolizes the device's adaptation to the introduction of the new SIM card, ensuring that it seamlessly integrates into the device's operational framework.
During the power-on process, it's essential to exercise patience and allow the device sufficient time to complete its boot-up sequence. Depending on the device model and specifications, this process may vary in duration, with some devices booting up swiftly, while others may require a slightly longer duration to complete the initialization.
As the device completes its power-on sequence, take a moment to appreciate the significance of this transformative moment. The rekindled glow of the screen signifies the successful integration of the new SIM card, breathing new life into your device and unlocking a realm of possibilities for seamless communication and connectivity.
With your device powered on, you have ventured through a pivotal phase in the SIM card replacement process, laying the foundation for the final step that will validate the successful transition to the new SIM card. As the device awaits your interaction, poised to resume its role as a steadfast companion in your daily endeavors, you stand on the brink of a new era of connectivity and functionality.
The power-on phase represents the culmination of your meticulous efforts, marking the seamless transition to a new chapter in your mobile device's journey. With the device reawakened and ready to serve as a conduit for communication and connectivity, you are now prepared to embark on the final step of testing the new SIM card, ensuring its seamless integration and functionality within your device.
Step 7: Test the New SIM Card
With the device powered on and the new SIM card seamlessly integrated, the final step in the SIM card replacement process is to conduct a comprehensive test to validate the functionality and connectivity of the new SIM card. This pivotal phase serves as the ultimate confirmation of a successful transition, ensuring that your device is ready to harness the full potential of the new SIM card.
Begin the testing process by navigating to the device's settings and accessing the network or connectivity options. Depending on your device's interface, this may involve accessing the "Settings" menu and selecting the "Network & Internet," "Connections," or "SIM card" section. Within this menu, you will typically find the option to view and manage the SIM card settings, including network selection and data preferences.
Once within the SIM card settings, verify that the device recognizes the new SIM card and displays the relevant network information, such as the carrier name and signal strength. This visual confirmation indicates that the device has successfully detected and registered the new SIM card, laying the groundwork for seamless connectivity.
Next, initiate a test call or send a text message to verify the device's ability to establish communication using the new SIM card. By placing a call to a known number or sending a message to a designated recipient, you can assess the device's capability to transmit and receive communications through the new SIM card.
As the call connects or the message is sent and received, take note of the signal strength and the clarity of the communication, ensuring that the new SIM card facilitates reliable and uninterrupted connectivity. Additionally, consider testing the device's data connectivity by accessing a web browser or a specific application that requires internet access, confirming that the new SIM card enables seamless data transmission.
Throughout the testing process, remain attentive to any error messages or indications of network connectivity issues, addressing them promptly to ensure a smooth and uninterrupted user experience. By meticulously testing the new SIM card's functionality across various communication and data channels, you can instill confidence in its reliability and seamless integration with your device.
As the testing phase concludes, reflect on the journey you've undertaken to change the SIM card, acknowledging the significance of this transformative process in unlocking enhanced connectivity and communication capabilities. With the new SIM card validated and functioning seamlessly within your device, you stand poised to embrace a future filled with uninterrupted connectivity and boundless communication possibilities.
The successful completion of the testing phase marks the culmination of your efforts in changing the SIM card, reaffirming your device's readiness to serve as a steadfast companion in your daily endeavors. With the new SIM card seamlessly integrated and validated, you have navigated a transformative journey, ensuring that your mobile device remains a reliable and indispensable tool in your daily life.
Conclusion
In conclusion, the process of changing your SIM card is a transformative journey that empowers you to take control of your mobile device's connectivity and functionality. From the initial gathering of essential tools to the meticulous testing of the new SIM card, each step in this process plays a pivotal role in ensuring a seamless transition and unlocking enhanced communication capabilities.
By embarking on this step-by-step guide, you have gained valuable insights into the intricacies of your device, empowering you to navigate the SIM card replacement process with confidence and precision. The deliberate approach to powering off your device, delicately removing the old SIM card, and seamlessly integrating the new SIM card has not only enhanced your understanding of your device's inner workings but has also reaffirmed your ability to troubleshoot connectivity issues with ease.
As you power on your device and validate the functionality of the new SIM card, you stand at the threshold of a new era of connectivity, poised to embrace uninterrupted communication and seamless data transmission. The successful completion of the testing phase signifies the culmination of your efforts, affirming the reliability and seamless integration of the new SIM card within your device.
This journey has not only equipped you with the knowledge and confidence to change your SIM card but has also fostered a deeper connection with your mobile device, enabling you to harness its full potential as a steadfast companion in your daily endeavors. As you embrace the enhanced connectivity and communication capabilities facilitated by the new SIM card, you stand poised to embark on a future filled with seamless interactions and boundless possibilities.
In essence, the process of changing your SIM card transcends a mere technical task; it symbolizes your ability to adapt and optimize your device's functionality, ensuring that it remains a reliable and indispensable tool in your daily life. With the successful completion of this transformative journey, you have fortified your bond with your mobile device, unlocking a realm of connectivity and communication that seamlessly aligns with your dynamic lifestyle.
So, as you venture forward with your newly integrated SIM card, may the seamless connectivity it affords serve as a testament to your ability to navigate and optimize the technological facets of your life, ensuring that your mobile device remains a steadfast ally in your pursuit of seamless communication and connectivity.