Introduction
Setting up an iPhone without a physical SIM card is a convenient option for users who prefer to use an eSIM or those who have purchased a new iPhone and want to start the setup process without a physical SIM card. Whether you're switching from a traditional SIM card to an eSIM or setting up a new iPhone, this guide will walk you through the seamless process of getting your device up and running without the need for a physical SIM card.
By following the step-by-step instructions provided in this article, you can easily navigate the setup process and begin using your iPhone in no time. From connecting to a Wi-Fi network to activating the eSIM, this guide will cover everything you need to know to ensure a smooth and hassle-free setup experience.
Now, let's dive into the details of setting up your iPhone without a physical SIM card and explore the simple yet essential steps to get your device ready for use. Whether you're a tech-savvy individual or a newcomer to the world of eSIMs, this guide will equip you with the knowledge and confidence to complete the setup process with ease.
Step 1: Turn on the iPhone and start the setup process
Upon unboxing your new iPhone or resetting an existing device to begin the setup process without a physical SIM card, the initial step is to power on the device. Press and hold the power button, typically located on the right side of the iPhone, until the Apple logo appears on the screen. Once the device is powered on, a series of prompts will guide you through the setup process.
As the iPhone boots up, you will be greeted with the "Hello" screen, prompting you to select your preferred language and region. Swipe up or tap the "Start" button to initiate the setup process. The subsequent screens will prompt you to connect to a Wi-Fi network and enable Location Services. It's essential to connect to a Wi-Fi network to proceed with the setup, as some features and services require an internet connection.
If you're upgrading from an existing iPhone, you can expedite the setup process by using Quick Start, a feature that allows you to transfer your data, Apple ID, and settings to the new device seamlessly. Simply place your current iPhone next to the new one, and follow the on-screen instructions to transfer your data. This eliminates the need for manual data migration and ensures a smooth transition to your new device.
Once you've selected your Wi-Fi network and configured Location Services, the iPhone will prompt you to set up Face ID or Touch ID, depending on the model. These security features provide a convenient and secure way to unlock your device and authenticate purchases. Follow the on-screen instructions to complete the setup of Face ID or Touch ID, ensuring that your iPhone is personalized to your preferences and security needs.
With the initial setup steps completed, the iPhone will prompt you to create or sign in with your Apple ID. Your Apple ID is essential for accessing the App Store, iCloud, and other Apple services. If you don't have an Apple ID, you can create one during the setup process. Alternatively, you can sign in with an existing Apple ID to seamlessly access your previous purchases, iCloud data, and personalized settings.
As you progress through the setup process, you'll have the opportunity to customize additional settings, such as Siri, Display Zoom, and True Tone display. These settings allow you to tailor the iPhone to your preferences, ensuring an optimal user experience. Once you've configured these settings, the iPhone will prompt you to choose between Light or Dark mode, a feature that enhances visual comfort and personalization.
By following these initial setup steps, you can seamlessly turn on your iPhone and initiate the setup process without a physical SIM card. The subsequent steps will guide you through the activation of the eSIM and the completion of the setup process, ultimately allowing you to start using your iPhone with ease and confidence.
Step 2: Connect to a Wi-Fi network
Connecting your iPhone to a Wi-Fi network is a fundamental step in the setup process, enabling the device to access essential online services, download software updates, and facilitate seamless data transfer. Upon reaching the Wi-Fi setup screen, the iPhone will display a list of available networks, including both private and public options.
To proceed, simply tap on the name of your preferred Wi-Fi network and enter the corresponding password if prompted. If you're setting up your iPhone in a location with multiple Wi-Fi networks, ensure that you select the appropriate network associated with your home, office, or preferred internet service provider. This ensures a secure and reliable connection to the internet, laying the foundation for a smooth setup experience.
In cases where a Wi-Fi network is not available, you may consider utilizing a personal hotspot from another device, such as a smartphone or mobile hotspot device. This temporary solution allows you to connect your iPhone to the internet using the cellular data from another device, providing the necessary connectivity to proceed with the setup process.
Once connected to a Wi-Fi network, the iPhone will verify the connection and proceed to the next stage of the setup process. It's important to ensure a stable and secure Wi-Fi connection during this phase to prevent interruptions and facilitate the seamless transfer of data and settings to the device.
By successfully connecting to a Wi-Fi network, you pave the way for a streamlined setup process, enabling the iPhone to access essential online resources, validate your Apple ID, and download any pending software updates. This pivotal step sets the stage for a seamless transition to the subsequent stages of the setup process, ultimately leading to the activation of the eSIM and the completion of the device setup.
With the iPhone securely connected to a Wi-Fi network, you are poised to proceed to the next step of setting up the device without a physical SIM card, ensuring that you can seamlessly activate the eSIM and begin using your iPhone with confidence and convenience.
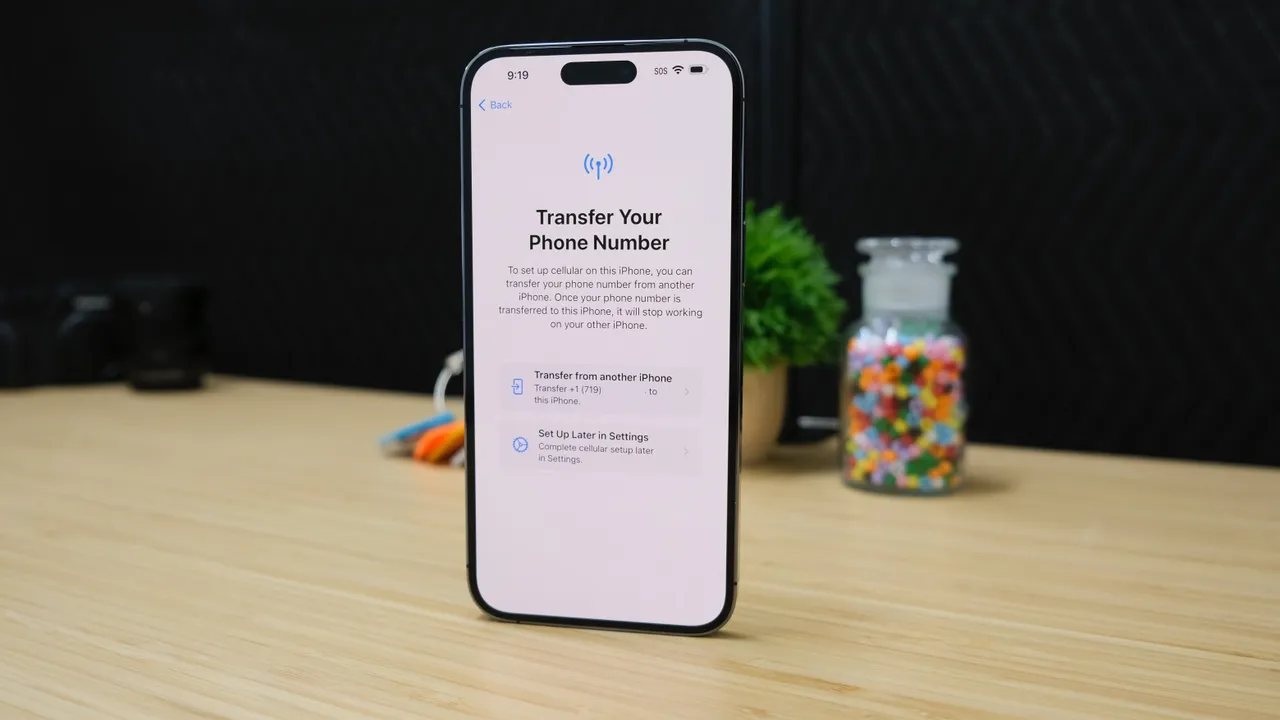
Step 3: Set up the iPhone without a physical SIM card
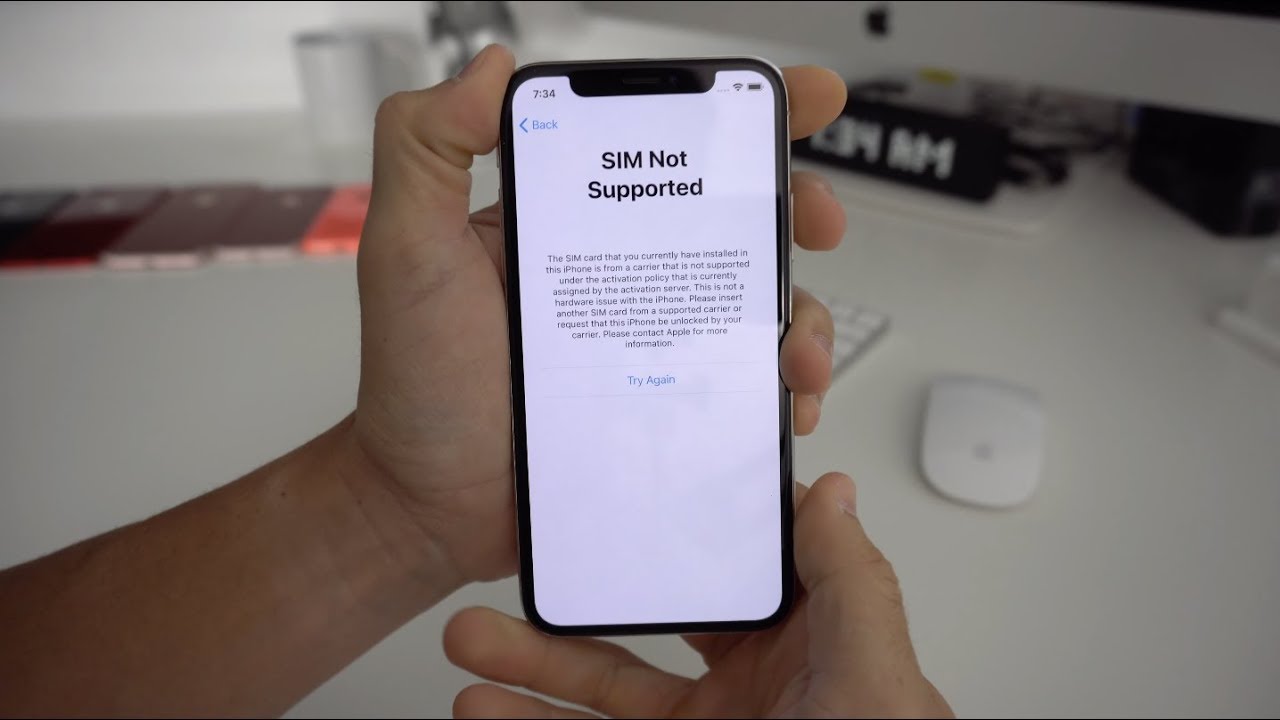
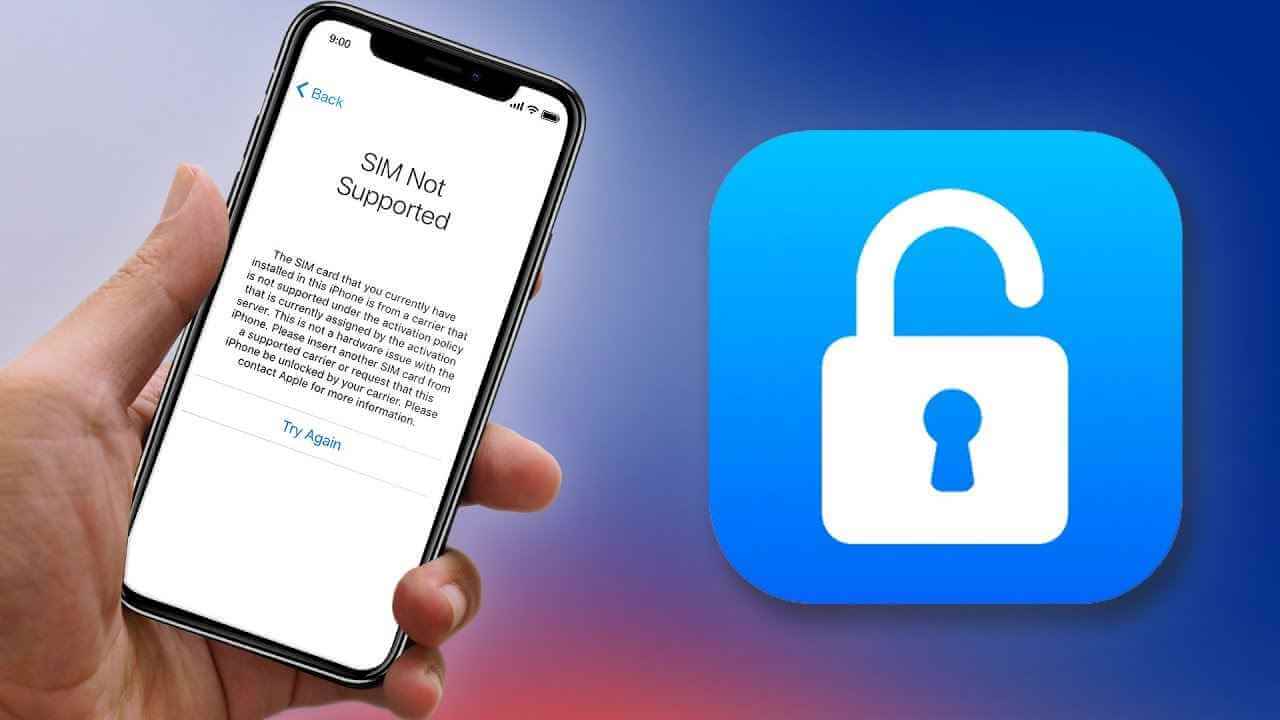
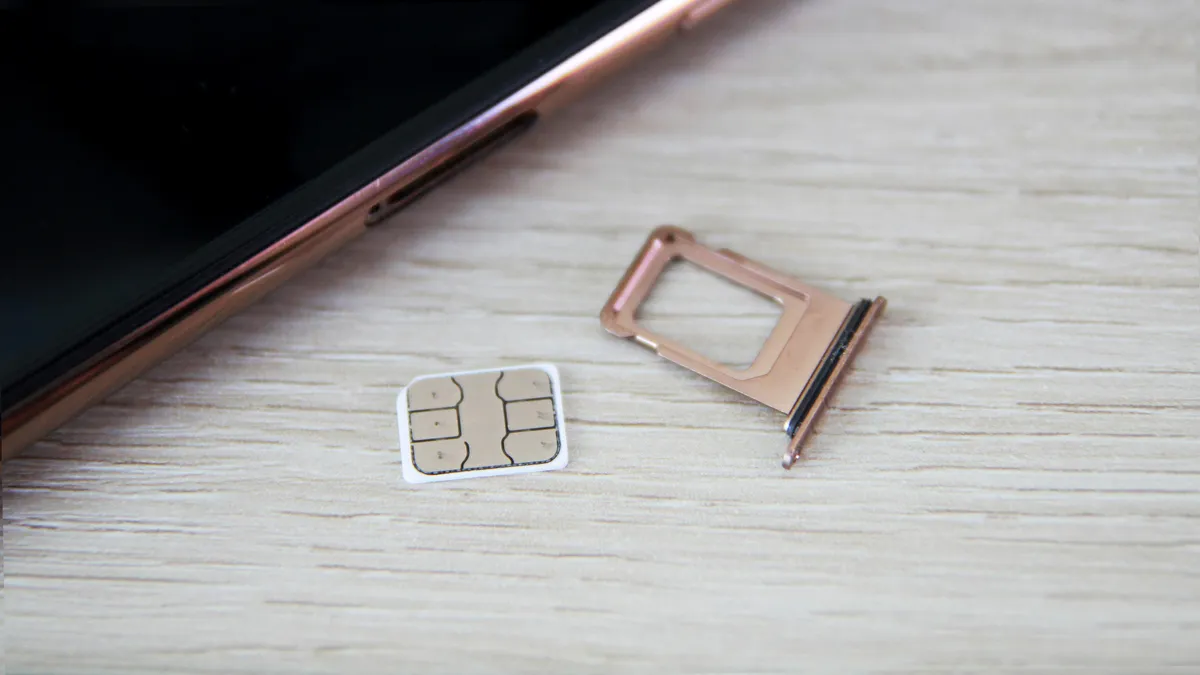
Setting up an iPhone without a physical SIM card involves the activation of an embedded SIM (eSIM), a virtual SIM technology that allows users to connect to a cellular network without the need for a traditional SIM card. This innovative approach offers flexibility and convenience, enabling users to manage their cellular plans and switch carriers directly from the device settings.
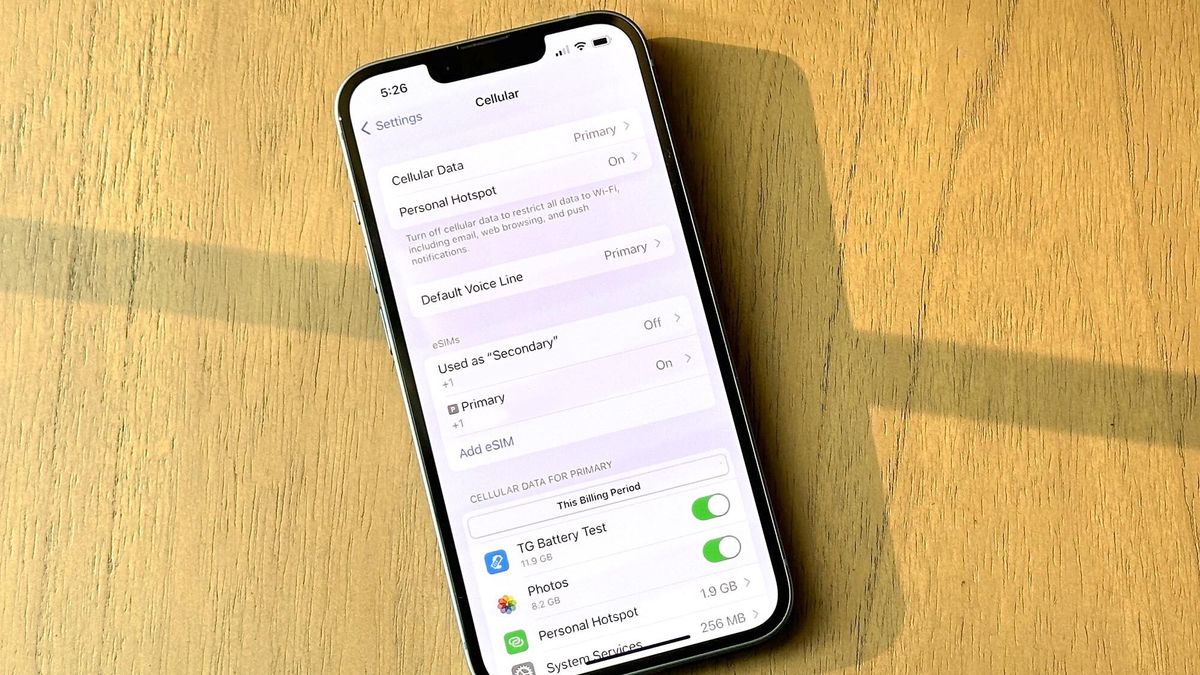
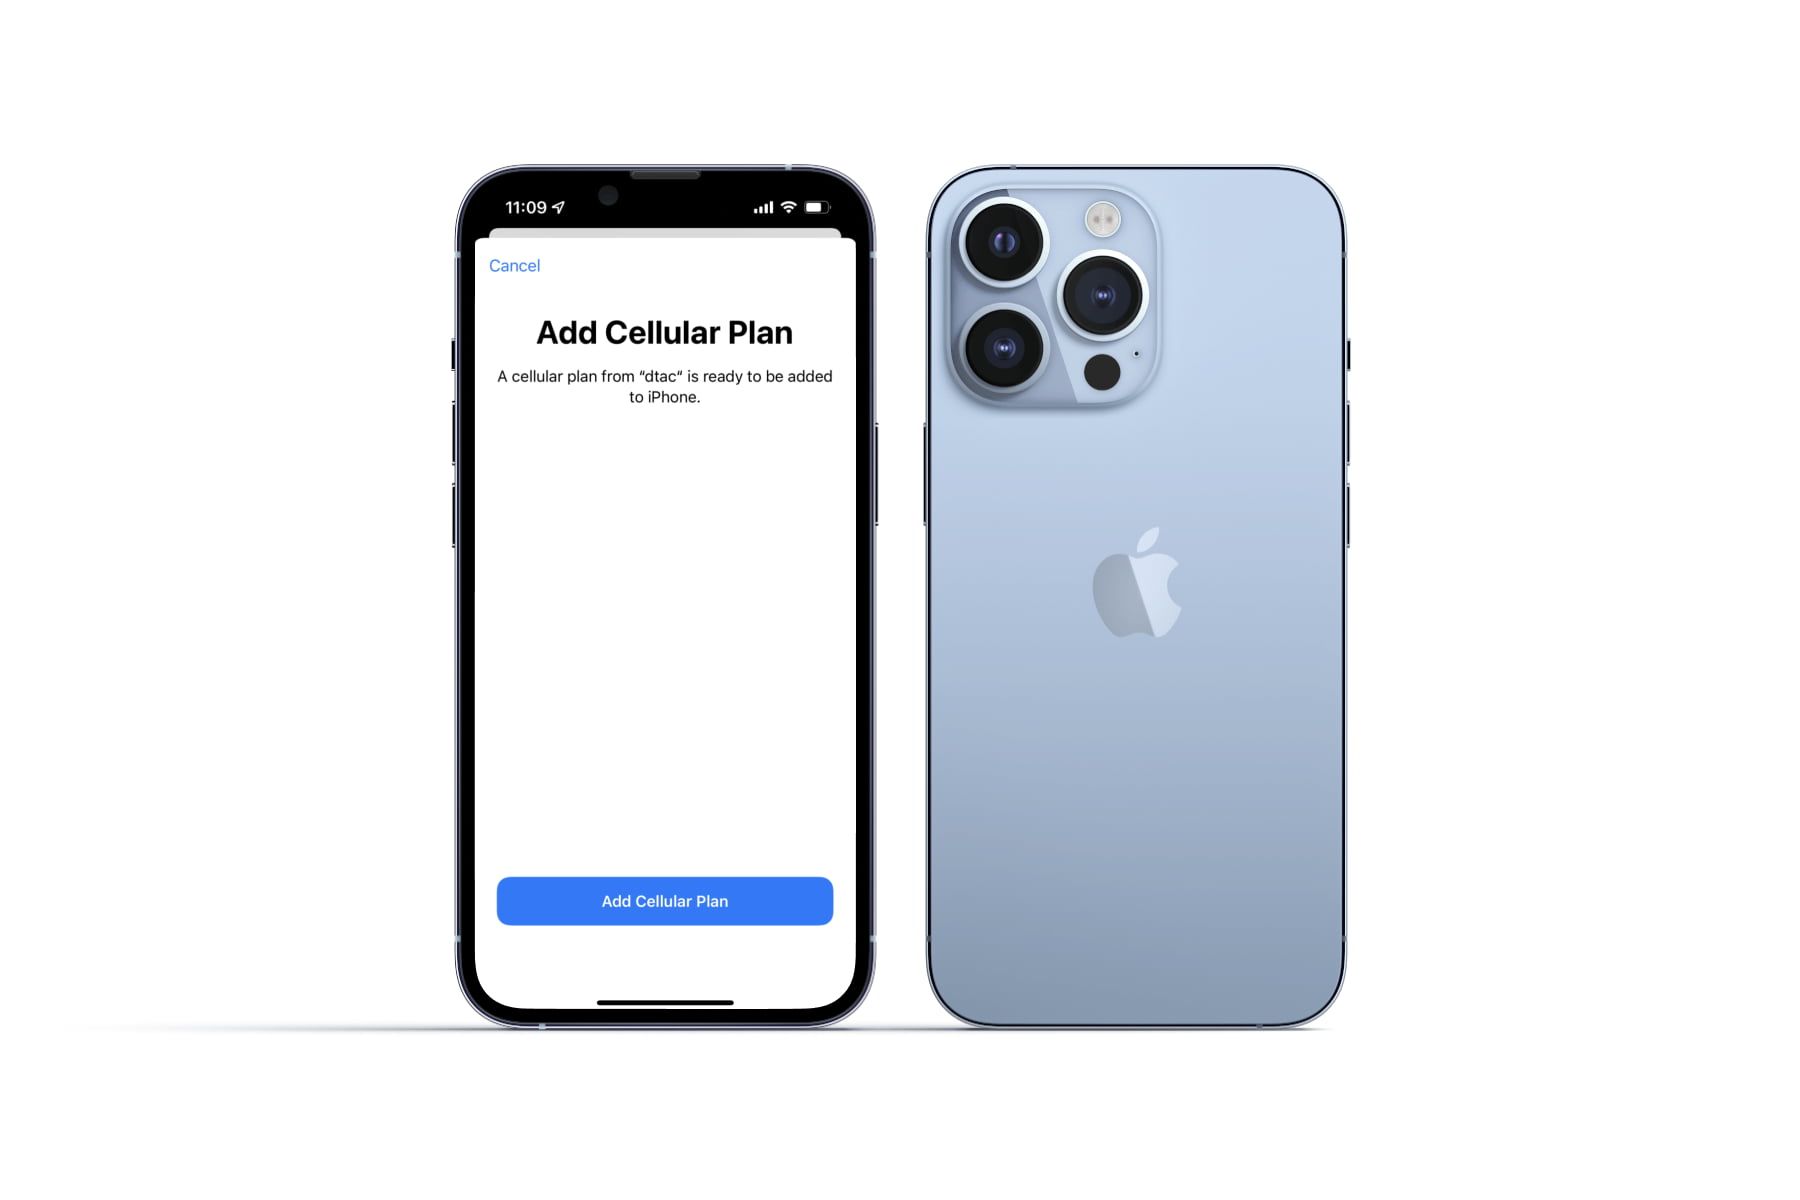
To initiate the setup of the iPhone without a physical SIM card, navigate to the "Cellular" or "Mobile Data" section within the device settings. Upon accessing this menu, you will encounter the option to add a cellular plan, which serves as the gateway to activating the eSIM.
Selecting the "Add Cellular Plan" option prompts the device to scan a QR code provided by your carrier or allows you to enter the activation details manually. If you've received a QR code from your carrier, simply position the iPhone's camera to scan the code, initiating the activation process. Alternatively, you can enter the activation details, including the carrier's information and activation code, to proceed with the setup.
Once the activation details are processed, the iPhone will proceed to verify the cellular plan and activate the eSIM, enabling the device to connect to the cellular network without a physical SIM card. This seamless process ensures that your iPhone is ready to make calls, send messages, and access cellular data, all without the need for a physical SIM card.
Upon successful activation of the eSIM, the iPhone will display the carrier information and signal strength, indicating that the device is connected to the cellular network. This pivotal step signifies the completion of the setup process without a physical SIM card, empowering users to enjoy the full functionality of their iPhone with the convenience of a virtual SIM technology.
With the eSIM activated and the iPhone set up without a physical SIM card, users can seamlessly transition to the final step of the setup process, ensuring that the device is fully configured and ready for use. By leveraging the capabilities of the eSIM, users can embrace the future of cellular connectivity, enjoying the flexibility and convenience that virtual SIM technology has to offer.
This marks the successful setup of the iPhone without a physical SIM card, showcasing the seamless integration of eSIM technology and the user-friendly approach to device activation and connectivity. With the device primed for use, users can confidently proceed to the final step, culminating in the completion of the setup process and the commencement of an unparalleled iPhone experience.
Step 4: Complete the setup process and start using the iPhone
With the eSIM successfully activated and the initial setup steps completed, you are now poised to finalize the setup process and embark on an immersive iPhone experience. The final phase involves configuring additional settings, exploring essential features, and ensuring that your iPhone is fully personalized to meet your preferences and needs.
Upon activating the eSIM, the iPhone will prompt you to configure additional settings, including iCloud, App Store, and Siri preferences. iCloud serves as a secure platform for storing your photos, videos, documents, and app data, ensuring seamless access across all your Apple devices. By signing in with your Apple ID and enabling iCloud, you can effortlessly synchronize your content and settings, providing a cohesive and integrated experience across your devices.
Exploring the App Store is an integral part of the setup process, allowing you to discover and download a vast array of apps, games, and utilities tailored to your interests and lifestyle. Whether you're a productivity enthusiast, a gaming aficionado, or a photography enthusiast, the App Store offers a diverse selection of content to enhance your iPhone experience. By perusing the App Store and downloading your favorite apps, you can personalize your device and unlock its full potential.
Siri, Apple's intelligent virtual assistant, empowers you to perform tasks and access information with voice commands, adding a layer of convenience to your iPhone usage. By setting up Siri and customizing its features, you can harness the power of voice control, enabling seamless interactions with your device and access to a wealth of knowledge and services.
As you navigate through the final setup steps, take the opportunity to explore additional features such as FaceTime, Apple Pay, and Apple Music, each offering unique capabilities and enhancing the overall functionality of your iPhone. FaceTime enables high-quality video calls with friends and family, Apple Pay facilitates secure and convenient transactions, and Apple Music provides access to a vast library of songs and curated playlists.
With the setup process nearing completion, take a moment to personalize your iPhone's home screen, organizing your apps, creating folders, and setting your favorite wallpaper. This customization step allows you to tailor the visual layout of your device, reflecting your individual style and optimizing accessibility to your most-used apps and features.
With the setup process finalized and your iPhone fully configured to your preferences, you are now ready to embark on an enriching and seamless iPhone experience. Whether you're communicating with loved ones, capturing memorable moments with the camera, or exploring the myriad of apps and services, your iPhone is primed to accompany you on your digital journey, offering unparalleled convenience, creativity, and connectivity.
By completing the setup process and embracing the full potential of your iPhone, you are embarking on a captivating and personalized technological journey, where every interaction and experience is tailored to enrich and enhance your daily life. With the setup process behind you, the world of possibilities that your iPhone offers is now at your fingertips, ready to inspire, entertain, and empower you in ways you never imagined.