Introduction
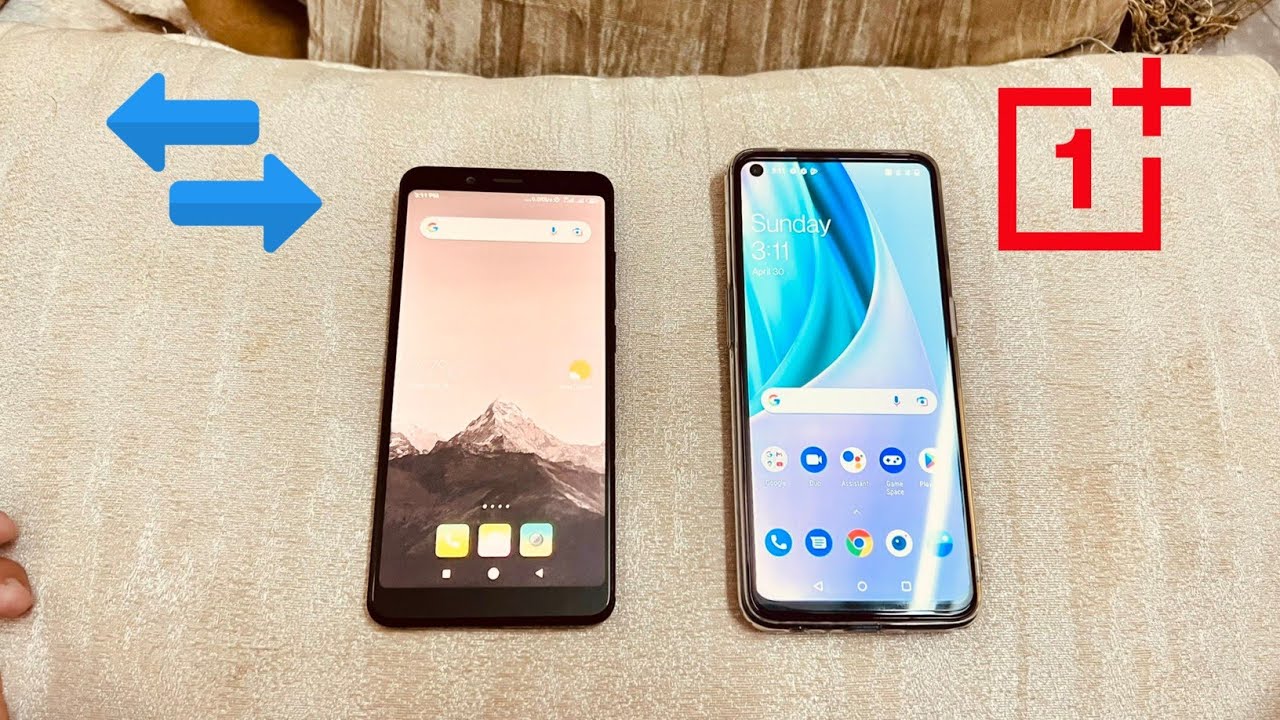
Transferring files from your OnePlus Nord to your laptop is a seamless process that allows you to effortlessly manage and backup your data. Whether it's photos, videos, documents, or other files, having a reliable method to transfer them to your laptop ensures that your precious memories and important information are safely stored and easily accessible. In this guide, we will walk you through the simple steps to connect your OnePlus Nord to your laptop and transfer files with ease.
By following this guide, you will be able to harness the full potential of your OnePlus Nord and seamlessly integrate it with your laptop, creating a harmonious synergy between your mobile device and your computer. This process not only facilitates efficient file management but also empowers you to organize, edit, and share your files across different platforms, enhancing your overall digital experience.
Now, let's delve into the step-by-step process of connecting your OnePlus Nord to your laptop and initiating the file transfer. Whether you're a tech enthusiast or a casual user, this guide will equip you with the knowledge and skills to effortlessly transfer files and streamline your digital workflow. Let's embark on this journey to unlock the full potential of your OnePlus Nord and elevate your file management capabilities.
Step 1: Connect OnePlus Nord to Laptop
Connecting your OnePlus Nord to your laptop is the first crucial step in initiating the file transfer process. This seamless connection allows for the seamless exchange of files, enabling you to effortlessly manage and organize your data. To begin, ensure that your OnePlus Nord is powered on and your laptop is ready for the connection.
-
USB Cable: Locate the USB cable that came with your OnePlus Nord. This cable is essential for establishing a physical connection between your device and your laptop. The USB cable serves as the bridge through which data will be transferred.
-
USB Port: Identify a vacant USB port on your laptop where you can plug in the USB cable. Most laptops have multiple USB ports located on the sides or back of the device. Choose a port that is easily accessible and allows for a secure connection.
-
USB-C Port: On your OnePlus Nord, locate the USB-C port, which is typically located at the bottom of the device. The USB-C port is the point of contact where you will insert the USB cable, establishing a direct link between your smartphone and laptop.
-
Insert the USB Cable: With the USB cable in hand, carefully insert the USB-C end into the corresponding port on your OnePlus Nord. Ensure that the connection is secure to prevent any interruptions during the file transfer process.
-
Connect to Laptop: Once the USB cable is securely connected to your OnePlus Nord, proceed to plug the other end of the cable into the USB port on your laptop. Upon establishing this physical connection, your laptop should recognize the OnePlus Nord as a connected device.
-
Device Recognition: After connecting your OnePlus Nord to your laptop, your device may prompt you to select the type of USB connection. Choose the "File Transfer" or "Transfer files" option to enable the exchange of data between your smartphone and laptop.
By successfully connecting your OnePlus Nord to your laptop, you have laid the foundation for seamless file transfer. This initial step sets the stage for the efficient exchange of files, allowing you to harness the full potential of your devices and streamline your digital workflow. With the physical connection established, you are now ready to proceed to the next step and initiate the file transfer process.
This connection not only facilitates the transfer of files but also opens up a world of possibilities for managing and organizing your data across different platforms. With your OnePlus Nord seamlessly integrated with your laptop, you are empowered to take control of your digital content and elevate your file management capabilities.
Step 2: Enable File Transfer Mode
Enabling file transfer mode on your OnePlus Nord is a pivotal step that allows for the seamless exchange of files between your smartphone and laptop. By activating this mode, you create a direct pathway for data to flow between the two devices, enabling you to effortlessly manage and transfer your files. Let's delve into the process of enabling file transfer mode on your OnePlus Nord, unlocking the full potential of your device for efficient file management.
-
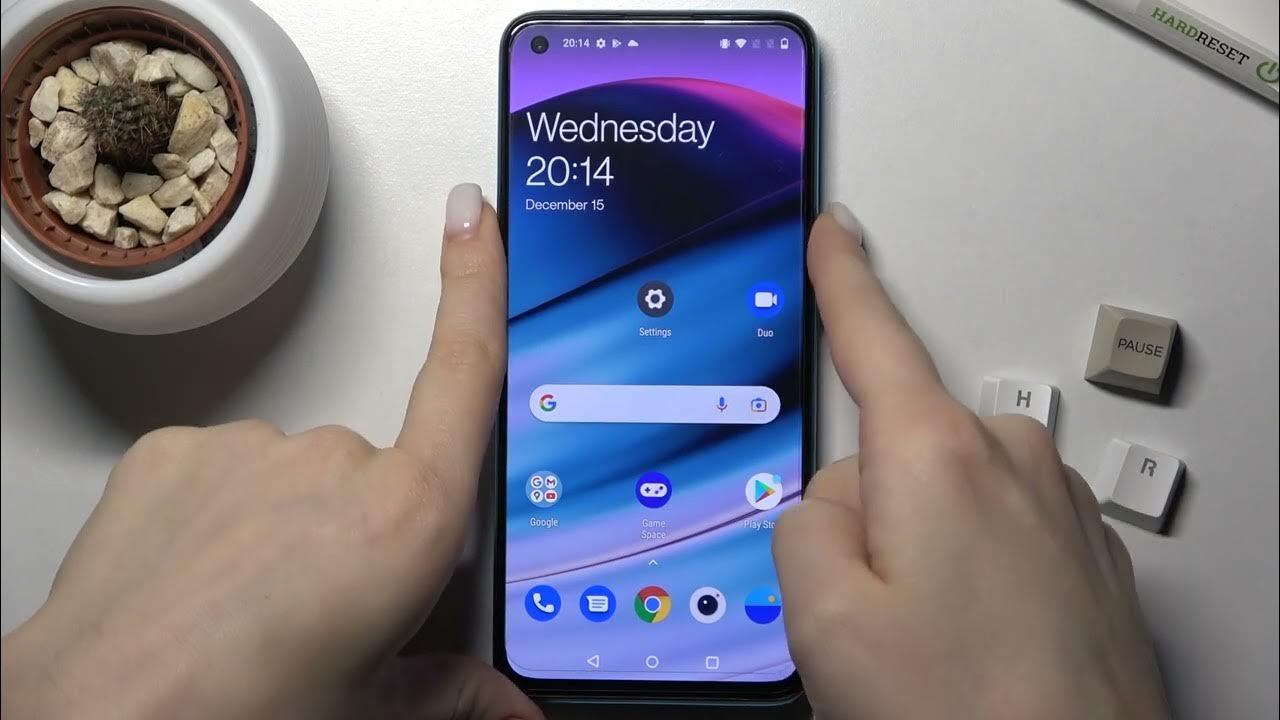
Access the Notification Panel: Begin by unlocking your OnePlus Nord and swiping down from the top of the screen to access the notification panel. This panel provides quick access to essential settings and options, including the USB connection settings.
-
Select USB Options: Upon accessing the notification panel, locate the USB options or USB settings icon. This icon typically resembles a small gear or wrench, indicating the settings menu for USB connections.
-
Choose File Transfer Mode: Tap on the USB options or settings icon to reveal a list of USB connection modes. Look for the "File Transfer" or "Transfer files" mode among the available options. This mode is specifically designed for facilitating the exchange of files between your OnePlus Nord and your laptop.
-
Enable File Transfer Mode: Once you have located the "File Transfer" or "Transfer files" mode, tap on it to activate this setting. Enabling file transfer mode establishes the necessary communication protocol between your smartphone and laptop, allowing for the seamless transfer of files.
-
Confirmation Prompt: Upon enabling file transfer mode, your OnePlus Nord may display a confirmation prompt to verify the selected USB connection mode. Confirm the selection to proceed, ensuring that your device is ready to initiate the file transfer process.
By enabling file transfer mode on your OnePlus Nord, you have effectively prepared your device for the seamless exchange of files with your laptop. This crucial step sets the stage for efficient data transfer, empowering you to manage and organize your files with ease. With file transfer mode activated, you are now ready to proceed to the next step and initiate the transfer of your desired files from your OnePlus Nord to your laptop.
Enabling file transfer mode not only streamlines the process of transferring files but also enhances the overall connectivity between your smartphone and laptop. This seamless integration enables you to harness the full potential of your devices, creating a harmonious synergy that elevates your digital experience. With file transfer mode in place, you are poised to take control of your data and seamlessly manage your files across different platforms.
Step 3: Transfer Files from OnePlus Nord to Laptop
Transferring files from your OnePlus Nord to your laptop is a straightforward process that empowers you to seamlessly manage and organize your digital content. Whether it's a collection of cherished photos, a library of videos, or essential documents, the ability to transfer these files to your laptop ensures that your data is securely backed up and readily accessible. Let's explore the detailed steps involved in transferring files from your OnePlus Nord to your laptop, unlocking the full potential of your devices for efficient file management.
-
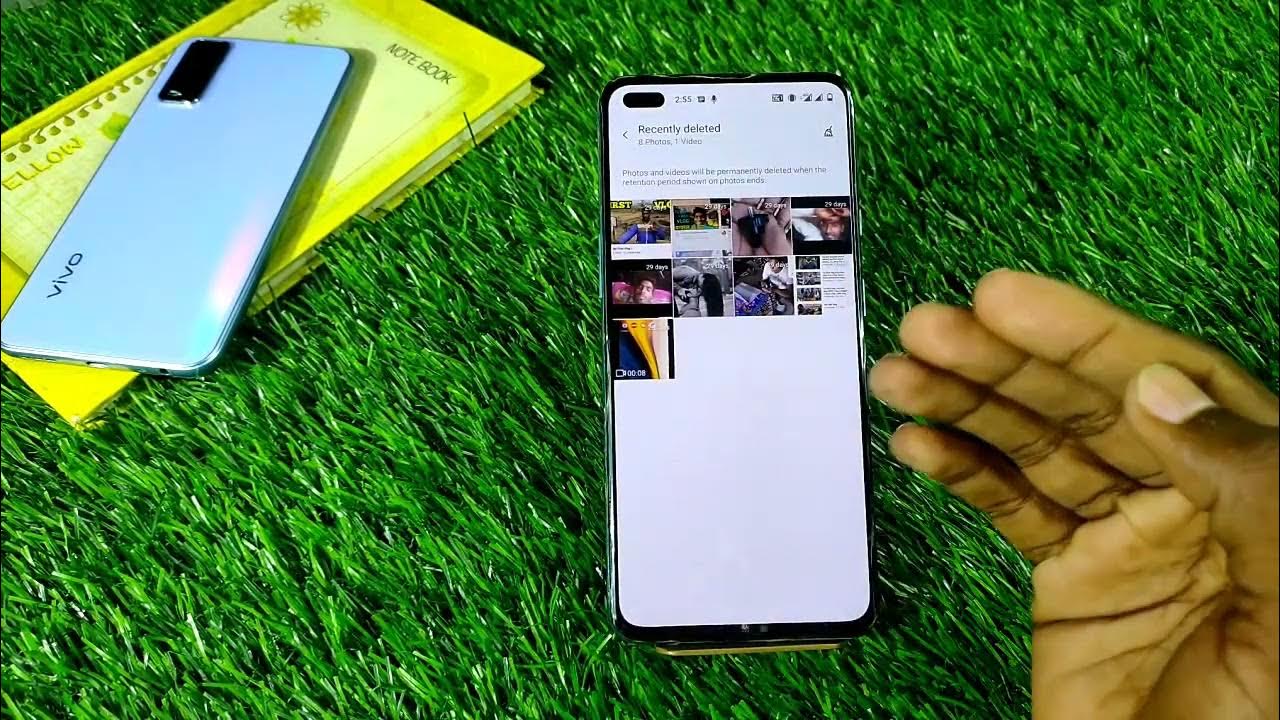
Select Files for Transfer: Begin by unlocking your OnePlus Nord and navigating to the files you wish to transfer. Whether they are photos, videos, or documents, locate the specific files or folders that you want to transfer to your laptop. This step allows you to curate the content that is essential for backup or further editing on your laptop.
-
Initiate File Transfer: With the desired files identified, connect your OnePlus Nord to your laptop using the USB cable as outlined in the previous steps. Once the physical connection is established and file transfer mode is enabled, your laptop will recognize your OnePlus Nord as a connected device, ready for file transfer.
-
Access File Explorer: On your laptop, open the File Explorer or Finder to navigate to the connected OnePlus Nord. Depending on your laptop's operating system, you should see your OnePlus Nord listed as a connected device, granting you access to its internal storage and files.
-
Copy Files to Laptop: Within the File Explorer or Finder, locate the files on your OnePlus Nord that you wish to transfer. Once identified, simply drag and drop the files from your OnePlus Nord to a designated folder on your laptop. Alternatively, you can use the copy and paste function to transfer the selected files to your laptop's storage.
-
Monitor Transfer Progress: As the files are being transferred, monitor the progress to ensure that the process is completed successfully. Depending on the file size and quantity, the transfer may take some time. It's important to allow the transfer to proceed uninterrupted to avoid any potential data corruption.
By following these steps, you can seamlessly transfer your files from your OnePlus Nord to your laptop, creating a secure backup and enabling further organization and editing of your digital content. This process not only streamlines your file management but also enhances the accessibility of your data across different devices, empowering you to take full control of your digital content. With the files successfully transferred, you are now equipped to leverage the capabilities of your laptop for further editing, sharing, and organizing your digital library.
Step 4: Safely Disconnect OnePlus Nord from Laptop
Safely disconnecting your OnePlus Nord from your laptop is a crucial step that ensures the integrity of your data and the longevity of your devices. By following the proper procedure for disconnection, you can prevent data corruption and hardware damage, preserving the seamless flow of information between your smartphone and laptop. Let's delve into the detailed process of safely disconnecting your OnePlus Nord from your laptop, empowering you to maintain the optimal functionality of your devices.
-
Complete File Transfer: Before disconnecting your OnePlus Nord from your laptop, ensure that all file transfers have been completed. Verify that the files you intended to transfer have been successfully copied to your laptop's storage. This step is essential to prevent any data loss or incomplete transfers.
-
Close File Explorer or Finder: If you accessed your OnePlus Nord's files using the File Explorer on Windows or Finder on macOS, close the file management window on your laptop. This ensures that no active file operations are in progress, preventing potential conflicts during the disconnection process.
-
Eject OnePlus Nord: On your laptop, locate the icon or listing representing your connected OnePlus Nord within the File Explorer or Finder. Right-click on the device icon and select the "Eject" option. This action safely unmounts your OnePlus Nord from your laptop, finalizing any pending data operations and preparing the device for disconnection.
-
Wait for Confirmation: After initiating the ejection process, wait for the confirmation message indicating that it is safe to disconnect your OnePlus Nord. This message ensures that all data operations have been completed, and the device is ready to be unplugged without risking data corruption.
-
Unplug USB Cable: Once you receive the confirmation that it is safe to do so, carefully unplug the USB cable from your OnePlus Nord and your laptop. Ensure that you gently remove the cable to avoid any damage to the ports or the cable itself.
By following these steps, you can safely disconnect your OnePlus Nord from your laptop, preserving the integrity of your data and devices. This meticulous approach to disconnection minimizes the risk of data loss and hardware damage, allowing you to maintain a seamless and reliable connection between your smartphone and laptop. With your OnePlus Nord safely disconnected, you can confidently continue to manage and transfer your files, knowing that your devices are optimized for efficient data exchange.
Conclusion
In conclusion, the process of transferring files from your OnePlus Nord to your laptop is a seamless and empowering endeavor that enhances your digital workflow and file management capabilities. By following the comprehensive guide outlined in this article, you have gained the knowledge and skills to effortlessly connect your OnePlus Nord to your laptop, enable file transfer mode, initiate the transfer of files, and safely disconnect your devices. This journey has equipped you with the tools to harness the full potential of your devices, creating a harmonious synergy that elevates your digital experience.
The ability to seamlessly transfer files from your OnePlus Nord to your laptop empowers you to securely backup your data, organize your digital content, and leverage the capabilities of your laptop for further editing and sharing. Whether it's preserving cherished memories captured through photos and videos or ensuring the accessibility of essential documents, the file transfer process facilitates efficient data management and enhances the connectivity between your smartphone and laptop.
By establishing a physical connection between your OnePlus Nord and your laptop, enabling file transfer mode, and initiating the transfer of files, you have unlocked the potential to seamlessly integrate your devices and streamline your digital workflow. This process not only facilitates the exchange of files but also fosters a sense of control and accessibility, allowing you to effortlessly manage your digital content across different platforms.
As you continue to explore the possibilities of file transfer and device connectivity, remember the importance of safely disconnecting your OnePlus Nord from your laptop. By adhering to the proper disconnection procedure, you can safeguard the integrity of your data and devices, ensuring a reliable and uninterrupted flow of information.
In essence, the journey of transferring files from your OnePlus Nord to your laptop is a testament to the seamless integration of technology into our daily lives. It empowers us to curate, preserve, and manage our digital content with ease, fostering a sense of control and accessibility. With the knowledge and skills acquired from this guide, you are poised to elevate your file management capabilities and embrace the full potential of your OnePlus Nord and laptop.