Introduction
Screen recording has become an essential feature for mobile devices, allowing users to capture and share their on-screen activities with ease. Whether you want to create a tutorial, demonstrate a gameplay strategy, or simply record a memorable moment on your device, the screen recording function offers a versatile and convenient way to accomplish these tasks.
In this comprehensive guide, we will explore the step-by-step process of utilizing the screen recording feature on your Redmi device. By following these instructions, you will be able to seamlessly capture and save your screen activities, empowering you to share valuable content or preserve significant moments.
The ability to record your screen can be incredibly beneficial in various scenarios. For instance, if you are an avid mobile gamer, you can showcase your gaming skills and strategies by recording your gameplay. Additionally, if you need to provide visual instructions or tutorials, screen recording allows you to create engaging and informative content. Furthermore, capturing memorable conversations, video calls, or any on-screen activity can be effortlessly achieved through this feature.
As we delve into the intricacies of screen recording on your Redmi device, you will gain a deeper understanding of the customization options available, enabling you to tailor the recording settings to your specific needs. Whether it's adjusting the video quality, including audio in the recording, or selecting the desired frame rate, you will have the flexibility to personalize your screen recording experience.
By mastering the art of screen recording, you can elevate your mobile device usage to new heights, unlocking the potential to create compelling content and preserve valuable moments. With this guide, you will embark on a journey to harness the power of screen recording on your Redmi device, opening up a world of possibilities for content creation, communication, and documentation.
Now, let's embark on this enlightening journey to discover the intricacies of screen recording on your Redmi device, empowering you to capture, create, and share with unparalleled ease and efficiency.
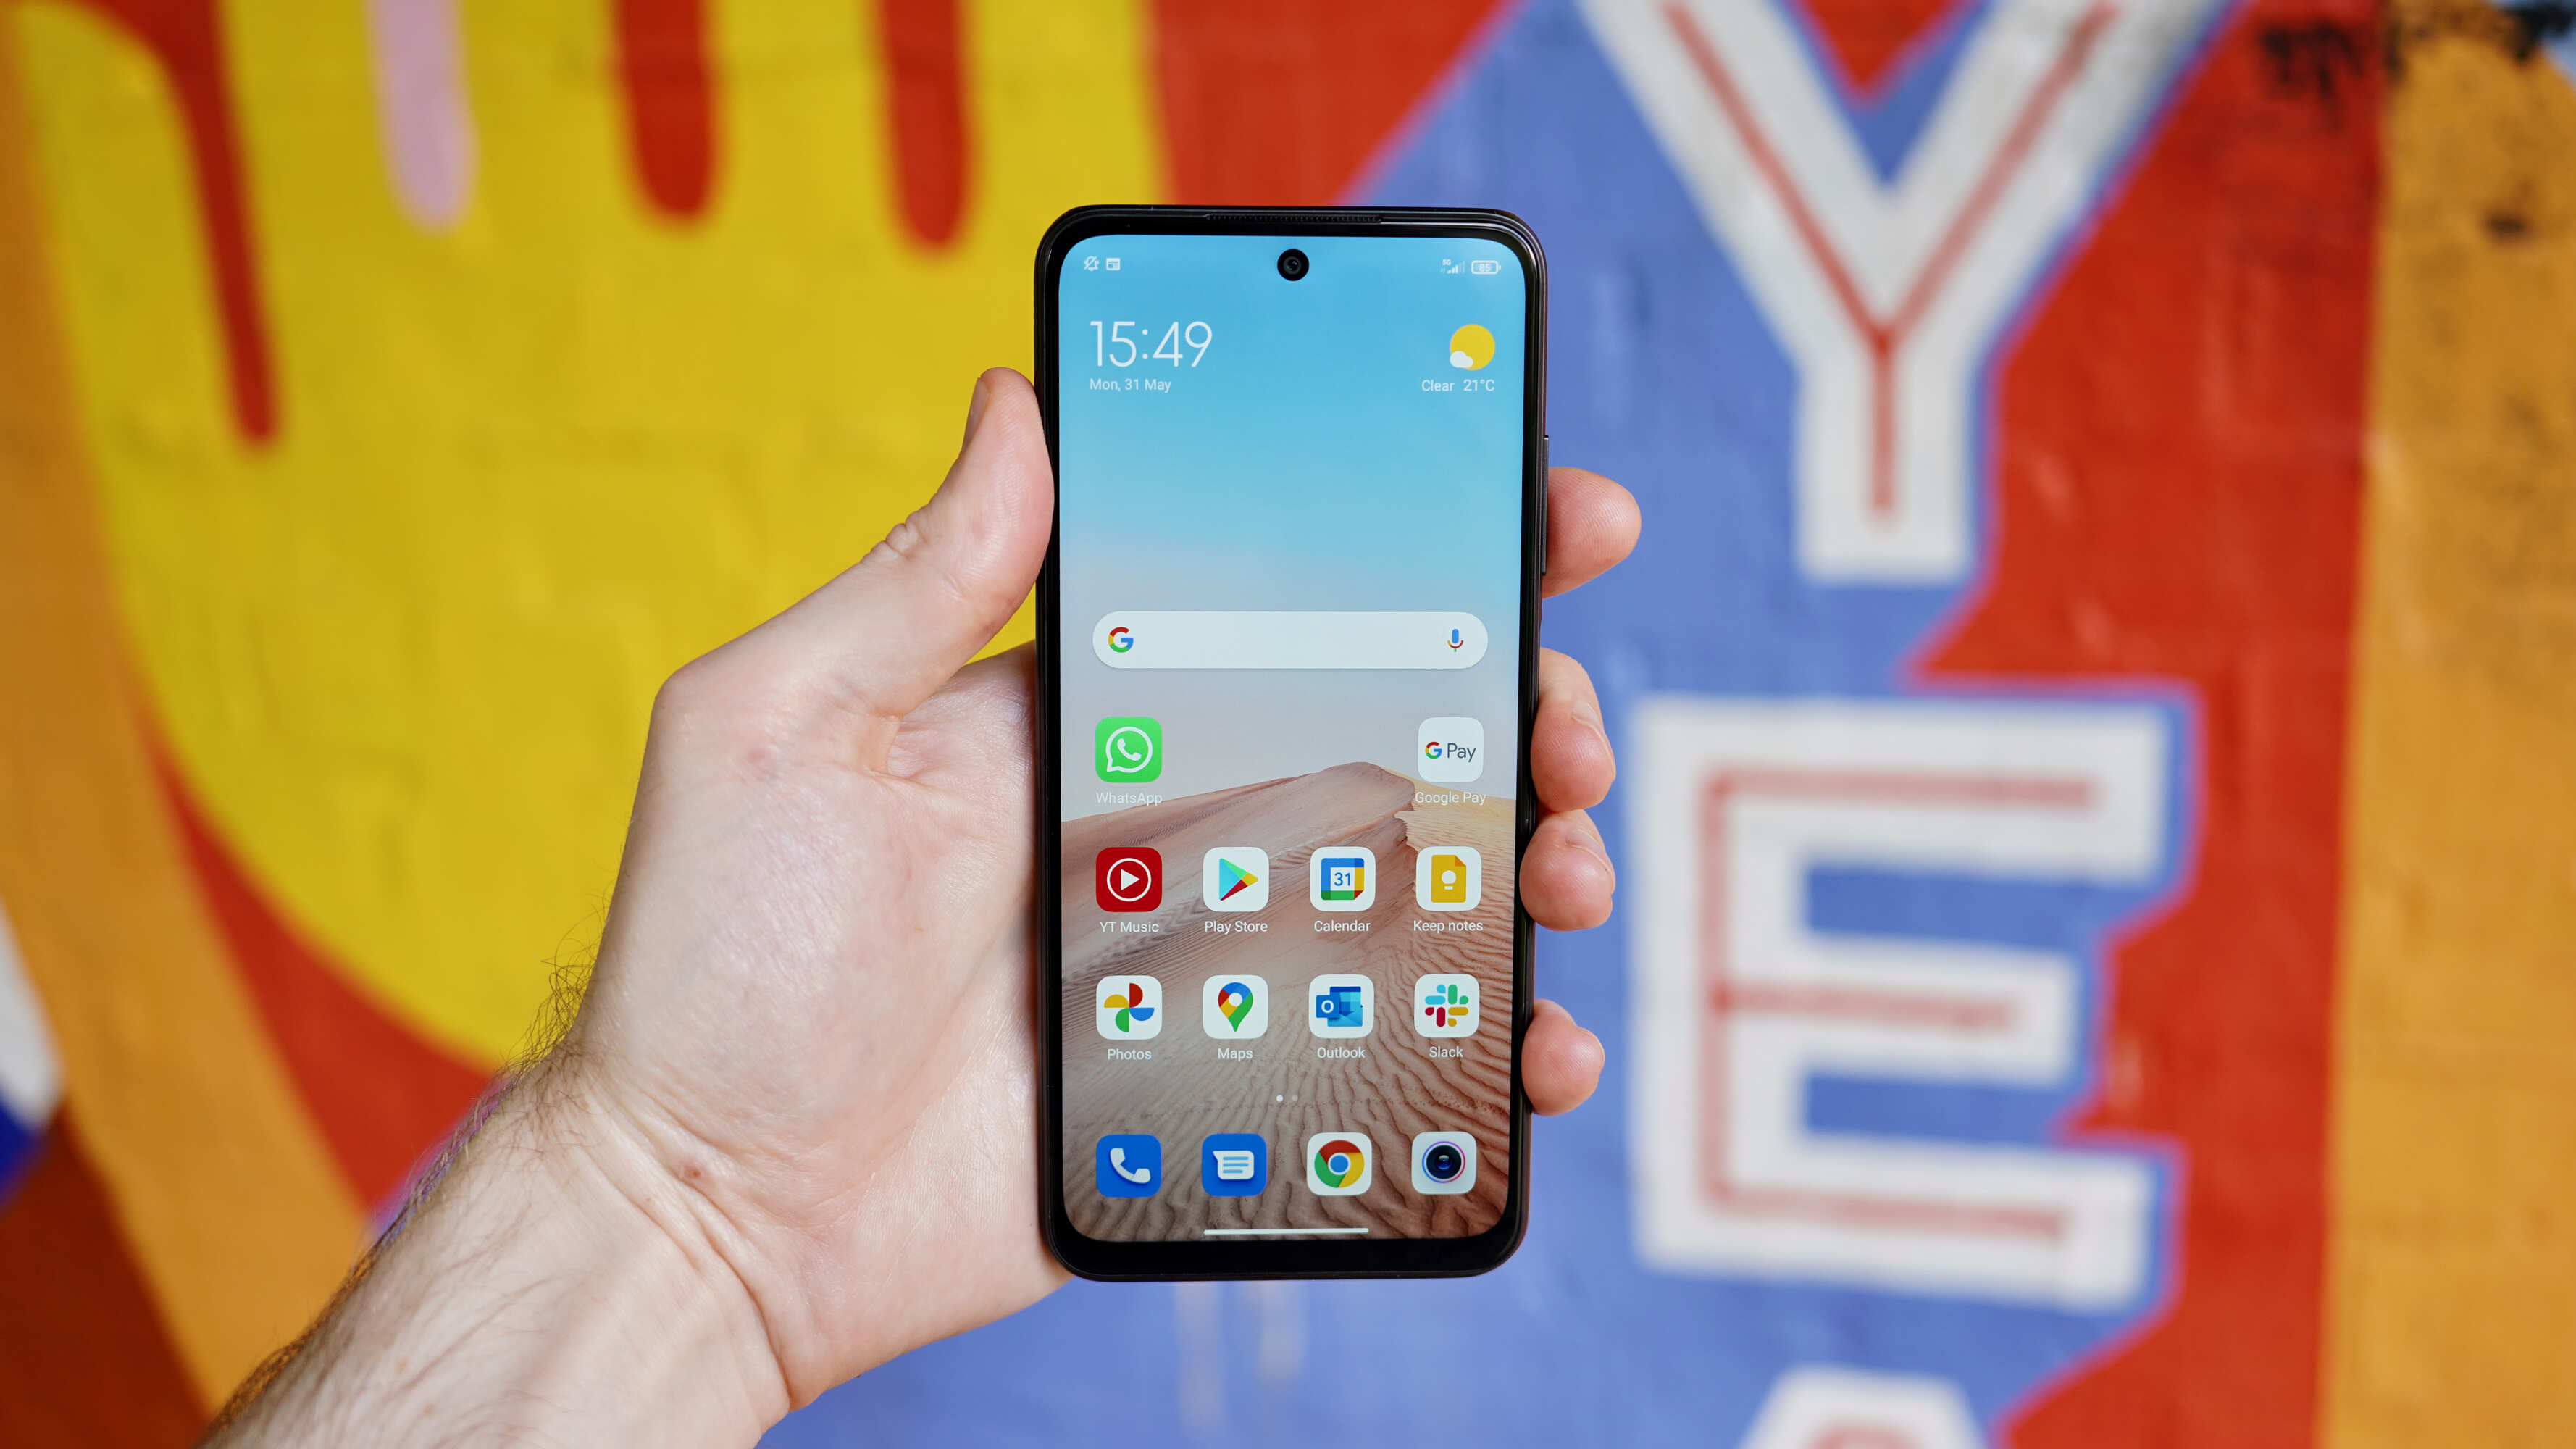
Step 1: Accessing the Screen Recording Feature
Accessing the screen recording feature on your Redmi device is a straightforward process that empowers you to capture your on-screen activities effortlessly. To initiate the screen recording function, follow these simple steps:
-
Navigate to the Control Center: Begin by swiping down from the top-right corner of your device's screen to access the Control Center. This action will reveal a range of quick settings and shortcuts, providing convenient access to essential features.
-
Locate the Screen Recording Icon: Within the Control Center, look for the screen recording icon, which is represented by a circular button with a dot inside. This icon serves as the gateway to the screen recording functionality on your Redmi device.
-
Initiate the Screen Recording: Once you have located the screen recording icon, tap on it to initiate the screen recording process. Upon tapping the icon, a countdown timer may appear, signaling the commencement of the recording. This countdown period allows you to prepare and set the stage for the content you intend to capture.
-
Confirmation and Accessibility: After tapping the screen recording icon, you may be prompted to confirm your action. Once confirmed, the screen recording feature will be activated, and a small recording indicator may appear at the top of your screen, indicating that the recording is in progress.
By following these steps, you can seamlessly access the screen recording feature on your Redmi device, enabling you to capture a wide array of on-screen content with ease and precision. Whether you aim to record a tutorial, document a memorable moment, or showcase your mobile gaming prowess, the screen recording function empowers you to bring your on-screen activities to life with unparalleled convenience.
With the initial step of accessing the screen recording feature mastered, you are now poised to explore the customization options and advanced functionalities that further enhance your screen recording experience. As we proceed to the subsequent steps, you will gain insights into tailoring the screen recording settings to suit your specific preferences, allowing you to create captivating and high-quality recordings that resonate with your audience.
Step 2: Customizing Screen Recording Settings
Customizing the screen recording settings on your Redmi device empowers you to tailor the recording experience to your specific preferences, ensuring that the captured content meets your desired standards of quality and functionality. By delving into the customization options available, you can optimize the screen recording process to suit a diverse range of recording scenarios, whether it involves creating tutorials, capturing gameplay, or preserving memorable on-screen moments.
Video Quality and Resolution
One of the key aspects of customizing the screen recording settings is the ability to adjust the video quality and resolution. Redmi devices typically offer the flexibility to select the desired video resolution, ranging from standard definition to high definition, allowing you to capture content with optimal clarity and detail. By choosing the appropriate video quality, you can ensure that the recorded content meets the visual standards required for your intended purpose, whether it's sharing tutorials, showcasing gameplay, or preserving visual memories.
Audio Inclusion
In addition to video customization, Redmi devices often provide the option to include audio in the screen recording. This feature is particularly valuable when creating instructional content, as it allows you to narrate the on-screen activities, providing context and guidance to the viewers. Whether you need to explain a process, provide commentary during gameplay, or capture audio from a video call, the ability to include audio enhances the overall impact and communicative value of the recorded content.
Frame Rate Selection
Customizing the frame rate of the screen recording is another crucial aspect of optimizing the recording settings. Redmi devices typically offer a range of frame rate options, allowing you to choose the frame rate that best suits your recording requirements. Whether you prioritize smooth motion capture for gameplay recordings or seek to balance file size and visual fluidity, the ability to select the appropriate frame rate empowers you to tailor the recording to your specific needs.
Additional Settings and Tools
Beyond the fundamental customization options, Redmi devices may offer additional settings and tools to enhance the screen recording experience. This may include the ability to enable on-screen touches to highlight interactions, adjust the orientation of the recording, or activate advanced features such as video stabilization. Exploring these additional settings allows you to further refine the recording process, ensuring that the captured content aligns with your creative vision and technical requirements.
By customizing the screen recording settings on your Redmi device, you can elevate the recording experience to new heights, unlocking the potential to create captivating and professional-grade content. With the ability to tailor video quality, include audio, select frame rates, and leverage additional settings, you are equipped to produce high-quality screen recordings that resonate with your audience and fulfill your creative objectives. As we proceed to the next step, you will gain insights into initiating and managing the screen recording process, further enhancing your mastery of this versatile feature.
Step 3: Initiating the Screen Recording
Initiating the screen recording process on your Redmi device marks the pivotal moment when you transition from preparation to action, capturing your on-screen activities with precision and purpose. With the screen recording feature readily accessible and the customization options tailored to your preferences, you are now poised to embark on the recording journey, bringing your creative vision to life through the seamless capture of on-screen content.
To initiate the screen recording on your Redmi device, you can follow these straightforward steps:
-
Access the Control Center: Begin by swiping down from the top-right corner of your device's screen to access the Control Center. This intuitive gesture provides quick access to essential features, including the screen recording function.
-
Locate the Screen Recording Icon: Within the Control Center, identify the screen recording icon, which is represented by a circular button with a dot inside. This icon serves as the gateway to the screen recording functionality on your Redmi device.
-
Tap the Screen Recording Icon: Once you have located the screen recording icon, tap on it to initiate the screen recording process. Upon tapping the icon, a countdown timer may appear, signaling the commencement of the recording. This brief countdown period allows you to prepare and set the stage for the content you intend to capture.
-
Confirmation and Commencement: After tapping the screen recording icon, you may be prompted to confirm your action. Once confirmed, the screen recording feature will be activated, and a small recording indicator may appear at the top of your screen, indicating that the recording is in progress.
By following these steps, you seamlessly initiate the screen recording process on your Redmi device, setting the stage for the seamless capture of your on-screen activities. Whether you are demonstrating a process, showcasing your gaming prowess, or preserving a memorable interaction, the screen recording feature empowers you to encapsulate these moments with precision and clarity.
As the recording commences, you are now positioned to bring your creative endeavors to life, leveraging the screen recording function to capture tutorials, gameplay, video calls, and more. With the recording indicator discreetly signaling the ongoing capture, you can focus on delivering engaging and informative content, knowing that your on-screen activities are being seamlessly preserved for future sharing and reference.
With the screen recording initiated, you are now ready to delve into the intricacies of managing the recording process, including pausing and resuming the recording, as well as exploring the options for ending the recording. As we proceed to the subsequent steps, you will gain comprehensive insights into managing the screen recording process with finesse and precision, ensuring that your captured content meets the highest standards of quality and relevance.
Step 4: Pausing and Resuming the Recording
The ability to pause and resume the screen recording on your Redmi device offers a valuable level of control and flexibility, allowing you to manage the recording process with precision and efficiency. Whether you encounter a brief interruption, need to gather your thoughts, or wish to focus on specific segments of your on-screen activities, the option to pause and resume the recording empowers you to capture content with seamless continuity and clarity.
To pause and resume the screen recording on your Redmi device, follow these simple steps:
-
Access the Control Center: If you need to pause the recording, swipe down from the top-right corner of your device's screen to access the Control Center. This intuitive gesture provides quick access to essential features, including the screen recording function.
-
Locate the Recording Indicator: Within the Control Center, you may notice a small recording indicator at the top of your screen, signaling that the recording is in progress. This indicator serves as a visual cue, confirming that the screen recording feature is actively capturing your on-screen activities.
-
Tap the Recording Indicator: To pause the recording, tap on the recording indicator at the top of your screen. This action will prompt the recording to pause, temporarily halting the capture of on-screen content. The recording indicator may change to indicate the paused state, providing visual feedback regarding the status of the recording.
-
Resume the Recording: When you are ready to resume the recording, tap the recording indicator once again. This action will prompt the recording to resume, seamlessly capturing your on-screen activities from the point of interruption. The recording indicator may revert to its original appearance, signifying the resumption of the recording process.
By following these steps, you can effectively pause and resume the screen recording on your Redmi device, ensuring that you have the flexibility to manage the recording process with precision and control. Whether you need to address a momentary distraction, refine your content presentation, or focus on specific segments of your on-screen activities, the option to pause and resume the recording empowers you to capture content with seamless continuity and clarity.
As you master the art of pausing and resuming the screen recording, you gain a deeper appreciation for the level of control and precision that this feature offers. With the ability to seamlessly manage the recording process, you can elevate the quality and coherence of your captured content, ensuring that your screen recordings align with your creative vision and communicative objectives.
Step 5: Ending the Screen Recording
Ending the screen recording on your Redmi device marks the culmination of the capturing process, allowing you to seamlessly wrap up the recording and finalize the content you have meticulously captured. Whether you have demonstrated a tutorial, showcased your gaming prowess, or preserved a memorable interaction, concluding the screen recording empowers you to encapsulate these moments with precision and clarity.
To end the screen recording on your Redmi device, follow these straightforward steps:
-
Access the Control Center: Swipe down from the top-right corner of your device's screen to access the Control Center, providing quick access to essential features, including the screen recording function.
-
Locate the Recording Indicator: Within the Control Center, you may notice a small recording indicator at the top of your screen, signaling that the recording is in progress. This indicator serves as a visual cue, confirming that the screen recording feature is actively capturing your on-screen activities.
-
Tap the Recording Indicator: To end the recording, tap on the recording indicator at the top of your screen. This action will prompt the recording to conclude, finalizing the capture of on-screen content. The recording indicator may disappear, signifying the completion of the recording process.
-
Confirmation and Accessibility: After tapping the recording indicator to end the recording, you may receive a confirmation prompt. Once confirmed, the screen recording feature will be deactivated, and you will be able to access the recorded content through the designated storage location on your Redmi device.
By following these steps, you can seamlessly conclude the screen recording on your Redmi device, ensuring that the captured content is finalized and ready for sharing, review, or further editing. As the recording concludes, you have successfully encapsulated your on-screen activities with precision and clarity, empowering you to create compelling and informative content that resonates with your audience.
With the screen recording process concluded, you have achieved a significant milestone in your content creation journey, leveraging the versatile screen recording feature to capture tutorials, gameplay, video calls, and more. As you access the recorded content, you can review, edit, and share the captured moments, knowing that your screen recordings embody the highest standards of quality and relevance.
As you conclude the screen recording process, you have harnessed the power of this feature to bring your creative endeavors to life, capturing and preserving valuable on-screen content with unparalleled ease and efficiency.
Conclusion
In conclusion, the screen recording feature on Redmi devices offers a versatile and powerful tool for capturing on-screen activities with precision and ease. Throughout this comprehensive guide, we have explored the step-by-step process of accessing, customizing, initiating, managing, and concluding the screen recording, empowering users to harness the full potential of this feature.
By mastering the art of screen recording, Redmi device users can seamlessly capture a wide array of on-screen content, ranging from tutorials and gameplay to video calls and memorable interactions. The ability to customize the recording settings, including video quality, audio inclusion, and frame rate selection, provides a level of flexibility that caters to diverse recording scenarios, ensuring that the captured content meets the desired standards of quality and relevance.
Furthermore, the option to pause and resume the recording offers valuable control and precision, allowing users to manage the recording process with seamless continuity and clarity. Whether addressing momentary interruptions or focusing on specific segments of on-screen activities, the ability to pause and resume the recording enhances the overall coherence and professionalism of the captured content.
As the screen recording process concludes, users can access the finalized content, ready for sharing, review, or further editing. The seamless culmination of the recording process signifies the successful encapsulation of valuable on-screen moments, empowering users to create compelling and informative content that resonates with their audience.
Ultimately, the screen recording feature on Redmi devices transcends mere functionality, offering a gateway to creativity, communication, and documentation. Whether it's creating engaging tutorials, showcasing gaming prowess, or preserving memorable interactions, the screen recording feature empowers users to bring their on-screen activities to life with unparalleled ease and efficiency.
As technology continues to evolve, the screen recording feature on Redmi devices stands as a testament to the seamless integration of innovation and user-centric design, providing a tool that empowers users to capture, create, and share with unparalleled convenience. With this guide, users are equipped to embark on a journey of content creation and documentation, leveraging the power of screen recording to elevate their mobile device usage to new heights.
In essence, the screen recording feature on Redmi devices represents a gateway to creativity, communication, and documentation, offering a seamless and versatile tool for capturing and preserving valuable on-screen content. By mastering the intricacies of screen recording, users unlock the potential to create compelling content, share knowledge, and preserve memorable moments, enriching their digital experiences and interactions.