Introduction
When it comes to mobile devices, the SIM card plays a crucial role in enabling communication and connectivity. Whether you're switching to a new phone or need to troubleshoot network issues, the ability to safely extract the SIM card is a valuable skill for any smartphone user. In this guide, we'll walk you through the process of safely removing the SIM card from the Kyocera Duraforce Pro 2. By following these steps, you can ensure that the SIM card is handled with care, minimizing the risk of damage to both the card and the phone itself.
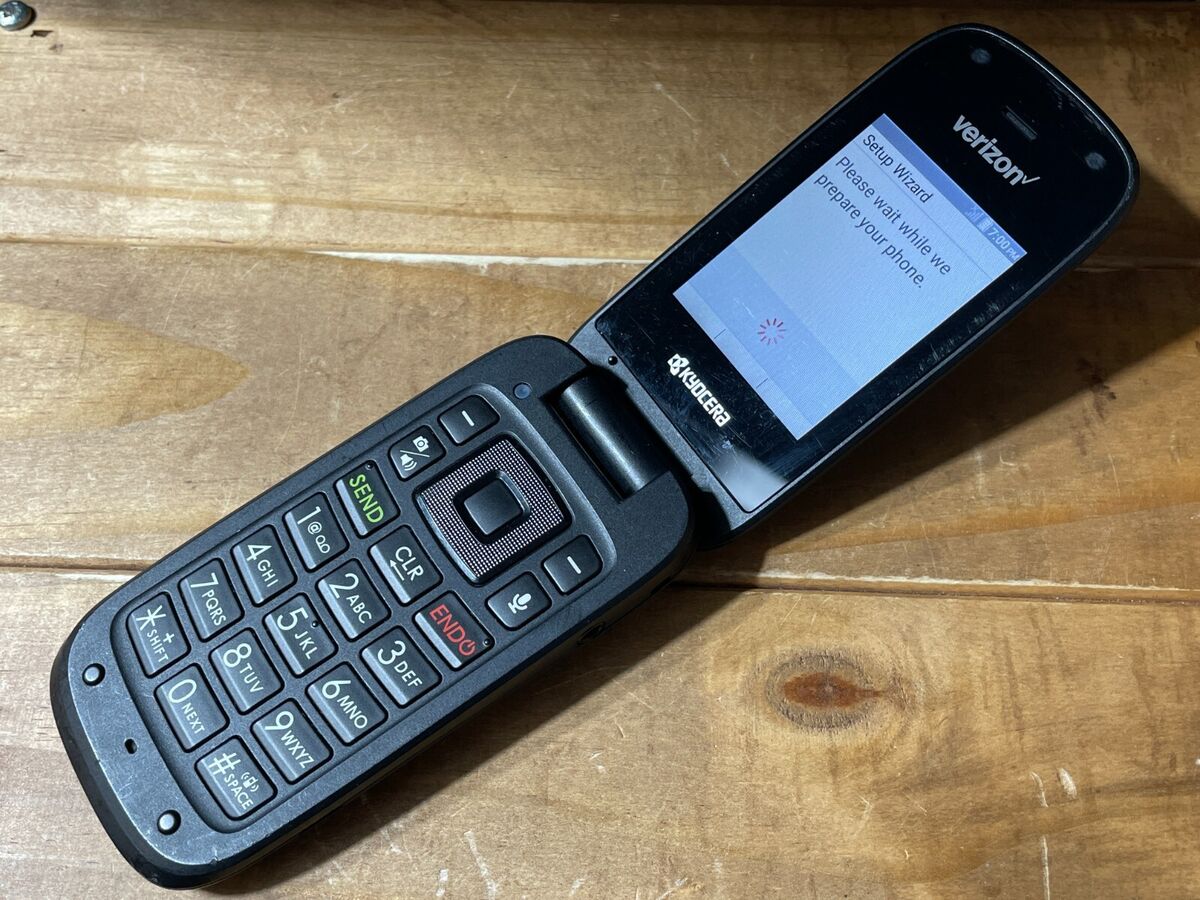
The Kyocera Duraforce Pro 2 is a rugged and durable device designed to withstand the demands of various environments. However, when it comes to handling the SIM card, it's important to exercise caution to avoid any potential mishaps. By understanding the proper procedure for removing the SIM card, you can confidently navigate this aspect of mobile device maintenance.
Whether you're preparing to switch to a new phone, troubleshoot network connectivity issues, or simply need to access the SIM card for any reason, this guide will provide you with clear and concise instructions for safely extracting the SIM card from the Kyocera Duraforce Pro 2. With the right knowledge and approach, you can carry out this task with confidence, knowing that you are taking the necessary precautions to protect both the SIM card and your device.
Step 1: Power Off the Phone
Before beginning the process of removing the SIM card from your Kyocera Duraforce Pro 2, it's essential to power off the device. This step is crucial to ensure the safety of both the SIM card and the phone itself during the extraction process.
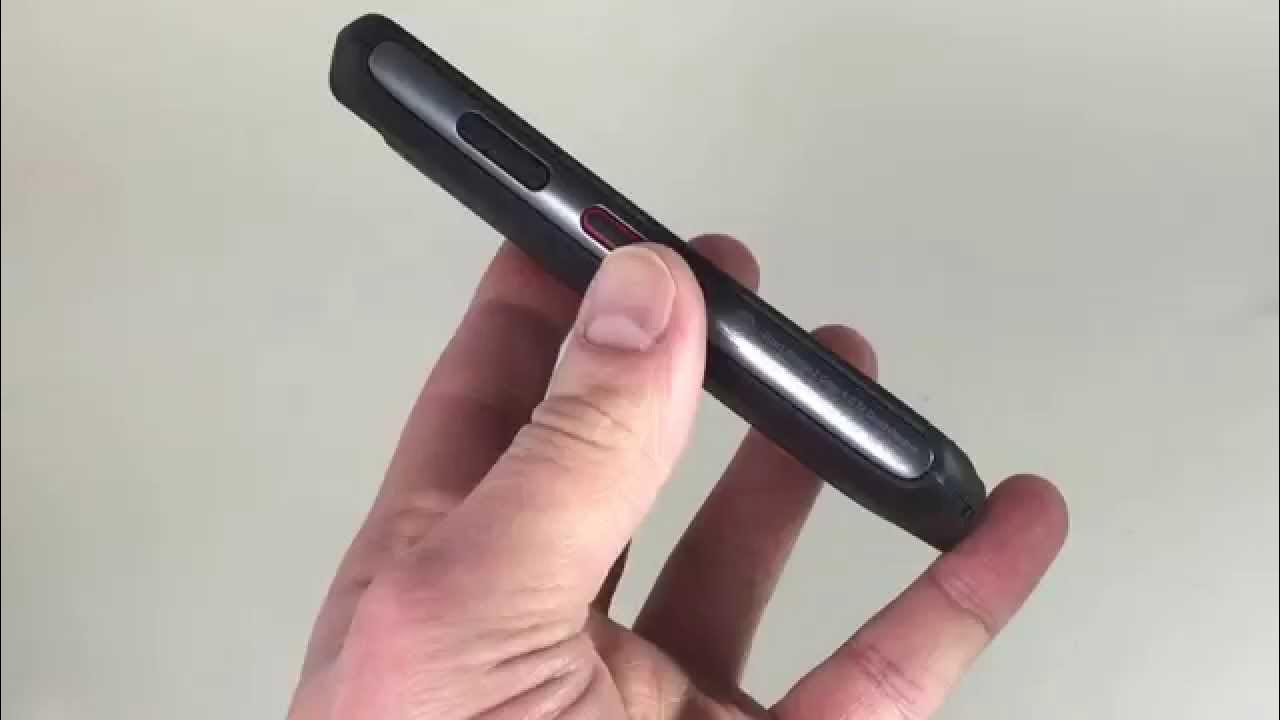
To power off the Kyocera Duraforce Pro 2, locate the power button, typically situated along the sides of the device. Press and hold the power button until the power-off menu appears on the screen. Once the menu is displayed, select the option to power off the device. If prompted, confirm the action to shut down the phone completely.
Powering off the device serves as a protective measure, preventing any potential damage to the SIM card or the phone's internal components during the SIM card removal process. By powering off the device, you reduce the risk of electrical interference or disruption that could arise if the phone were to remain powered on.
Additionally, powering off the phone creates a stable environment for handling the SIM card. It allows you to focus on the extraction process without the distractions of incoming calls, messages, or other notifications that could potentially interrupt the task at hand.
By following this initial step and ensuring that the Kyocera Duraforce Pro 2 is powered off, you set the stage for a smooth and safe SIM card removal process. With the device powered down, you can proceed to the next steps with confidence, knowing that you have taken the necessary precautions to protect both the phone and the SIM card.
Step 2: Locate the SIM Card Tray
Locating the SIM card tray is a crucial step in the process of safely extracting the SIM card from the Kyocera Duraforce Pro 2. The SIM card tray is the designated slot where the SIM card is housed within the phone. To begin, you will need to identify the specific location of the SIM card tray on the device.
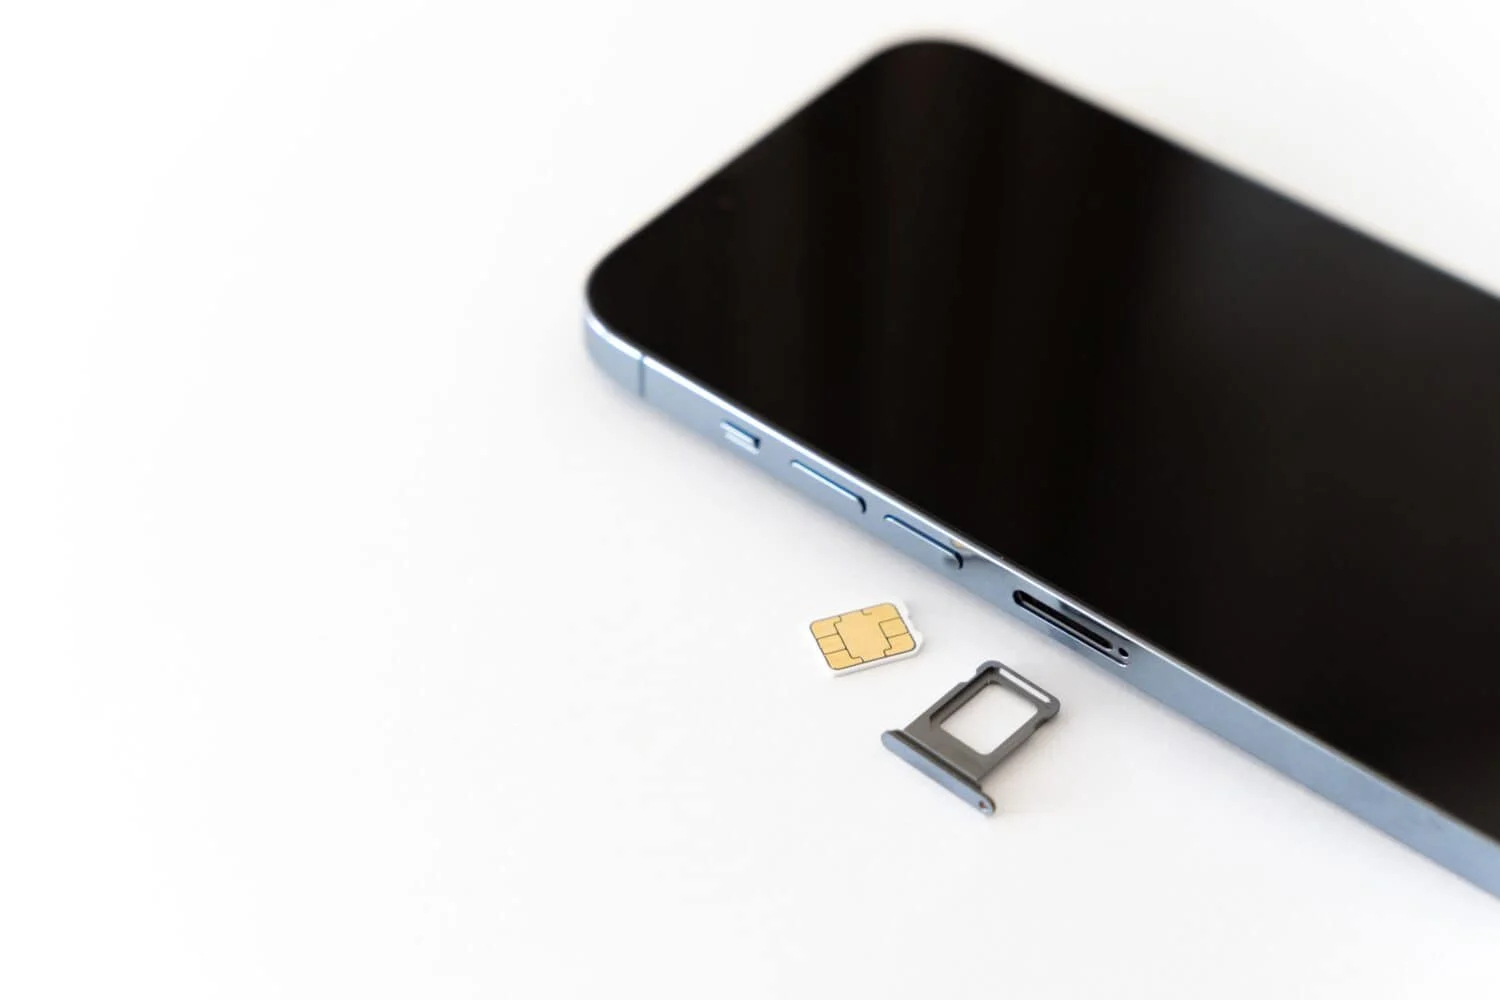
On the Kyocera Duraforce Pro 2, the SIM card tray is typically positioned on the side of the device. Look for a small, discreet slot or compartment along the edges of the phone. The SIM card tray may be located on the left or right side, depending on the device's design.
Once you have located the SIM card tray, take a moment to familiarize yourself with its appearance and position. The SIM card tray is often accompanied by a small pinhole or indentation, which is designed to accommodate the SIM card eject tool. This tool is essential for safely removing the SIM card tray without causing any damage to the phone or the SIM card itself.
As you identify the SIM card tray, take note of any additional features or markings that may indicate its location. Some devices may have subtle indicators, such as a small icon or label near the SIM card tray, to assist users in locating it more easily.
By carefully locating the SIM card tray on your Kyocera Duraforce Pro 2, you set the stage for the subsequent steps in the SIM card extraction process. This initial step is essential for ensuring that you can proceed with confidence, knowing exactly where the SIM card tray is situated and how to access it effectively.
With the SIM card tray identified, you are now prepared to move on to the next steps in safely removing the SIM card from your Kyocera Duraforce Pro 2. This includes utilizing the SIM card eject tool to release the SIM card tray and carefully extracting the SIM card from its housing within the device.
Step 3: Insert the SIM Card Eject Tool
With the SIM card tray located, the next crucial step in safely extracting the SIM card from your Kyocera Duraforce Pro 2 is to utilize the SIM card eject tool. This specialized tool is designed to facilitate the safe removal of the SIM card tray without causing any damage to the phone or the SIM card itself.
The SIM card eject tool is typically provided by the device manufacturer and may be included in the original packaging of the phone. It is a small, pin-like instrument that is specifically crafted for releasing the SIM card tray from its slot. If you cannot locate the SIM card eject tool that came with your device, a suitable alternative, such as a paperclip or a thin, straightened-out paperclip, can be used as a replacement.
To begin, take hold of the SIM card eject tool and examine its structure. You will notice that one end of the tool is pointed, resembling a small needle, while the other end may feature a handle or grip for ease of use. Hold the tool securely, ensuring that you have a firm grasp of it before proceeding.
Next, locate the small pinhole or indentation adjacent to the SIM card tray on your Kyocera Duraforce Pro 2. This is where the SIM card eject tool will be inserted to release the SIM card tray. Gently but firmly insert the pointed end of the SIM card eject tool into the pinhole, applying steady pressure in a straight, perpendicular manner.
As you insert the SIM card eject tool into the pinhole, you will feel a slight resistance as the tool engages with the internal mechanism of the SIM card tray. Continue to apply gentle pressure until you sense a subtle release or click, indicating that the SIM card tray is being disengaged from its locked position within the device.
It is important to exercise patience and precision during this step, as forcing the tool or applying excessive pressure can lead to damage to the SIM card tray or the internal components of the phone. By maintaining a steady and controlled approach, you can ensure that the SIM card tray is released smoothly and without any adverse effects on the device.
Once you feel the SIM card tray release, carefully withdraw the SIM card eject tool from the pinhole, setting it aside for future use. The SIM card tray should now be partially ejected from the phone, ready for the next steps in the SIM card extraction process.
With the SIM card tray partially released, you are now prepared to proceed to the subsequent steps for safely removing the SIM card from your Kyocera Duraforce Pro 2. This includes carefully removing the SIM card tray from the device and extracting the SIM card from its housing within the tray. By following these steps with care and attention to detail, you can successfully complete the process of extracting the SIM card while safeguarding both the card and the phone.
Step 4: Remove the SIM Card Tray
With the SIM card tray partially ejected from the Kyocera Duraforce Pro 2, the next critical step in safely extracting the SIM card is to carefully remove the SIM card tray from the device. This process requires a gentle and methodical approach to ensure that the SIM card and the phone remain unharmed throughout the extraction.
Begin by delicately grasping the exposed edge of the SIM card tray, taking care to hold it securely to prevent any accidental slippage or mishandling. The SIM card tray is designed to slide smoothly in and out of the device, facilitated by its internal mechanism and the initial release achieved with the SIM card eject tool.
Using your thumb and forefinger, apply gentle pressure to the SIM card tray, steadily sliding it out of the phone's body. It's crucial to maintain a steady and controlled motion, avoiding any abrupt or jerky movements that could potentially dislodge or damage the SIM card within the tray.
As the SIM card tray extends fully from the device, take a moment to inspect its interior, paying close attention to the position of the SIM card within the tray. The SIM card is typically situated in a designated slot, secured in place to prevent any shifting or displacement during regular use.
With the SIM card tray fully extended, carefully examine the placement of the SIM card and any surrounding components to ensure that nothing obstructs its removal. If the SIM card is equipped with a small notch or groove for easy extraction, take note of its location to facilitate the subsequent removal process.
Once you have visually confirmed the position of the SIM card within the tray, proceed to extract the SIM card with utmost care. Using your fingertips, gently push the SIM card from its slot, applying minimal pressure to avoid any bending or damage to the card.
As the SIM card becomes dislodged from the tray, lift it out gently, ensuring that it remains level and straight to prevent any potential bending or flexing. Take note of the orientation of the SIM card, particularly if it features a specific chip or contact layout, as this will be essential when reinserting it into another device or a new SIM card tray.
By following these steps attentively and handling the SIM card and tray with precision, you can successfully complete the process of removing the SIM card from the Kyocera Duraforce Pro 2. With the SIM card safely extracted, you are now equipped to address your specific needs, whether it involves transferring the card to a new device, troubleshooting network connectivity, or any other relevant purpose.
Step 5: Remove the SIM Card
With the SIM card now extracted from the tray, the final step in the process involves the careful removal of the SIM card itself. This step is crucial in ensuring that the SIM card is handled with precision and delicacy, minimizing the risk of any damage or alteration to its essential components.
Once the SIM card has been dislodged from the tray, take a moment to examine it closely. The SIM card is a small, rectangular chip that contains vital information related to your mobile network subscription. It is essential to handle the SIM card with care, avoiding any unnecessary bending, scratching, or exposure to moisture or extreme temperatures.
Using your fingertips, gently grasp the edges of the SIM card, taking care to hold it level and steady. Avoid touching the metallic contacts or the exposed circuitry on the surface of the SIM card, as these components are sensitive and integral to its functionality.
With a smooth and controlled motion, lift the SIM card from the tray, ensuring that it remains flat and unaltered. It is important to maintain the orientation of the SIM card, particularly if it features a specific chip layout or contact arrangement.
As you hold the SIM card, take note of any markings or indicators that denote its front and back sides. These markings are designed to assist users in correctly positioning the SIM card when inserting it into a new device or a replacement SIM card tray.
Once the SIM card has been safely removed from the tray, set it aside in a secure and easily accessible location. It is advisable to store the SIM card in a protective case or holder to prevent any accidental damage or loss.
By completing this final step with attentiveness and precision, you have successfully extracted the SIM card from your Kyocera Duraforce Pro 2. Whether you are transferring the SIM card to a new device, replacing it with an alternative card, or troubleshooting network-related issues, you can proceed with confidence, knowing that you have handled the SIM card with the utmost care and consideration.
With the SIM card safely removed, you are now equipped to address your specific needs, ensuring seamless connectivity and functionality for your mobile device.
Conclusion
In conclusion, the process of safely extracting the SIM card from the Kyocera Duraforce Pro 2 is a task that demands attention to detail, precision, and a mindful approach to handling delicate components. By following the step-by-step guide outlined in this article, you have gained valuable insights into the essential procedures for removing the SIM card from your device while safeguarding both the card and the phone itself.
Throughout this process, the importance of powering off the phone before initiating the SIM card extraction cannot be overstated. This initial step sets the stage for a safe and uninterrupted procedure, minimizing the risk of any electrical interference or disruption during the SIM card removal process.
Locating the SIM card tray and understanding its position within the device is a fundamental aspect of the extraction process. By familiarizing yourself with the tray's location and appearance, you can proceed with confidence, knowing exactly where to focus your efforts when accessing the SIM card.
The utilization of the SIM card eject tool is a critical step that requires patience and precision. By carefully inserting the tool into the designated pinhole and releasing the SIM card tray with a controlled approach, you can ensure a smooth and safe extraction process.
Carefully removing the SIM card tray from the device and subsequently extracting the SIM card itself demands a delicate touch and a steady hand. By handling the tray and the SIM card with care, you can prevent any potential damage or alteration to these essential components.
In the final stage, the gentle removal of the SIM card from the tray ensures that the card remains intact and unaltered. By maintaining the orientation and integrity of the SIM card, you can proceed with confidence, knowing that the card is ready for its next application or storage.
By adhering to these guidelines and exercising caution throughout the SIM card extraction process, you have demonstrated a commitment to preserving the functionality and integrity of both the SIM card and the Kyocera Duraforce Pro 2. Whether your objective involves transferring the SIM card to a new device, troubleshooting network-related issues, or any other relevant purpose, you can move forward with assurance, knowing that you have successfully completed the task of safely extracting the SIM card from your device.