Introduction
Removing the SIM card from an iPhone 10 is a straightforward process that can be accomplished with ease, provided you have the necessary guidance. Whether you're upgrading to a new device, switching to a different carrier, or troubleshooting connectivity issues, knowing how to remove the SIM card is an essential skill for any iPhone user. By following a few simple steps, you can successfully extract the SIM card from your iPhone 10 without hassle.
In this comprehensive guide, we will walk you through the step-by-step process of removing the SIM card from your iPhone 10. From gathering the required tools to safely ejecting the SIM card tray and removing the SIM card itself, we've got you covered. By the end of this guide, you'll feel confident in your ability to perform this task independently, empowering you to manage your device with greater proficiency.
So, let's dive in and explore the essential steps for removing the SIM card from your iPhone 10. With the right approach and a clear understanding of the process, you'll be able to handle this task with confidence and precision. Let's get started!
Step 1: Gather necessary tools
Before embarking on the process of removing the SIM card from your iPhone 10, it's crucial to ensure that you have the requisite tools at your disposal. This preparation will streamline the procedure and minimize the risk of any potential complications. Here's a rundown of the essential tools you'll need:
-
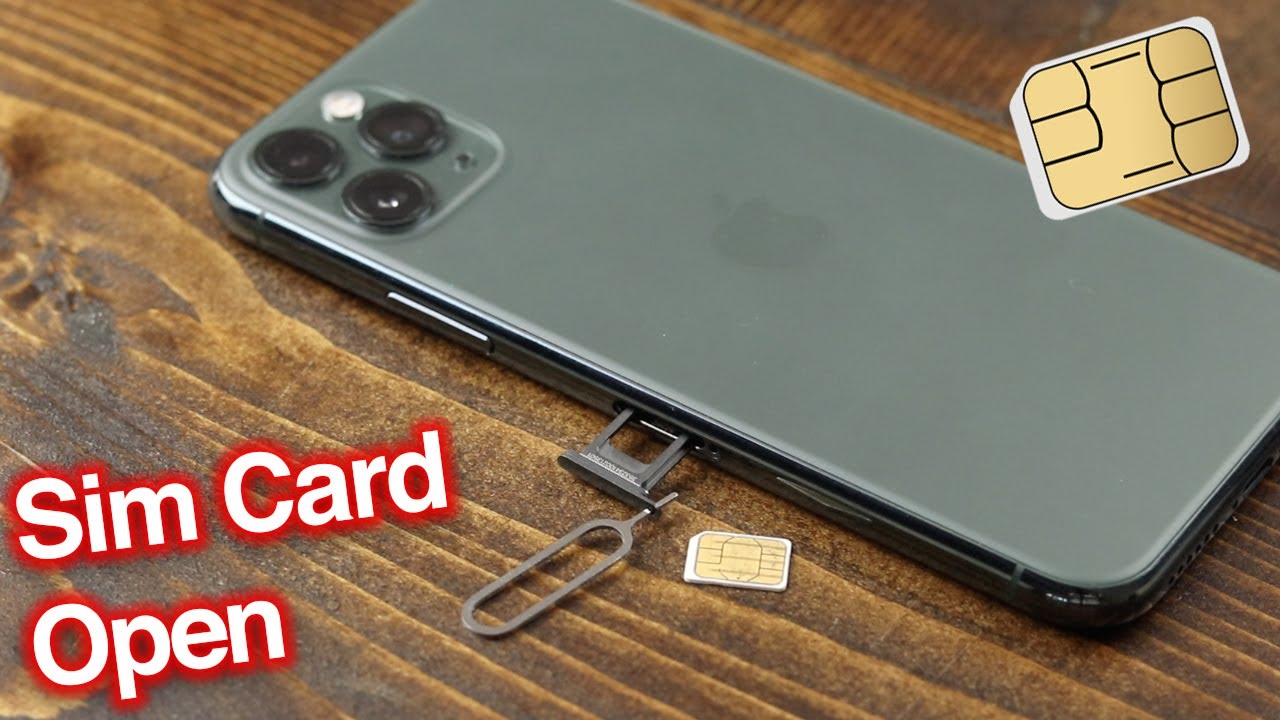
SIM Card Ejector Tool: This small, metallic tool is specifically designed for ejecting the SIM card tray from your iPhone. It typically comes with the device at the time of purchase, but if it's misplaced, you can use a paperclip as an alternative. However, using the official ejector tool is recommended to avoid any damage to the SIM card tray.
-
Clean, Lint-Free Cloth: Having a clean cloth on hand is essential for wiping the SIM card and the tray, ensuring that they are free from any dust or debris. This step is crucial as it helps maintain the integrity of the SIM card and prevents any connectivity issues that may arise from a dirty connection.
-
Well-Lit Workspace: Adequate lighting is essential for carrying out the process effectively. Ensure that you are working in a well-lit area to clearly see the SIM card tray and avoid any mishaps during the removal and reinsertion of the SIM card.
-
Steady Hands: While not a physical tool, steady hands are an invaluable asset when handling delicate components such as the SIM card and tray. Maintaining a steady grip and a calm demeanor will help prevent accidental damage to the SIM card or the device itself.
By gathering these essential tools, you'll be fully prepared to undertake the task of removing the SIM card from your iPhone 10. With the right tools at your disposal, you can proceed confidently to the next step of locating the SIM card tray and initiating the removal process. This preparation ensures a smooth and efficient experience, allowing you to carry out the procedure with precision and care.
Step 2: Locate the SIM card tray
Locating the SIM card tray is the pivotal first step in the process of removing the SIM card from your iPhone 10. The SIM card tray houses the SIM card and is designed to be easily accessible for insertion and removal. To locate the SIM card tray on your iPhone 10, follow these steps:
-
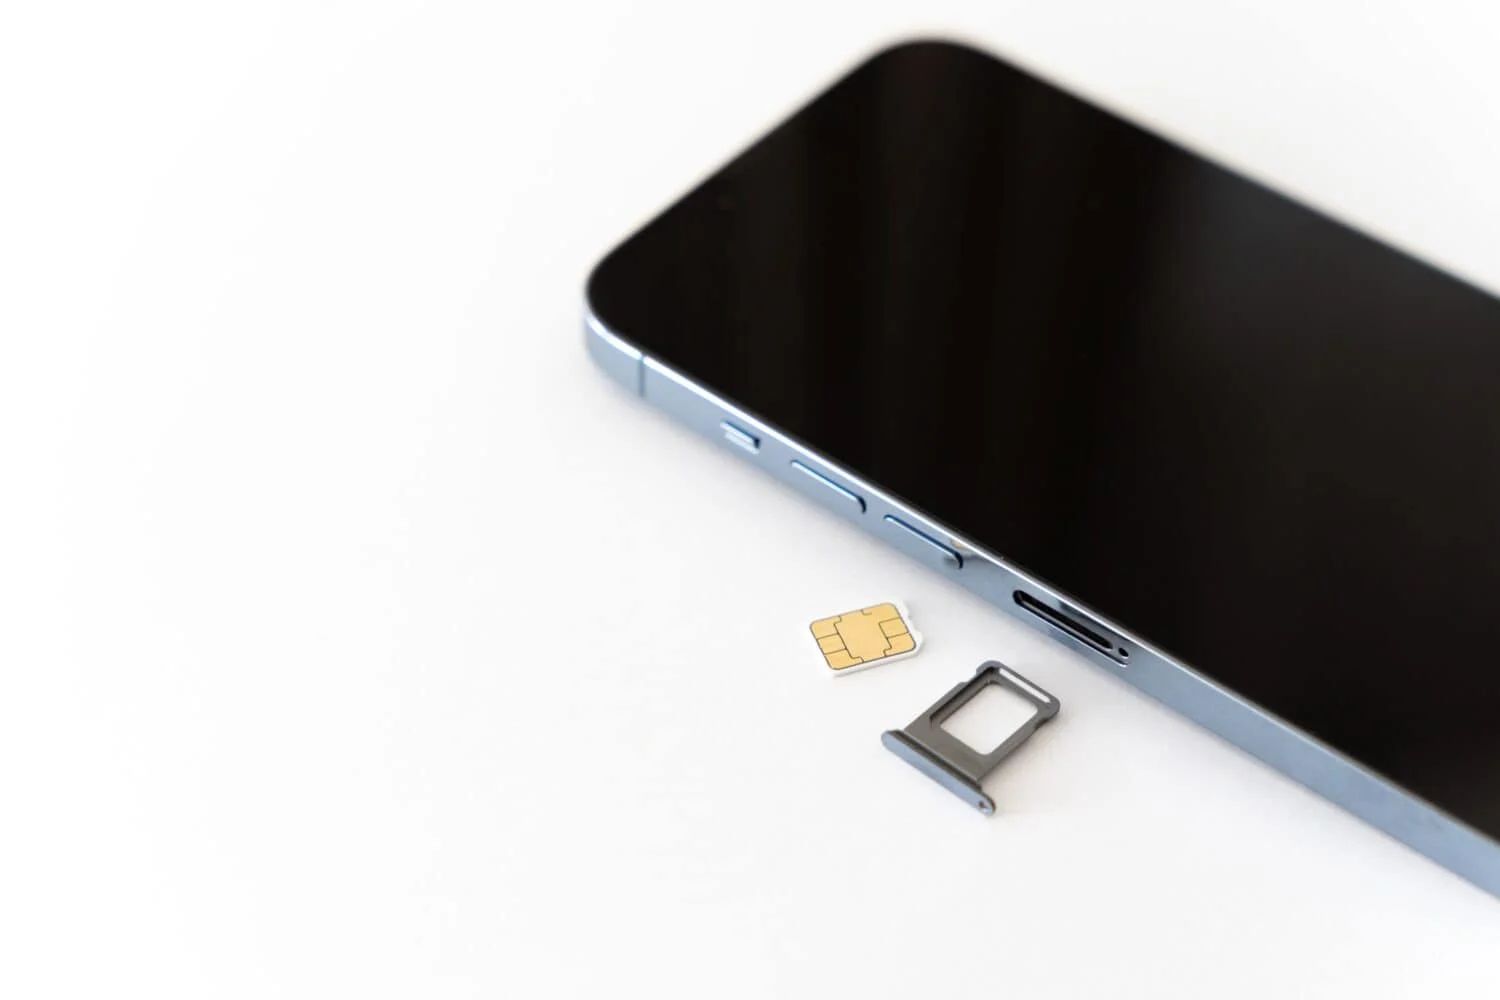
Identify the SIM Card Tray Slot: The SIM card tray slot is typically located on the right-hand side of the iPhone 10. It is important to note that the exact placement may vary slightly depending on the specific model and design of the device. Look for a small, oval-shaped slot with a pinhole.
-
Inspect the Side of the Device: Hold your iPhone 10 securely and examine the right-hand side, paying close attention to the area below the power button. The SIM card tray slot should be positioned along the edge, adjacent to the device's frame.
-
Use Adequate Lighting: If necessary, move to a well-lit area or utilize additional lighting to ensure clear visibility. Proper lighting is essential for identifying the SIM card tray slot and avoiding any potential mishaps during the removal process.
-
Feel for the Pinhole: Run your fingertips along the edge of the device until you locate the small pinhole adjacent to the SIM card tray slot. The pinhole is designed to accommodate the SIM card ejector tool, which is instrumental in releasing the SIM card tray.
By carefully following these steps, you will successfully locate the SIM card tray on your iPhone 10. Once you have identified the position of the SIM card tray slot and the accompanying pinhole, you are ready to proceed to the next step of ejecting the SIM card tray. This critical preparatory phase sets the stage for the seamless removal of the SIM card, ensuring that the process is carried out with precision and care.
Step 3: Eject the SIM card tray
Ejecting the SIM card tray from your iPhone 10 is a crucial step in the process of removing the SIM card. This step requires precision and care to ensure that the SIM card tray is safely released without causing any damage to the device. Here's a detailed guide on how to eject the SIM card tray from your iPhone 10:
-
Prepare the SIM Card Ejector Tool: Retrieve the SIM card ejector tool or a suitable alternative, such as a paperclip. Ensure that the tool is readily accessible and held securely in your hand.
-
Insert the Ejector Tool: Position the tip of the SIM card ejector tool into the small pinhole adjacent to the SIM card tray slot. Apply gentle pressure to engage the internal mechanism responsible for releasing the SIM card tray.
-
Apply Even Pressure: While maintaining a steady grip on the device, exert even pressure on the ejector tool, pushing it gently into the pinhole. Be cautious not to apply excessive force, as this may result in damage to the SIM card tray or the internal components of the device.
-
Feel for the Release: As you apply pressure, you should feel a subtle resistance followed by a slight release. This indicates that the SIM card tray is disengaging from its locked position within the device.
-
Retrieve the SIM Card Tray: Once the SIM card tray is partially ejected, carefully pull it out from the device using your fingertips. Exercise caution to prevent any abrupt movements that could potentially dislodge the SIM card or cause damage to the tray.
By following these steps, you will successfully eject the SIM card tray from your iPhone 10. This process sets the stage for the safe removal of the SIM card, allowing you to proceed with the next step of extracting the SIM card from the tray. It's important to approach this step with patience and precision, ensuring that the SIM card tray is released smoothly and without any complications.
With the SIM card tray now ejected, you are ready to proceed to the next step of removing the SIM card from your iPhone 10. This critical phase of the process lays the groundwork for a seamless and efficient SIM card removal, empowering you to manage your device with confidence and expertise.
Step 4: Remove the SIM card
With the SIM card tray successfully ejected from your iPhone 10, the next pivotal step is to delicately remove the SIM card from the tray. The SIM card is a vital component that stores crucial information related to your cellular connectivity, and it's essential to handle it with care throughout this process. Follow these detailed steps to safely remove the SIM card from the tray:
-
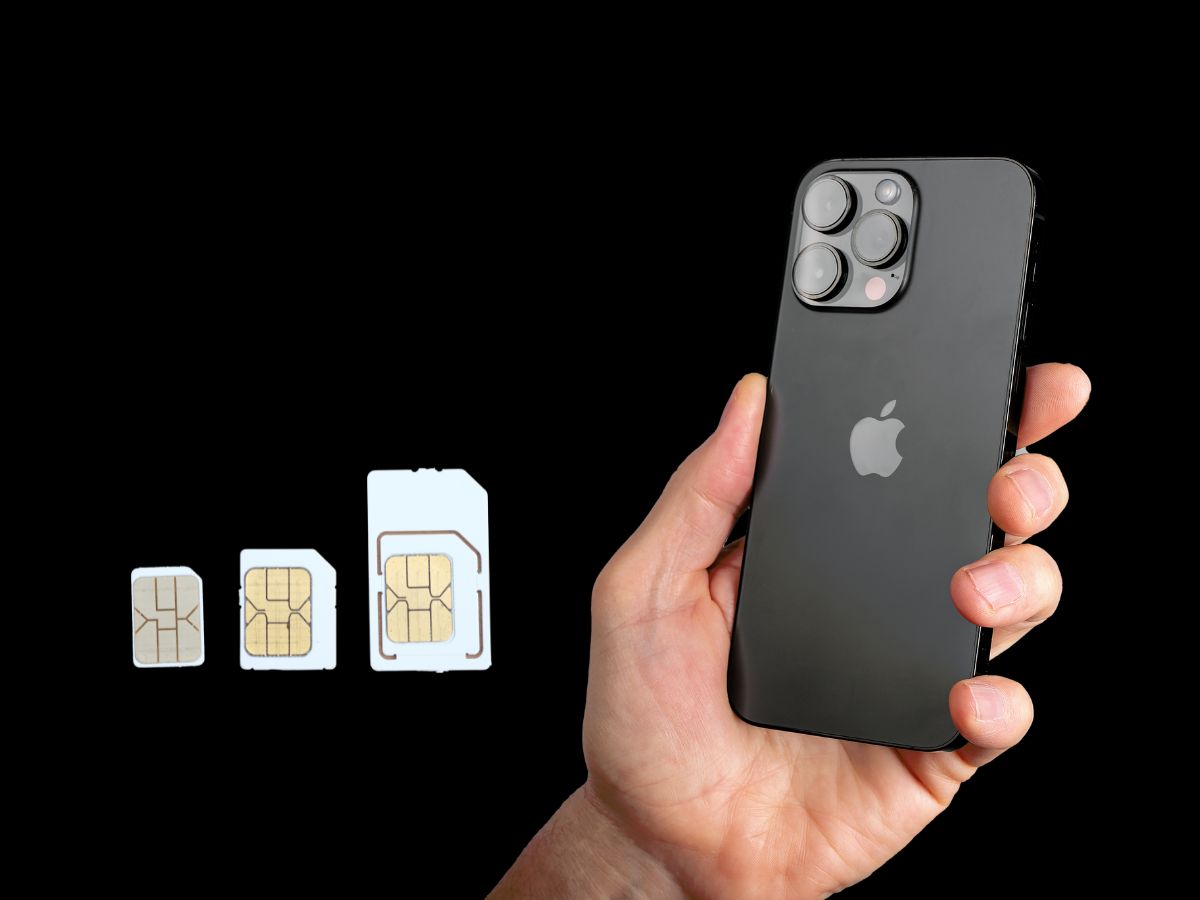
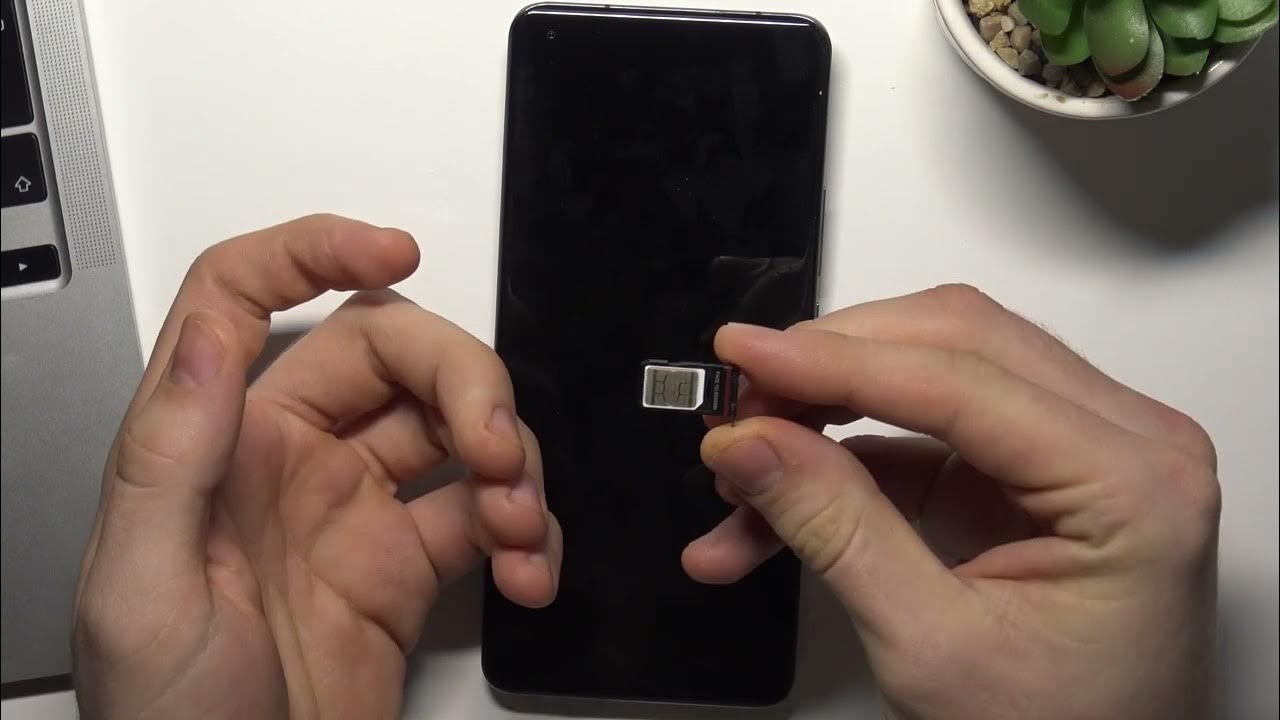
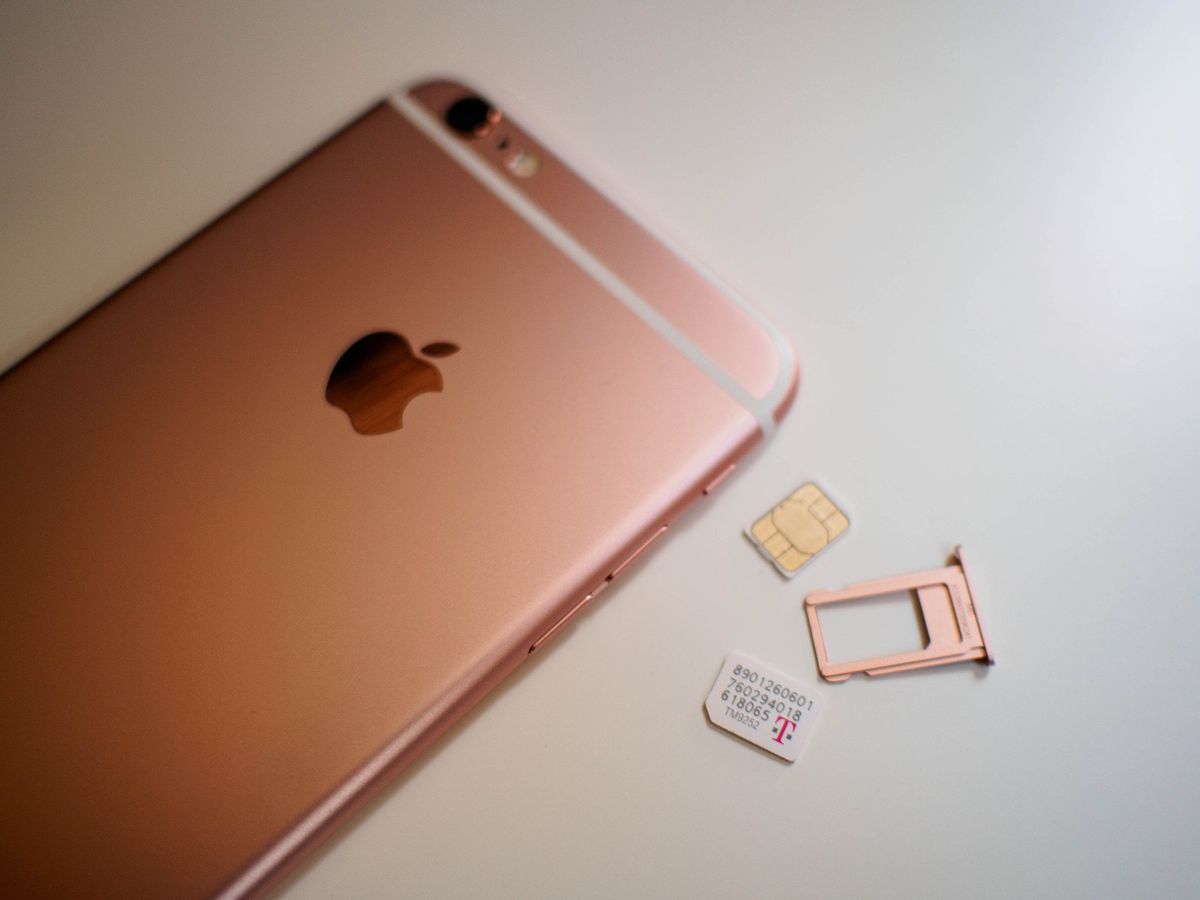
Inspect the SIM Card Tray: Take a close look at the SIM card tray to locate the position of the SIM card. The SIM card is typically situated within a small, rectangular slot on the tray, secured by a gentle clasp. Ensure that you have a clear view of the SIM card to facilitate its safe removal.
-
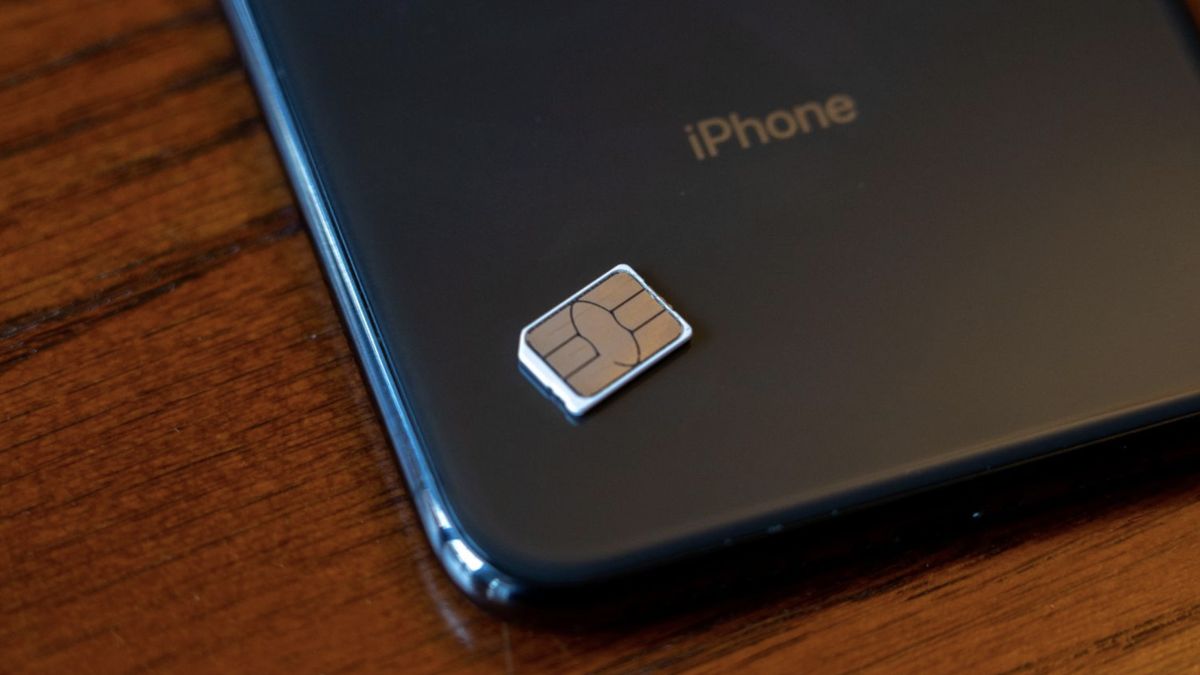
Gently Remove the SIM Card: Using your fingertips, carefully maneuver the SIM card out of its slot on the tray. Apply minimal pressure and exercise patience to avoid any damage to the SIM card or the delicate connectors on its surface.
-
Handle with Care: As you remove the SIM card, handle it with utmost care, ensuring that you do not bend or scratch its surface. The metal contacts on the SIM card are sensitive, and any damage to these connectors could impede its functionality.
-
Inspect for Damage: Once the SIM card is removed, take a moment to inspect it for any signs of damage or debris. Ensure that the metal contacts are clean and free from any foreign particles that may hinder its performance.
-
Place the SIM Card Tray Securely: Set the SIM card tray aside in a safe and stable location, ensuring that it is positioned securely to prevent any accidental displacement or damage.
By following these meticulous steps, you have successfully removed the SIM card from the tray of your iPhone 10. This careful approach ensures that the SIM card is handled with precision and attention, safeguarding its integrity and functionality. With the SIM card safely removed, you are now prepared to proceed to the final step of reinserting the SIM card tray into your device.
The successful removal of the SIM card marks a significant milestone in the process, empowering you to manage your device's connectivity with confidence and proficiency.
Step 5: Reinsert the SIM card tray
After successfully removing the SIM card from your iPhone 10, the final step involves reinserting the SIM card tray back into the device. This critical phase ensures that the SIM card is securely placed within the tray, allowing for seamless connectivity and optimal performance. Follow these detailed steps to effectively reinsert the SIM card tray into your iPhone 10:
-
Inspect the SIM Card Tray: Before proceeding with reinsertion, carefully examine the SIM card tray to ensure that it is free from any debris or damage. It's essential to maintain the cleanliness and integrity of the tray to facilitate the smooth reinsertion of the SIM card.
-
Position the SIM Card: Take the SIM card and align it with the designated slot on the SIM card tray. The SIM card should fit snugly into the slot, with the metal contacts facing downward to establish proper connectivity with the device.
-
Place the SIM Card Tray: With the SIM card securely positioned on the tray, carefully guide the tray back into the SIM card slot on your iPhone 10. Ensure that the tray is inserted in the correct orientation, aligning it with the internal mechanism to prevent any potential misalignment.
-
Apply Gentle Pressure: Once the SIM card tray is positioned within the slot, apply gentle pressure to secure it in place. Be cautious not to exert excessive force, as the tray should slide smoothly into the device without encountering any resistance.
-
Verify Secure Placement: After reinserting the SIM card tray, verify that it is securely seated within the device. Gently press on the tray to ensure that it is flush with the exterior of the iPhone 10, indicating that it is properly inserted and secure.
By meticulously following these steps, you have successfully reinserted the SIM card tray into your iPhone 10, completing the essential process of managing the SIM card. This final step ensures that the SIM card is securely housed within the device, allowing for uninterrupted cellular connectivity and optimal functionality.
With the SIM card tray securely reinserted, you can rest assured that your iPhone 10 is ready to deliver reliable and efficient performance in managing your cellular network. This comprehensive guide empowers you to navigate the process of removing and reinserting the SIM card with confidence and precision, enabling you to maintain seamless connectivity and manage your device with expertise.
Conclusion
Congratulations! By following this comprehensive guide, you have successfully mastered the process of removing the SIM card from your iPhone 10. This essential skill empowers you to manage your device with confidence and proficiency, whether you're upgrading to a new device, switching carriers, or troubleshooting connectivity issues. With a clear understanding of the step-by-step process, you can seamlessly navigate the removal and reinsertion of the SIM card, ensuring optimal performance and connectivity for your iPhone 10.
As you've experienced, the process begins with gathering the necessary tools, including the SIM card ejector tool, a clean cloth, and a well-lit workspace. This preparation sets the stage for a smooth and efficient SIM card removal, allowing you to approach the task with confidence and precision.
Locating the SIM card tray is the next crucial step, requiring careful examination of the device's right-hand side and the identification of the SIM card tray slot and pinhole. With adequate lighting and a steady hand, you can successfully locate the tray, laying the groundwork for the subsequent steps.
Ejecting the SIM card tray demands patience and precision, as you delicately engage the ejector tool and retrieve the tray from the device. This pivotal phase is followed by the meticulous removal of the SIM card from the tray, ensuring that it is handled with care and attention to preserve its integrity and functionality.
The final step of reinserting the SIM card tray completes the process, allowing you to secure the SIM card within the device and verify its seamless integration. With the SIM card tray securely reinserted, you can confidently enjoy uninterrupted cellular connectivity and optimal performance from your iPhone 10.
By mastering the art of removing and reinserting the SIM card, you have gained valuable insight into managing your device's essential components with expertise and precision. This newfound proficiency empowers you to navigate various scenarios, from device upgrades to troubleshooting, with confidence and ease.
Remember, the ability to remove and reinsert the SIM card is a fundamental skill that enhances your autonomy as a device user. Whether you're embarking on a new technological adventure or simply managing routine device maintenance, this knowledge equips you to handle your iPhone 10 with confidence and proficiency.
With this guide as your companion, you are well-prepared to manage the SIM card in your iPhone 10 with precision and expertise, ensuring seamless connectivity and optimal performance for your device.


