Introduction
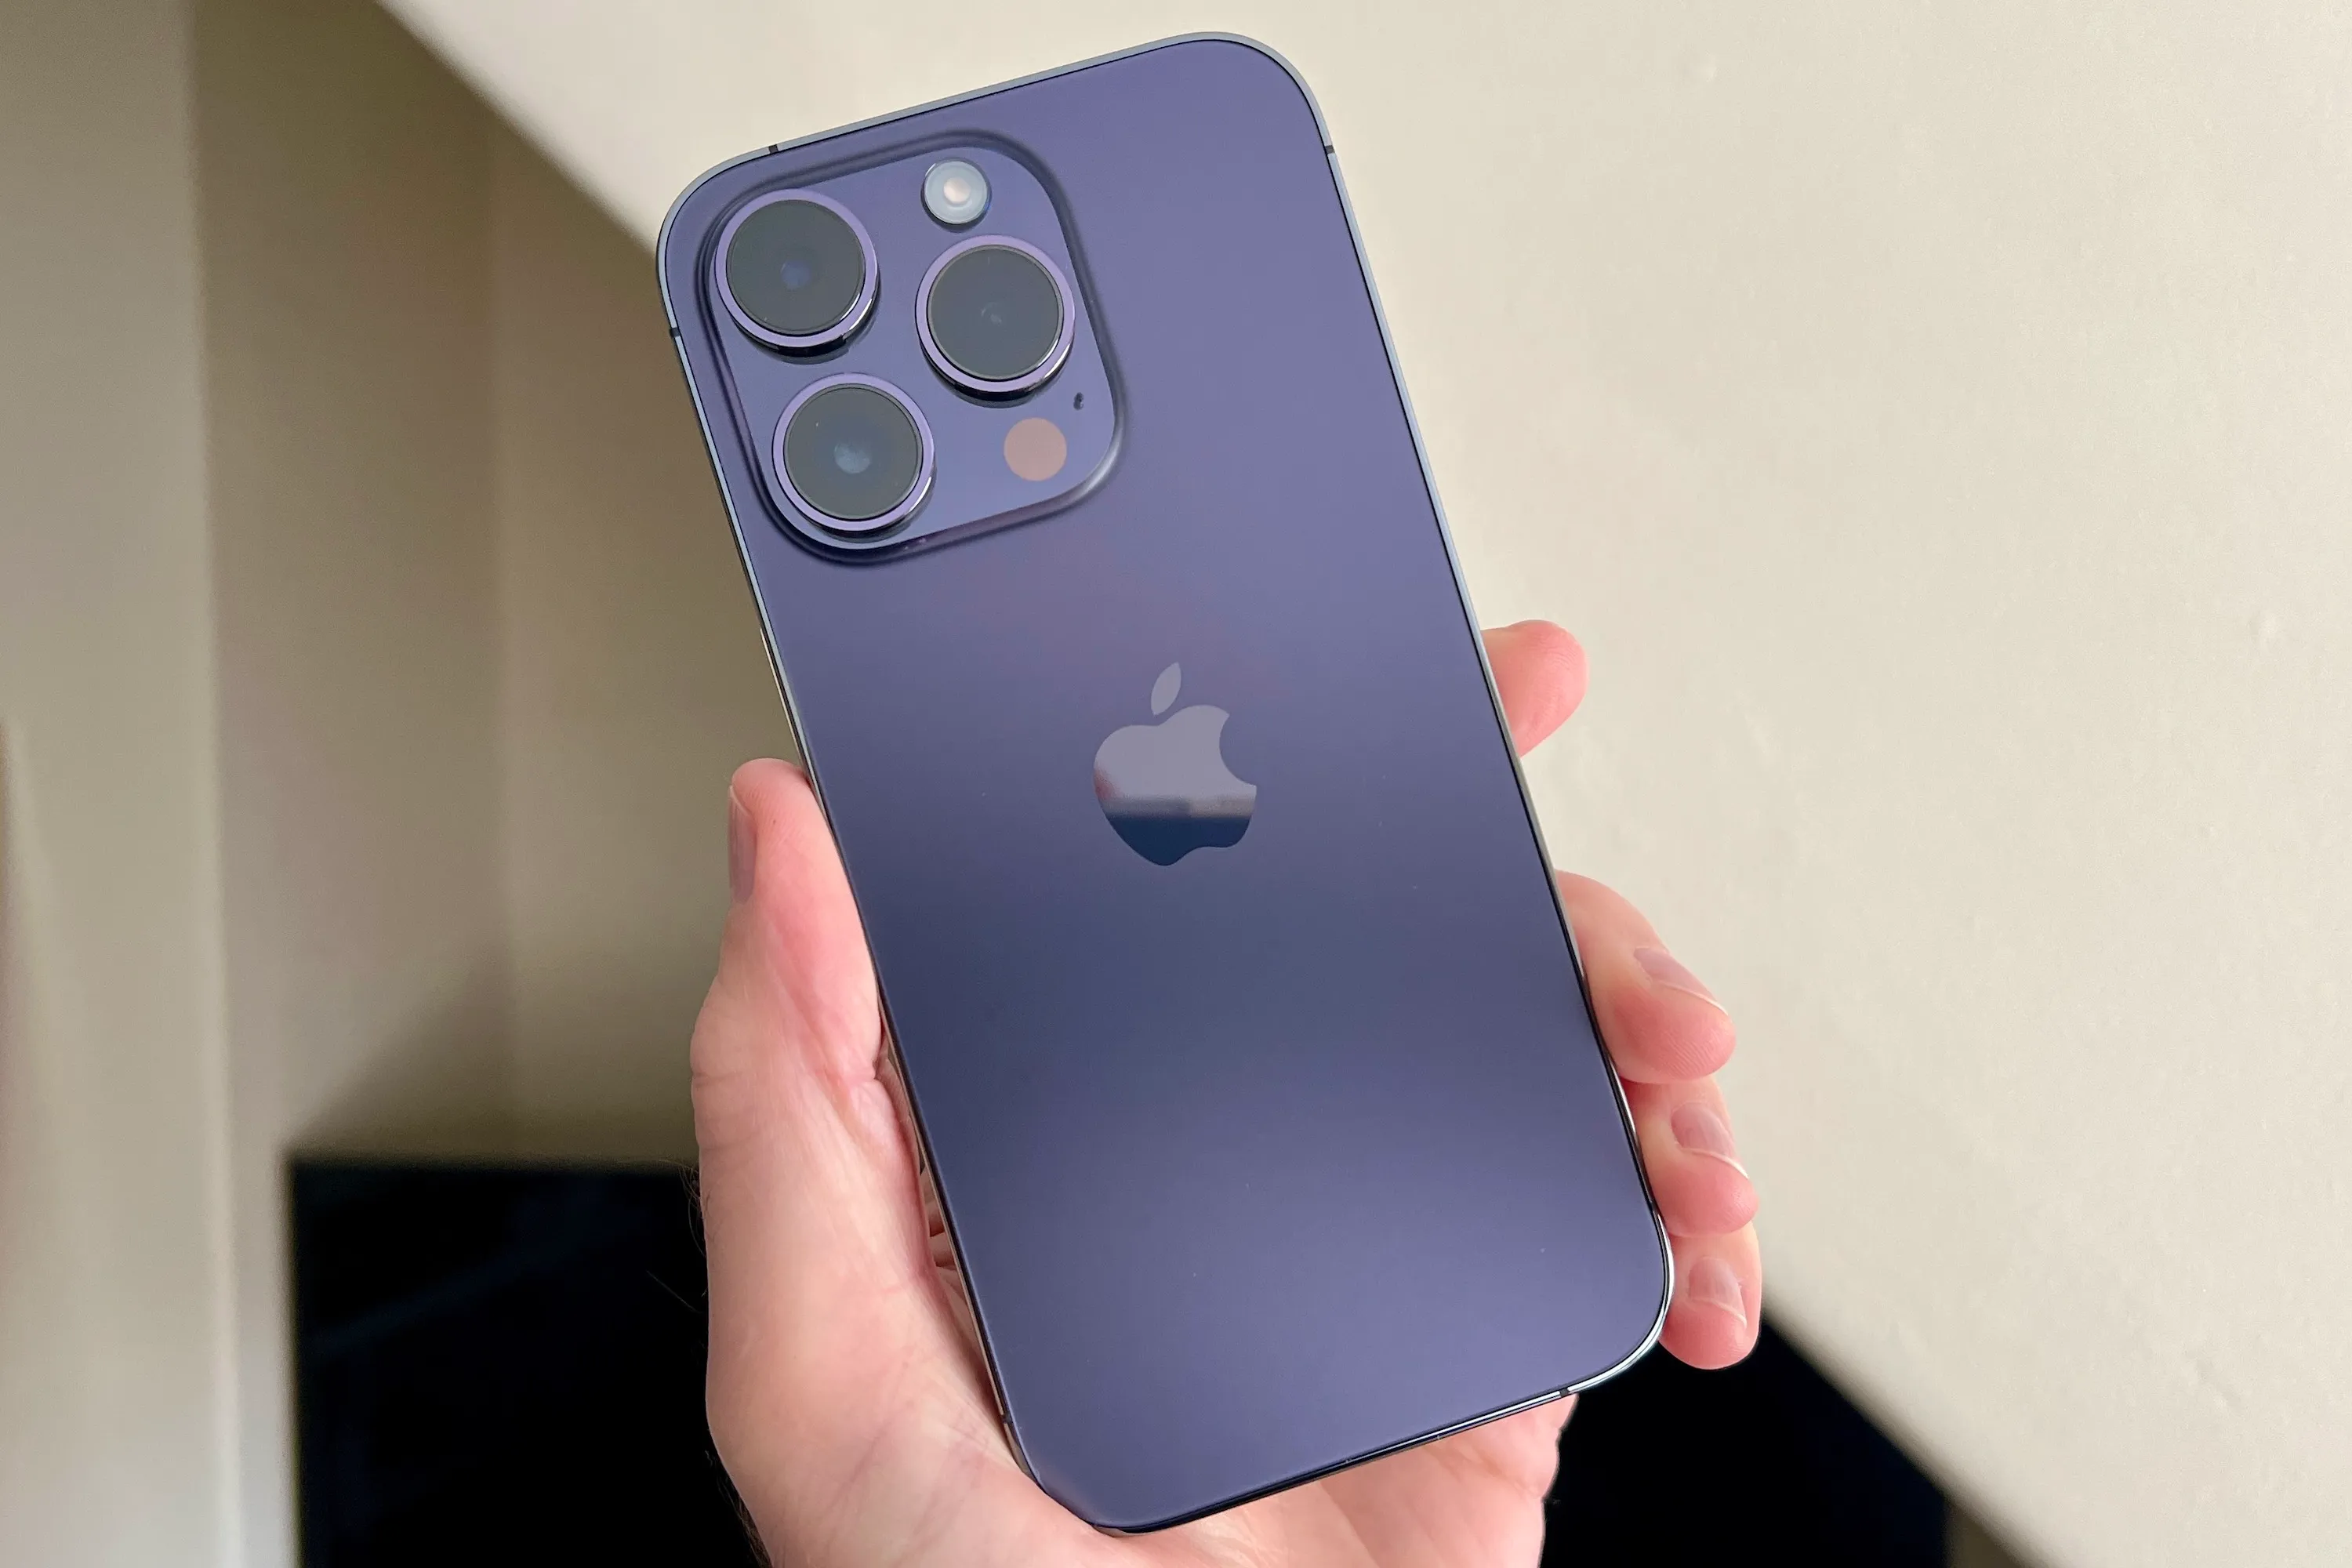
Congratulations on your new iPhone 14! As you unbox this sleek and sophisticated device, you're likely eager to get it up and running. One essential step in setting up your iPhone 14 is installing the SIM card. The SIM card, short for Subscriber Identity Module, is a vital component that allows your phone to connect to your mobile network, enabling you to make calls, send texts, and access mobile data.
In this comprehensive tutorial, we will guide you through the process of installing a SIM card on your iPhone 14. Whether you're a tech-savvy individual or a newcomer to the world of mobile devices, this step-by-step guide will provide you with the confidence and knowledge to complete this task with ease.
By following this tutorial, you'll be able to seamlessly integrate your SIM card into your iPhone 14, ensuring that you can fully enjoy the connectivity and functionality of your new device. So, let's dive in and get your iPhone 14 ready to connect with the world around you!
Step 1: Gather necessary tools and materials
Before embarking on the process of installing a SIM card in your iPhone 14, it's essential to gather the necessary tools and materials to ensure a smooth and successful procedure. Here's what you'll need:
-
iPhone 14: This goes without saying, but having your iPhone 14 on hand is the first step. Ensure that the device is powered off before proceeding with the SIM card installation.
-
SIM Eject Tool: This small, metal tool is typically included in the iPhone packaging. It's designed specifically for ejecting the SIM card tray and is essential for accessing the SIM card slot on your iPhone 14.
-
SIM Card: Whether you're using a new SIM card or transferring an existing one from another device, ensure that it's the correct size for the iPhone 14. The iPhone 14 utilizes a nano-SIM card, which is the smallest standard SIM card size.
-
Stable Work Surface: Find a flat and stable surface to work on, ensuring that it's well-lit and free from any clutter that could potentially obstruct the SIM card installation process.
By gathering these essential tools and materials, you'll be fully equipped to proceed with the subsequent steps of the SIM card installation process for your iPhone 14. With everything in place, you can confidently move on to the next phase of this tutorial.
Step 2: Power off the iPhone 14
Before delving into the intricacies of installing a SIM card in your iPhone 14, it is crucial to power off the device. This seemingly simple step is essential to ensure the safety of both the device and the individual performing the installation process.
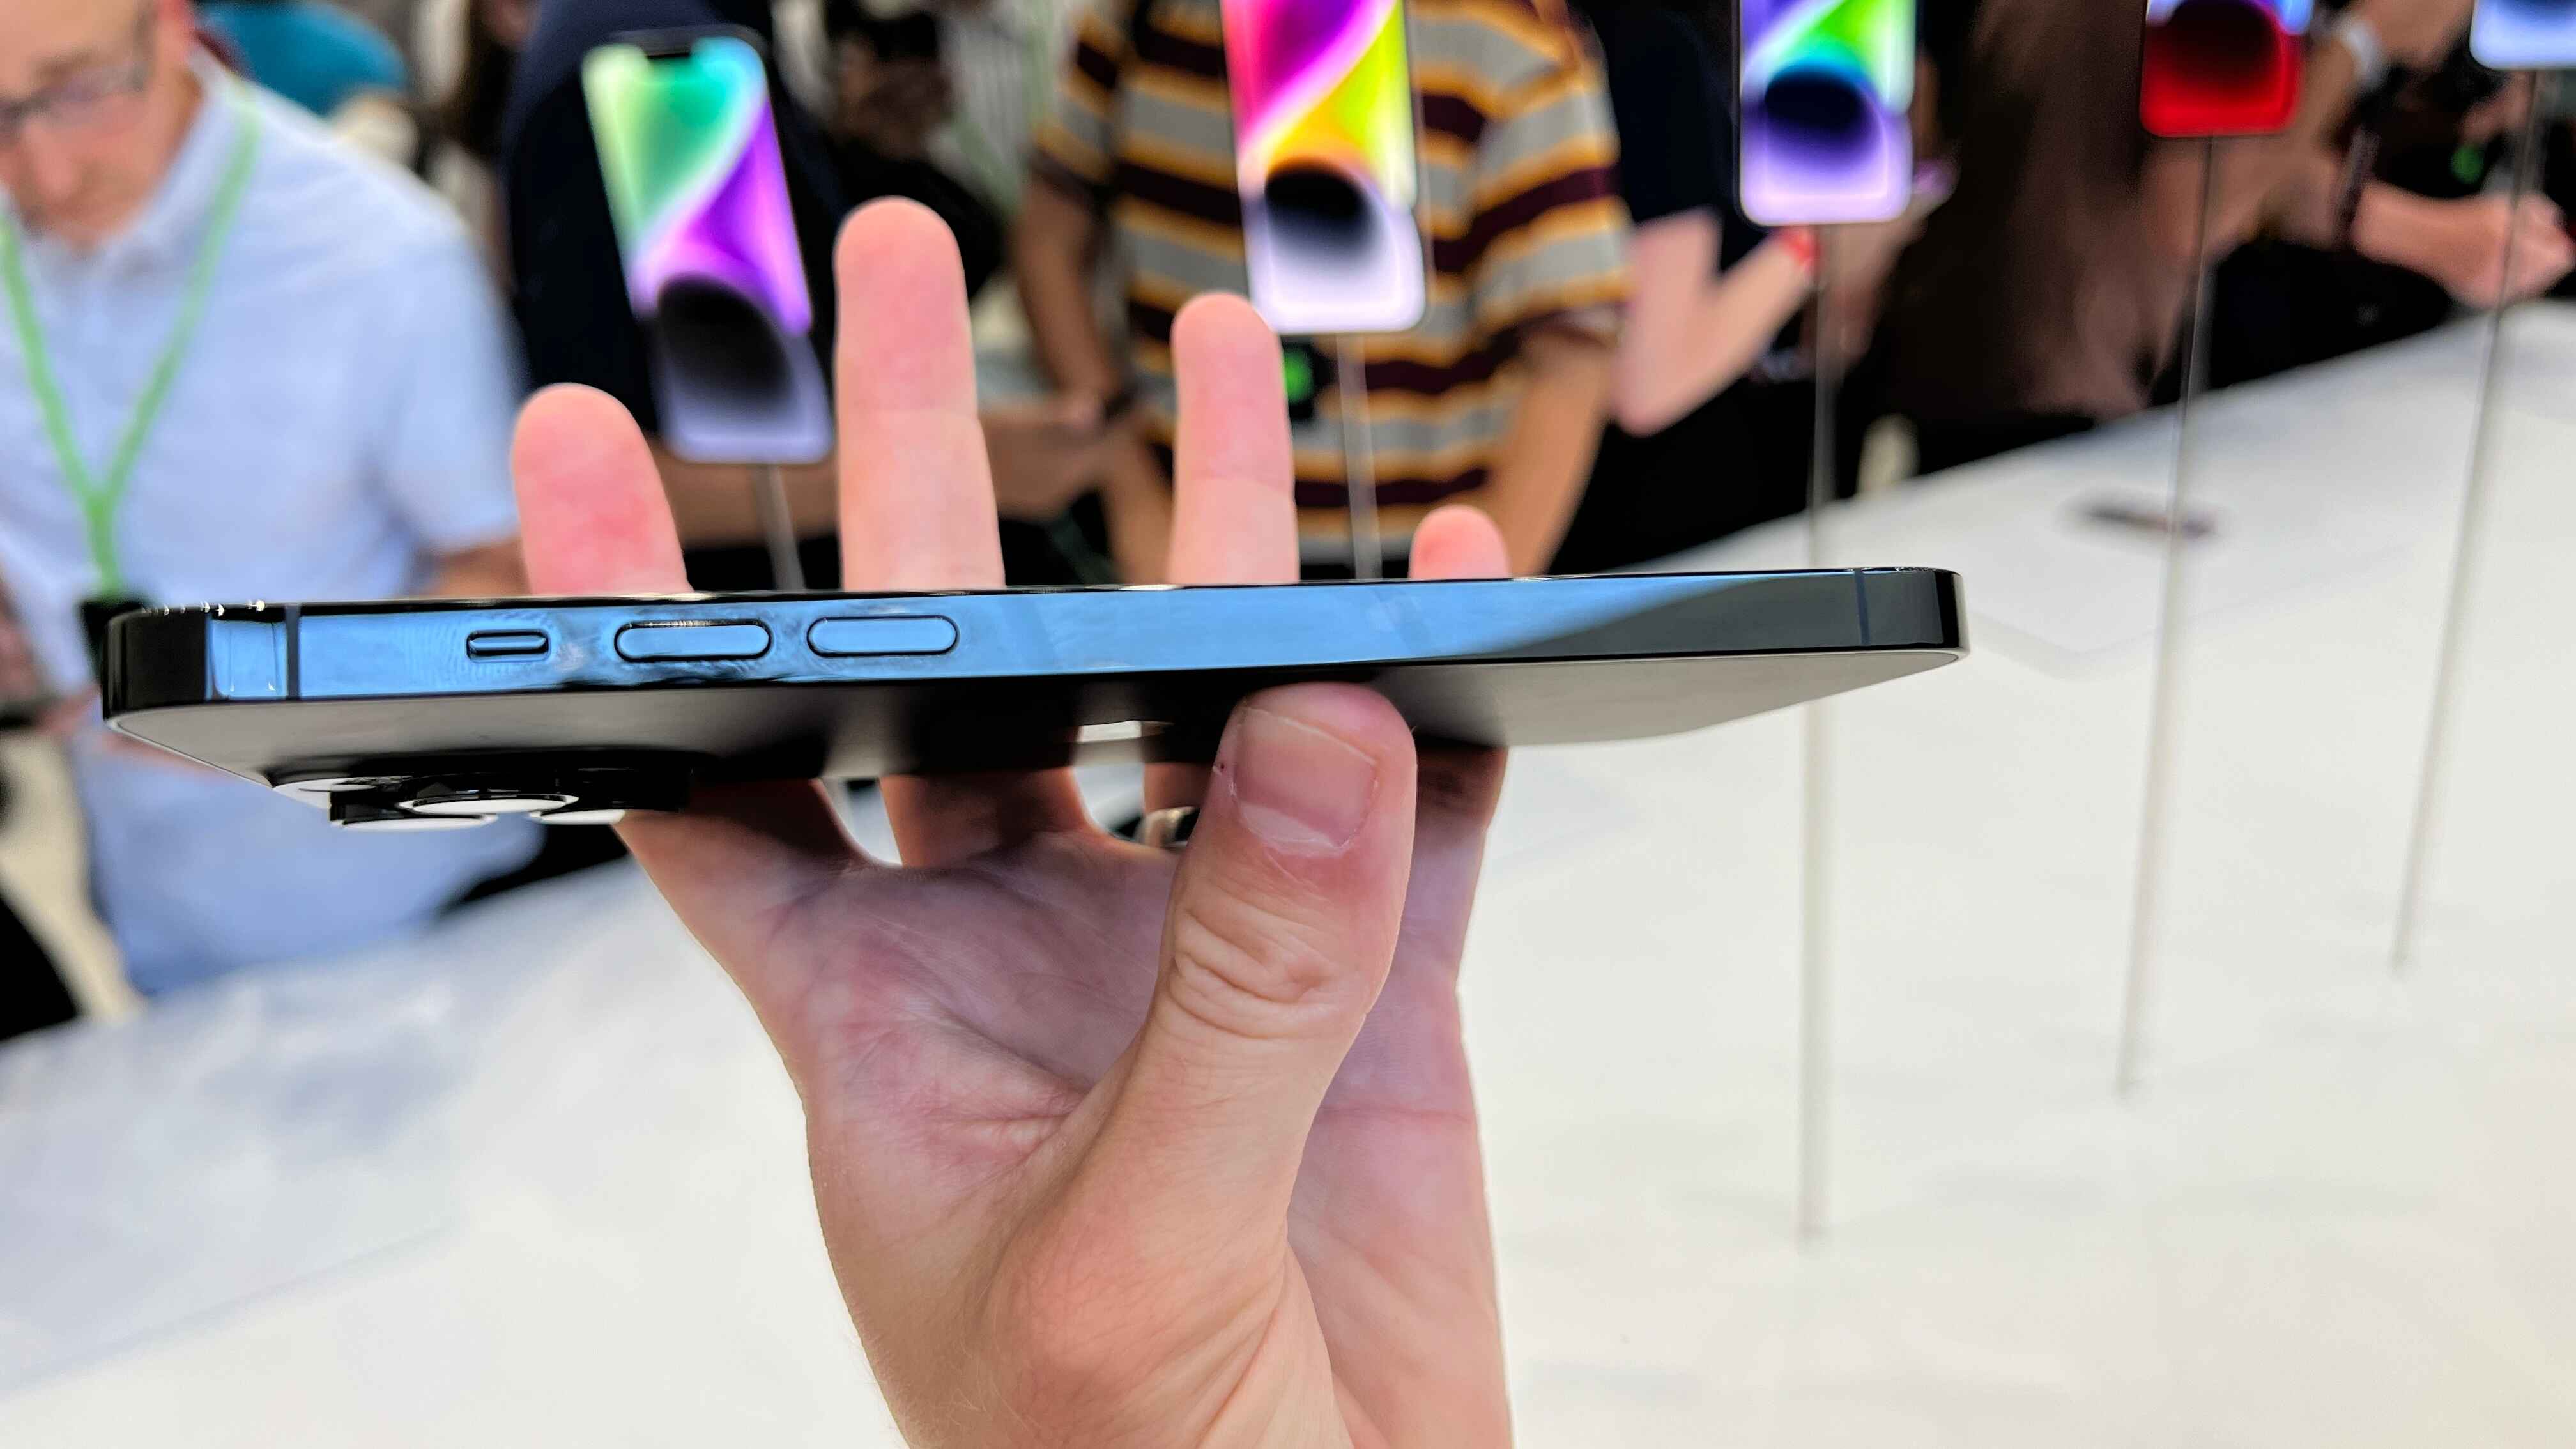
To power off your iPhone 14, start by locating the power button. On the iPhone 14, the power button is typically situated on the right side of the device. It is essential to familiarize yourself with the location of this button to avoid any confusion during the power-off process.
Once you have located the power button, press and hold it until the "slide to power off" slider appears on the screen. Gently swipe the slider from left to right, and your iPhone 14 will begin the shutdown process. It is important to wait for the device to completely power down before proceeding to the next step.
Powering off your iPhone 14 serves multiple purposes. Firstly, it minimizes the risk of any electrical interference or damage during the SIM card installation process. Additionally, it ensures that the device is in a safe state for handling, reducing the likelihood of accidental input or disruption during the installation.
By taking the time to power off your iPhone 14 before proceeding with the SIM card installation, you are setting the stage for a smooth and trouble-free process. This simple yet crucial step lays the foundation for the subsequent stages of the tutorial, allowing you to approach the installation with confidence and peace of mind.
With your iPhone 14 now powered off, you are ready to move on to the next step in the SIM card installation process. This foundational preparation sets the stage for a seamless and successful installation, bringing you one step closer to fully utilizing your iPhone 14's capabilities.
Step 3: Locate the SIM card tray
With your iPhone 14 powered off, the next step in the process of installing a SIM card is to locate the SIM card tray. The SIM card tray on the iPhone 14 is a small, discreet slot designed to securely hold the SIM card. Properly identifying the location of this tray is essential for a successful installation.
On the iPhone 14, the SIM card tray is typically positioned on the right-hand side of the device. It is important to note that the exact location may vary slightly depending on the specific model of the iPhone 14. However, the general placement remains consistent, ensuring a familiar and predictable experience for users across different variations of the device.
To locate the SIM card tray, gently examine the right-hand side of your iPhone 14. You should notice a small, symmetrical slot with a pinhole. This pinhole is a key indicator of the SIM card tray's presence, as it signifies the access point for the SIM eject tool. The slot is designed to blend seamlessly into the device's sleek and modern aesthetic, ensuring that it does not detract from the overall visual appeal of the iPhone 14.
As you identify the SIM card tray, take a moment to familiarize yourself with its precise location and appearance. By doing so, you will gain a clear understanding of where the SIM card will be inserted and how to access the tray for installation and removal. This visual recognition sets the stage for the subsequent steps in the tutorial, ensuring that you are fully prepared to engage with the SIM card tray confidently and effectively.
With the SIM card tray located, you have successfully completed this crucial step in the SIM card installation process. This foundational preparation provides you with the knowledge and awareness necessary to proceed seamlessly to the next stage, bringing you one step closer to fully integrating your SIM card with your iPhone 14.
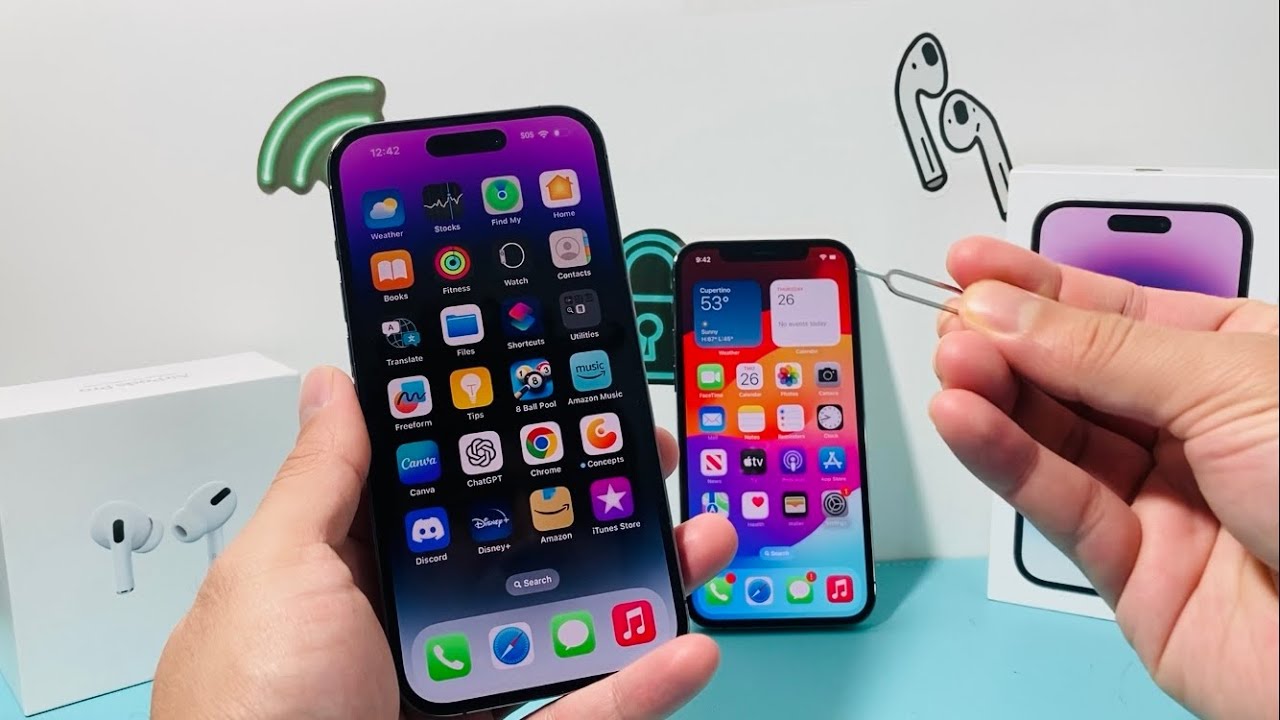
Step 4: Insert the SIM eject tool
Having located the SIM card tray on your iPhone 14, the next pivotal step in the SIM card installation process is to utilize the SIM eject tool. This small, specialized tool, often included in the iPhone packaging, is designed to facilitate the seamless insertion and removal of the SIM card tray. With its slender and precise design, the SIM eject tool serves as the key to accessing the SIM card slot within your iPhone 14.
To initiate this step, retrieve the SIM eject tool from your iPhone 14 packaging or utilize a suitable alternative, such as a paperclip or a similarly sized pin. The slender, pointed end of the SIM eject tool is instrumental in accessing the SIM card tray, ensuring that you can proceed with the installation process with precision and ease.
With the SIM eject tool in hand, carefully insert the pointed end into the small pinhole located adjacent to the SIM card tray. Apply gentle pressure to initiate the ejection mechanism, causing the SIM card tray to protrude slightly from the device. This smooth and effortless process is a testament to the thoughtful design and user-friendly nature of the iPhone 14, streamlining the task of accessing the SIM card slot.
As the SIM card tray emerges, grasp it firmly to prevent it from retracting back into the device. The secure yet easily accessible nature of the tray ensures that you can handle it with confidence, setting the stage for the subsequent steps in the installation process.
By successfully inserting the SIM eject tool and initiating the ejection mechanism, you have seamlessly transitioned to the next phase of the SIM card installation process. This smooth and intuitive procedure underscores the user-centric design of the iPhone 14, allowing you to engage with the device in a manner that is both efficient and user-friendly.
With the SIM card tray now accessible, you are poised to progress to the subsequent steps, bringing you one step closer to fully integrating your SIM card with your iPhone 14. This seamless transition marks a significant milestone in the installation process, setting the stage for the successful insertion of the SIM card and the subsequent reassembly of the device.
Step 5: Remove the SIM card tray
With the SIM card tray now accessible, the next critical step in the SIM card installation process is to carefully remove the tray from your iPhone 14. This step requires a delicate and precise approach to ensure that the SIM card tray is extracted smoothly and without any disruption to its contents.
To begin, gently grasp the protruding section of the SIM card tray that has emerged from the device. Exercise caution and maintain a firm yet gentle grip to prevent any abrupt movements that could potentially dislodge the SIM card or disturb the tray's positioning.
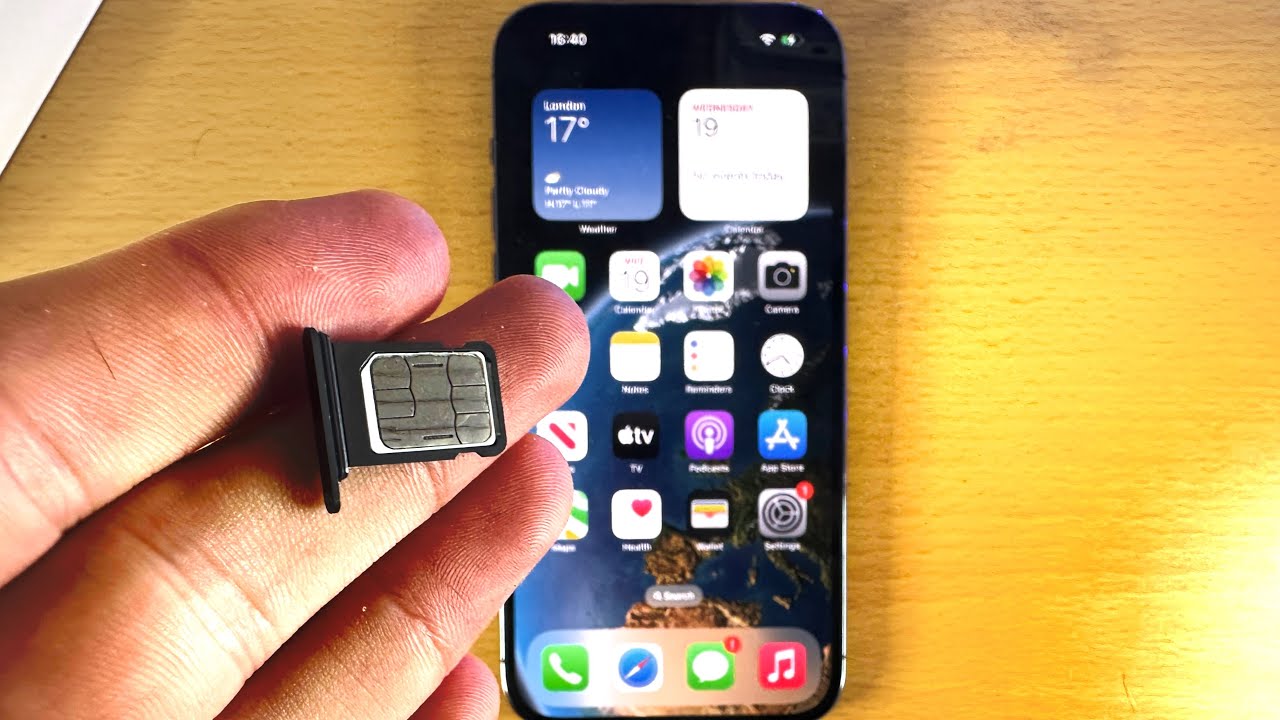
Once you have a secure hold on the SIM card tray, steadily pull it out of the iPhone 14, ensuring a smooth and controlled motion. The tray should slide out effortlessly, guided by the user-friendly design of the device. As the tray extends fully from the iPhone 14, take a moment to inspect it and verify that the SIM card is securely seated within the designated area.
Upon removing the SIM card tray, it is essential to handle it with care, avoiding any unnecessary tilting or abrupt movements that could dislodge the SIM card. The delicate nature of the SIM card and tray necessitates a gentle and attentive approach, ensuring that the components remain undisturbed throughout the removal process.
As you carefully extract the SIM card tray, take note of the precise positioning of the SIM card within the tray. This visual inspection allows you to verify that the SIM card is correctly seated and aligned, setting the stage for the subsequent step of placing the SIM card onto the tray with precision and confidence.
By successfully removing the SIM card tray from your iPhone 14, you have completed a pivotal phase of the SIM card installation process. This deliberate and meticulous approach ensures that the SIM card and tray are handled with the utmost care, setting the stage for the seamless transition to the next step of placing the SIM card onto the tray and reinserting it into the device.
With the SIM card tray now in hand, you are ready to proceed to the subsequent steps, bringing you one step closer to fully integrating your SIM card with your iPhone 14. This careful and deliberate process underscores the user-centric design of the iPhone 14, allowing you to engage with the device in a manner that is both precise and user-friendly.
Step 6: Place the SIM card on the tray
With the SIM card tray in hand, the next crucial step in the process of installing a SIM card on your iPhone 14 is to carefully place the SIM card onto the tray. This step requires precision and attention to detail to ensure that the SIM card is correctly aligned and securely seated within the designated area on the tray.
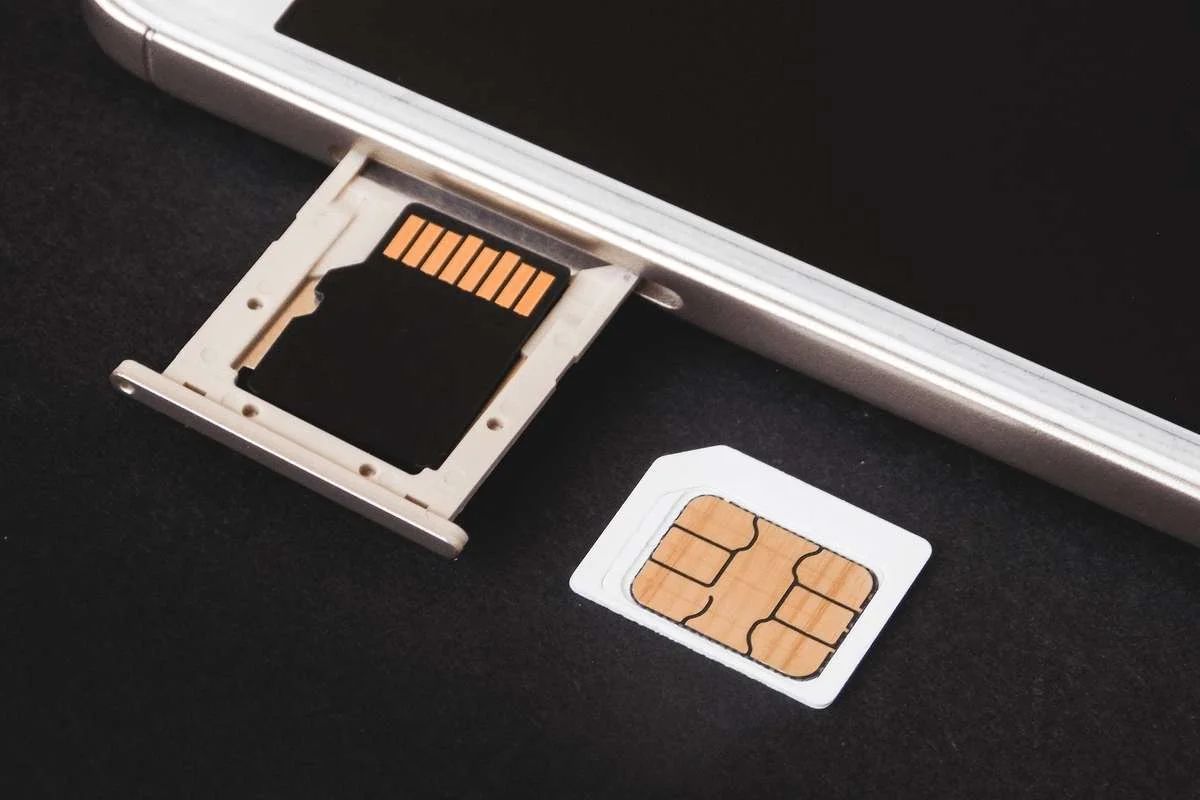
Begin by examining the SIM card and identifying its distinctive shape and size. The iPhone 14 utilizes a nano-SIM card, which is the smallest standard SIM card size. This compact form factor is designed to seamlessly fit into the designated area on the SIM card tray, ensuring a secure and stable connection within the device.
With the SIM card oriented correctly, gently position it onto the designated area of the SIM card tray, aligning it with the corresponding guide marks or notches to ensure a proper fit. Take care to avoid applying excessive force or pressure during this process, as the delicate nature of the SIM card necessitates a gentle and controlled approach.
As you place the SIM card onto the tray, take a moment to verify that it is sitting flush and level within the designated area. Ensure that the SIM card is aligned with the edges of the tray, allowing it to fit seamlessly into the designated space without any protrusions or misalignments.
Once the SIM card is correctly positioned on the tray, take a brief moment to inspect it and confirm that it is securely seated within the designated area. This visual verification ensures that the SIM card is properly aligned and ready for reinsertion into the iPhone 14.
By successfully placing the SIM card onto the tray with precision and care, you have completed a pivotal phase of the SIM card installation process. This meticulous approach ensures that the SIM card is securely seated within the tray, setting the stage for the subsequent step of reinserting the tray into the iPhone 14.
With the SIM card now positioned on the tray, you are poised to progress to the subsequent steps, bringing you one step closer to fully integrating your SIM card with your iPhone 14. This deliberate and attentive process underscores the user-centric design of the iPhone 14, allowing you to engage with the device in a manner that is both precise and user-friendly.
Step 7: Reinsert the SIM card tray
With the SIM card securely positioned on the tray, the next pivotal step in the process of installing a SIM card on your iPhone 14 is to reinsert the tray into the device. This step requires a steady and deliberate approach to ensure that the SIM card tray is seamlessly integrated back into the iPhone 14, allowing the SIM card to establish a secure connection within the device.
Begin by aligning the SIM card tray with the designated slot on the right-hand side of the iPhone 14. The tray should effortlessly slide back into the device, guided by the user-friendly design that facilitates a smooth and intuitive reinsertion process. Take care to align the tray correctly, ensuring that it sits flush with the device's exterior without any resistance or misalignment.
As the SIM card tray reenters the iPhone 14, apply gentle and consistent pressure to guide it back into its original position. The secure yet easily accessible nature of the tray ensures that it can be reinserted with confidence and ease, setting the stage for the subsequent step of powering on the device to complete the SIM card installation process.
Once the SIM card tray is fully reinserted into the iPhone 14, take a moment to ensure that it sits securely within the device, with no protrusions or misalignments. This visual verification confirms that the tray is seamlessly integrated back into the iPhone 14, setting the stage for the final step of powering on the device to activate the SIM card.
By successfully reinserting the SIM card tray into your iPhone 14, you have completed a pivotal phase of the SIM card installation process. This deliberate and precise approach ensures that the SIM card is seamlessly integrated back into the device, setting the stage for the subsequent step of powering on the iPhone 14 to establish the connection with the mobile network.
With the SIM card tray now securely reinserted, you are poised to progress to the final step, bringing you one step closer to fully integrating your SIM card with your iPhone 14. This seamless transition underscores the user-centric design of the iPhone 14, allowing you to engage with the device in a manner that is both efficient and user-friendly.
Step 8: Power on the iPhone 14
With the SIM card tray securely reinserted into your iPhone 14, the final and pivotal step in the process of installing a SIM card is to power on the device. This straightforward yet essential action initiates the activation of the SIM card, allowing your iPhone 14 to establish a connection with the mobile network and enabling you to fully utilize its communication capabilities.
To power on your iPhone 14, locate the power button on the right-hand side of the device. Once you have identified the power button, press and hold it until the familiar Apple logo appears on the screen. This signifies that the device is booting up and initializing the activation process for the SIM card.
As the iPhone 14 powers on, it will proceed through the startup sequence, culminating in the display of the home screen. At this point, you may notice the signal strength indicator and the carrier name displayed in the status bar, indicating that the SIM card has been successfully activated and is ready for use.
With the iPhone 14 powered on and the SIM card activated, you are now poised to explore the full range of communication and connectivity features offered by your device. Whether you intend to make calls, send texts, or access mobile data, the successful installation and activation of the SIM card have paved the way for you to seamlessly integrate your iPhone 14 into your daily routine.
By completing the process of powering on your iPhone 14, you have successfully finalized the installation of the SIM card, ensuring that your device is fully equipped to connect with the mobile network and provide you with the essential communication capabilities that are integral to modern-day living.
With the iPhone 14 now powered on and the SIM card activated, you have reached the culmination of the installation process, bringing you one step closer to fully integrating your SIM card with your iPhone 14. This seamless transition underscores the user-centric design of the iPhone 14, allowing you to engage with the device in a manner that is both efficient and user-friendly.
Conclusion
Congratulations! You have successfully completed the process of installing a SIM card on your iPhone 14. By following this comprehensive tutorial, you have gained the knowledge and confidence to seamlessly integrate your SIM card with your device, enabling you to fully utilize its communication and connectivity features.
Throughout this tutorial, you have embarked on a step-by-step journey, from gathering the necessary tools and materials to powering on your iPhone 14. Each phase of the installation process has been carefully outlined, providing you with the guidance and insight needed to navigate the task with ease and precision.
The deliberate and meticulous approach employed in this tutorial reflects the user-centric design of the iPhone 14, emphasizing its intuitive and user-friendly nature. From powering off the device to reinserting the SIM card tray, every step has been crafted to ensure a seamless and trouble-free experience for users of all backgrounds and expertise levels.
As you power on your iPhone 14 and witness the activation of the SIM card, you can take pride in the successful completion of this essential task. Your device is now fully equipped to connect with the mobile network, allowing you to make calls, send texts, and access mobile data with confidence and ease.
By mastering the process of installing a SIM card on your iPhone 14, you have taken a significant step towards unlocking the full potential of your device. Whether you are a seasoned tech enthusiast or a newcomer to the world of mobile devices, this tutorial has equipped you with the essential knowledge and skills to seamlessly integrate your SIM card, setting the stage for a seamless and enjoyable user experience.
As you embark on your journey with your iPhone 14, may the successful installation of the SIM card serve as a testament to your capabilities and confidence in engaging with your device. With the connectivity and communication features at your fingertips, your iPhone 14 is poised to become an indispensable companion in your daily life, keeping you connected and empowered in a fast-paced and interconnected world.