Introduction
Inserting a SIM card into your Samsung Galaxy S7 Edge is a fundamental step in setting up your device for mobile connectivity. Whether you're upgrading to a new phone or simply need to replace your SIM card, understanding the process of inserting the SIM card is essential. This comprehensive guide will walk you through the step-by-step process, ensuring that you can seamlessly complete this task without any hiccups.
The SIM card, short for Subscriber Identity Module, is a small, removable card that contains essential information for connecting to a mobile network. It serves as a unique identifier for your device, allowing you to make calls, send text messages, and access mobile data. Without a properly inserted SIM card, your Galaxy S7 Edge will be unable to connect to a mobile network, rendering it unable to make or receive calls and messages or access mobile data.
By following the steps outlined in this guide, you will gain the knowledge and confidence needed to successfully insert a SIM card into your Galaxy S7 Edge. This process is relatively straightforward, but it's essential to execute each step with precision to avoid any potential issues. Once you've completed the process, your device will be ready to connect to a mobile network, enabling you to fully utilize its communication and data capabilities.
Now, let's delve into the step-by-step instructions for locating the SIM card tray, ejecting the tray, inserting the SIM card, and reinserting the tray to complete the process. This guide will equip you with the necessary expertise to effortlessly insert a SIM card into your Galaxy S7 Edge, ensuring that you can enjoy seamless mobile connectivity.
Step 1: Locate the SIM card tray
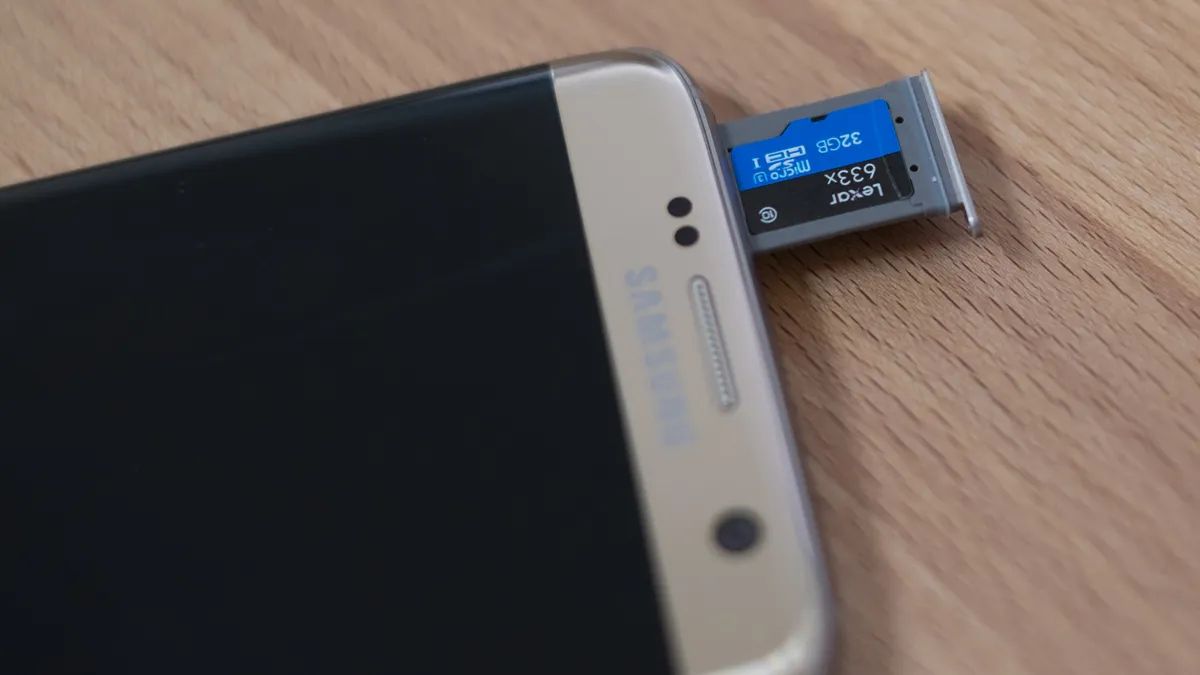
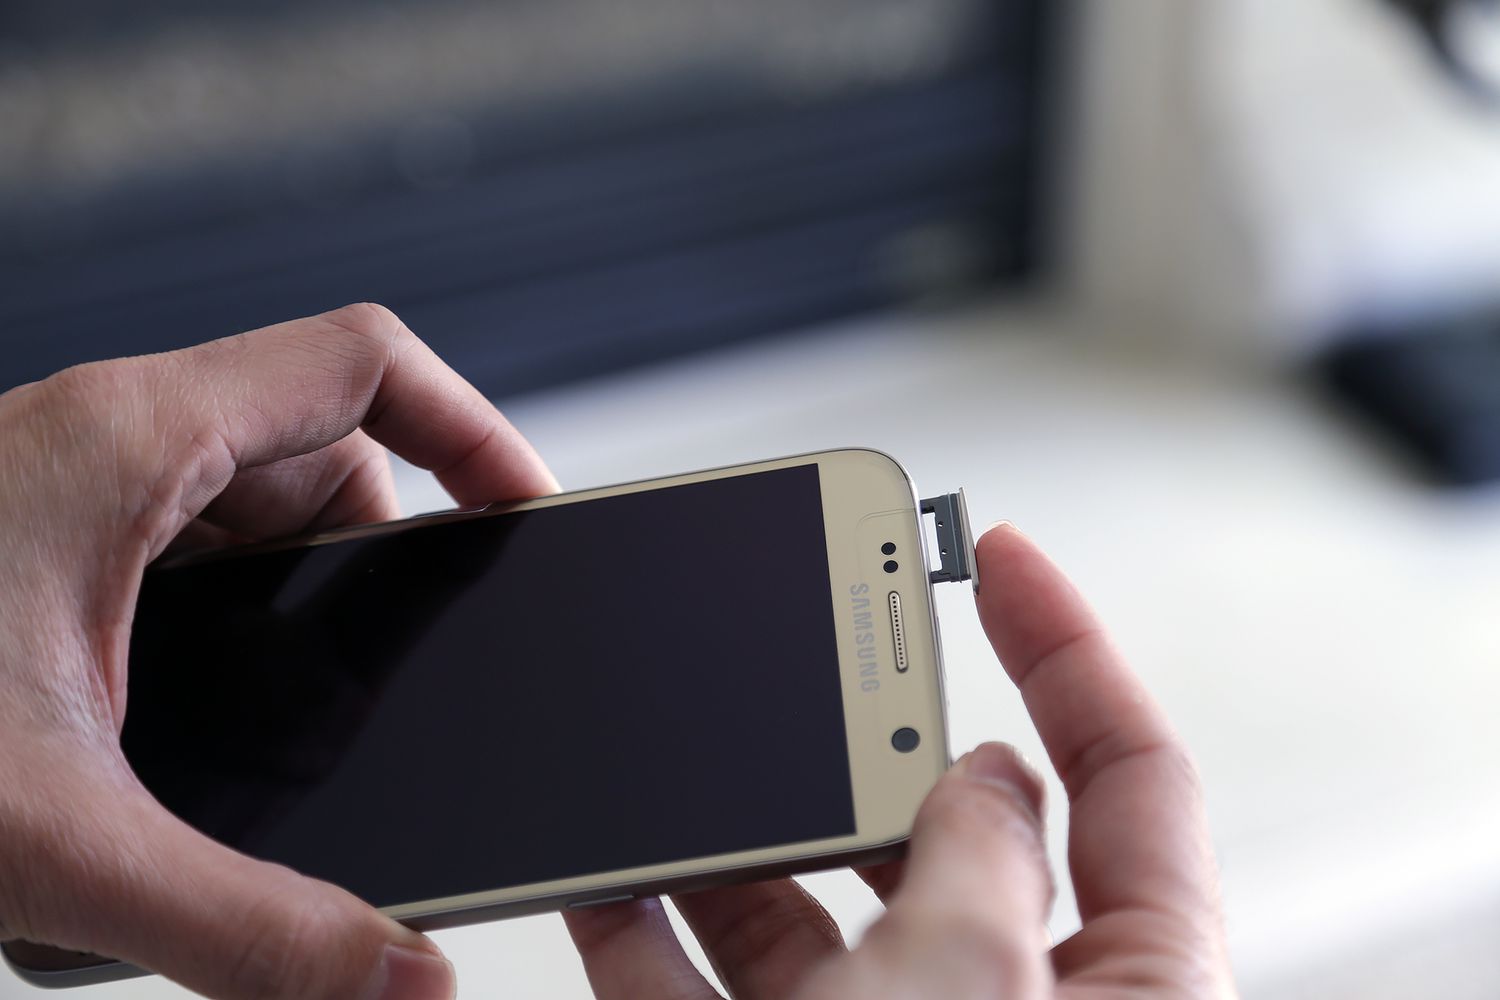
The first step in inserting a SIM card into your Samsung Galaxy S7 Edge is to locate the SIM card tray. The SIM card tray is a small, discreet slot on the side of your device that houses the SIM card. To begin this process, you will need to locate the SIM card tray eject hole and familiarize yourself with the layout of your device.
On the Galaxy S7 Edge, the SIM card tray is positioned on the top edge of the device, near the power button. It is important to handle your device with care and ensure that it is powered off before proceeding. Once you have located the SIM card tray, you will notice a small pinhole adjacent to it. This pinhole is the SIM card tray eject hole, and it is designed to accommodate the SIM card tray ejection tool, which is typically provided with your device.
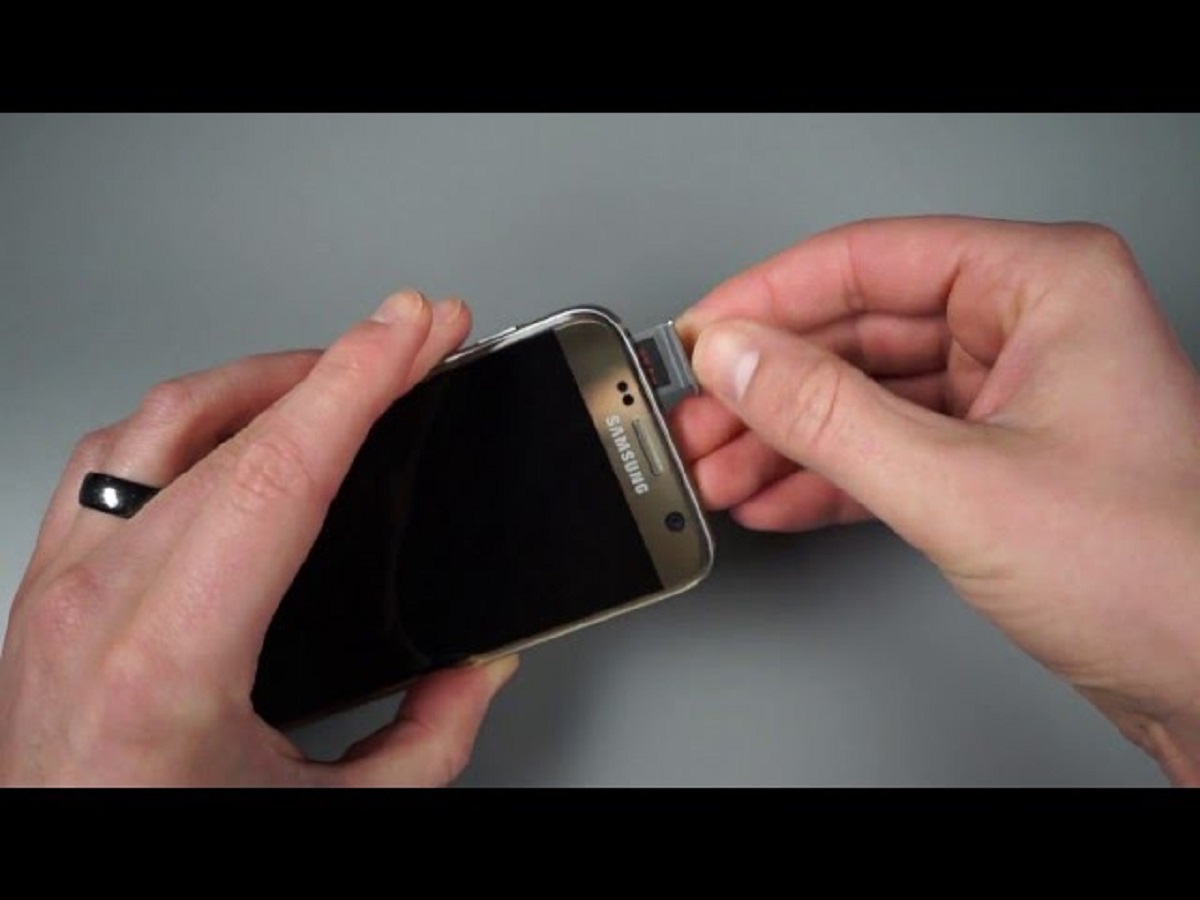
To facilitate the ejection of the SIM card tray, insert the SIM card tray ejection tool or a paperclip into the eject hole with gentle pressure. Applying a slight amount of force will trigger the release mechanism, causing the SIM card tray to partially protrude from the slot. Be cautious not to exert excessive pressure, as this may damage the internal components of your device.
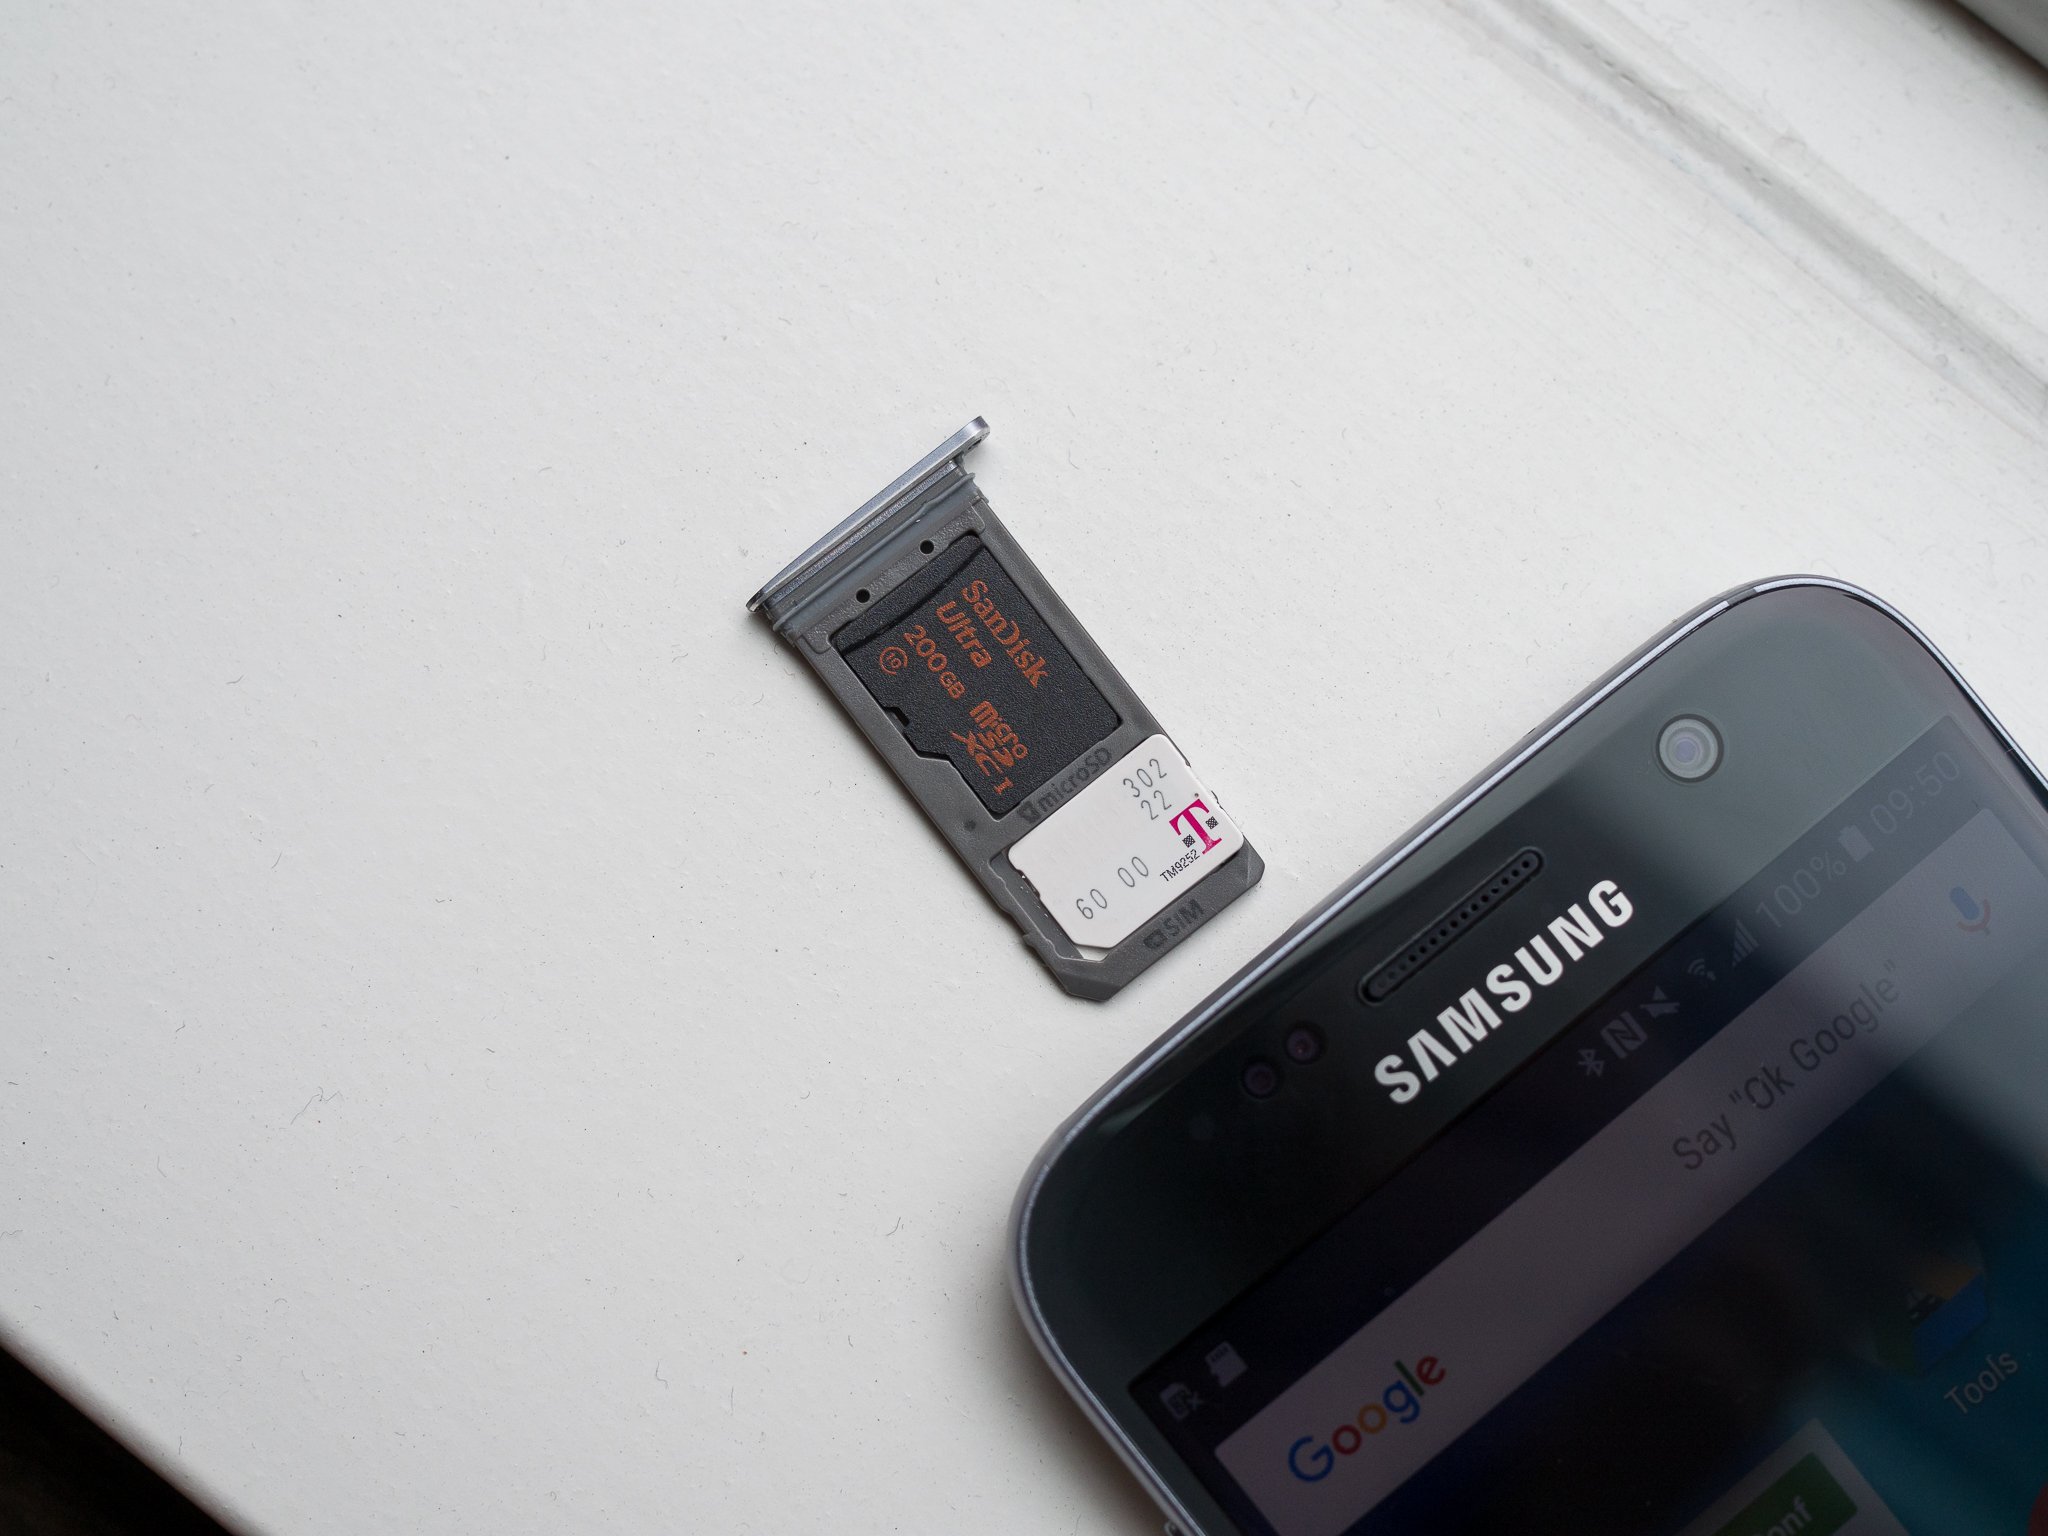
Once the SIM card tray is partially ejected, you can proceed to remove it completely by gently pulling it out of the slot. Take care to handle the SIM card tray and the SIM card itself with delicacy, as they are both fragile components. The SIM card tray will accommodate a single SIM card, and it is essential to align the SIM card correctly within the tray to ensure seamless functionality.
By successfully locating the SIM card tray and preparing it for the next steps, you have completed the initial phase of the SIM card insertion process. With the SIM card tray in hand, you are now ready to proceed to the next step of ejecting the tray and preparing to insert the SIM card into your Galaxy S7 Edge.
Step 2: Eject the SIM card tray
Ejecting the SIM card tray from your Samsung Galaxy S7 Edge is a crucial step in the process of inserting a new SIM card or replacing an existing one. This step requires precision and delicacy to ensure that the SIM card tray is safely removed without causing any damage to the device or the SIM card itself.
After locating the SIM card tray and preparing it for ejection, the next step is to gently insert the SIM card tray ejection tool or a paperclip into the designated eject hole. Applying subtle pressure to the eject hole will trigger the release mechanism, causing the SIM card tray to protrude partially from the slot. It's essential to exercise caution and avoid applying excessive force during this process to prevent any potential damage to the device.
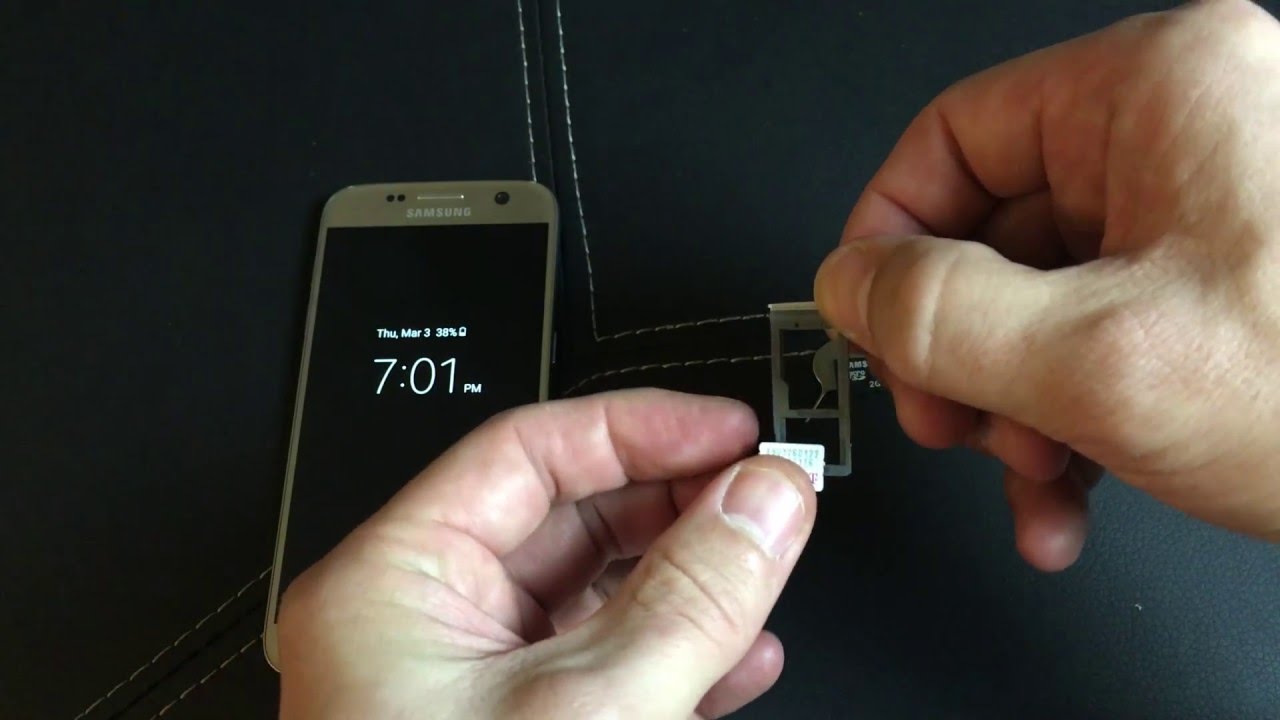
Once the SIM card tray is partially ejected, carefully pull it out of the slot, ensuring that it is removed smoothly and without any resistance. Handling the SIM card tray with care is crucial, as it houses the SIM card and must be handled delicately to prevent any damage to the card or the tray itself.
Upon successfully ejecting the SIM card tray, you will have clear access to the compartment where the SIM card is inserted. Take a moment to inspect the tray and the slot to ensure that they are free from any debris or obstructions that may hinder the insertion of the new SIM card. This brief inspection will help guarantee a seamless insertion process and optimal functionality of the SIM card within the device.
With the SIM card tray successfully ejected, you have completed a critical phase of the SIM card insertion process. The next step will involve carefully inserting the SIM card into the designated slot within the tray, ensuring that it is aligned correctly to enable proper connectivity and functionality. This seamless transition from ejecting the SIM card tray to inserting the SIM card will pave the way for a hassle-free experience in preparing your Galaxy S7 Edge for mobile connectivity.
Now that the SIM card tray has been ejected, it's time to proceed to the next step of inserting the SIM card into the tray, setting the stage for the final phase of reinserting the tray and completing the process.
Step 3: Insert the SIM card
With the SIM card tray successfully ejected from your Samsung Galaxy S7 Edge, the next pivotal step is to delicately insert the SIM card into the designated slot within the tray. This step demands precision and care to ensure that the SIM card is aligned correctly, allowing for seamless connectivity and optimal functionality within the device.
Upon inspecting the SIM card tray, you will notice a specific compartment designed to accommodate the SIM card. It's essential to handle the SIM card with caution, as it is a delicate component that must be inserted correctly to avoid any potential damage. The SIM card features a notched corner, which aligns with the corresponding notch within the SIM card tray, ensuring the proper orientation for insertion.
Carefully place the SIM card into the designated slot within the tray, ensuring that it fits snugly and aligns with the notch to guarantee the correct orientation. It's crucial to avoid applying excessive force during this process, as the SIM card and the tray are both delicate components that require gentle handling.
As you insert the SIM card into the tray, take a moment to ensure that it is positioned securely and sits flush within the compartment. This thorough inspection will help prevent any connectivity issues that may arise from improper insertion. Once the SIM card is securely in place, the next step is to reinsert the SIM card tray into the device, securing the SIM card within the Galaxy S7 Edge.
By successfully inserting the SIM card into the designated slot within the tray, you have completed a critical phase of the SIM card insertion process. This meticulous approach ensures that the SIM card is positioned correctly, setting the stage for seamless connectivity and functionality within your device.
With the SIM card securely inserted into the tray, you are now ready to proceed to the final step of reinserting the tray into your Galaxy S7 Edge, culminating in the completion of the SIM card insertion process. This seamless transition from inserting the SIM card to reinserting the tray will pave the way for effortless mobile connectivity, allowing you to fully utilize the communication and data capabilities of your device.
Step 4: Reinsert the SIM card tray
Reinserting the SIM card tray into your Samsung Galaxy S7 Edge is the final crucial step in completing the SIM card insertion process. This step is essential for securing the SIM card within the device and restoring the seamless functionality of your mobile connectivity.
Once the SIM card has been delicately inserted into the designated slot within the tray, it's time to carefully reposition the SIM card tray back into its slot on the device. Before proceeding, take a moment to inspect the SIM card tray, ensuring that it is free from any debris or obstructions that may hinder its reinsertion. This brief examination will help guarantee a smooth and secure reinsertion process, ensuring optimal functionality of the SIM card within the device.
Align the SIM card tray with the slot on the device, taking care to position it correctly for a seamless fit. Gently slide the SIM card tray back into the slot, applying subtle pressure to ensure that it is reinserted smoothly and securely. It's important to avoid forcing the tray into the slot, as this may cause damage to the device or the tray itself.
Once the SIM card tray is securely reinserted, take a moment to ensure that it sits flush with the device and aligns seamlessly with the surrounding edges. This thorough inspection will help guarantee that the SIM card tray is properly positioned, securing the SIM card within the Galaxy S7 Edge.
With the SIM card tray successfully reinserted, the SIM card insertion process is now complete. Your Galaxy S7 Edge is ready to connect to a mobile network, enabling you to make calls, send messages, and access mobile data with ease. By meticulously following each step of the process, you have equipped your device for seamless mobile connectivity, ensuring that you can fully utilize its communication and data capabilities.
Now that the SIM card tray has been securely reinserted, you can power on your device and enjoy the uninterrupted connectivity that comes with a properly inserted SIM card. Your Galaxy S7 Edge is now primed for seamless communication and data access, allowing you to stay connected and engaged while on the go.
Conclusion
Congratulations! By following this comprehensive guide, you have successfully navigated the process of inserting a SIM card into your Samsung Galaxy S7 Edge. This essential task is a fundamental step in setting up your device for seamless mobile connectivity, enabling you to make calls, send messages, and access mobile data with ease.
Throughout the step-by-step process, you have gained valuable insights into locating the SIM card tray, ejecting the tray, inserting the SIM card, and reinserting the tray, ensuring that each phase was executed with precision and care. By meticulously following each step, you have equipped your device for optimal functionality, setting the stage for a seamless mobile experience.
The SIM card, a critical component that serves as a unique identifier for your device, is now securely positioned within the Galaxy S7 Edge, ready to facilitate your communication needs and mobile data access. With the SIM card insertion process completed, your device is primed to connect to a mobile network, allowing you to stay connected and engaged while on the go.
It's important to emphasize the significance of handling the SIM card and the SIM card tray with delicacy throughout the process. By exercising caution and precision, you have ensured the integrity of these components, safeguarding them from potential damage and guaranteeing their seamless functionality within the device.
As you power on your Galaxy S7 Edge, you can revel in the assurance that your device is prepared for uninterrupted connectivity. Whether you're making important calls, sending vital messages, or accessing essential information via mobile data, your Galaxy S7 Edge is now fully equipped to meet your communication and data needs.
By mastering the art of inserting a SIM card into your device, you have not only gained practical expertise but also empowered yourself to navigate future SIM card-related tasks with confidence. Your newfound proficiency in handling this essential aspect of device setup is a testament to your commitment to optimizing the functionality of your Samsung Galaxy S7 Edge.
As you embark on your mobile journey with a properly inserted SIM card, you can do so with the confidence that comes from mastering this fundamental process. Your Galaxy S7 Edge is now poised to serve as your reliable communication companion, keeping you effortlessly connected and engaged in today's dynamic and interconnected world.