Introduction
Inserting a SIM card into your iPhone 14 Pro is a fundamental yet crucial process in setting up your device for seamless communication and connectivity. Whether you're upgrading to the latest iPhone or replacing your existing SIM card, this step-by-step guide will walk you through the process with ease and clarity. By following these instructions, you'll be able to activate cellular service and enjoy all the features your iPhone 14 Pro has to offer.
The SIM card, or Subscriber Identity Module, is a small, removable card that stores your mobile device's unique information, including your phone number, contacts, and text messages. When you insert a SIM card into your iPhone 14 Pro, you enable it to connect to your mobile network provider, allowing you to make calls, send messages, and access cellular data.
This guide is designed to provide you with a clear understanding of how to insert a SIM card into your iPhone 14 Pro, ensuring that you can complete the process confidently and without any hassle. Whether you're a first-time iPhone user or a seasoned Apple enthusiast, this step-by-step walkthrough will equip you with the knowledge and skills to successfully insert and activate your SIM card.
Now, let's embark on this journey together and delve into the essential steps for inserting a SIM card into your iPhone 14 Pro. With this guide at your fingertips, you'll be well-prepared to set up your device and enjoy the seamless connectivity it offers. Let's get started!
Step 1: Locate the SIM Card Tray
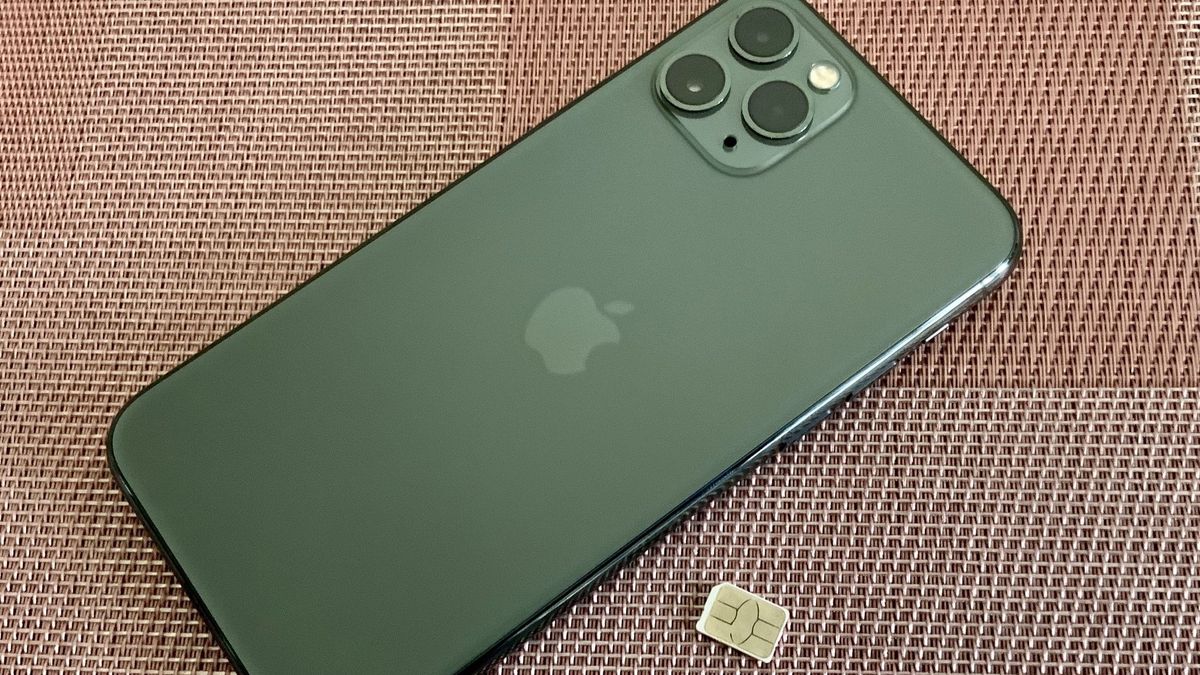
The first step in inserting a SIM card into your iPhone 14 Pro is to locate the SIM card tray. The SIM card tray is a small, rectangular slot typically found on the side of the device. In the case of the iPhone 14 Pro, the SIM card tray is located on the right-hand side of the device, near the bottom edge. It is important to note that the exact location of the SIM card tray may vary depending on the model of the iPhone.
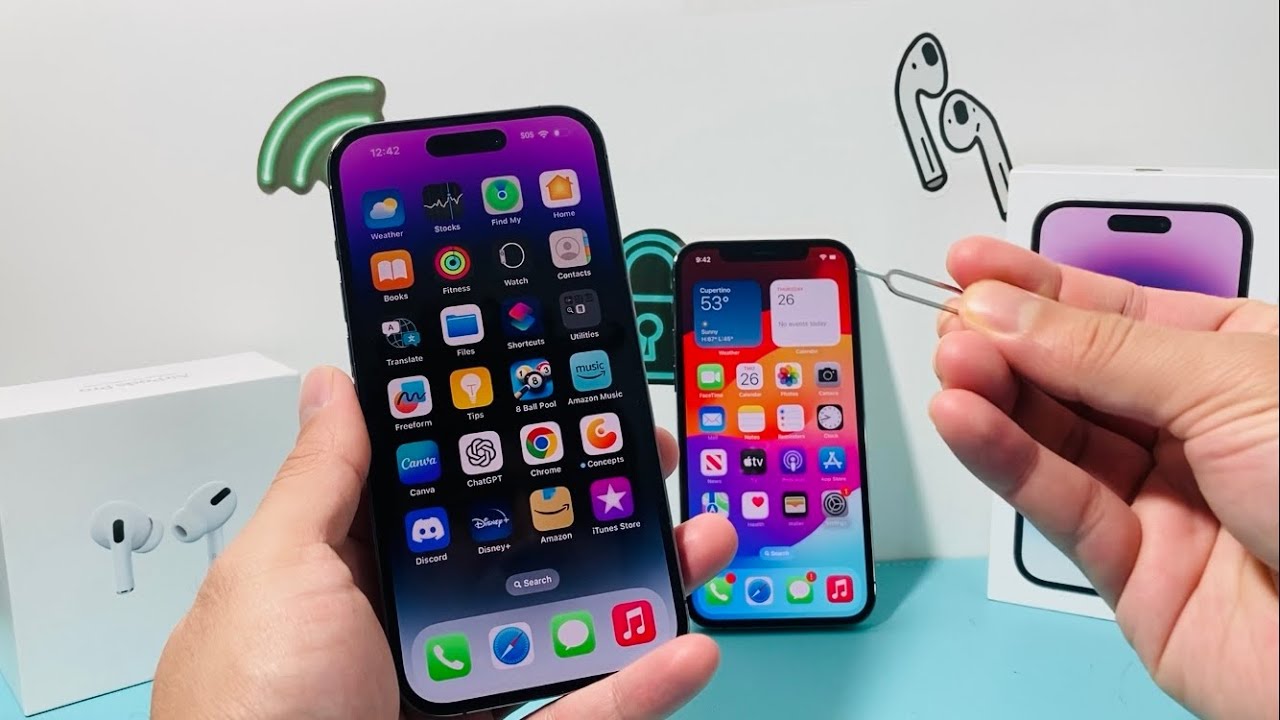
To locate the SIM card tray, you can use the SIM eject tool that comes with your iPhone 14 Pro. This tool is a small, metal pin that is designed to fit into the tiny hole next to the SIM card tray. If you don't have the SIM eject tool, you can use a paperclip or a similar object with a fine, pointed tip.
Once you have located the SIM card tray, it's essential to ensure that your iPhone 14 Pro is powered off before proceeding to the next step. This precaution helps prevent any potential damage to the device and ensures a smooth insertion process.
Locating the SIM card tray is the first crucial step in preparing to insert your SIM card into the iPhone 14 Pro. By familiarizing yourself with the location of the SIM card tray and ensuring that your device is powered off, you are setting the stage for a successful SIM card insertion process.
Now that you have successfully located the SIM card tray and powered off your iPhone 14 Pro, you are ready to proceed to the next step, which involves ejecting the SIM card tray in preparation for inserting the SIM card.
Step 2: Eject the SIM Card Tray
Ejecting the SIM card tray is a simple yet essential process that allows you to access the slot where the SIM card will be inserted. To begin, take the SIM eject tool provided with your iPhone 14 Pro or a suitable alternative, such as a paperclip. Gently insert the tool into the small pinhole next to the SIM card tray. Apply a slight amount of pressure until you feel a subtle resistance, indicating that the tray is being released.
As you continue to apply gentle pressure, the SIM card tray will gradually emerge from the device. Once the tray is partially ejected, carefully pull it out using your fingers, ensuring a steady and controlled motion to prevent any damage to the tray or the device. It's important to handle the tray with care, as it is a delicate component of your iPhone 14 Pro.
Upon removing the SIM card tray, take a moment to inspect it for any dust or debris that may have accumulated. This is an opportune time to clean the tray using a soft, dry cloth, ensuring that it is free from any obstructions that could interfere with the insertion of the SIM card.
With the SIM card tray successfully ejected and inspected, you are now ready to proceed to the next step, which involves the precise insertion of your SIM card into the designated slot on the tray. This pivotal stage in the process sets the stage for the seamless activation of cellular service on your iPhone 14 Pro, enabling you to harness the full potential of your device's communication capabilities.
By following these detailed steps to eject the SIM card tray, you are taking the necessary precautions to ensure a smooth and successful SIM card insertion process. With the tray in hand and your SIM card at the ready, you are poised to embark on the next phase of activating cellular connectivity on your iPhone 14 Pro.
Step 3: Insert the SIM Card
With the SIM card tray successfully ejected from your iPhone 14 Pro, it's time to proceed with the precise insertion of your SIM card. Before proceeding, ensure that your SIM card is compatible with the iPhone 14 Pro and that it is free from any damage or deformities that could hinder its proper functioning.
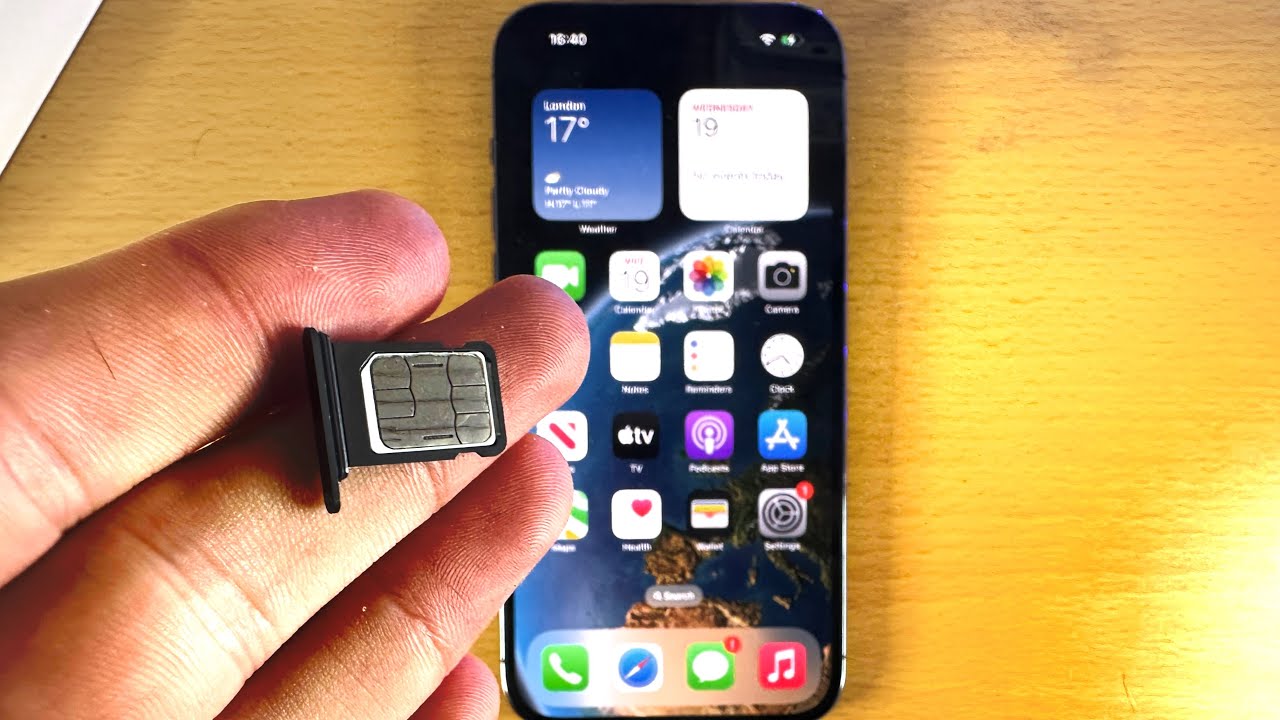
Carefully remove the SIM card from its packaging, handling it by the edges to avoid any contact with the metal contacts or circuitry. The SIM card features a distinctive notch that aligns with the orientation of the SIM card tray, ensuring that it is inserted correctly. Take a moment to position the SIM card in the designated area of the tray, aligning the notch with the corresponding slot to ensure a proper fit.
Gently place the SIM card into the tray, ensuring that it sits flush and level within the designated area. Avoid applying excessive force, as this could potentially damage the SIM card or the tray. Once the SIM card is securely in place, you can proceed to reinsert the tray into the iPhone 14 Pro.
The careful insertion of the SIM card into the tray is a critical step in the process of activating cellular connectivity on your iPhone 14 Pro. By following these precise instructions, you are ensuring that the SIM card is correctly positioned and ready for seamless integration with your device.
With the SIM card securely inserted into the tray, you are now prepared to proceed to the final step of reinserting the SIM card tray into your iPhone 14 Pro, bringing you one step closer to activating cellular service and unleashing the full potential of your device's communication capabilities.
Step 4: Reinsert the SIM Card Tray
With the SIM card securely inserted into the tray, the next crucial step is to reinsert the tray into your iPhone 14 Pro. Before proceeding, take a moment to ensure that the SIM card is seated properly within the tray, with no visible signs of misalignment or protrusion. This attention to detail is essential to guarantee a seamless and reliable connection to your mobile network provider.
Carefully align the SIM card tray with the corresponding slot on the side of your iPhone 14 Pro. The tray should slide back into place with ease, guided by the precise design and dimensions of the device. Avoid applying excessive force during this process, as the tray should fit snugly and securely without the need for aggressive manipulation.
Once the SIM card tray is aligned and positioned correctly, gently push it back into the device until it is fully seated. Ensure that the tray is flush with the exterior of the iPhone 14 Pro, maintaining a seamless and uniform profile. This step completes the process of inserting and securing the SIM card within your device, setting the stage for the activation of cellular service and the full utilization of your iPhone 14 Pro's communication capabilities.
Upon successfully reinserting the SIM card tray, take a moment to power on your iPhone 14 Pro. As the device boots up, it will establish a connection with your mobile network provider, enabling you to make calls, send messages, and access cellular data. It's a pivotal moment that marks the culmination of the SIM card insertion process, bringing your iPhone 14 Pro to life with seamless connectivity and communication functionality.
By following these detailed steps to reinsert the SIM card tray, you have successfully completed the essential process of activating cellular connectivity on your iPhone 14 Pro. With the SIM card securely in place and the device powered on, you are now poised to enjoy the full spectrum of features and capabilities that your iPhone 14 Pro has to offer, all facilitated by the seamless integration of your SIM card.
Congratulations! You have successfully inserted and activated the SIM card in your iPhone 14 Pro, ensuring that you can stay connected and engaged with the world around you. Whether it's making important calls, sending messages to loved ones, or accessing vital information on the go, your iPhone 14 Pro is now fully equipped to meet your communication needs with ease and efficiency.
Conclusion
In conclusion, the process of inserting a SIM card into your iPhone 14 Pro is a fundamental step that paves the way for seamless communication and connectivity. By following the comprehensive step-by-step guide outlined in this article, you have gained the knowledge and confidence to successfully insert and activate your SIM card, enabling your iPhone 14 Pro to harness the full spectrum of its communication capabilities.
The journey began with the essential task of locating the SIM card tray, emphasizing the importance of familiarizing yourself with the device's layout and ensuring that it is powered off to prevent any potential mishaps during the insertion process. This initial step set the stage for a smooth and organized approach to inserting the SIM card.
Ejecting the SIM card tray was the next pivotal step, requiring precision and care to ensure that the tray was safely removed from the device. The detailed instructions provided a clear understanding of the process, empowering you to handle the tray with confidence and inspect it for any obstructions that could hinder the insertion of the SIM card.
The meticulous insertion of the SIM card into the tray was a critical phase, emphasizing the importance of handling the card with care and aligning it correctly within the designated area. By following the precise instructions, you ensured that the SIM card was securely positioned and ready for seamless integration with your device.
Reinserting the SIM card tray marked the final step in the process, underscoring the significance of aligning and positioning the tray with precision to guarantee a secure fit within the iPhone 14 Pro. This step brought the SIM card insertion process to a successful conclusion, setting the stage for the activation of cellular service and the full utilization of your device's communication capabilities.
With the SIM card securely inserted and your iPhone 14 Pro powered on, you are now poised to enjoy the seamless connectivity and communication functionality that your device has to offer. Whether it's staying connected with friends and family, conducting business on the go, or accessing essential information, your iPhone 14 Pro is fully equipped to meet your communication needs with ease and efficiency.
In essence, the process of inserting a SIM card into your iPhone 14 Pro is not only a technical task but also a gateway to unlocking the full potential of your device. By following this comprehensive guide, you have taken a significant step toward seamlessly integrating your iPhone 14 Pro with your mobile network provider, setting the stage for a connected and engaging experience.