Introduction
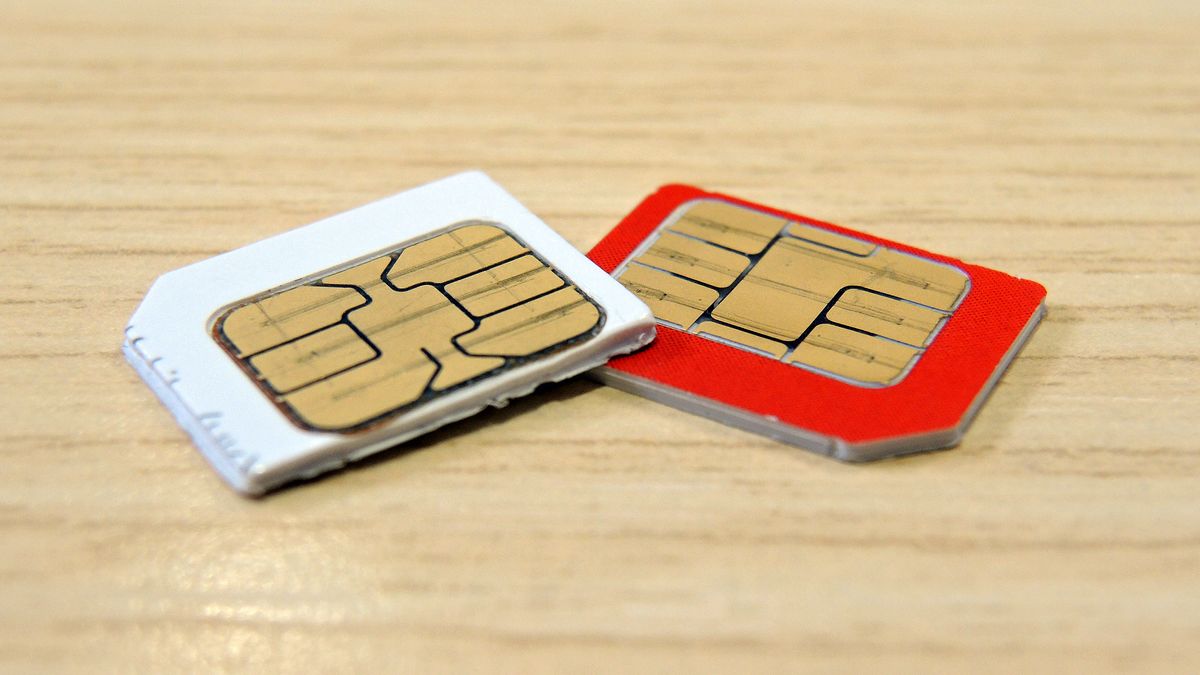
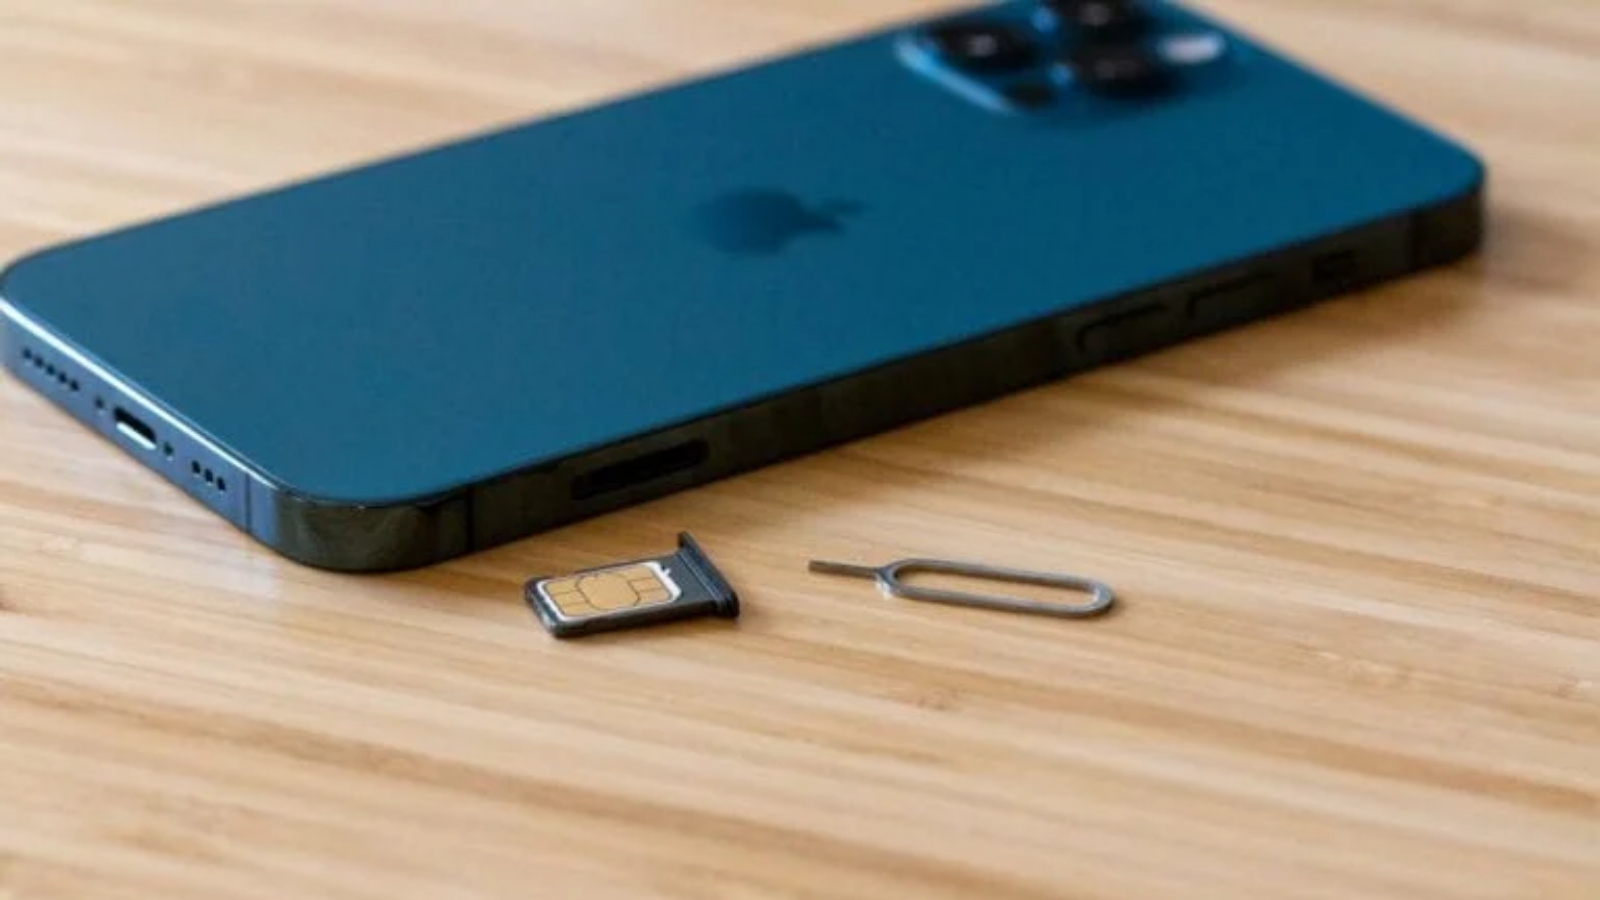
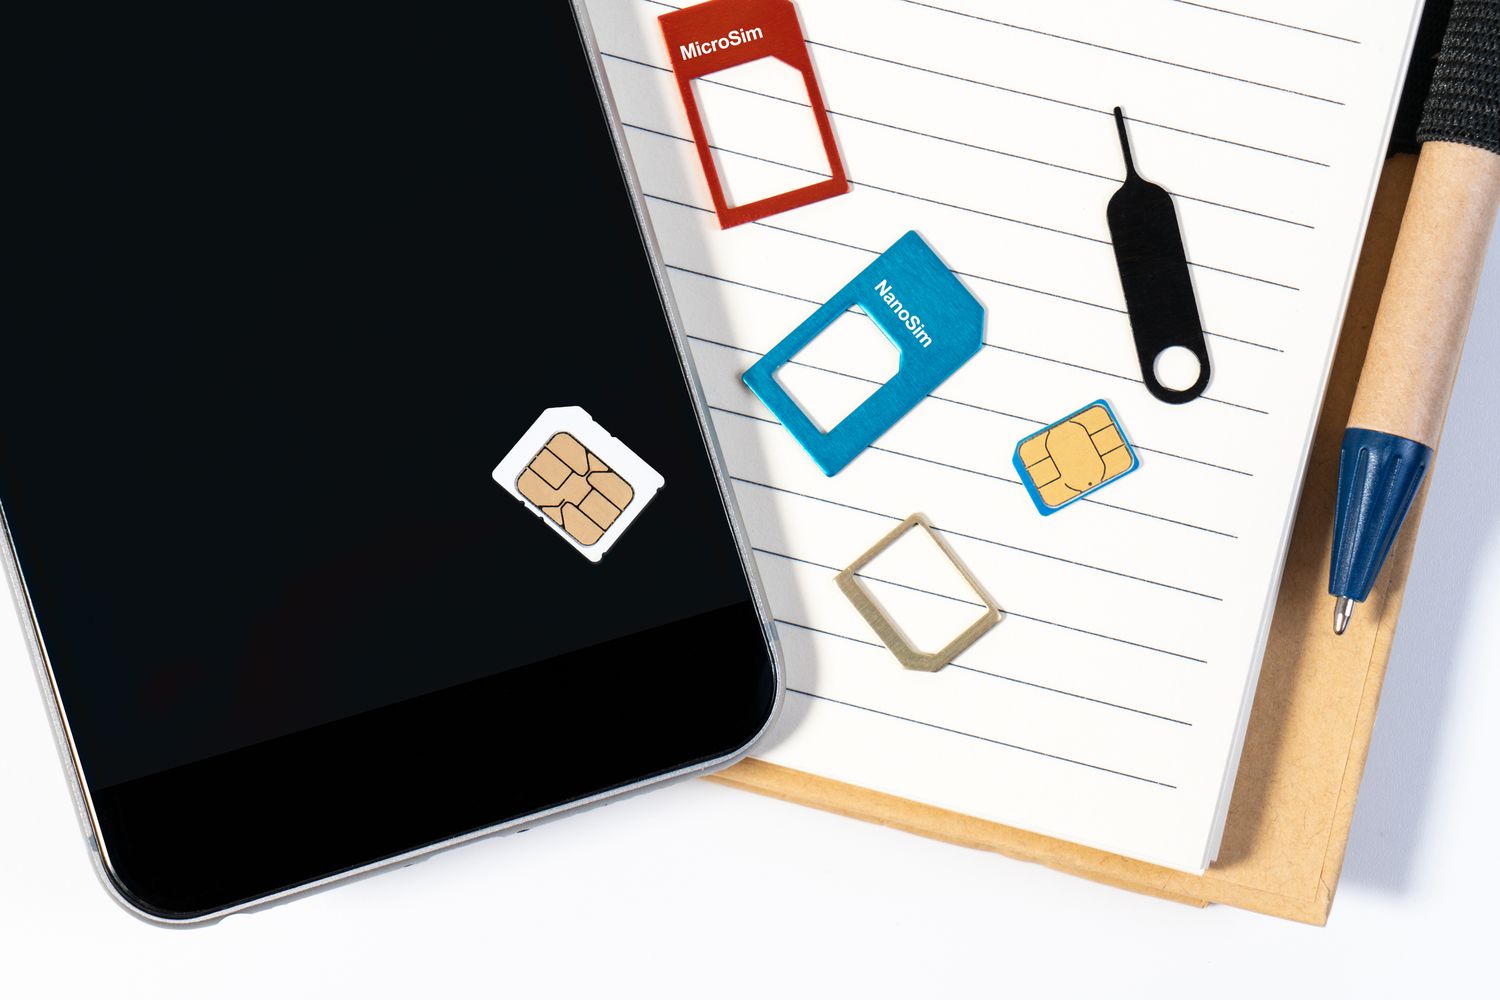
Importing contacts from a SIM card to an iPhone can be a crucial task for individuals transitioning from an old mobile device to a new iPhone. This process ensures that essential contact information is seamlessly transferred, allowing for continued communication and connectivity. Whether you've recently upgraded to a new iPhone or are simply looking to centralize your contacts, understanding the steps involved in importing contacts from a SIM card is essential.
The iPhone, known for its user-friendly interface and advanced features, provides a straightforward method for importing contacts from a SIM card. By following a few simple steps, you can efficiently transfer contacts without the need for complex technical knowledge. This guide will walk you through the entire process, from accessing the Contacts app to managing the imported contacts on your iPhone.
The ability to import contacts from a SIM card to an iPhone underscores the device's adaptability and seamless integration with various mobile technologies. This functionality ensures that users can effortlessly transition from one device to another while retaining their vital contact information. Whether you're a business professional, a student, or simply an individual looking to streamline your digital life, the process of importing contacts from a SIM card to an iPhone is a valuable skill to master.
In the following sections, we will delve into the specific steps required to successfully import contacts from a SIM card to your iPhone. By following these instructions, you can ensure that your essential contacts are readily available on your new iPhone, enabling you to stay connected with ease. Let's embark on this journey to streamline and optimize your contact management process on your iPhone.
Step 1: Accessing the Contacts App
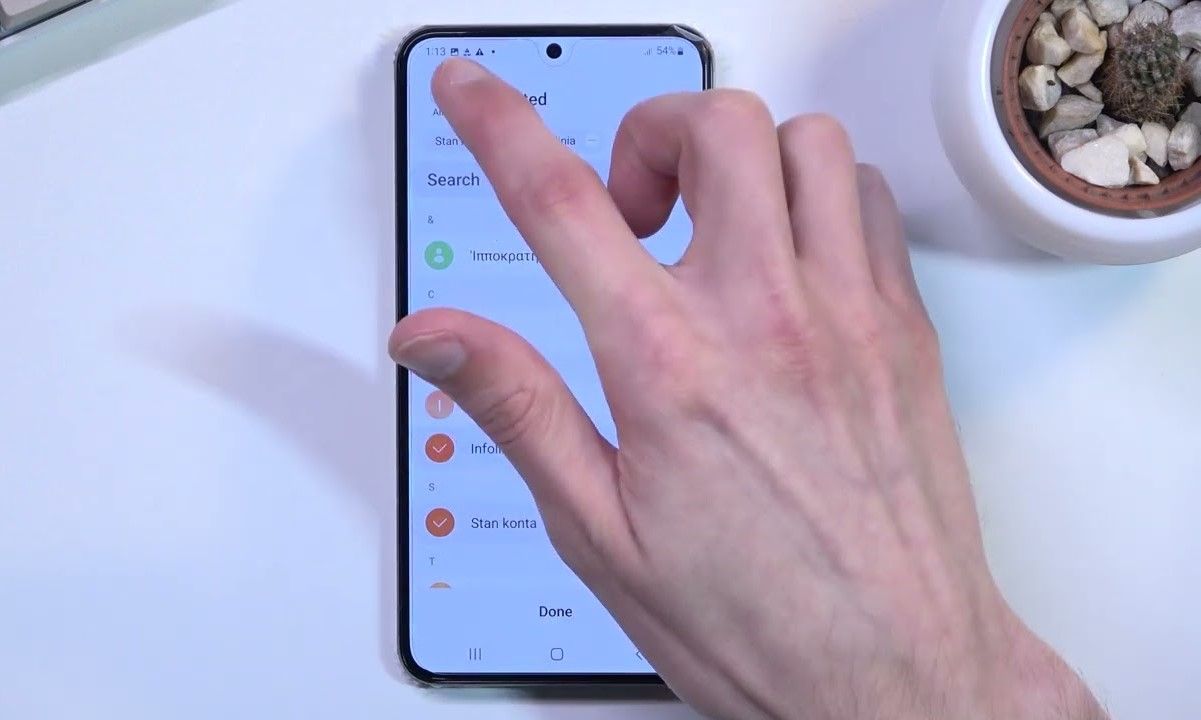
Accessing the Contacts app on your iPhone is the first step towards importing contacts from your SIM card. The Contacts app serves as the central hub for managing and organizing your contact information, making it essential to know how to navigate to this vital feature.
To begin, unlock your iPhone by entering your passcode or using Face ID or Touch ID. Once you're on the home screen, look for the green icon with a white silhouette of a person, typically labeled "Contacts." Tapping on this icon will open the Contacts app, providing you with access to your existing contacts and the option to import new ones from your SIM card.
If you don't see the Contacts app on your home screen, you can utilize the Spotlight Search feature by swiping down from the middle of the screen and typing "Contacts" into the search bar. This will display the Contacts app as a search result, allowing you to access it directly from the search interface.
Alternatively, you can access the Contacts app through the Phone app. Simply open the Phone app and navigate to the "Contacts" tab located at the bottom of the screen. Tapping on this tab will seamlessly transition you to the Contacts app, where you can proceed to import contacts from your SIM card.
Once you have successfully accessed the Contacts app, you will be ready to proceed to the next step of importing contacts from your SIM card. By familiarizing yourself with the various methods of accessing the Contacts app, you can ensure a smooth and efficient transition to the contact importation process, setting the stage for seamless connectivity and communication on your iPhone.
Accessing the Contacts app is a fundamental aspect of managing your contact information on your iPhone. Whether you're a seasoned iPhone user or new to the iOS ecosystem, mastering this initial step lays the groundwork for effective contact management and sets the stage for a streamlined digital communication experience.
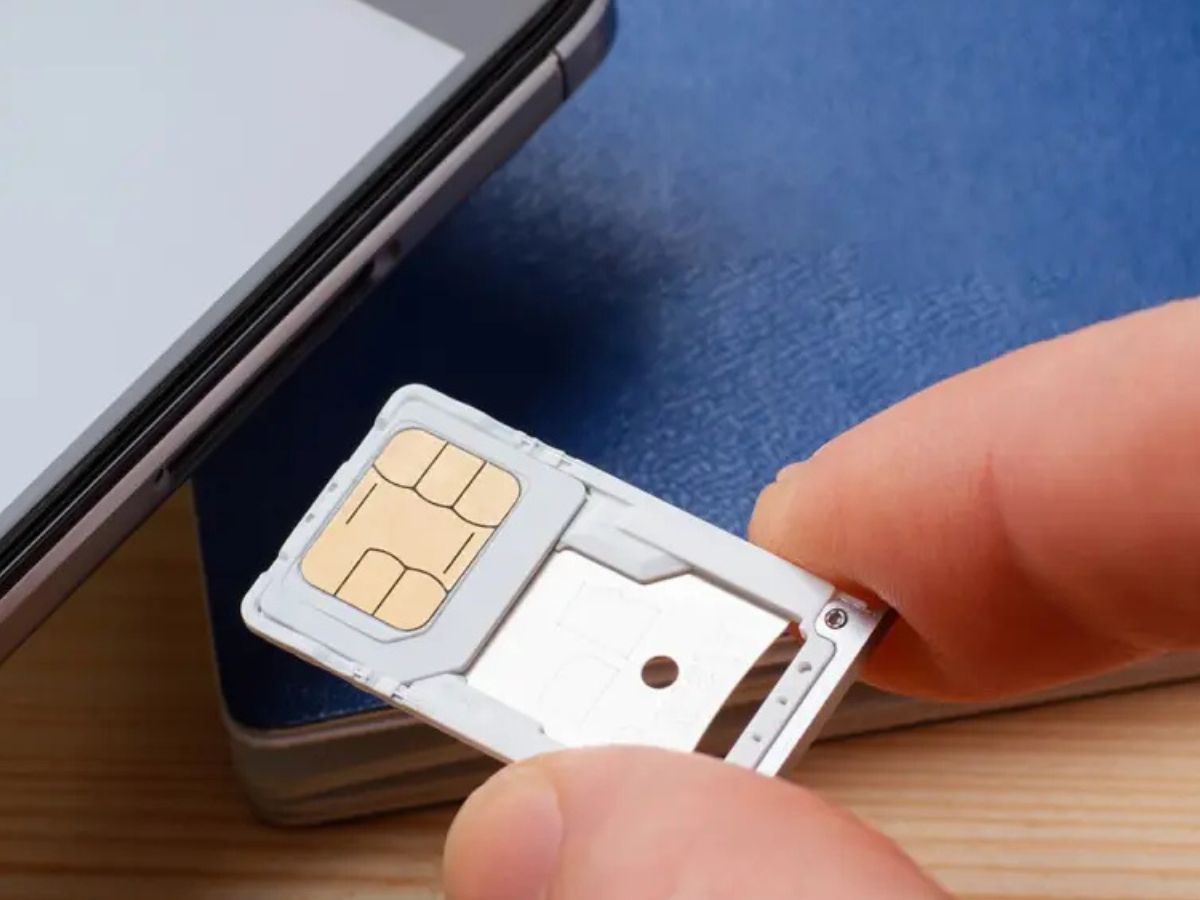
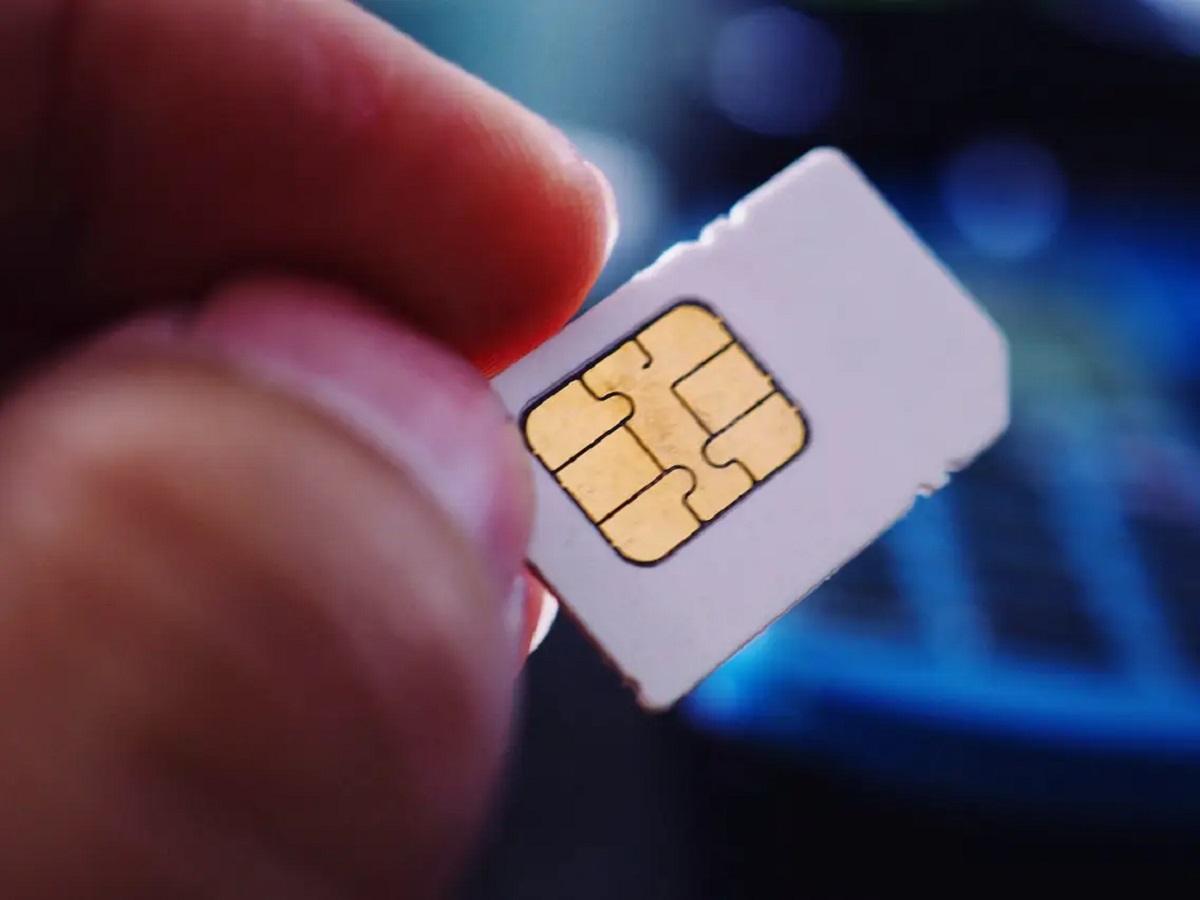
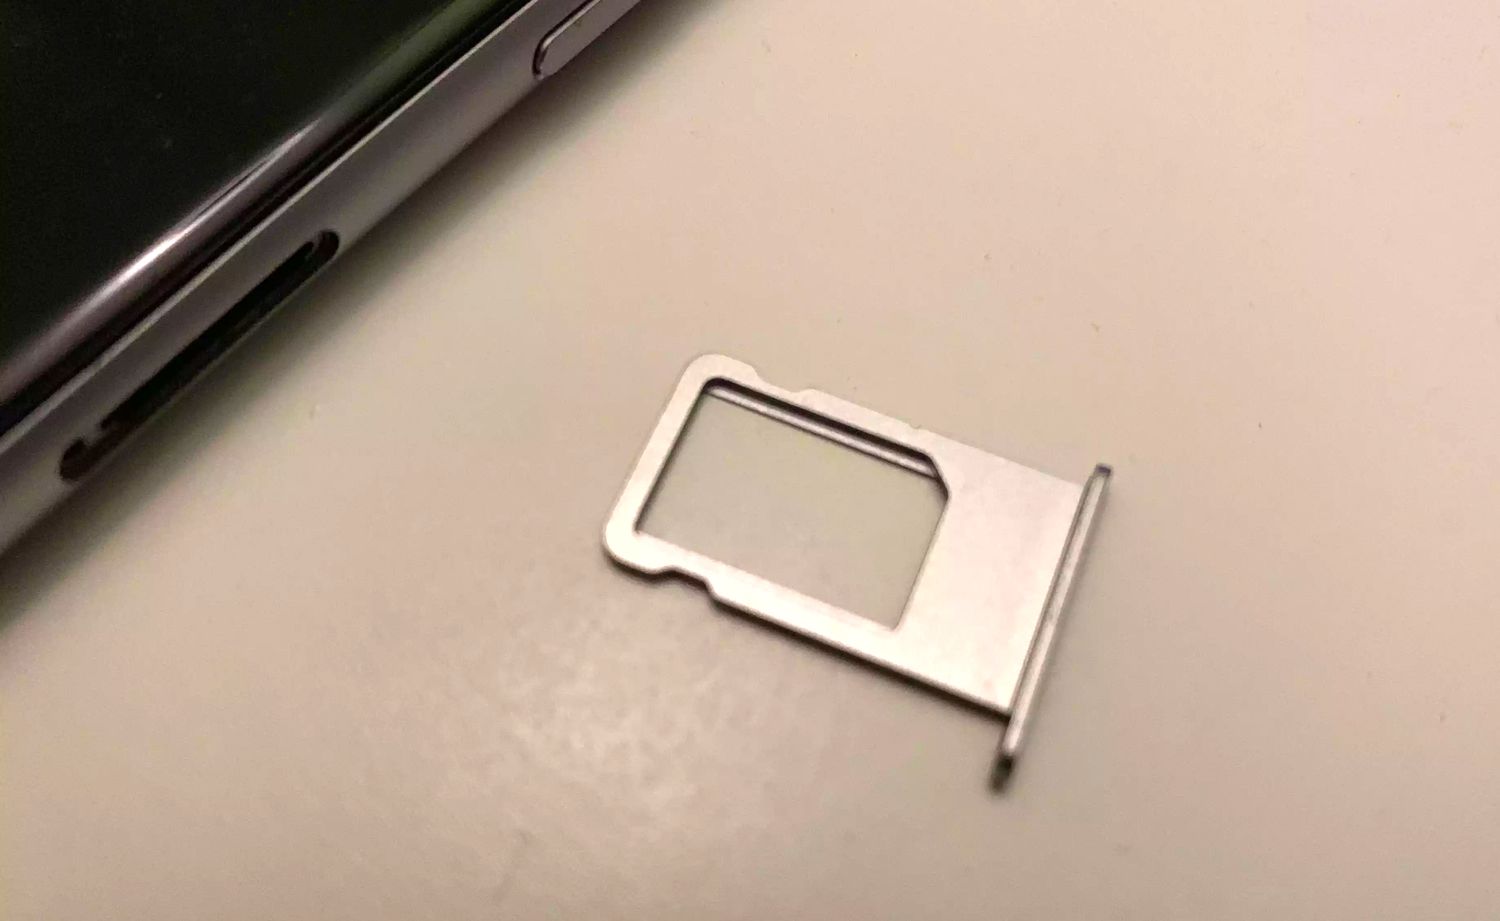
Step 2: Importing Contacts from SIM Card
After successfully accessing the Contacts app on your iPhone, the next crucial step is to import contacts from your SIM card. This process ensures that contacts stored on your SIM card are seamlessly transferred to your iPhone, allowing for centralized access and management. To initiate the importation of contacts from your SIM card, follow the steps outlined below:
-
Open the "Settings" App:
Begin by locating and tapping the "Settings" app on your iPhone's home screen. The "Settings" app is represented by a gear icon and serves as the control center for various device configurations and customizations. -
Scroll Down and Select "Contacts":
Within the "Settings" app, scroll down until you see the option labeled "Contacts" and tap on it. This will open the Contacts settings, where you can manage various contact-related functionalities on your iPhone. -
Choose "Import SIM Contacts":
Within the "Contacts" settings, locate and select the option labeled "Import SIM Contacts." This action will prompt your iPhone to initiate the process of importing contacts from your SIM card. -
Confirm the Importation:
Upon selecting "Import SIM Contacts," your iPhone will begin the importation process, transferring the contact information stored on your SIM card to your device's internal storage. Depending on the number of contacts being imported, this process may take a few moments to complete. -
Review Imported Contacts:
Once the importation process is finished, you can review the imported contacts within the Contacts app. Open the Contacts app to verify that the contacts from your SIM card have been successfully transferred to your iPhone. You will now have centralized access to all your contacts, including those imported from your SIM card.
By following these steps, you can seamlessly import contacts from your SIM card to your iPhone, ensuring that your essential contact information is readily available on your device. This process eliminates the need to manually input each contact and streamlines the transition to your new iPhone, allowing you to maintain uninterrupted communication with your network of contacts.
Importing contacts from your SIM card to your iPhone exemplifies the device's versatility and user-centric design, simplifying the process of transitioning between mobile devices. Whether you're upgrading to a new iPhone or consolidating your contact information, mastering the art of importing contacts from a SIM card ensures a smooth and efficient transition, empowering you to stay connected with ease.
Step 3: Managing Imported Contacts
Once you have successfully imported contacts from your SIM card to your iPhone, it's essential to understand how to manage and organize the imported contacts effectively. The Contacts app on your iPhone provides a range of features that enable you to categorize, edit, and interact with your contacts, ensuring seamless communication and accessibility. Here's a detailed overview of managing imported contacts on your iPhone:
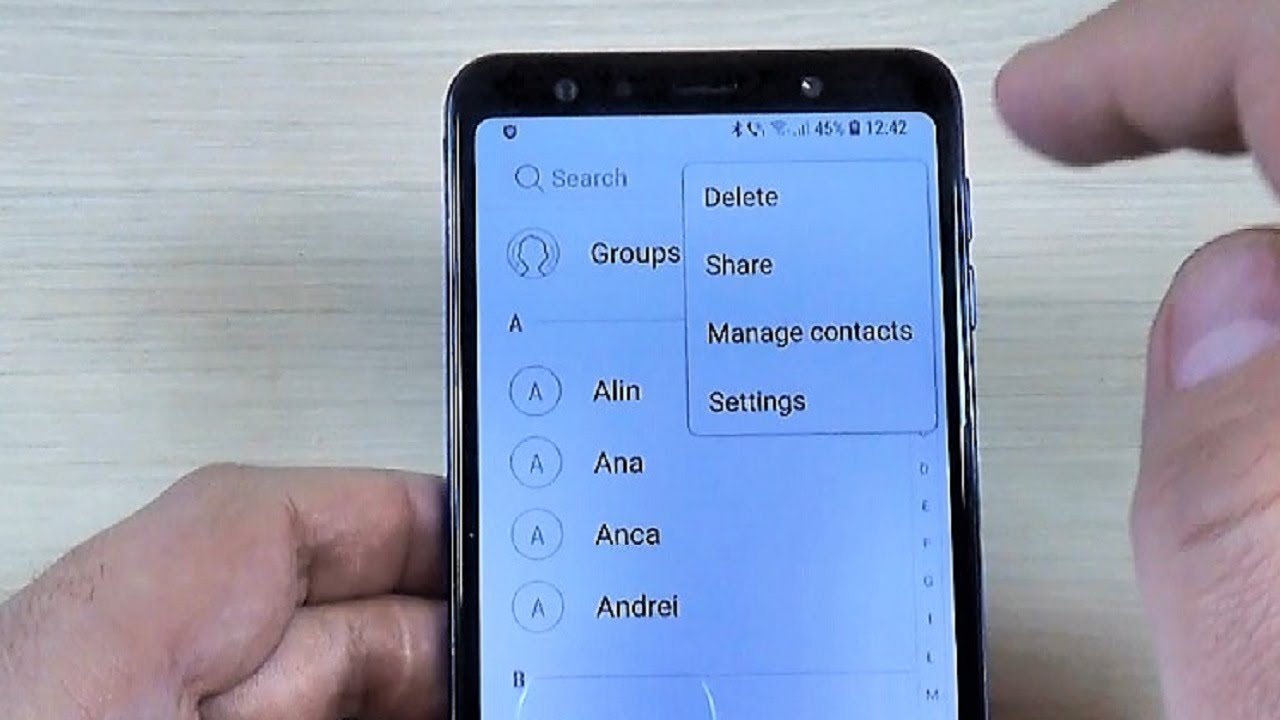
Categorizing Contacts
After importing contacts from your SIM card, you may want to categorize them for easy identification and access. The Contacts app allows you to create and manage contact groups, enabling you to organize your contacts based on specific criteria such as work, family, or friends. To create a new contact group, navigate to the "Contacts" tab within the Contacts app, tap "Groups" in the upper-left corner, and select "New Group." You can then assign imported contacts to the newly created group, streamlining your contact management process.
Editing Contact Information
Managing imported contacts also involves ensuring that the contact details are accurate and up to date. The Contacts app enables you to edit contact information seamlessly. Simply locate the contact you wish to edit, tap on their name to access their details, and select "Edit" in the upper-right corner. This allows you to modify the contact's name, phone number, email address, and other pertinent details, ensuring that your contact list remains current and accurate.
Merging Duplicate Contacts
Importing contacts from a SIM card may result in duplicate entries within your Contacts app. To streamline your contact list, the iPhone offers a feature that automatically identifies and merges duplicate contacts. Navigate to the "Contacts" tab, tap "Merge Contacts," and the device will present a list of potential duplicate contacts for review. You can then choose to merge or link duplicate contacts, consolidating their information into a single entry and decluttering your contact list.
Syncing with iCloud or Other Accounts
To ensure that your imported contacts are securely backed up and accessible across your devices, consider syncing them with iCloud or other accounts such as Google or Microsoft Exchange. By enabling contact syncing, you can safeguard your contact information and seamlessly access it from various devices and platforms. To configure contact syncing, navigate to the "Settings" app, select "Passwords & Accounts," and choose the relevant account to enable contact synchronization.
Utilizing Contact Favorites
Managing imported contacts also involves prioritizing key contacts for quick access. The Contacts app allows you to designate specific contacts as favorites, granting you swift access to their details. To mark a contact as a favorite, open their contact details, scroll down, and tap "Add to Favorites." This feature is particularly useful for streamlining communication with frequently contacted individuals, ensuring that essential contacts are readily accessible.
By leveraging these contact management features on your iPhone, you can effectively oversee and organize the imported contacts, ensuring that your contact list remains streamlined and readily accessible. Mastering the art of managing imported contacts empowers you to maintain a well-organized and up-to-date contact list, enhancing your digital communication experience on your iPhone.
Conclusion
In conclusion, the process of importing contacts from a SIM card to an iPhone is a fundamental aspect of transitioning to a new device or consolidating contact information. This comprehensive guide has provided a detailed walkthrough of the steps involved in importing contacts, ensuring that essential contact information is seamlessly transferred to your iPhone's Contacts app.
By following the outlined steps, you can efficiently access the Contacts app, initiate the importation process, and effectively manage the imported contacts, streamlining your digital communication experience. The ability to seamlessly import contacts from a SIM card to an iPhone underscores the device's adaptability and user-centric design, empowering users to maintain uninterrupted connectivity and communication.
Mastering the art of managing imported contacts, including categorizing contacts, editing contact information, merging duplicate entries, and syncing with cloud services, enhances the overall contact management experience on your iPhone. These features enable users to maintain a well-organized and up-to-date contact list, ensuring seamless communication with their network of contacts.
The process of importing contacts from a SIM card to an iPhone exemplifies the device's seamless integration with various mobile technologies, allowing users to effortlessly transition between devices while retaining their vital contact information. Whether you're upgrading to a new iPhone or simply looking to streamline your contact management, the ability to import contacts from a SIM card ensures a smooth and efficient transition, enabling you to stay connected with ease.
In the ever-evolving digital landscape, the iPhone's intuitive interface and advanced features continue to empower users to manage their digital lives effectively. The process of importing contacts from a SIM card exemplifies the device's commitment to user convenience and accessibility, providing a straightforward method for transferring essential contact information.
Overall, the ability to import contacts from a SIM card to an iPhone is a valuable skill that ensures a seamless transition to a new device, allowing users to maintain their vital contact information and stay connected with ease. By following the steps outlined in this guide and leveraging the contact management features offered by the iPhone, users can optimize their digital communication experience and ensure that their contact list remains organized and accessible.