Introduction
Introduction
Transferring contacts from a feature phone to an Android device can seem like a daunting task, especially for those who are not well-versed in technology. However, with the right guidance, this process can be relatively straightforward. Whether you're upgrading to a new Android phone or simply looking to consolidate your contacts, this guide will walk you through the necessary steps to seamlessly transfer your contacts from a feature phone to an Android device.
The transition from a feature phone to a smartphone can be an exciting and transformative experience, offering access to a wide array of advanced features and applications. However, ensuring that your valuable contacts make the switch is essential for maintaining seamless communication with friends, family, and colleagues. By following the steps outlined in this guide, you can effortlessly migrate your contacts to your new Android phone, allowing you to stay connected without missing a beat.
Understanding the differences between feature phones and smartphones and navigating the distinct processes for managing contacts on each device is crucial to a successful transfer. With the guidance provided here, you'll gain the confidence to tackle this task with ease, empowering you to harness the full potential of your Android device without leaving your contacts behind.
So, let's dive into the step-by-step process of exporting contacts from your feature phone and importing them to your Android device. By the end of this guide, you'll have all your contacts seamlessly transferred, ready to be accessed on your new Android phone. Let's get started!
Step 1: Export Contacts from the Feature Phone
Step 1: Export Contacts from the Feature Phone
Before you can transfer your contacts to your new Android phone, you need to export them from your feature phone. Most feature phones have the option to export contacts to a SIM card, which can then be inserted into your Android device for easy importing. Here’s how to export your contacts from a feature phone:
- Access the Contacts Menu: Navigate to the contacts or address book menu on your feature phone. This is typically found in the main menu or on the home screen.
- Open the Options or Settings: Once in the contacts menu, look for an option that allows you to manage or organize your contacts. This may be labeled as “Options” or “Settings.”
- Select the Export Option: Within the options or settings menu, look for an export or copy option. This will initiate the process of transferring your contacts to the SIM card.
- Choose the Contacts to Export: Depending on your feature phone, you may have the option to select specific contacts or export all contacts. Make your selection based on your preferences and confirm the export process.
- Confirm the Export: Once you’ve chosen the contacts to export, the feature phone will prompt you to confirm the action. Proceed with the export, and your contacts will be saved to the SIM card.
After completing these steps, your contacts will be stored on the SIM card, ready to be transferred to your Android phone. It’s important to note that the process may vary slightly depending on the make and model of your feature phone, so refer to the user manual for specific instructions tailored to your device.
Now that you’ve successfully exported your contacts from the feature phone, you’re one step closer to having them available on your new Android device. The next step is to import these contacts to your Android phone, which we’ll cover in the following section.
Step 2: Import Contacts to the Android Phone
Step 2: Import Contacts to the Android Phone
Now that you’ve successfully exported your contacts from your feature phone, it’s time to import them to your Android device. The process may vary slightly depending on the make and model of your Android phone, but the following general steps will guide you through the import process:
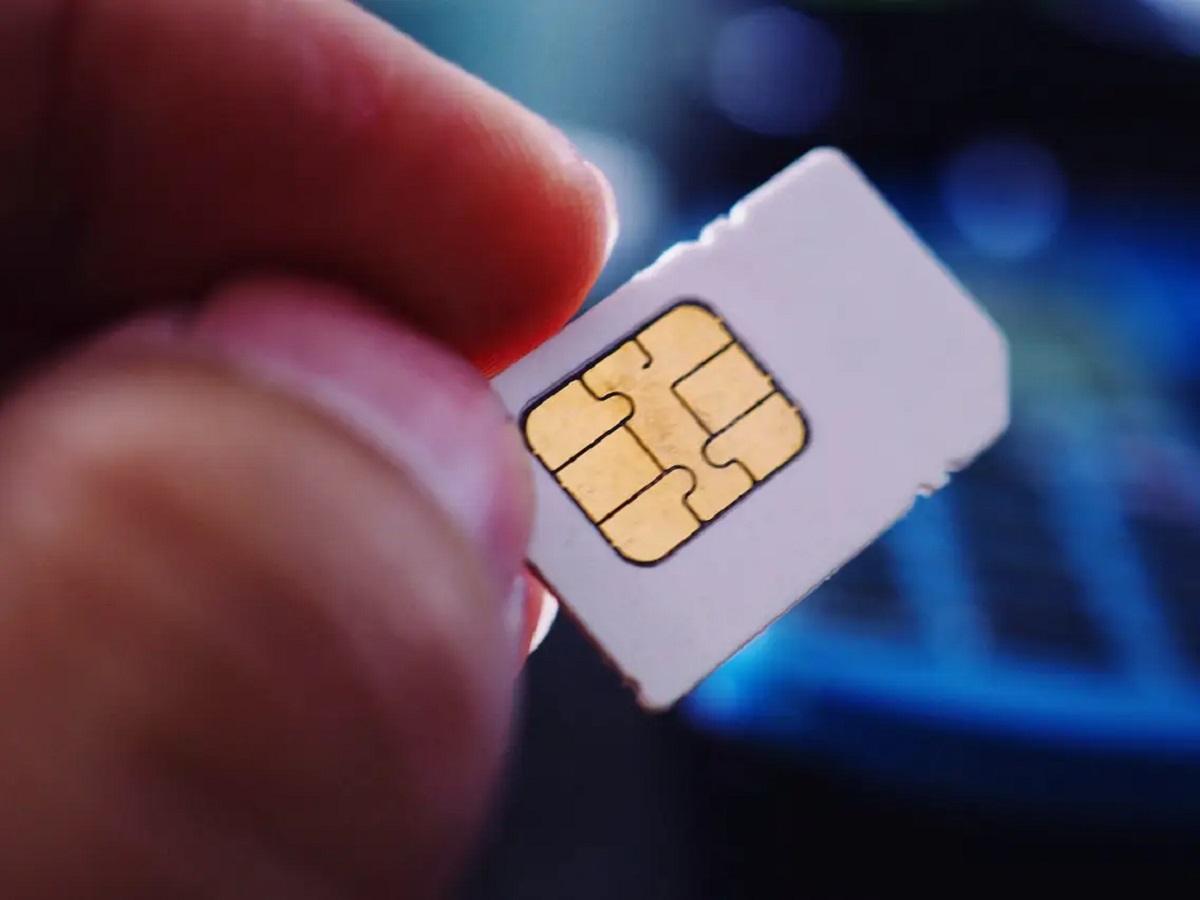
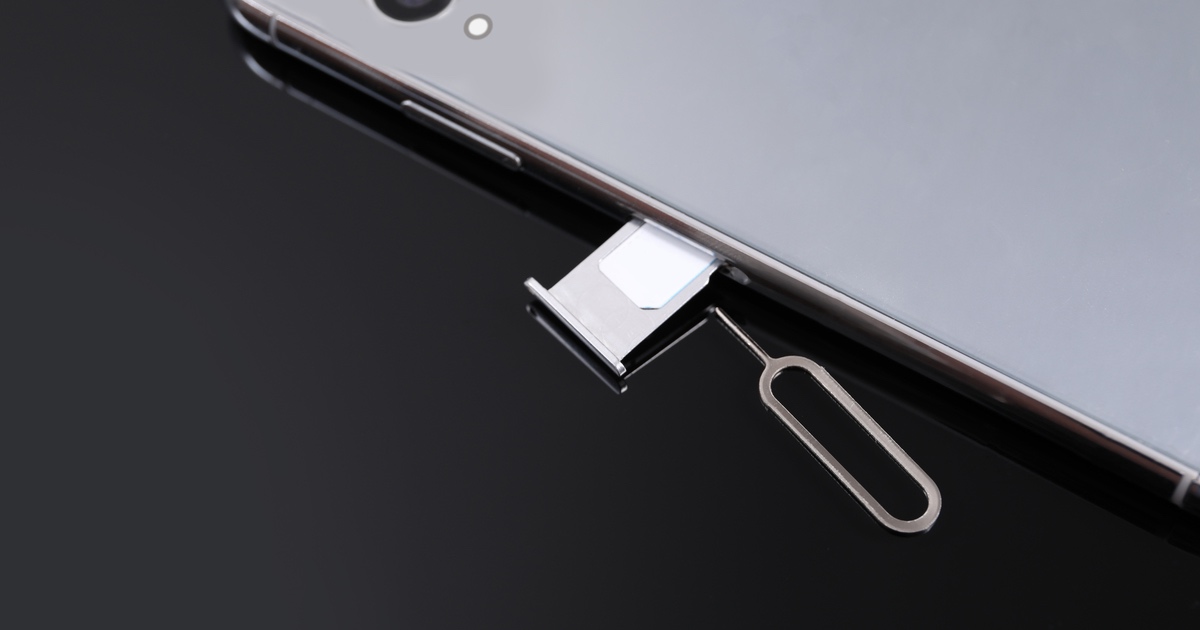
- Insert the SIM Card: If you haven’t already done so, insert the SIM card containing your exported contacts into your Android phone. This is typically done by removing the back cover of the phone and locating the SIM card slot.
- Access the Contacts App: Navigate to the contacts or address book app on your Android phone. This is usually found on the home screen or in the app drawer.
- Open the Contacts Settings: Once in the contacts app, look for a settings or options menu that allows you to manage your contacts. This may be represented by three vertical dots or lines, or it may be accessible through the phone’s settings menu.
- Choose the Import Option: Within the contacts settings, look for an import option. This may be labeled as “Import from SIM card” or something similar. Select this option to initiate the import process.
- Select the Contacts to Import: Depending on your Android phone, you may have the option to select specific contacts or import all contacts from the SIM card. Make your selection based on your preferences and confirm the import process.
- Confirm the Import: Once you’ve chosen the contacts to import, the Android phone will prompt you to confirm the action. Proceed with the import, and your contacts will be transferred to the phone’s internal storage.
After completing these steps, your contacts will be successfully imported to your Android phone, ready to be accessed and managed within the contacts app. It’s important to note that some Android phones may have variations in the import process, so refer to the user manual or online resources specific to your device for detailed instructions.
With your contacts now seamlessly transferred to your Android phone, you can enjoy the convenience of having all your important connections at your fingertips. Whether you’re making the switch to a new Android device or simply consolidating your contacts, this process ensures that you can stay connected without missing a beat.
Conclusion
Conclusion
Transferring contacts from a feature phone to an Android device is a pivotal step in embracing the advanced capabilities of modern smartphones. By following the outlined steps to export contacts from the feature phone and import them to the Android device, you’ve successfully navigated the process of ensuring seamless communication across devices.
As technology continues to evolve, the ability to effortlessly transfer essential data such as contacts becomes increasingly important. Whether you’re upgrading to a new Android phone or transitioning from a feature phone to a smartphone for the first time, the knowledge and skills gained from this guide empower you to manage your contacts with confidence.
By exporting contacts from your feature phone and importing them to your Android device, you’ve not only preserved valuable connections but also demonstrated your adaptability in embracing new technologies. This transition marks a significant milestone, opening the door to a world of possibilities offered by your Android phone.
As you explore the myriad features and applications available on your Android device, having your contacts readily available ensures that you can seamlessly communicate, collaborate, and connect with the important individuals in your personal and professional life. This smooth transition sets the stage for an enhanced mobile experience, empowering you to harness the full potential of your Android phone.
With your contacts securely transferred to your Android phone, you’re now poised to embark on a seamless journey of connectivity and productivity. Whether it’s staying in touch with loved ones, coordinating with colleagues, or networking with new acquaintances, your contacts are just a tap away, ready to enrich your digital interactions.
Congratulations on successfully transferring your contacts to your new Android device. Embrace the opportunities that await, and may your Android phone become a trusted companion in both your personal and professional endeavors.


