Introduction
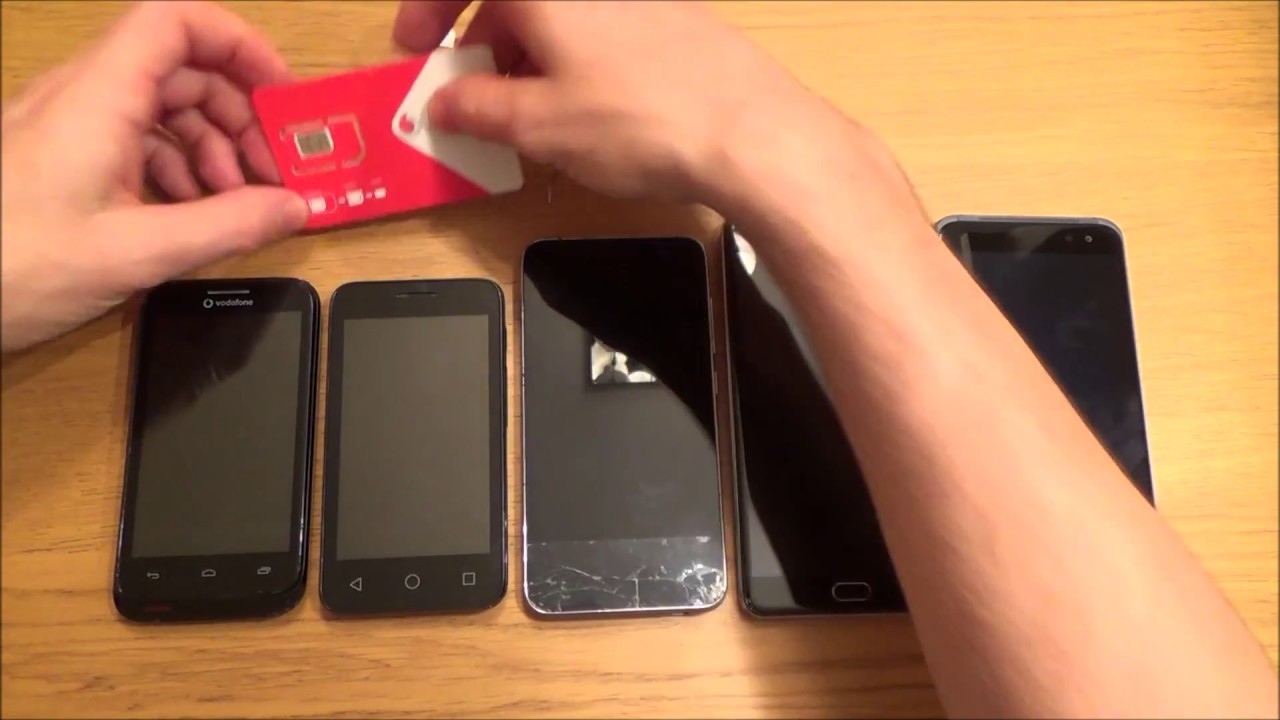
Ejecting the SIM card from your Pixel 4 is a straightforward process that allows you to switch to a new SIM card or troubleshoot connectivity issues. The SIM card, which stands for Subscriber Identity Module, is a crucial component that enables your Pixel 4 to connect to your mobile network and make calls, send texts, and access mobile data. Whether you're upgrading to a new device, changing carriers, or simply need to reseat your SIM card, knowing how to properly eject it from your Pixel 4 is essential.
In this comprehensive guide, we will walk you through the step-by-step process of ejecting the SIM card from your Pixel 4. By following these instructions, you can confidently and safely remove the SIM card without causing any damage to your device. Additionally, we will provide valuable insights and tips to ensure a smooth and hassle-free experience.
Understanding the significance of the SIM card and how to handle it with care is crucial for every Pixel 4 user. With this guide, you will gain the knowledge and confidence to manage your SIM card effectively, empowering you to make the most of your mobile device's connectivity features. Let's dive into the process of ejecting the SIM card from your Pixel 4 and equip you with the essential skills to handle this task with ease.
Step 1: Power off the Pixel 4
Before beginning the process of ejecting the SIM card from your Pixel 4, it's crucial to power off the device. This step is essential to ensure the safety of your device and prevent any potential damage to the SIM card or the phone itself.
To power off your Pixel 4, simply press and hold the power button located on the right side of the device. After holding the button for a few seconds, you will see the power off option displayed on the screen. Tap on "Power off" to initiate the shutdown process.
It's important to wait for the device to completely power down before proceeding to the next steps. This ensures that the internal components, including the SIM card, are not active during the ejection process, minimizing the risk of damage.
By powering off your Pixel 4 before ejecting the SIM card, you are taking a proactive step to safeguard your device and the SIM card itself. This simple yet crucial precaution sets the stage for a smooth and trouble-free SIM card ejection process, allowing you to proceed with confidence and peace of mind.
With your Pixel 4 powered off, you are now ready to move on to the next step of locating the SIM card tray and initiating the ejection process. This foundational step sets the tone for a seamless SIM card management experience, ensuring that you can handle the task with precision and care.
Now that your Pixel 4 is powered off, let's proceed to the next step of locating the SIM card tray and preparing to eject the SIM card with ease.
Step 2: Locate the SIM card tray
Locating the SIM card tray on your Pixel 4 is the next crucial step in the process of ejecting the SIM card. The SIM card tray houses the SIM card and is designed to be easily accessible for removal and insertion. By identifying the precise location of the SIM card tray, you can proceed with confidence and precision, setting the stage for a seamless SIM card ejection process.
On the Pixel 4, the SIM card tray is typically located on the left side of the device. It is important to note that the SIM card tray may vary in appearance based on the specific model of the Pixel 4. However, the general location remains consistent, ensuring a standardized approach to accessing the SIM card tray.
To locate the SIM card tray, gently examine the left side of your Pixel 4, looking for a small pinhole or a removable panel. The SIM card tray is often concealed behind a panel that can be easily opened using a SIM eject tool or a paperclip. Some Pixel 4 models feature a tray with a visible pinhole, allowing for straightforward access to the SIM card compartment.
Once you have identified the SIM card tray, take a moment to familiarize yourself with its location and the mechanism for opening it. This preparatory step allows you to approach the ejection process with confidence and clarity, ensuring that you can proceed smoothly without any guesswork.
By locating the SIM card tray on your Pixel 4, you are positioning yourself for a successful SIM card ejection experience. This foundational step sets the stage for the subsequent actions of ejecting and removing the SIM card, allowing you to navigate the process with ease and precision.
With the SIM card tray now identified, you are ready to proceed to the next step of ejecting the SIM card from your Pixel 4, setting the stage for a seamless and efficient SIM card management experience.
Step 3: Eject the SIM card tray
With the SIM card tray located, the next step is to proceed with ejecting the tray from your Pixel 4. Ejecting the SIM card tray requires precision and care to ensure that the SIM card is safely removed without causing any damage to the device or the card itself.
To initiate the ejection process, you will need a SIM eject tool or a paperclip. These tools are designed to fit into the small pinhole or opening on the SIM card tray, allowing you to release the tray from its compartment. If you are using a paperclip, gently straighten one end to create a small, sturdy tool for the ejection process.
Insert the SIM eject tool or the straightened end of the paperclip into the pinhole or opening on the SIM card tray. Apply gentle pressure to push the tool into the hole, and you will feel a slight resistance as the tray begins to disengage from its position. Continue to apply steady pressure until the SIM card tray pops out slightly from the device.
Once the SIM card tray is partially ejected, carefully pull it out from the Pixel 4, ensuring that you maintain a firm grip on the tray to prevent it from slipping or falling. As you remove the tray, be mindful of the SIM card positioned within it, ensuring that it remains securely in place during the ejection process.
With the SIM card tray successfully removed from your Pixel 4, you can now proceed to the next step of removing the SIM card from the tray. This pivotal action sets the stage for the seamless transition to handling the SIM card with precision and care, ensuring that you can manage it effectively without any complications.
By successfully ejecting the SIM card tray from your Pixel 4, you have taken a crucial step towards managing your SIM card with confidence and precision. This foundational action paves the way for the subsequent task of removing the SIM card, allowing you to navigate the process smoothly and seamlessly.
With the SIM card tray now ejected, you are ready to proceed to the next step of removing the SIM card from the tray, setting the stage for a seamless and efficient SIM card management experience.
Step 4: Remove the SIM card
With the SIM card tray successfully ejected from your Pixel 4, the next crucial step is to carefully remove the SIM card from the tray. The SIM card is a small, rectangular chip that is essential for connecting your device to the mobile network, and handling it with care during the removal process is paramount.
Upon inspecting the SIM card tray, you will notice a designated slot that securely holds the SIM card in place. Gently examine the tray to locate the SIM card and identify its positioning within the slot. It's important to handle the SIM card with care, ensuring that you do not apply excessive force or cause any bending or damage to the delicate chip.
To remove the SIM card, delicately slide it out from the slot within the tray, using your fingertips to exert gentle pressure. As you maneuver the SIM card out of the tray, maintain a steady and controlled approach to prevent any sudden movements that could potentially dislodge or damage the card.
Once the SIM card is successfully removed from the tray, take a moment to inspect it for any signs of damage or wear. Check the metal contacts on the back of the SIM card for any debris or smudges, as these can affect its functionality when reinserted into the device. If necessary, use a soft, dry cloth to gently clean the contacts, ensuring that the SIM card remains in optimal condition.
Handling the SIM card with precision and care during the removal process is essential to maintain its functionality and integrity. By approaching this step with attentiveness and delicacy, you can ensure that the SIM card remains in pristine condition, ready to be reinserted into the device or replaced with a new SIM card as needed.
With the SIM card successfully removed from the tray, you have completed a pivotal step in the process of managing your Pixel 4's connectivity features. This action sets the stage for the subsequent task of reinserting the SIM card tray into the device, allowing you to proceed with confidence and precision.
Now that the SIM card has been safely removed from the tray, you are ready to move on to the next step of reinserting the SIM card tray into your Pixel 4, setting the stage for a seamless and efficient SIM card management experience.
Step 5: Reinsert the SIM card tray
After successfully removing the SIM card from your Pixel 4, the next crucial step is to reinsert the SIM card tray back into the device. This step is essential to ensure that the SIM card is securely placed within the device, allowing you to restore connectivity and resume using your Pixel 4's mobile features.
To reinsert the SIM card tray, carefully align it with the corresponding slot on the device. Take note of the orientation of the tray to ensure that it is positioned correctly, preventing any potential misalignment or obstruction during the reinsertion process.
Once the SIM card tray is properly aligned with the slot, gently slide it back into the device, applying steady and controlled pressure to ensure a secure fit. It's important to avoid forcing the tray into place, as this could lead to damage or misalignment. Instead, maintain a gentle yet firm approach to guide the tray back into its original position.
As the SIM card tray is reinserted into your Pixel 4, you will feel a subtle click or resistance, indicating that it has securely returned to its place. Take a moment to verify that the tray sits flush with the device's frame, confirming that it is properly seated and aligned.
With the SIM card tray successfully reinserted into your Pixel 4, you have completed the final step in the process of managing your SIM card. This action ensures that the SIM card is securely positioned within the device, ready to facilitate seamless connectivity and mobile functionality.
By reinserting the SIM card tray with precision and care, you have demonstrated a proactive approach to managing your Pixel 4's essential components. This foundational step sets the stage for a smooth and efficient transition to resuming your device's connectivity features, allowing you to proceed with confidence and peace of mind.
With the SIM card tray securely back in place, you have successfully completed the process of ejecting and reinserting the SIM card from your Pixel 4. This comprehensive guide has equipped you with the essential skills and knowledge to manage your SIM card effectively, empowering you to navigate the process with confidence and precision.
Now that the SIM card tray has been reinserted into your Pixel 4, you can confidently power on your device and resume enjoying its full range of mobile connectivity features.
Conclusion
In conclusion, mastering the process of ejecting and reinserting the SIM card from your Pixel 4 is a valuable skill that empowers you to manage your device's connectivity features with confidence and precision. By following the step-by-step guide outlined in this comprehensive article, you have gained the essential knowledge and skills to handle the SIM card with care and proficiency.
Understanding the significance of the SIM card and its role in facilitating mobile connectivity is fundamental for every Pixel 4 user. The ability to confidently eject and reinsert the SIM card allows you to seamlessly transition between devices, change carriers, or troubleshoot connectivity issues without hesitation.
The process of ejecting the SIM card from your Pixel 4 begins with the foundational step of powering off the device, setting the stage for a safe and controlled SIM card management experience. Locating the SIM card tray and initiating the ejection process with precision ensures that the SIM card is handled with care and attention to detail.
Removing the SIM card from the tray demands delicacy and attentiveness to maintain its integrity and functionality. By approaching this step with care, you can ensure that the SIM card remains in optimal condition, ready to be reinserted into the device or replaced as needed.
Reinserting the SIM card tray back into your Pixel 4 marks the final step in the process, allowing you to restore connectivity and resume using your device's mobile features. This action signifies the successful completion of the SIM card management process, empowering you to navigate the task with confidence and peace of mind.
By mastering the process of ejecting and reinserting the SIM card from your Pixel 4, you have demonstrated a proactive approach to managing your device's essential components. This foundational skill equips you to handle SIM card-related tasks with ease, ensuring a seamless transition between devices and carriers as needed.
With the knowledge and proficiency gained from this guide, you are well-prepared to manage your Pixel 4's SIM card effectively, empowering you to make the most of your device's connectivity features. Whether it's upgrading to a new device, troubleshooting connectivity issues, or changing carriers, you can approach the task with confidence and precision, knowing that you have the essential skills to handle the SIM card with care and proficiency.