Introduction
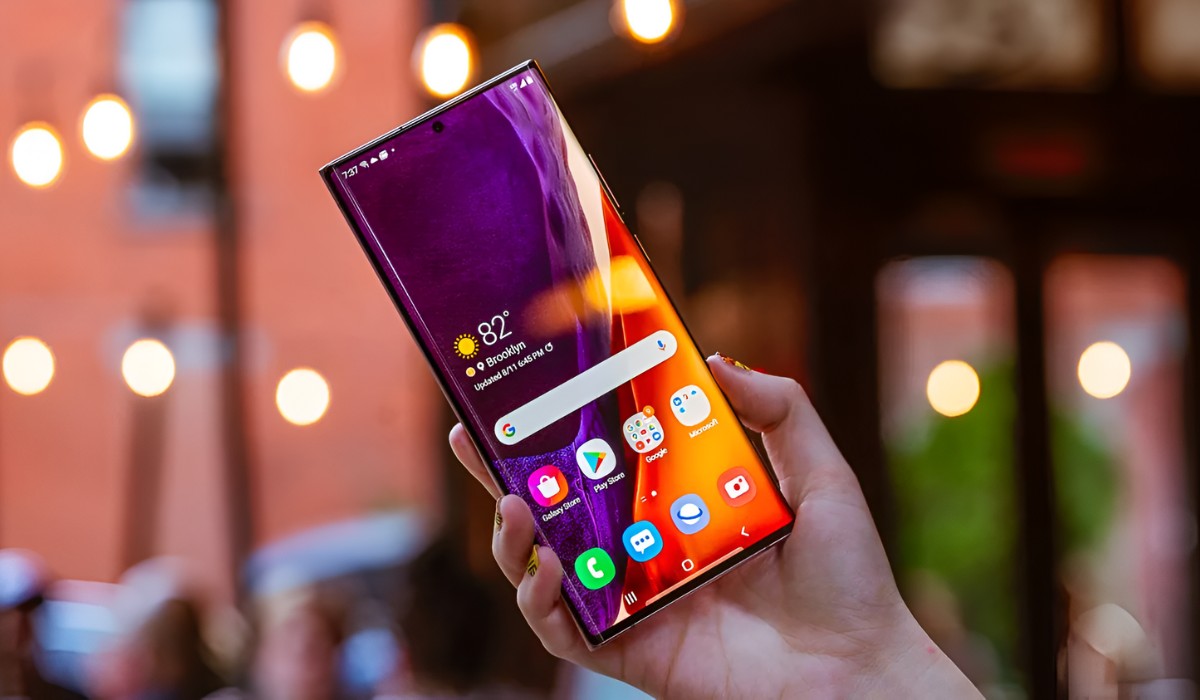
In today's fast-paced digital age, the seamless integration of mobile devices with computers has become increasingly essential. The ability to connect and transfer files between a smartphone and a computer not only enhances productivity but also facilitates efficient data management. This is particularly relevant for Samsung Galaxy S20 users, as the device offers a myriad of features and functionalities that can be optimized through integration with a computer.
The process of connecting a Samsung Galaxy S20 to a computer is straightforward and can be accomplished with a few simple steps. Whether you need to transfer photos, videos, documents, or other files, establishing a reliable connection between your S20 and computer is the first step toward harnessing the full potential of your device.
By following the steps outlined in this guide, you will gain a comprehensive understanding of how to seamlessly integrate your Samsung Galaxy S20 with your computer. From installing the necessary software to transferring files and safely disconnecting your device, each step is designed to empower you with the knowledge and confidence to navigate the integration process effortlessly.
As we delve into the intricacies of connecting your Samsung Galaxy S20 to a computer, you will discover the convenience and versatility that this integration offers. Whether you are a professional seeking to streamline your workflow or an individual looking to manage your digital content effectively, the ability to connect your S20 to a computer is a valuable skill that can significantly enhance your digital experience.
Now, let's embark on this journey of device integration and unlock the potential of your Samsung Galaxy S20 by seamlessly connecting it to your computer. Through this guide, you will gain the expertise to navigate the integration process with ease and harness the full capabilities of your device. Let's dive into the step-by-step process and embark on a seamless integration journey that will elevate your digital experience.
Step 1: Install Necessary Software
Before initiating the process of connecting your Samsung Galaxy S20 to a computer, it is imperative to ensure that the necessary software is installed on your computer. This software facilitates the seamless interaction between your S20 and the computer, enabling efficient file transfer and device management. To embark on this integration journey, follow these essential steps to install the required software:
-
Samsung USB Drivers: Begin by installing the Samsung USB drivers on your computer. These drivers are crucial for establishing a stable and reliable connection between your S20 and the computer. By enabling the computer to recognize and communicate with your device, the USB drivers lay the foundation for seamless integration.
-
Samsung Smart Switch: Next, consider installing Samsung Smart Switch, a versatile application designed to facilitate data transfer and device management. This intuitive software empowers you to effortlessly transfer your contacts, photos, messages, and other data from your old device to your new Samsung Galaxy S20. Additionally, Smart Switch offers convenient backup and restoration features, ensuring that your digital content remains secure and accessible.
-
Android File Transfer (For Mac): If you are using a Mac computer, it is essential to install Android File Transfer to enable seamless file transfer between your S20 and the Mac operating system. This software provides a user-friendly interface for managing and transferring files, allowing you to navigate your device's content with ease.
By diligently installing these essential software components, you pave the way for a smooth and efficient integration process. These tools not only facilitate the seamless connection between your Samsung Galaxy S20 and your computer but also empower you to manage your device and digital content effectively. With the necessary software in place, you are now prepared to proceed to the next step and establish a robust connection between your S20 and computer.
As you embark on this integration journey, remember that the installation of the requisite software is a foundational step that sets the stage for a seamless and productive interaction between your Samsung Galaxy S20 and your computer. By equipping yourself with the essential tools and software, you are poised to harness the full potential of your device and elevate your digital experience through seamless device integration.
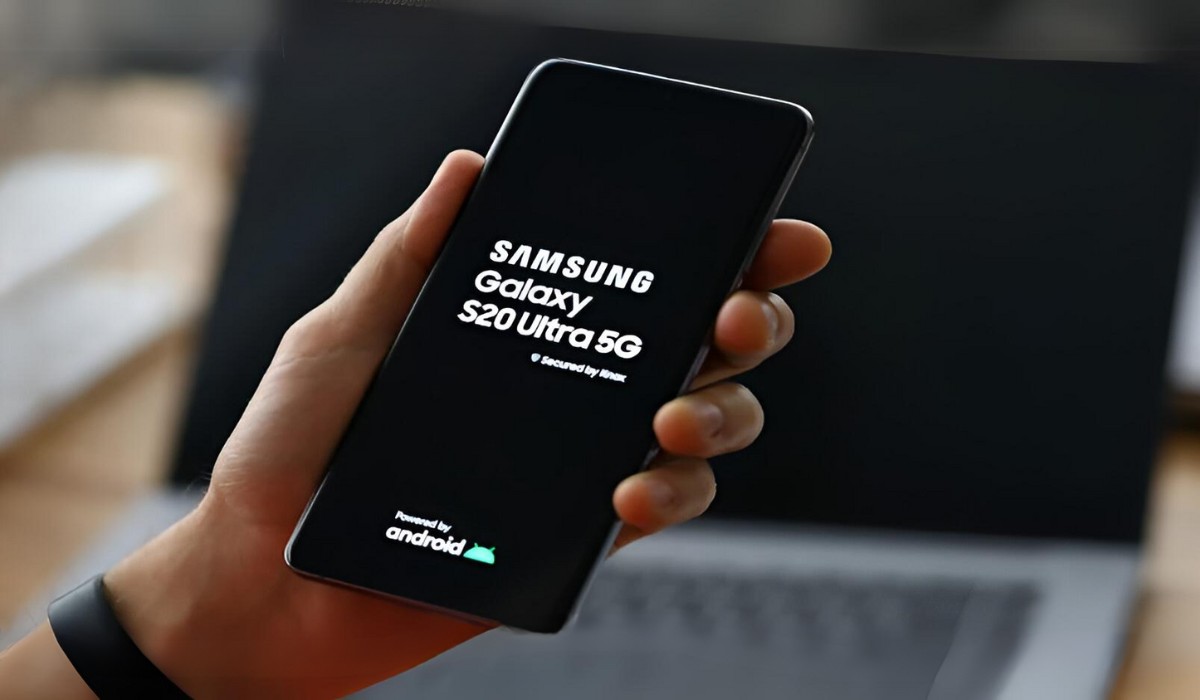
Step 2: Connect S20 to Computer
Connecting your Samsung Galaxy S20 to a computer is a pivotal step in harnessing the full potential of your device. This seamless integration empowers you to transfer files, manage digital content, and leverage the capabilities of your S20 in tandem with your computer. Follow these straightforward steps to establish a reliable connection between your S20 and computer:
-
USB Cable Connection: Begin by locating the USB Type-C cable that was included with your Samsung Galaxy S20. This versatile cable serves as the conduit for establishing a physical connection between your device and the computer. With one end of the cable featuring a USB Type-C connector and the other end equipped with a standard USB connector, it provides the essential link for device integration.
-
Unlock Your S20: Ensure that your Samsung Galaxy S20 is powered on and unlocked before proceeding with the connection process. By unlocking your device, you enable seamless interaction and data transfer between your S20 and the computer.
-
Connect to Computer: With your S20 unlocked, carefully insert the USB Type-C connector into the corresponding port on your device. Subsequently, connect the standard USB end of the cable to an available USB port on your computer. As the physical connection is established, your S20 will prompt you to select the desired USB connection option.
-
USB Connection Options: Upon connecting your S20 to the computer, a notification will appear on your device's screen, presenting various USB connection options. These options include "File Transfer," "USB Tethering," "MIDI," and "Charging." To enable file transfer and seamless interaction with your computer, select the "File Transfer" or "Transfer files" option.
-
Device Recognition: Once you have selected the appropriate USB connection option, your computer will begin to recognize your Samsung Galaxy S20. Depending on your computer's operating system, you may receive a prompt indicating that a new device has been connected.
By following these steps, you will successfully establish a robust connection between your Samsung Galaxy S20 and your computer. This pivotal integration lays the foundation for efficient file transfer, device management, and seamless collaboration between your S20 and computer. With the connection established, you are now poised to embark on the next phase of the integration process and explore the myriad possibilities that this seamless interaction offers.
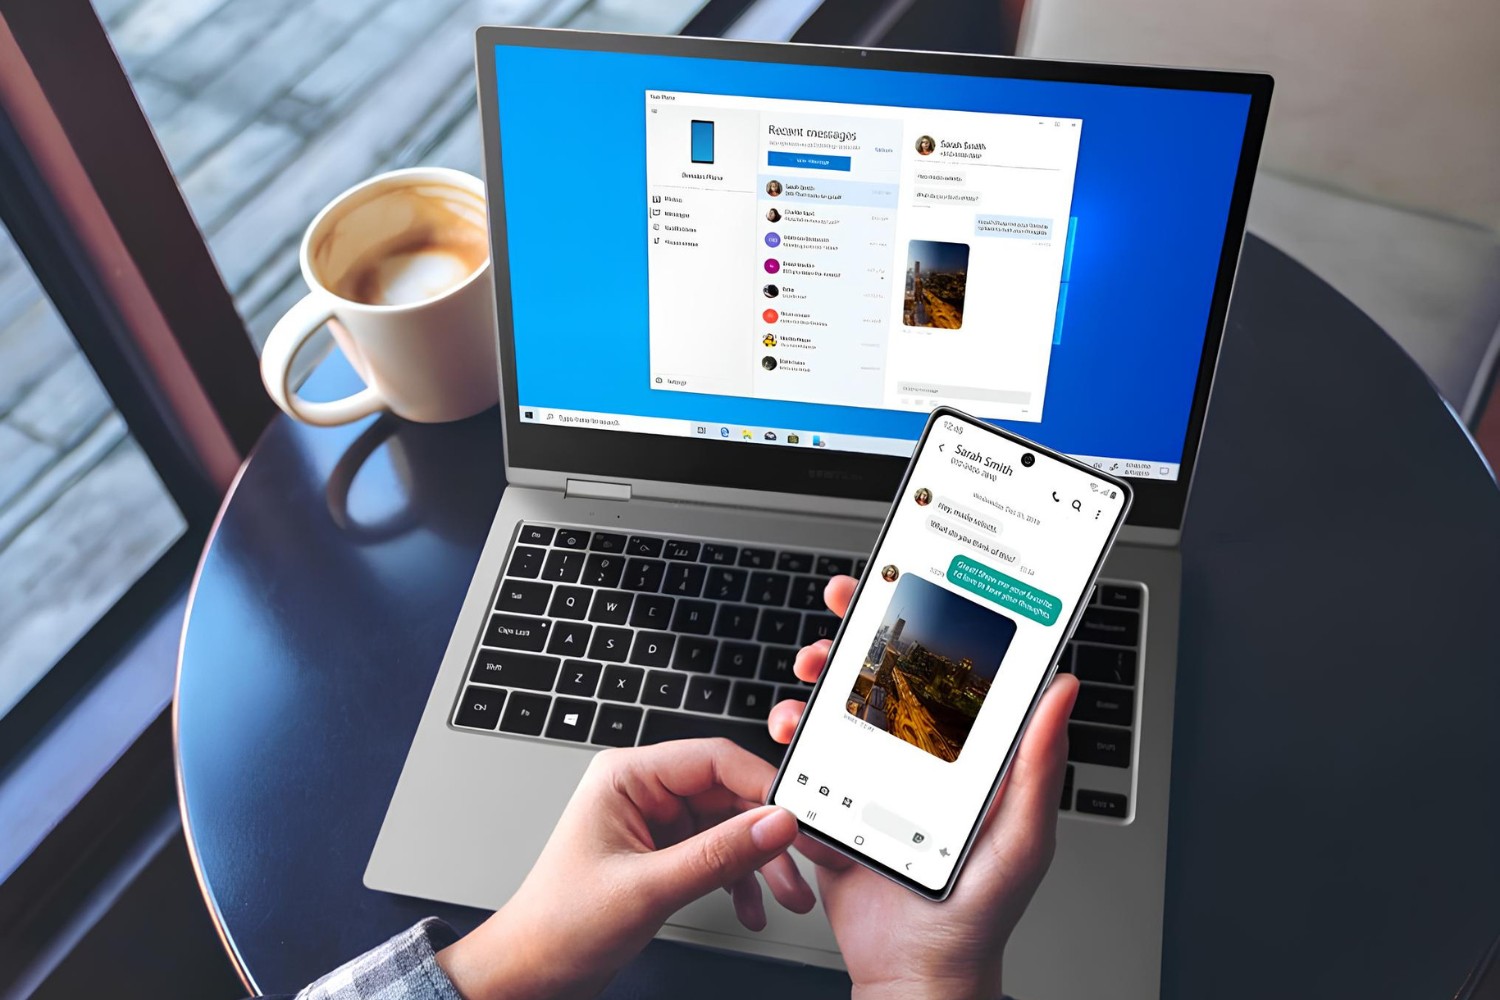
Step 3: Transfer Files
Once you have successfully connected your Samsung Galaxy S20 to your computer, you gain the ability to seamlessly transfer files between the two devices. This pivotal step in the integration process empowers you to manage your digital content effectively and facilitates the efficient exchange of photos, videos, documents, and other files. Follow these straightforward guidelines to initiate the file transfer process:
Windows Operating System
If you are using a Windows computer, the process of transferring files between your Samsung Galaxy S20 and the computer is streamlined and user-friendly. Upon establishing the connection between your S20 and the computer, your device will be recognized as a removable storage device, enabling you to navigate and transfer files effortlessly.
-
File Explorer: Open the File Explorer on your Windows computer to access the connected Samsung Galaxy S20. Your device will be listed as a removable storage device, allowing you to browse its contents and transfer files seamlessly.
-
Drag and Drop: To transfer files, simply navigate to the desired files or folders on your Samsung Galaxy S20 within the File Explorer. Subsequently, drag the selected files or folders to the location on your computer where you wish to transfer them. This intuitive drag-and-drop functionality simplifies the file transfer process, enabling you to manage your digital content with ease.
Mac Operating System
For Mac users, the process of transferring files between your Samsung Galaxy S20 and the computer involves the use of the Android File Transfer application. This user-friendly software provides a seamless interface for managing and transferring files between your S20 and the Mac operating system.
-
Android File Transfer: Launch the Android File Transfer application on your Mac computer to access the contents of your connected Samsung Galaxy S20. This intuitive interface allows you to navigate your device's files and folders effortlessly.
-
Transfer Files: Within the Android File Transfer interface, navigate to the files or folders on your Samsung Galaxy S20 that you wish to transfer. Subsequently, drag the selected items to the desired location on your Mac computer to initiate the file transfer process. This straightforward approach empowers you to manage your digital content effectively and seamlessly transfer files between your S20 and the Mac operating system.
By following these guidelines, you can effortlessly transfer files between your Samsung Galaxy S20 and your computer, regardless of the operating system. This seamless file transfer capability enhances your digital experience, enabling you to manage and organize your digital content with ease. Whether you are transferring photos, videos, documents, or other files, the integration of your S20 with your computer empowers you to navigate and exchange your digital content effortlessly.
As you embark on the file transfer process, leverage the seamless integration between your Samsung Galaxy S20 and your computer to streamline your digital workflow and ensure that your digital content remains accessible and organized. With the ability to transfer files seamlessly, you are poised to harness the full potential of your device and elevate your digital experience through efficient file management and collaboration between your S20 and computer.
Step 4: Disconnect S20 from Computer
As you conclude your file transfer and device management tasks, it is essential to execute the disconnection process meticulously to ensure the integrity of your Samsung Galaxy S20 and the computer. Safely disconnecting your S20 from the computer not only preserves the device's data but also prevents potential hardware or software issues. Follow these essential steps to disconnect your S20 from the computer seamlessly:
Windows Operating System
-
Eject Removable Storage: On your Windows computer, navigate to the system tray located in the taskbar. Locate the "Safely Remove Hardware and Eject Media" icon, which resembles a USB connector with a green checkmark. Click on this icon to initiate the ejection process for your connected Samsung Galaxy S20.
-
Select Device for Ejection: Upon clicking the "Safely Remove Hardware and Eject Media" icon, a list of connected devices, including your S20, will be displayed. Select the Samsung Galaxy S20 from the list to proceed with the ejection process.
-
Confirm Ejection: After selecting your S20 for ejection, a confirmation prompt will appear, indicating that it is safe to disconnect the device. Confirm the ejection to ensure that the S20 is safely disconnected from the computer.
Mac Operating System
-
Close Android File Transfer: If you are using a Mac computer, begin by closing the Android File Transfer application. This ensures that no active file transfer processes are ongoing between your Samsung Galaxy S20 and the computer.
-
Eject S20 from Finder: Within the Finder window on your Mac, locate the Samsung Galaxy S20 listed under "Locations" or "Devices." Click on the eject icon next to your S20 to initiate the ejection process.
-
Wait for Confirmation: After initiating the ejection process, wait for the confirmation message indicating that it is safe to disconnect your S20 from the computer. This confirmation ensures that the device has been safely ejected and can be disconnected without risk.
By meticulously following these steps, you can safely disconnect your Samsung Galaxy S20 from the computer, preserving the integrity of your device and ensuring a seamless integration experience. This careful disconnection process mitigates the risk of data corruption or hardware issues, allowing you to navigate the integration process with confidence and efficiency.
As you conclude the disconnection process, reflect on the seamless interaction and file transfer capabilities that device integration offers. By mastering the art of connecting and disconnecting your Samsung Galaxy S20 from the computer, you empower yourself to manage your digital content effectively and elevate your digital experience through seamless device integration.
Conclusion
In conclusion, the seamless integration of your Samsung Galaxy S20 with your computer unlocks a world of possibilities, empowering you to manage your digital content effectively and collaborate seamlessly between devices. By following the step-by-step process outlined in this guide, you have gained the expertise to navigate the integration journey with confidence and efficiency.
The installation of essential software, including Samsung USB drivers, Samsung Smart Switch, and Android File Transfer for Mac users, lays the foundation for a robust connection between your S20 and the computer. This pivotal step ensures that your devices can communicate seamlessly, enabling efficient file transfer and device management.
Establishing a reliable connection between your Samsung Galaxy S20 and your computer marks the beginning of a seamless integration experience. By carefully connecting your S20 using the USB cable and selecting the appropriate USB connection option, you pave the way for efficient collaboration and file transfer between your device and the computer.
The ability to transfer files effortlessly between your Samsung Galaxy S20 and your computer enhances your digital experience, allowing you to manage photos, videos, documents, and other files with ease. Whether you are using a Windows or Mac operating system, the integration process empowers you to navigate and exchange your digital content seamlessly.
As you conclude your device integration tasks, executing the disconnection process meticulously ensures the integrity of your Samsung Galaxy S20 and the computer. By safely disconnecting your S20, you mitigate the risk of data corruption and hardware issues, preserving the seamless integration experience.
Through the seamless integration of your Samsung Galaxy S20 with your computer, you have unlocked the full potential of your device, enabling efficient file management, data transfer, and collaboration. This integration journey empowers you to streamline your digital workflow, ensuring that your digital content remains accessible and organized.
In essence, the integration of your Samsung Galaxy S20 with your computer transcends mere connectivity; it represents a gateway to enhanced productivity and digital empowerment. By mastering the art of device integration, you have embarked on a journey toward seamless collaboration and efficient file management, elevating your digital experience to new heights.