Introduction
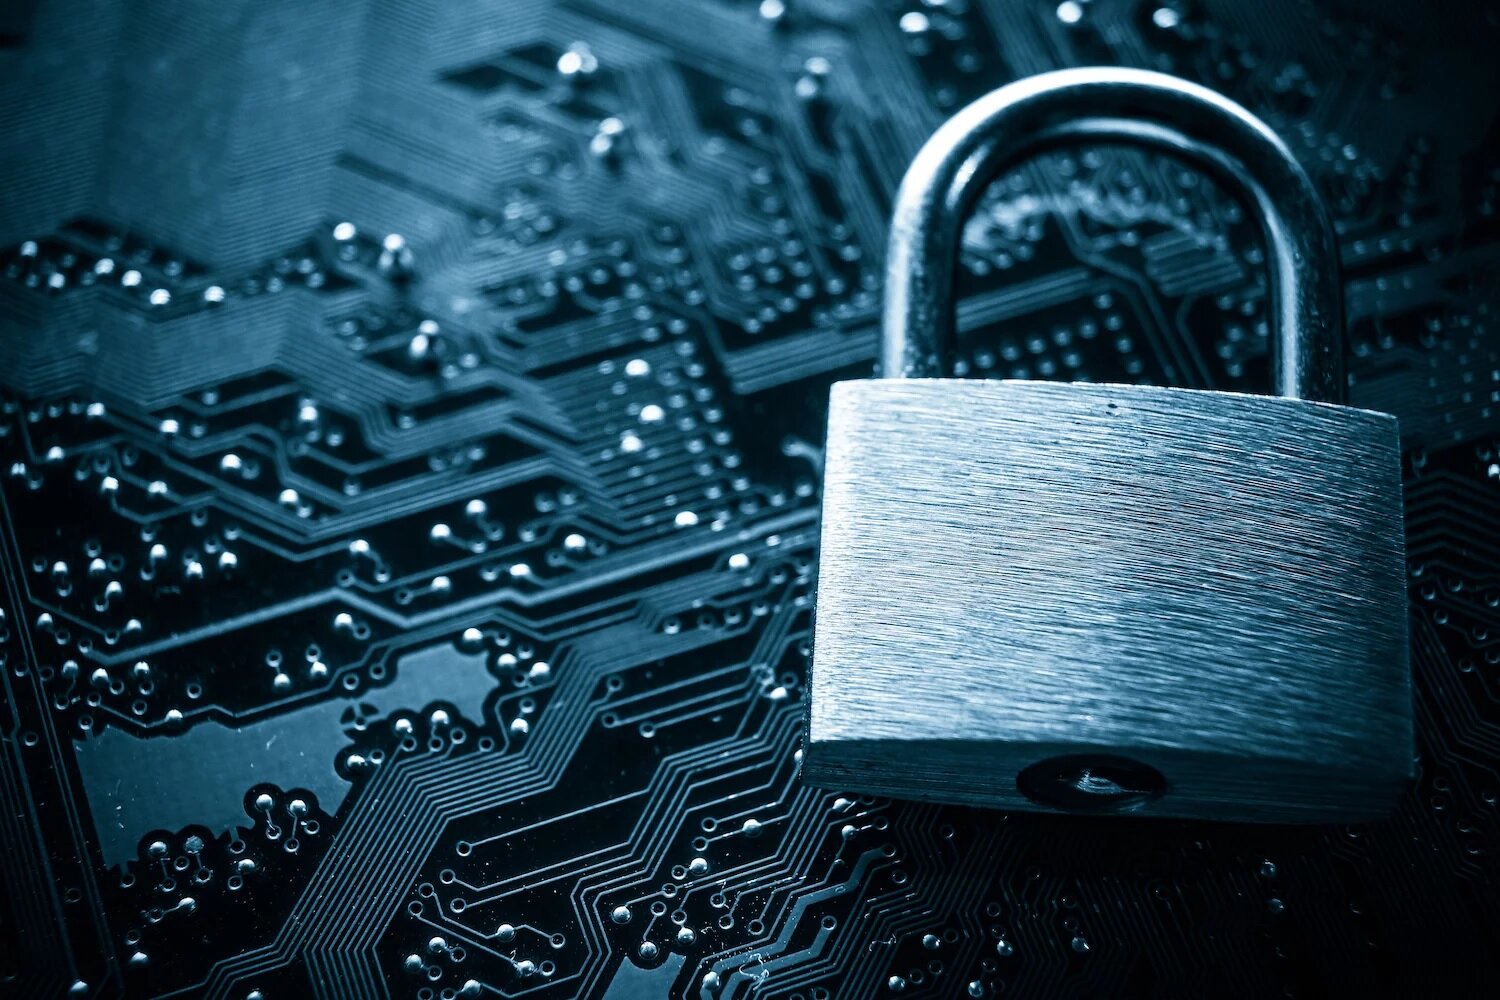
Welcome to the world of cryptocurrency. As an investor, you understand the importance of keeping your digital assets safe and secure. While online wallets and exchanges offer convenience, they are prone to hacking and theft. This is where cold storage comes into play.
Cold storage is a method of storing your cryptocurrencies offline, away from internet-connected devices. By keeping your digital assets completely offline, you significantly reduce the risk of unauthorized access. In this article, we will explore what cold storage is, why it is crucial to use it, and how to set it up effectively.
With the rising popularity of cryptocurrencies, hackers have become more sophisticated in their attempts to steal digital assets. It’s crucial to adopt a proactive approach to protect your investments. Cold storage offers an added layer of defense by keeping your private keys offline.
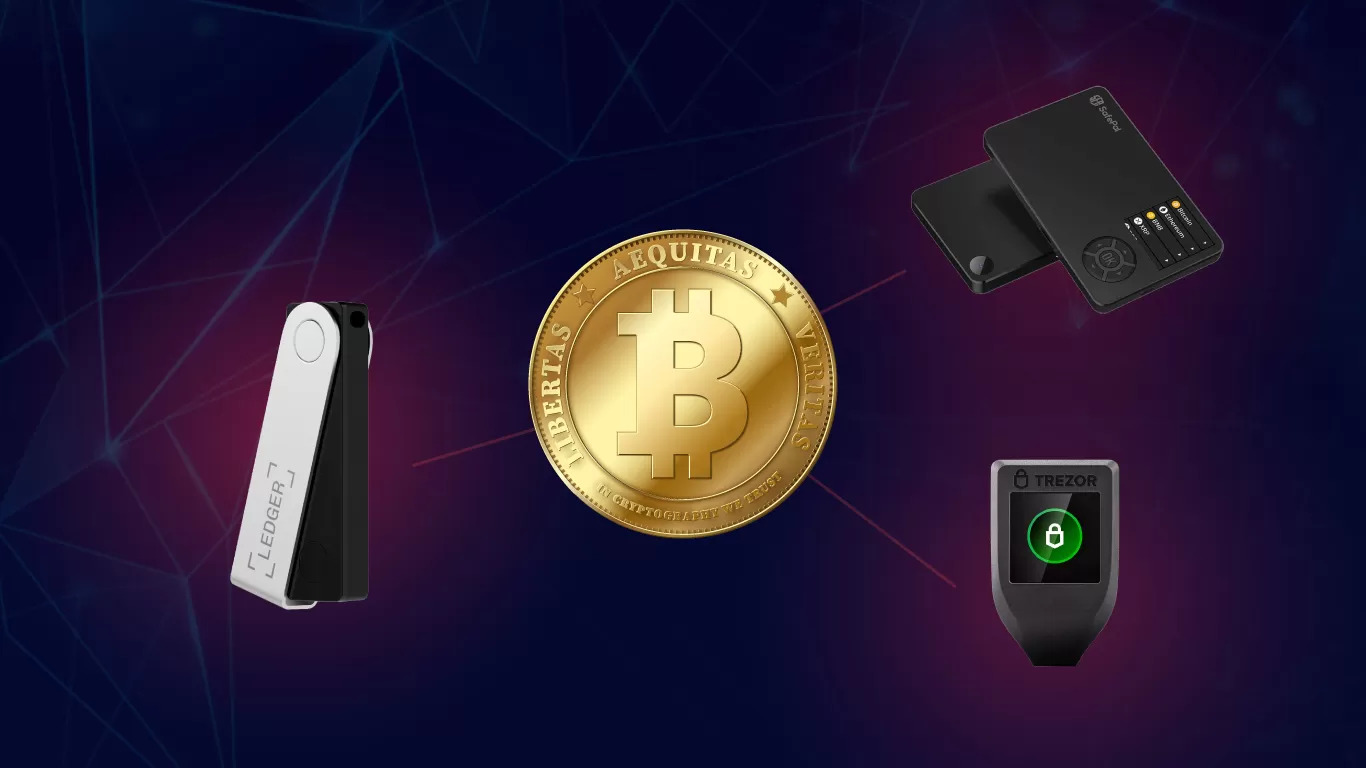
By utilizing a hardware wallet, you can securely store your cryptocurrencies offline. These hardware devices are specifically designed to keep your private keys safe from hackers and malware. They come in various forms, such as USB drives or dedicated devices, providing an extra level of security.
In this article, we will guide you through the process of setting up cold storage for your cryptocurrencies. We will discuss how to choose the right hardware wallet, create an offline wallet, secure your offline wallet, transfer your cryptocurrency to the cold wallet, and finally, verify and back up your cold storage.
We will also offer recommendations on how to safely store your hardware wallet to prevent physical theft or damage. Additionally, we will provide guidance on accessing and using your cold storage when needed. By following these steps, you can drastically reduce the risk of losing your digital assets.
So, if you’re ready to take control of your cryptocurrency security and protect your investments, let’s dive into the world of cold storage and ensure the safety of your digital wealth.
What is Cold Storage?
Cold storage refers to the practice of storing your cryptocurrencies offline, away from internet-connected devices. Unlike hot wallets, which are connected to the internet and are more vulnerable to hacking attempts, cold storage provides a higher level of security for your digital assets.
In cold storage, your private keys, which are required to access and transfer your cryptocurrencies, are generated and stored offline. This ensures that your keys are not exposed to potential online threats such as malware or hacking attempts.
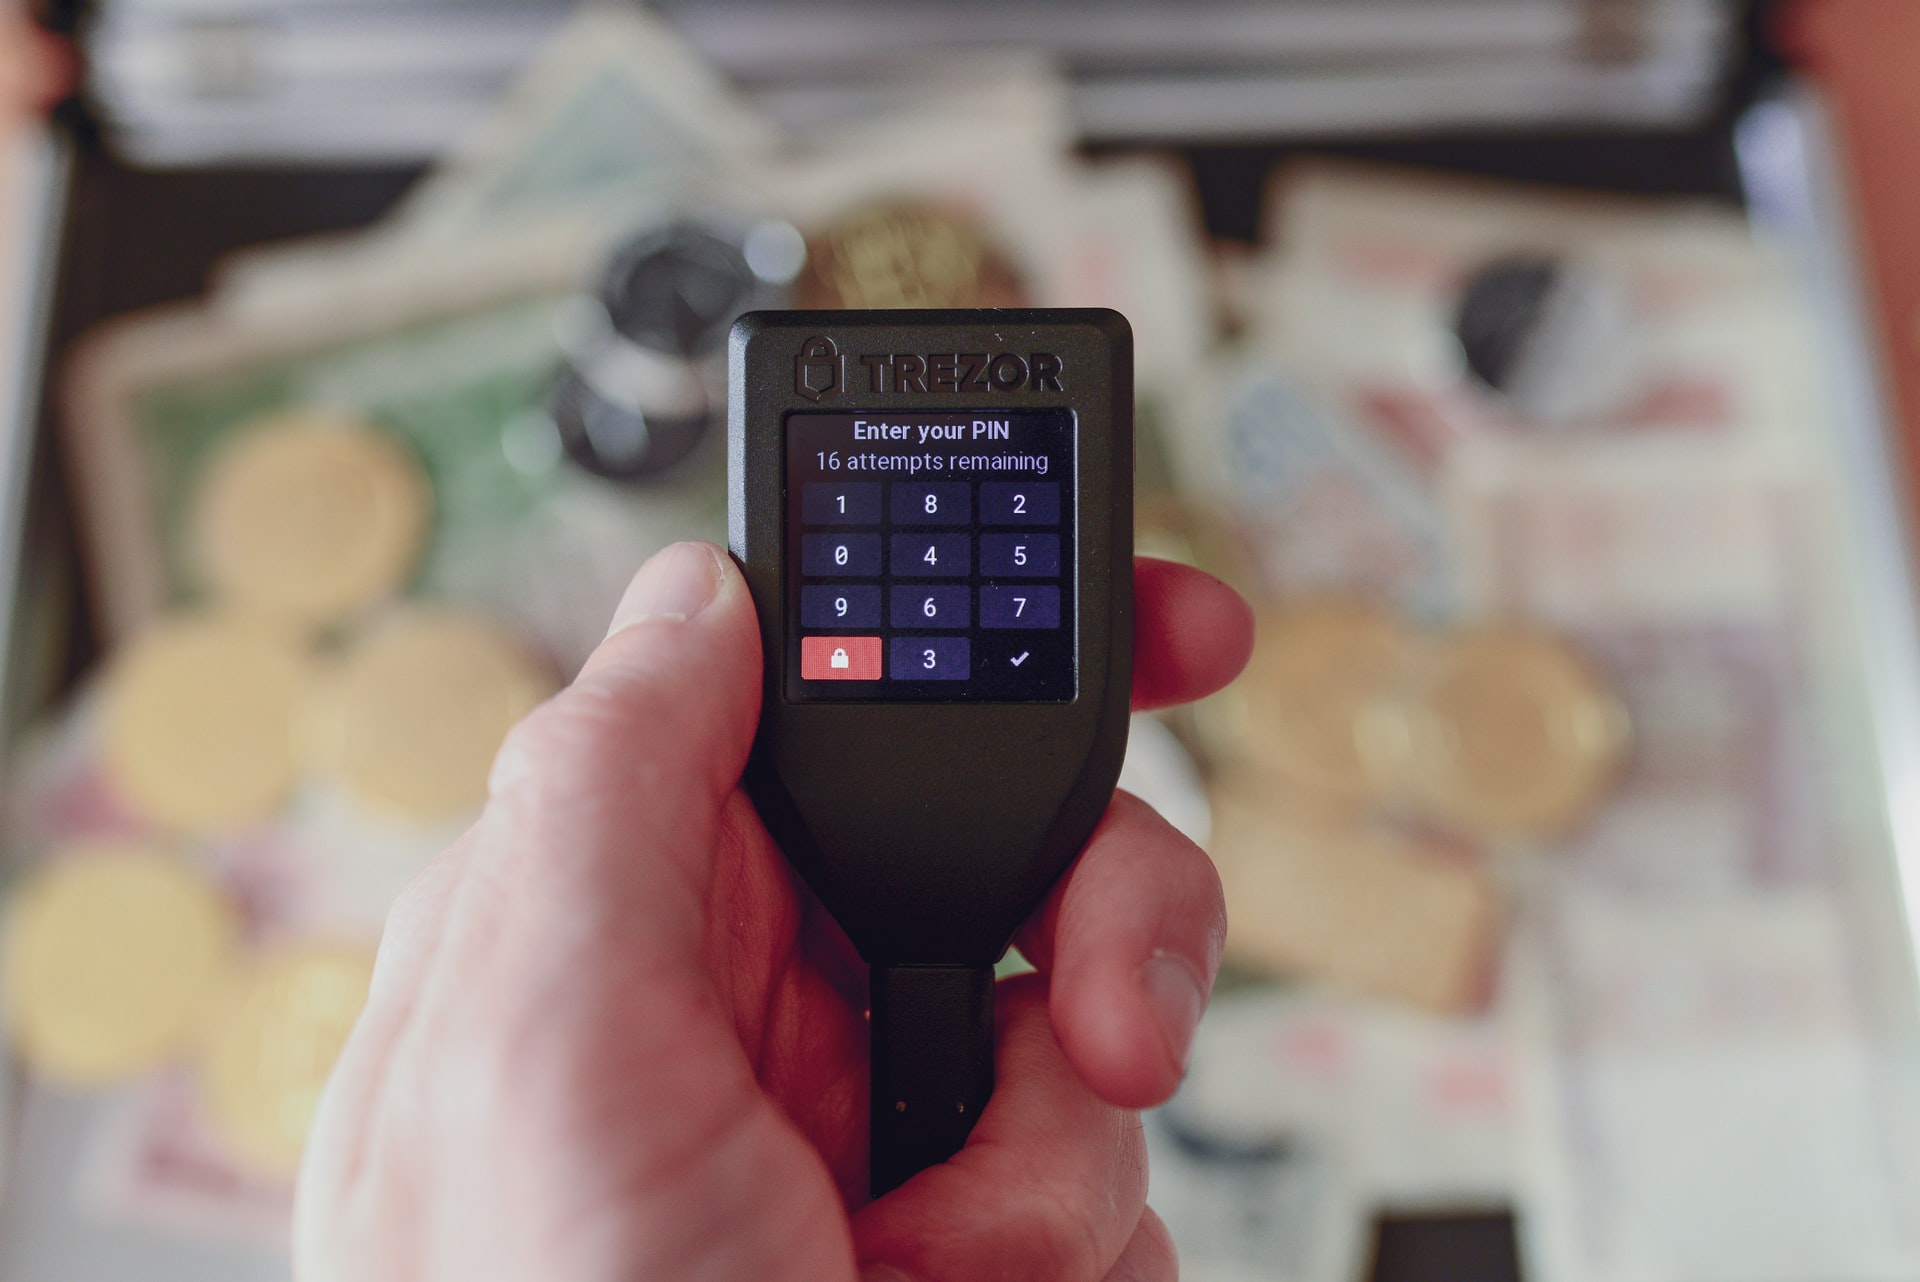
One common form of cold storage is through the use of hardware wallets. Hardware wallets are physical devices that securely store your private keys and allow you to sign transactions offline. These wallets are specifically designed to protect your cryptocurrencies from unauthorized access.
Another method of cold storage is through the creation of a paper wallet. A paper wallet is a physical document that contains your public and private keys printed or written on it. Since this wallet is not stored digitally, it is considered offline and therefore secure from online threats.
By using cold storage, you retain full control over your private keys and significantly reduce the risk of unauthorized access to your digital assets. Even if your computer or mobile device is compromised, your cryptocurrencies remain safe in cold storage.
However, it is important to note that cold storage does come with its own set of risks. Since your cryptocurrencies are stored offline, there is a possibility of physical theft or damage to the hardware or paper wallet. Therefore, it is crucial to choose a secure location to store your cold storage devices or documents.
In the next sections, we will explore the process of setting up cold storage using a hardware wallet. We will guide you through the steps of choosing the right hardware wallet, creating an offline wallet, securing your offline wallet, transferring your cryptocurrencies, and verifying and backing up your cold storage.
Now that we understand what cold storage is and its importance, let’s move on to the next section and explore why it is crucial to use cold storage for your cryptocurrencies.
Why Use Cold Storage?
When it comes to securing your cryptocurrencies, there are several compelling reasons why you should consider using cold storage rather than relying solely on online wallets or exchanges. Let’s explore some key benefits of cold storage:
1. Enhanced Security: Cold storage offers a higher level of security by keeping your private keys offline and away from potential online threats. By storing your cryptocurrencies offline, you reduce the risk of hacking, malware attacks, and unauthorized access.
2. Protection Against Cyberattacks: Online wallets and exchanges are prime targets for hackers due to the potential rewards they offer. Cold storage eliminates the vulnerability associated with these platforms, significantly reducing the risk of losing your digital assets to cybercriminals.
3. Control Over Private Keys: With cold storage, you have full control over your private keys, which are necessary to access and transfer your cryptocurrencies. By storing your private keys offline, you are not reliant on third-party services and can be confident in the security of your assets.
4. Safeguarding Large Amounts: Cold storage is particularly advantageous for long-term investors or those holding significant amounts of cryptocurrencies. Storing large amounts online can be risky, as it increases the likelihood of attracting attention from malicious actors. Cold storage ensures the safety of your investments, providing peace of mind.
5. Protection from Physical Theft: While online threats are a significant concern, physical theft should also be considered. Hardware wallets used in cold storage are designed to protect against physical theft, with features such as PIN codes and encryption. By storing your cryptocurrencies offline, you minimize the risk of physical theft.
6. Offline Access: Cold storage allows you to access your cryptocurrencies offline. This is particularly useful when traveling or in areas with limited internet connectivity. You can securely manage your digital assets without relying on an internet connection, giving you greater flexibility and accessibility.
By utilizing cold storage, you can mitigate the risks associated with storing cryptocurrencies online. It provides an additional layer of protection and control over your digital assets, reducing the likelihood of falling victim to cyberattacks or losing your investments.
Now that we understand the benefits of using cold storage, let’s move on to the next section, where we will guide you through the process of setting up cold storage for your cryptocurrencies.
Setting Up Cold Storage
Setting up cold storage for your cryptocurrencies involves a few important steps to ensure the security and accessibility of your digital assets. Let’s go through the process step-by-step:
Step 1: Choosing the Right Hardware Wallet
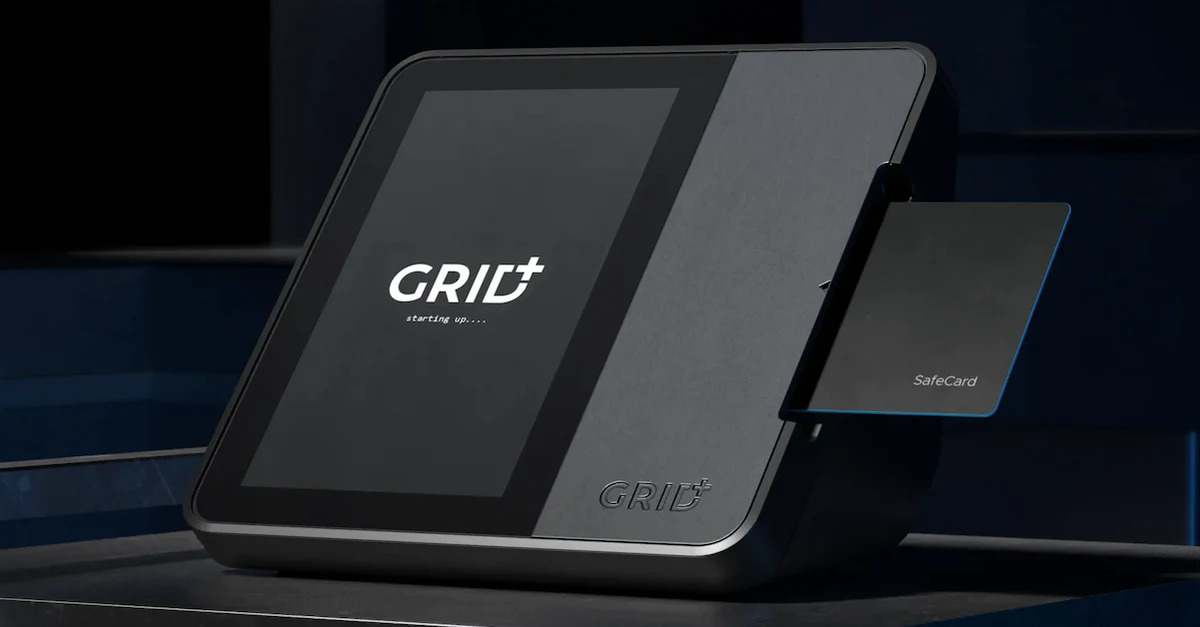
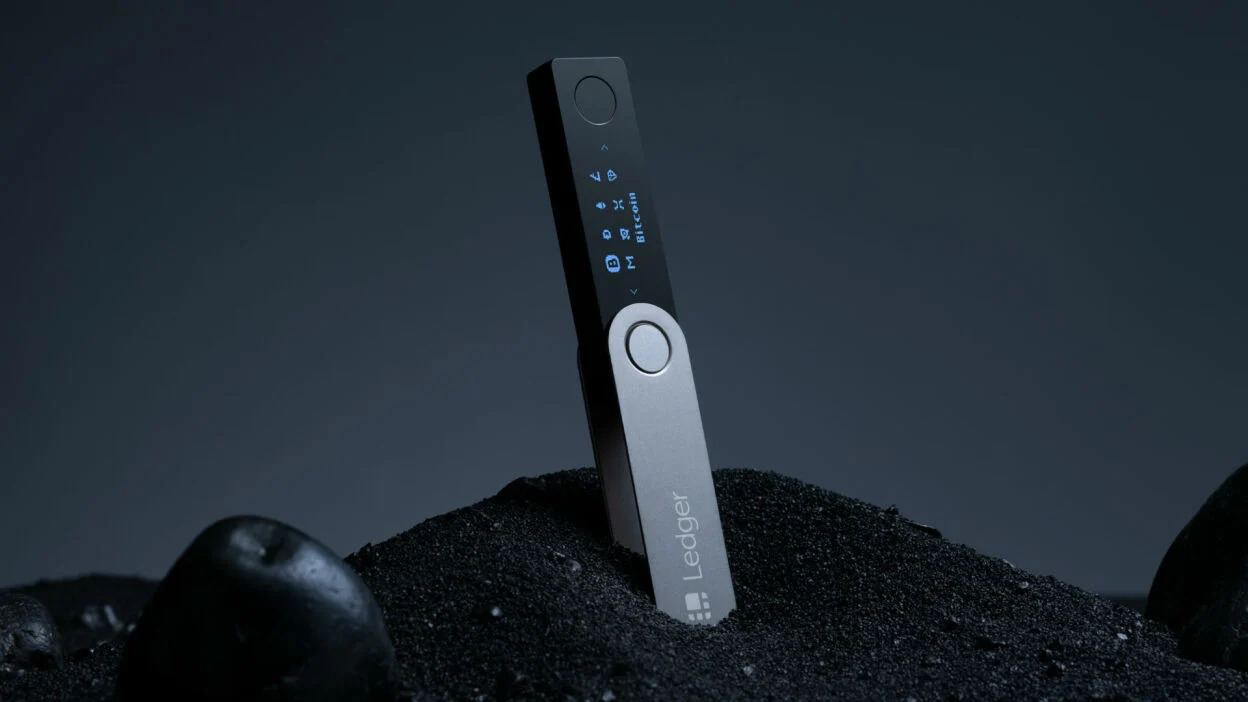
The first step is to select a hardware wallet that meets your needs. There are several reputable options available in the market, such as Ledger, Trezor, and KeepKey. Consider factors like security features, ease of use, compatibility with your preferred cryptocurrencies, and customer reviews when making your decision.
Step 2: Creating an Offline Wallet
Once you have obtained your hardware wallet, follow the manufacturer’s instructions to set it up. This involves initializing the device and creating an offline wallet. During this process, you will generate a 12-word recovery phrase, also known as a seed phrase. Be sure to write down this phrase and keep it in a safe and secure location.
Step 3: Securing Your Offline Wallet
To further enhance the security of your offline wallet, you can set a PIN code or passphrase. This adds an extra layer of protection, ensuring that even if someone gains physical access to your hardware wallet, they will still need the PIN code or passphrase to access your cryptocurrencies.
Step 4: Transferring Cryptocurrency to the Cold Wallet
After setting up your offline wallet, you can start transferring your cryptocurrencies to it. Open the wallet software or app provided by the manufacturer and follow the instructions to connect your hardware wallet to your computer or mobile device. From there, you can transfer your cryptocurrencies from your online wallet or exchange to your cold wallet using the provided address.
Step 5: Verifying and Backing Up Your Cold Storage
Once the transfer is complete, double-check that the correct amount and type of cryptocurrencies are displayed on your hardware wallet. Verify that the transaction was successful and that your balances are accurate. Additionally, take the time to back up your wallet by securely storing a copy of the seed phrase in multiple locations. This ensures that you can recover your cryptocurrencies in case your hardware wallet is lost or damaged.
By following these steps, you can set up cold storage for your cryptocurrencies and enhance their security. It’s important to note that each hardware wallet may have slightly different setup instructions, so always refer to the manufacturer’s documentation for detailed guidance.
In the next section, we will discuss how to safely store your hardware wallet to protect it from physical theft or damage.
Step 1: Choosing the Right Hardware Wallet
Choosing the right hardware wallet is crucial when setting up cold storage for your cryptocurrencies. There are several factors to consider to ensure the security and convenience of your digital assets. Here are some key considerations when selecting a hardware wallet:
1. Security Features:
The primary purpose of a hardware wallet is to securely store your private keys. Look for wallets that offer robust security features, such as encrypted storage, secure chip technology, and PIN code or passphrase protection. These features provide an extra layer of security against potential threats.
2. Compatibility:
Check the compatibility of the hardware wallet with the cryptocurrencies you plan to store. Most popular hardware wallets support a wide range of cryptocurrencies, but it’s important to verify that the specific currencies you want to store are supported.
3. Ease of Use:
Consider the user-friendliness of the hardware wallet. Look for wallets with intuitive interfaces and straightforward setup processes. A user-friendly device will make it easier for you to manage your cryptocurrencies and perform transactions securely.
4. Support and Reputation:
Research the reputation and customer support of the hardware wallet manufacturer. Look for companies with a solid track record and positive customer reviews. It’s important to choose a wallet from a trusted and reliable source to ensure the longevity and integrity of your investment.
5. Design and Portability:
Consider the design and portability of the hardware wallet. Some wallets are designed as compact USB devices, while others may have a more robust form factor. Depending on your needs, you may prefer a wallet that can be easily carried with you or one that can be securely stored in a safe location.
6. Price:
Lastly, consider the price of the hardware wallet. While it’s important to find a wallet within your budget, remember that investing in a reputable and secure wallet is a wise choice to safeguard your valuable cryptocurrencies. Avoid compromising security for a lower price.
By carefully considering these factors, you can choose a hardware wallet that best meets your needs and provides optimal security for your cryptocurrencies. It’s recommended to compare different options and read reviews before making a final decision. Remember, the security of your digital assets is worth the investment.
In the next section, we will guide you through the process of creating an offline wallet using your chosen hardware wallet.
Step 2: Creating an Offline Wallet
Once you have selected the right hardware wallet for your needs, the next step in setting up cold storage for your cryptocurrencies is creating an offline wallet. This wallet will generate and store your private keys offline, providing an added layer of security. Follow these steps to create your offline wallet:
1. Set Up the Hardware Wallet:
Follow the manufacturer’s instructions to set up your hardware wallet. This typically involves connecting the device to your computer or mobile device and initializing it. Make sure to download and install the necessary wallet software or app provided by the manufacturer.
2. Generate the Recovery Seed:
During the setup process, your hardware wallet will generate a unique recovery seed or key. This sequence of 12 or 24 words will serve as a backup for your wallet and can be used to recover your cryptocurrencies if your wallet is lost or damaged. Write down the recovery seed and keep it in a safe and secure place. It is crucial to ensure the confidentiality and security of this seed phrase.
3. Confirm the Recovery Seed:
To further enhance security, some hardware wallets require you to confirm the recovery seed by re-entering it. This step helps ensure that you have correctly copied down the seed and acts as an additional security measure against potential errors or tampering.
4. Set a PIN Code or Passphrase (Optional):
Depending on the hardware wallet you are using, you may have the option to set a PIN code or passphrase. This additional security measure adds an extra layer of protection by requiring a unique code or password to access your wallet. Set a PIN code or passphrase that is secure and easy for you to remember but difficult for others to guess.
5. Complete the Setup:
Once you have completed the initial setup process, your hardware wallet will be ready to use. Take the time to familiarize yourself with the wallet’s features and user interface. Ensure that you understand how to navigate through the wallet and access its various functions, such as viewing balances, sending and receiving transactions, and verifying addresses.
By following these steps, you can create an offline wallet using your chosen hardware wallet. This offline wallet will keep your private keys secure and protected from potential online threats. In the next section, we will discuss the importance of securing your offline wallet to further enhance the safety of your cryptocurrencies.
Step 3: Securing Your Offline Wallet
Once you have created an offline wallet using your hardware wallet, it is crucial to implement additional security measures to safeguard your digital assets. Here are some important steps to secure your offline wallet:
1. Set a Strong PIN Code or Passphrase:
If your hardware wallet allows for it, set a strong PIN code or passphrase. Choose a combination that is unique and not easily guessable. Avoid using common patterns, such as sequential numbers or repetitive digits. A strong PIN code or passphrase adds an extra layer of protection against unauthorized access.
2. Store Your Offline Wallet in a Secure Location:
Select a secure physical location to store your hardware wallet when it is not in use. Consider using a safe or lockbox that is resistant to theft or damage. Keep your offline wallet discreet and protected from prying eyes or potential physical threats.
3. Keep Your Recovery Seed Offline:
Remember that the recovery seed or key generated during the setup process is critical for recovering your wallet. Keep multiple copies of the seed in secure offline storage locations, such as a safe deposit box or a fireproof safe. Avoid storing the recovery seed digitally or on cloud storage, as it increases the risk of it being compromised.
4. Beware of Phishing Attacks:
Be vigilant against phishing attacks that may attempt to trick you into disclosing your wallet’s private information. Hardware wallets typically have built-in security features to verify the authenticity of transactions, so rely on these features rather than external sources. Always double-check the address and confirm any transactions directly on your hardware wallet.
5. Regularly Update the Firmware and Software:
Stay up to date with firmware and software updates provided by the manufacturer. These updates often include security enhancements and bug fixes. Install the updates as soon as they become available to ensure that your wallet remains protected against the latest threats.
6. Be Wary of Physical Tampering:
Inspect your hardware wallet regularly for any signs of physical tampering. Look out for broken seals or unusual behavior when connecting your hardware wallet to your device. If you suspect any tampering, discontinue use immediately and contact the manufacturer for further assistance.
By following these steps, you can significantly enhance the security of your offline wallet. By setting a strong PIN code or passphrase, storing your wallet in a secure location, keeping your recovery seed offline, being cautious of phishing attacks, updating firmware and software, and being vigilant against physical tampering, you are taking proactive measures to protect your digital assets.
In the next section, we will discuss the process of transferring your cryptocurrencies to your cold wallet and securing them in cold storage.
Step 4: Transferring Cryptocurrency to the Cold Wallet
Now that you have set up and secured your offline wallet, the next step is to transfer your cryptocurrencies from your online wallet or exchange to your cold wallet. Follow these steps to safely transfer your digital assets to cold storage:
1. Open Your Online Wallet or Exchange Account:
Access your online wallet or exchange account where your cryptocurrencies are currently stored. Ensure that you have the necessary login credentials and two-factor authentication enabled for added security.
2. Locate the Withdraw or Send Option:
Navigate to the withdrawal or send option within your online wallet or exchange account. This is usually located in the wallet or account settings.
3. Enter Your Cold Wallet Address:
In your cold wallet, find and copy the receiving address for the specific cryptocurrency you want to transfer. This address is a string of characters unique to your wallet. Return to your online wallet or exchange account and paste the address into the recipient field.
4. Specify the Amount to Transfer:
Enter the amount of the cryptocurrency you want to transfer to your cold wallet. Double-check the amount to ensure accuracy.
5. Confirm the Withdrawal:
Review the transaction details, including the destination address and the amount to be transferred. Take a moment to verify the accuracy of this information as transactions are irreversible. Once confirmed, initiate the withdrawal or send the funds to your cold wallet.
6. Wait for Confirmation:
The transfer may take some time to be processed and confirmed on the blockchain. This duration can vary depending on the cryptocurrency and network congestion. Be patient and wait for the transaction to be completed.
By following these steps, you can transfer your cryptocurrencies from your online wallet or exchange account to your cold wallet for secure storage. It is important to consider the transaction fees associated with the transfer and ensure that you have enough funds available to cover these fees.
In the next step, we will discuss the importance of verifying and backing up your cold storage to ensure the safety of your digital assets.
Step 5: Verifying and Backing Up Your Cold Storage
After transferring your cryptocurrencies to your cold wallet, it is crucial to verify the transaction and back up your cold storage to protect against any potential loss. Follow these steps to ensure the safety of your digital assets:
1. Verify the Transaction:
Once the transfer is complete, verify that the correct amount and type of cryptocurrencies are reflected in your cold wallet’s balance. Compare the transaction details, including the sender’s address and the amount transferred, with the details from your online wallet or exchange. This verification step helps ensure that the transfer was successful and accurate.
2. Backup Your Cold Storage:
Backing up your cold storage is a critical step to safeguard your cryptocurrencies. Most hardware wallets provide a recovery seed or key during the setup process. Write down this recovery seed, preferably on paper, and keep it in a secure and multiple location, such as a safe deposit box or a fireproof safe. Make sure to store the backup in a manner that protects it from physical damage and unauthorized access.
3. Test the Recovery Process:
To ensure the effectiveness of your backup, practice the recovery process using your recovery seed. Follow the instructions provided by your hardware wallet manufacturer to restore your cold wallet using the recovery seed. This step will help you verify the accuracy of your backup and ensure that you can access your cryptocurrencies if needed.
4. Keep Your Backup Secure:
Treat your backup seed with utmost care and secrecy. Never share your recovery seed or store it digitally—this includes taking photographs or scanning it. By keeping your backup out of reach from potential threats, you mitigate the risk of unauthorized access to your cold storage.
5. Regularly Update Your Backup:
As you continue to use your cold wallet and make transactions, it is important to update your backup regularly. Whenever you add new cryptocurrencies or generate new addresses, make sure to update your backup to include these changes. This ensures that your recovery seed remains up to date and ready to restore your wallet if needed.
By verifying your transactions and backing up your cold storage, you add an extra layer of protection to your digital assets. These proactive steps provide peace of mind, knowing that you can recover and access your cryptocurrencies even in worst-case scenarios.
In the next section, we will discuss the importance of safely storing your hardware wallet to protect it from physical theft or damage.
Safely Storing Your Hardware Wallet
The security of your hardware wallet is of utmost importance when it comes to protecting your cryptocurrencies. Here are some key considerations to safely store your hardware wallet and prevent physical theft or damage:
1. Choose a Secure Location:
Select a secure physical location to store your hardware wallet when it is not in use. Consider using a safe or a lockbox that is resistant to theft or damage. Avoid storing it in easily accessible or visible places, such as drawers or desks.
2. Employ Physical Security Measures:
Enhance the security of your hardware wallet by implementing physical security measures. Consider using a security cable or lock to secure your hardware wallet to a stationary object, such as a desk or shelf. This reduces the risk of your wallet being easily stolen or accessed.
3. Be Discreet:
Maintain the confidentiality of your hardware wallet. Avoid discussing or disclosing information about your wallet or cryptocurrency holdings in public or online platforms. Keep your hardware wallet discreet to minimize the chances of attracting unwanted attention or potential threats.
4. Store Backup Seeds Separately:
If you have made a backup of your hardware wallet’s recovery seed, store it separately from the hardware wallet itself. This ensures that even if your hardware wallet is physically compromised, your backup remains safe and accessible for recovery purposes.
5. Consider Additional Security Options:
If you have concerns about physical theft, consider using a tamper-evident bag or container to store your hardware wallet. These specialized bags or containers can provide evidence of tampering and alert you of any unauthorized attempts to access your wallet.
6. Update Your Security Measures:
Periodically assess and update your security measures to adapt to new threats or vulnerabilities. Stay informed about the best practices for storing and securing hardware wallets. Keep up with the latest security recommendations and consider implementing any necessary changes to enhance the protection of your digital assets.
By following these guidelines for safely storing your hardware wallet, you can significantly reduce the risk of physical theft or damage to your wallet and its contents. These precautions contribute to the overall security of your cryptocurrencies and provide peace of mind.
In the next section, we will discuss how to access and use your cold storage after setting it up securely.
Accessing and Using Your Cold Storage
Once you have set up and secured your cold storage, it is important to understand how to access and use your cryptocurrencies when needed. Here are some key considerations for accessing and utilizing your cold storage effectively:
1. Connect Your Hardware Wallet:
When you want to access your cryptocurrencies, connect your hardware wallet to your computer or mobile device. Ensure that you are using a secure and trusted device, free from any malware or potential security threats.
2. Enter Your PIN Code or Passphrase:
Enter your PIN code or passphrase on the hardware wallet to unlock it. This step verifies your identity and allows you to access your wallet’s features and functions securely.
3. Navigate the Wallet Interface:
Familiarize yourself with the wallet interface and its various functions. Depending on the specific brand and model of your hardware wallet, you may have options to view your balances, send or receive transactions, and manage your account settings.
4. Verify Addresses and Transactions:
When sending or receiving cryptocurrencies, always verify the addresses carefully. Cross-check the recipients’ wallet addresses on the hardware wallet’s display to ensure accuracy and prevent any fraudulent activity. Additionally, double-check transaction details before confirming them to avoid any errors.
5. Safely Disconnect Your Hardware Wallet:
After you have completed your transactions or when you are finished using your hardware wallet, safely disconnect it from your computer or mobile device. Follow the instructions provided by the manufacturer to ensure a secure disconnection.
6. Store Your Hardware Wallet Securely:
After disconnecting your hardware wallet, securely store it in the designated secure location we discussed earlier. Ensure that it is protected from physical theft or damage and keep it in a place where you can easily access it when needed.
7. Regularly Update Your Firmware and Software:
Stay up to date with firmware and software updates provided by the manufacturer. These updates often include security enhancements, bug fixes, and compatibility improvements. Install the updates as soon as they become available to keep your wallet’s features and security measures up to date.
By following these steps and best practices, you can confidently access and utilize your cold storage whenever necessary. Always prioritize security and maintain the confidentiality of your hardware wallet and transactions to protect your digital assets.
In the next section, we will summarize the important points discussed throughout this article on setting up and using cold storage for your cryptocurrencies.
Conclusion
In conclusion, setting up cold storage for your cryptocurrencies is a crucial step in ensuring the security and protection of your digital assets. By utilizing a hardware wallet to store your private keys offline, you significantly reduce the risk of unauthorized access and potential theft.
We discussed the importance of choosing the right hardware wallet, creating an offline wallet, securing your offline wallet, transferring your cryptocurrencies to cold storage, and verifying and backing up your cold storage. Each step is vital in establishing a robust security infrastructure for your digital assets.
Cold storage offers enhanced security, protection against cyberattacks, and control over your private keys. By practicing careful security measures, such as setting strong PIN codes or passphrases, storing your hardware wallet securely, and regularly updating your backup, you minimize the risk of compromise.
Remember to always verify transaction details, use reputable hardware wallets, and stay informed about the latest security recommendations. Additionally, keep your cold storage backup offline and in secure locations, separate from your hardware wallet. This ensures that even if your hardware wallet is lost or damaged, you can recover your cryptocurrencies.
Accessing and utilizing your cold storage requires connecting your hardware wallet, entering your PIN code or passphrase, and carefully navigating the wallet interface. Always verify addresses and transactions, and securely disconnect your hardware wallet after use.
By following these guidelines, you can confidently safeguard your cryptocurrencies and protect them from potential threats. Remember that security is an ongoing effort, and it is important to stay updated with the latest security enhancements by regularly updating your firmware and software.
Take control of the security of your digital assets and enjoy peace of mind knowing that your cryptocurrencies are safely stored in cold storage. With the proper measures in place, you can confidently navigate the world of cryptocurrency and protect your investments for the long term.