Introduction
Welcome to the exciting world of NFTs on the Ethereum blockchain! In recent years, non-fungible tokens (NFTs) have taken the art and collectibles market by storm. These unique digital assets have revolutionized the way we own and trade digital content, offering creators and collectors endless opportunities.
But what exactly are NFTs, and why is Ethereum the platform of choice for creating them? In this article, we will explore the basics of NFTs and guide you through the process of creating your own NFTs on the Ethereum blockchain.
NFTs are digital assets that represent ownership or proof of authenticity of a particular item or piece of content. Unlike cryptocurrencies such as Bitcoin or Ethereum, which are fungible (interchangeable), NFTs are unique and cannot be replicated or exchanged on a one-to-one basis. This uniqueness gives NFTs value and allows for ownership of rare or exclusive digital items, such as artwork, music, videos, virtual real estate, and even virtual goods in video games.
Ethereum, the second-largest cryptocurrency by market capitalization, is the leading platform for creating and trading NFTs. It offers a robust and decentralized infrastructure that allows creators to tokenize their digital assets and sell them directly to buyers without the need for intermediaries. This facilitates a transparent and secure ecosystem for NFT transactions, ensuring trust and authenticity in the marketplace.
The benefits of creating NFTs on Ethereum are manifold. First and foremost, Ethereum provides a global audience of potential buyers and collectors for your NFTs. With a wide user base and active NFT community, Ethereum offers greater exposure and market reach compared to other blockchain platforms.
Additionally, Ethereum’s smart contract functionality enables creators to set royalties for their NFTs, ensuring they receive a percentage of the sales every time the NFT is resold in the future. This provides creators with a continuous source of income and incentivizes the creation of high-quality and sought-after NFTs.
In the following sections, we will walk you through the step-by-step process of creating NFTs on Ethereum, from setting up a wallet to listing and selling your digital assets. So, let’s dive in and explore the exciting world of NFT creation on Ethereum!
What is NFT?
NFT stands for “non-fungible token,” which refers to a unique digital asset that represents ownership or proof of authenticity of a specific item or piece of content. Unlike cryptocurrencies like Bitcoin or Ethereum, which can be exchanged on a one-to-one basis, NFTs are indivisible and cannot be exchanged on a like-for-like basis.
Think of NFTs as digital collectibles or digital certificates of ownership. They can represent a wide range of digital items, including artwork, music, videos, virtual real estate, virtual goods in video games, and much more. What sets NFTs apart is their ability to capture the uniqueness and scarcity of digital assets in a secure and immutable way.
One of the main distinguishing factors of NFTs is their underlying blockchain technology, which ensures the authenticity and provenance of the digital assets they represent. NFTs are typically built using blockchain platforms like Ethereum, leveraging the platform’s decentralized and transparent infrastructure to guarantee the ownership and history of the asset.
Each NFT contains a set of metadata that provides detailed information about the digital asset, including its creator, date of creation, description, and any associated attributes. This metadata helps establish the value and ownership of the NFT, making it a trustworthy and verifiable digital asset in the marketplace.
The value of NFTs is derived from factors such as rarity, demand, and perceived cultural or artistic significance. Just like physical collectibles, the scarcity and desirability of NFTs contribute to their market value. NFTs can be bought, sold, and traded on various marketplaces and platforms, allowing collectors and enthusiasts to build their digital collections or invest in unique digital assets.
It’s important to note that owning an NFT doesn’t necessarily grant ownership of the actual content or intellectual property rights associated with it. The ownership of the NFT itself represents a form of digital ownership and authenticity, often accompanied by certain usage rights or benefits as defined by the creator or platform.
In recent years, NFTs have gained significant attention and popularity, with artists, celebrities, and creators exploring the potential of this new digital art and collectibles market. The ability to tokenize and sell digital assets in a secure and decentralized manner has opened up exciting possibilities for creators, collectors, and investors alike.
Now that we have a basic understanding of NFTs, let’s explore why Ethereum has become the preferred platform for creating these unique digital assets.
What is Ethereum?
Ethereum is an open-source, decentralized blockchain platform that enables the creation and execution of smart contracts and decentralized applications (DApps). It was introduced in 2015 by Vitalik Buterin and has since become one of the most prominent and widely used blockchain networks.
Unlike Bitcoin, which focuses primarily on financial transactions, Ethereum aims to be a programmable blockchain that can support a wide range of applications beyond just digital currencies. It provides developers with a robust and flexible platform to build decentralized applications using smart contracts, which are self-executing agreements that automatically enforce the terms of a contract.
One of the main advantages of Ethereum is its Turing-complete programming language. This means that developers can use Ethereum to create complex and sophisticated applications that can perform various operations and computations. This flexibility has led to a multitude of use cases for Ethereum, including decentralized finance (DeFi), supply chain management, gaming, and of course, the creation and trading of NFTs.
Ethereum’s decentralized nature ensures that no single entity or authority has control over the network. The platform relies on a network of nodes spread across the globe, with each node having a copy of the entire blockchain. This decentralized architecture ensures transparency, security, and resilience of the network.
Ethereum’s native cryptocurrency is called Ether (ETH), and it serves as the fuel for executing transactions and smart contracts on the Ethereum network. It is also the main currency used for buying, selling, and trading NFTs on various Ethereum-based marketplaces.
When it comes to NFTs, Ethereum’s blockchain provides an ideal infrastructure for creating and trading these unique digital assets. Its smart contract functionality allows creators to tokenize their digital assets, turning them into indivisible and verifiable NFTs. Ethereum’s native standards like ERC-721 and ERC-1155 define the blueprint for NFT creation and ensure interoperability among different NFT platforms and marketplaces.
Ethereum’s popularity and wide adoption make it the go-to platform for NFT creation and trading. Its large user base and active NFT community provide creators and collectors with a thriving ecosystem for showcasing, buying, and selling NFTs. The decentralized nature of Ethereum also eliminates the need for intermediaries, enabling direct peer-to-peer transactions and reducing costs associated with traditional art and collectibles markets.
Now that we have a clear understanding of Ethereum and its capabilities, let’s delve into the benefits of creating NFTs on the Ethereum platform.
Benefits of Creating NFTs on Ethereum
Creating NFTs on the Ethereum blockchain offers a multitude of benefits for artists, content creators, and collectors. Let’s explore some of the key advantages of choosing Ethereum as the platform for your NFT creations.
1. Global Exposure: Ethereum provides access to a vast international community of users and collectors. By creating NFTs on Ethereum, you can reach a global audience, increasing the visibility and marketability of your digital assets.
2. Established Infrastructure: Ethereum’s robust and mature infrastructure ensures the reliability, security, and functionality required for NFT creation and trading. The platform has been extensively tested and vetted, making it a trusted and established choice for creating NFTs.
3. Smart Contract Functionality: Ethereum’s smart contracts allow creators to embed specific conditions and rules within their NFTs. You can implement royalty mechanisms, ensuring that you receive a portion of the proceeds each time your NFT is resold in the future. This provides an ongoing revenue stream for artists and creators, incentivizing the creation of high-quality NFTs.
4. Interoperability: Ethereum-based NFTs follow standard protocols, such as ERC-721 and ERC-1155, which ensure compatibility and interoperability with various NFT marketplaces and platforms. This allows creators to list their NFTs on multiple platforms, expanding their potential reach and audience.
5. Decentralization and Transparency: Ethereum’s decentralized network ensures that NFT ownership and transaction history are transparent and immutable. This eliminates the need for intermediaries and increases trust in the authenticity and provenance of NFTs.
6. Cultural and Artistic Significance: Ethereum’s NFT ecosystem has become a hub for showcasing and celebrating digital art and culture. By creating NFTs on Ethereum, you become part of a vibrant community that appreciates and supports digital creativity and innovation.
7. Low Entry Barrier: Ethereum’s open and inclusive nature allows artists and creators of all backgrounds to participate in the NFT space. You don’t need to be a high-profile artist or have extensive connections to start creating and selling your NFTs. This democratization of the art and collectibles market provides equal opportunities for all creators to showcase and monetize their digital creations.
8. Secondary Market Potential: NFTs on Ethereum can be resold in the secondary market, providing an opportunity for creators to earn additional income as their NFTs gain popularity and value. This creates a dynamic ecosystem where artists and collectors can benefit from the appreciation and demand for their digital assets.
By leveraging Ethereum’s capabilities, you can tap into an established network, explore innovative ways to monetize your digital creations, and connect with a passionate community of collectors and enthusiasts.
Now that we understand the benefits of creating NFTs on Ethereum, let’s dive into the step-by-step process of creating your own NFTs on the Ethereum blockchain.
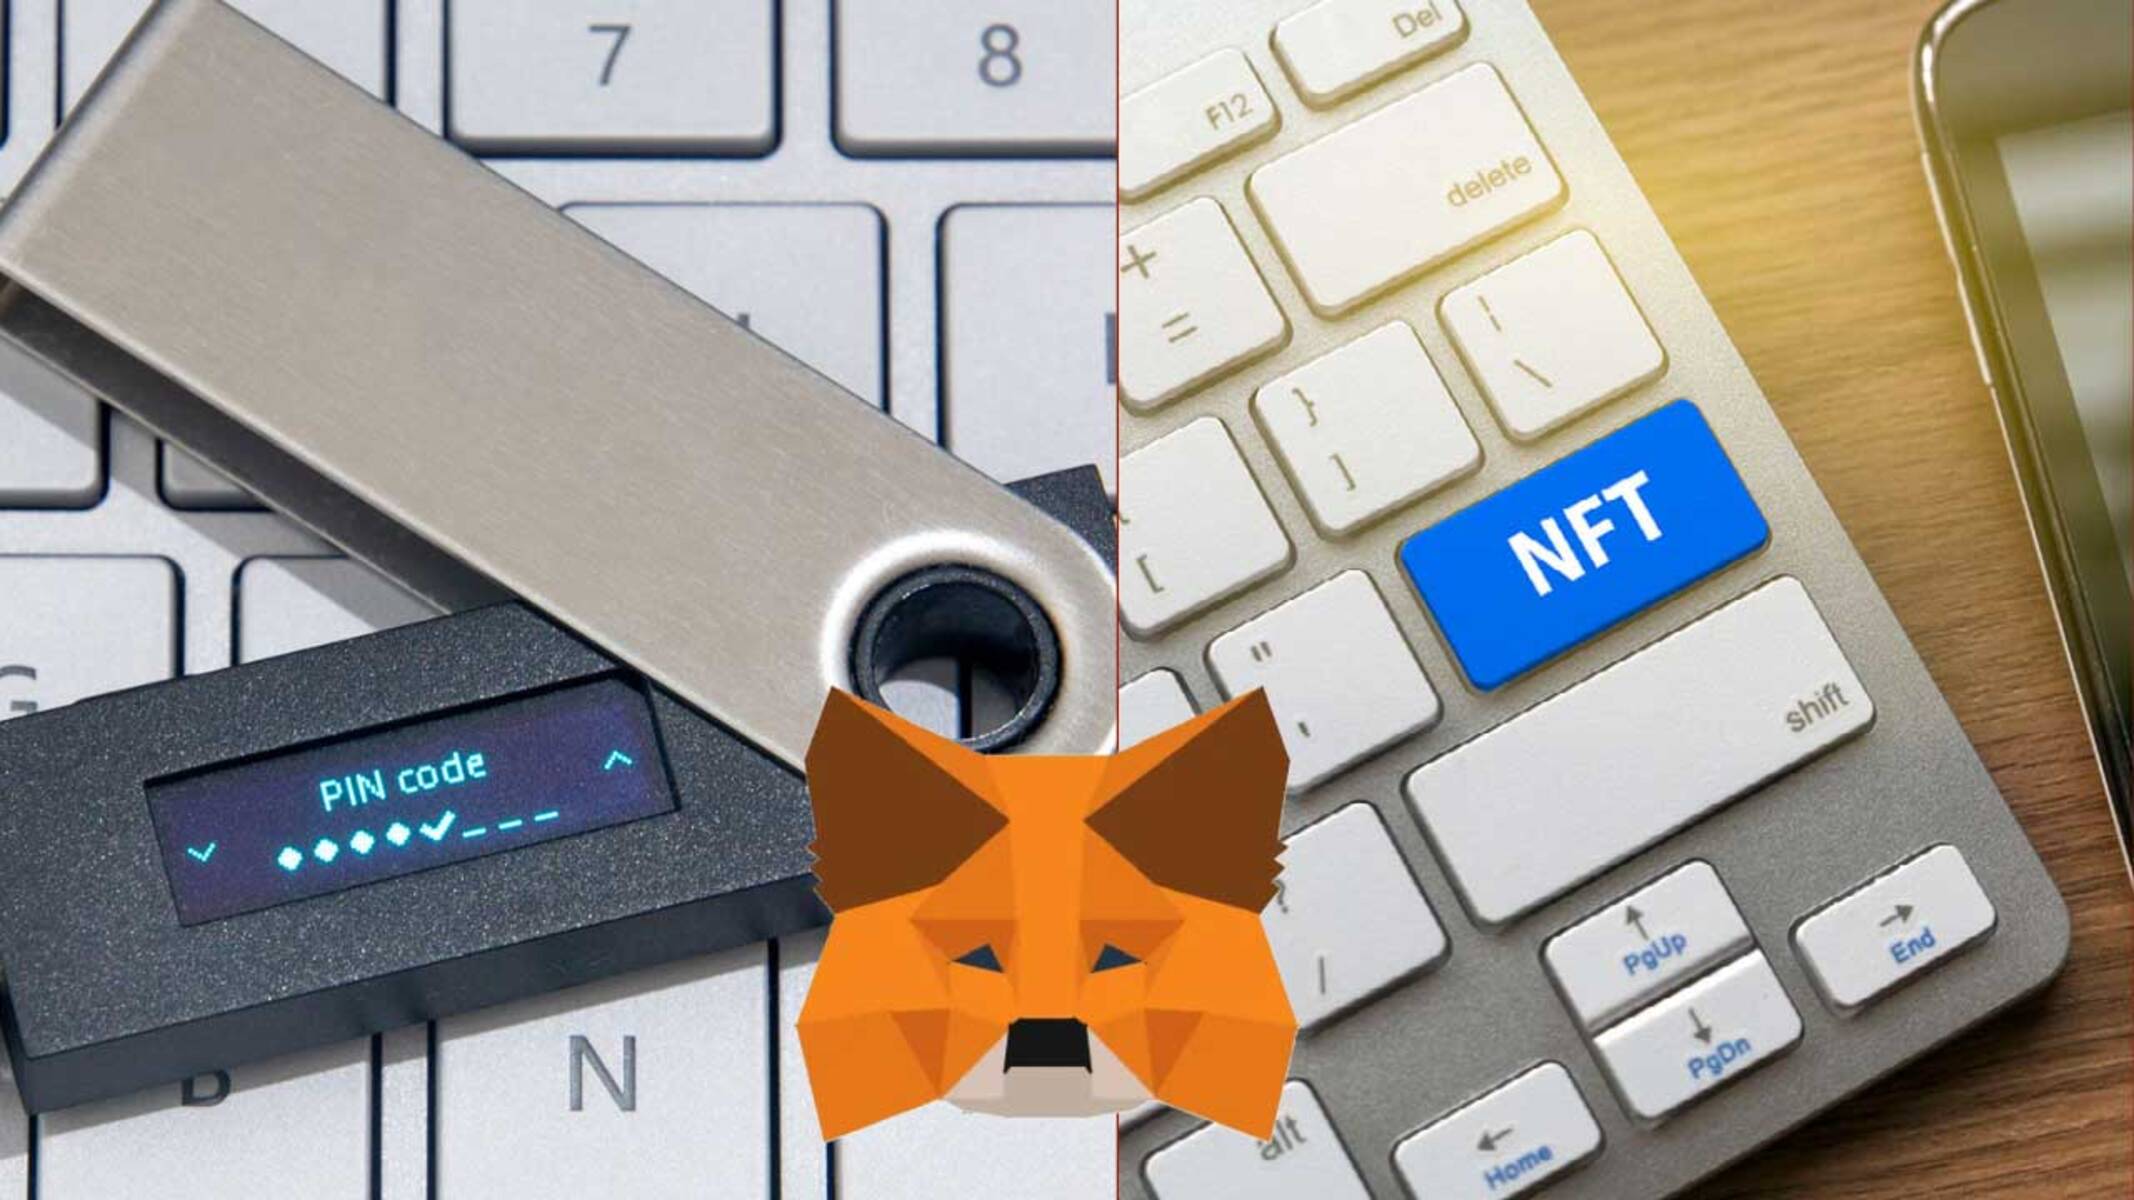
Step 1: Setting Up a Wallet
Before you start creating NFTs on the Ethereum blockchain, you’ll need to set up a digital wallet to store and manage your Ethereum and NFTs. A digital wallet is like a bank account for your cryptocurrencies and digital assets, providing you with a secure place to store, send, and receive digital currencies.
There are various types of wallets available, including web wallets, mobile wallets, desktop wallets, and hardware wallets. Each type has its own advantages and security considerations, so it’s essential to choose one that aligns with your needs and preferences.
Web wallets, such as MetaMask and MyEtherWallet, are popular choices for beginners. They are easy to set up and can be accessed through a web browser. To create a web wallet, follow these steps:
- Visit the website of the web wallet provider (e.g., MetaMask).
- Click on the “Get Started” or “Create Wallet” button.
- Follow the instructions to create a new wallet by setting a strong password and reading and accepting the terms and conditions.
- Once your wallet is created, you will be provided with a unique 12-24 word recovery phrase. Make sure to write down this phrase and keep it in a safe place. This phrase is crucial for restoring access to your wallet in case you forget your password or lose access to your device.
- After setting up your wallet, you will be able to access it by entering your password.
Once you have set up your wallet, it’s recommended to secure it further by enabling additional security features, such as two-factor authentication or biometric authentication if available. This helps protect your wallet from unauthorized access.
Your wallet will generate a unique Ethereum address for you. This address is like your personal digital identifier on the Ethereum network and is required for receiving and sending Ethereum and NFTs. Make sure to share this address with trusted parties when conducting transactions or receiving NFTs.
Setting up a wallet is the first step towards creating and owning NFTs on the Ethereum blockchain. In the next step, we will guide you through buying Ethereum, which you’ll need to mint your NFTs.
Step 2: Buying Ethereum
To create and trade NFTs on the Ethereum blockchain, you’ll need to acquire some Ethereum (ETH), which is the native cryptocurrency of the Ethereum network. Ethereum is used as the primary currency for transactions and fees within the network, including the creation and trading of NFTs. Here’s a step-by-step guide on how to purchase Ethereum:
- Select a Cryptocurrency Exchange: Choose a reputable cryptocurrency exchange that supports the purchase of Ethereum. Popular exchanges include Coinbase, Binance, Kraken, and Gemini. Ensure that the exchange is available in your country and provides a user-friendly interface.
- Create an Account: Sign up for an account on the chosen exchange. This usually involves providing your email address, creating a secure password, and completing any necessary verifications, such as identity verification.
- Link a Payment Method: Connect a payment method to your exchange account, such as a bank account or credit/debit card. Follow the instructions provided by the exchange to link your payment method securely.
- Deposit Funds: Transfer funds from your linked payment method to your exchange account. This step may involve specifying the amount you wish to deposit and confirming the transaction.
- Buy Ethereum: Once your funds are deposited in your exchange account, navigate to the trading section and search for “Ethereum” or the trading pair “ETH/USD” or “ETH/
. Enter the desired amount of Ethereum you wish to purchase and review the order details. Confirm the transaction and wait for the purchase to be completed. - Withdraw Ethereum to Your Wallet: Once you have purchased Ethereum on the exchange, it’s recommended to withdraw it to the Ethereum wallet you set up in Step 1. Locate the withdrawal option in the exchange interface, enter your Ethereum wallet address (obtained from your wallet), and initiate the withdrawal. This will transfer the purchased Ethereum from the exchange to your personal wallet.
As with any financial transaction, it’s important to exercise caution and choose trusted and secure cryptocurrency exchanges. Additionally, be aware of any fees associated with the exchange or payment methods and consider factors such as user experience, customer support, and availability of the exchange in your country.
By purchasing Ethereum, you’re now ready to proceed with the process of creating your own NFTs on the Ethereum blockchain. In the next step, we will guide you through choosing an NFT platform to showcase and mint your digital assets.
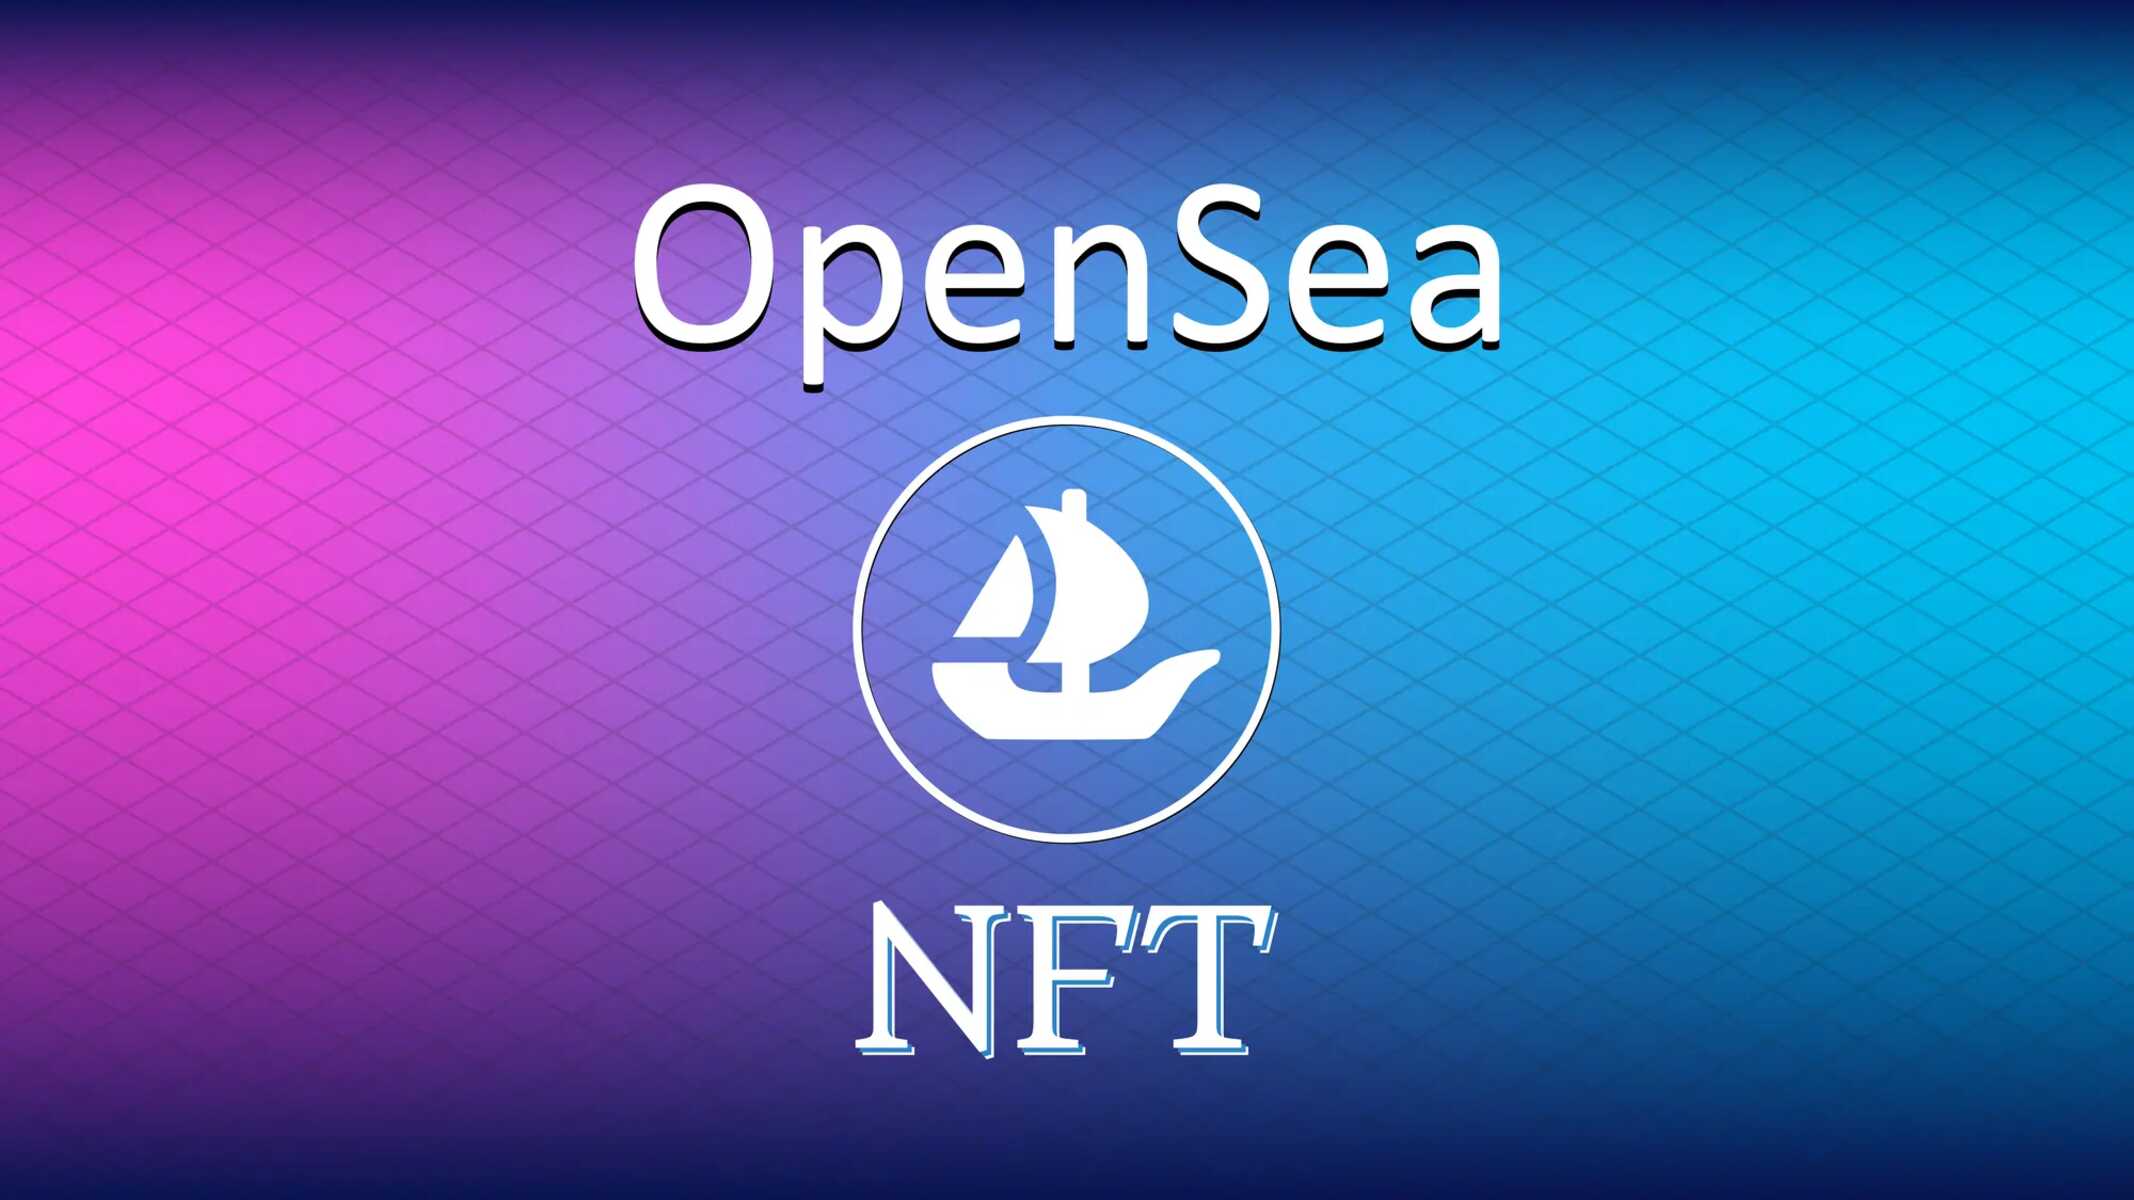
Step 3: Choosing an NFT Platform
Once you have acquired Ethereum, the next step in creating your NFTs is to choose a suitable NFT platform. An NFT platform is a marketplace or platform where you can showcase, mint, and sell your digital assets as NFTs. There are several popular NFT platforms available, each with its own unique features and community. Here’s a guide to help you choose the right NFT platform for your needs:
- Research Different Platforms: Begin by researching and exploring various NFT platforms available in the market. Some popular platforms include OpenSea, Rarible, SuperRare, and NBA Top Shot. Consider factors such as user interface, fees, community size, marketplace liquidity, and platform reputation.
- Evaluate Platform Features: Examine the features and functionalities offered by each platform. Some platforms may focus on specific categories such as art, collectibles, music, or virtual real estate, while others offer a broader range of digital assets. Look for features that align with your intended use, such as the ability to set royalties, add metadata to your NFTs, or participate in community events.
- Consider Platform Fees: Take into account the fees associated with each platform. This includes fees for minting NFTs, transaction fees, and any platform commission on sales. Lower fees may be preferable, but balance it with the platform’s reputation and the services they provide.
- Community and Exposure: Evaluate the platform’s community size, engagement, and visibility. A larger, active community can increase the visibility of your NFTs and potentially attract more buyers. Look for platforms with active social media presence, regular community events, and collaborations with artists or brands.
- User Reviews and Feedback: Read user reviews and feedback about each platform. This can provide insight into the user experience, customer satisfaction, and any potential issues or limitations of the platform. Consider joining NFT communities or forums to ask for recommendations and experiences from other artists and creators.
- Platform Policies and Terms: Before making a decision, read and understand the platform’s policies and terms. Pay attention to any exclusivity clauses, licensing requirements, or limitations on ownership rights. Ensure that the platform aligns with your goals and values as an artist or creator.
- Explore Multiple Platforms: Don’t limit yourself to just one platform. Consider showcasing your NFTs on multiple platforms to maximize exposure and reach different audiences. However, be mindful of any exclusivity requirements that platforms may have.
By thoroughly researching and evaluating various NFT platforms, you can make an informed decision and choose the platform that best suits your goals and preferences. Once you have selected a platform, you’re ready to move on to the next step, which involves creating and minting your NFTs.
Step 4: Creating Your NFT
Now that you have chosen an NFT platform, it’s time to start creating and preparing your digital assets to be transformed into NFTs. Follow these steps to create your NFT:
- Prepare Your Digital Asset: Begin by selecting the digital asset you want to turn into an NFT. This could be a piece of artwork, a music track, a video, or any other digital item that you want to tokenize and sell. Ensure that your digital asset is in a high-quality format suitable for showcasing and selling.
- Add Metadata: NFTs contain metadata that provides important information about the digital asset, such as its title, description, artwork details, and creator information. Prepare and compile the necessary metadata for your NFT, as required by the chosen NFT platform. This may include details like the medium, dimensions, edition, and additional background information.
- Create a Wallet for the NFT: Some NFT platforms require you to create a separate wallet or connect an existing wallet to the platform. Follow the platform’s instructions to set up the wallet and ensure that you have the necessary Ethereum balance in that wallet to cover any fees associated with minting your NFT.
- Connect Your Wallet to the Platform: Connect your wallet to the chosen NFT platform. This will authenticate your ownership and allow you to interact with the platform, such as minting and listing NFTs. Follow the platform’s instructions to complete the wallet connection process securely.
- Upload and Mint Your NFT: Once your wallet is connected, follow the platform’s interface to upload your digital asset and add the prepared metadata. The platform will guide you through the process of minting your NFT, which involves creating a unique token on the Ethereum blockchain that represents ownership of your digital asset.
- Set Pricing and Ownership Details: Decide on the pricing and ownership details for your NFT. This includes setting the initial sale price, any royalty percentages you want to include, and deciding whether the ownership can be transferred or reserved exclusively to you. Each platform has its own settings and options for these parameters.
- Review and Confirm: Before finalizing the minting process, carefully review all the details entered for your NFT, including the digital asset, metadata, and pricing. Once you are satisfied, confirm the minting process, and the platform will handle the transaction and creation of your NFT on the Ethereum blockchain.
Congratulations! You have successfully created and minted your first NFT. It is now available on the chosen NFT platform for display, sale, and trading. Keep in mind that minting an NFT usually incurs a transaction fee, so ensure you have enough Ethereum in your connected wallet to cover the fees.
In the next step, we’ll guide you through the process of minting your NFT and making it available for listing and sale on the NFT platform.
Step 5: Minting Your NFT
After successfully creating and preparing your digital asset, the next step is to mint your NFT. Minting refers to the process of creating a unique token on the Ethereum blockchain that represents ownership of your digital asset. Follow these steps to complete the minting process:
- Access the NFT Platform: Log in to the NFT platform where you created your NFT and ensure that you have connected your wallet that holds the digital asset.
- Select the Digital Asset: Locate the option to mint a new NFT or to add a new item to your collection. Select the digital asset you want to turn into an NFT from your connected wallet. Make sure to review and confirm that you have chosen the correct file.
- Add Metadata: Provide the necessary metadata for your NFT. This includes details such as the title, description, artist name, edition number (if applicable), and any other relevant information. The metadata helps potential buyers understand the details and context of your NFT.
- Set Pricing and Royalties: Decide on the initial sale price for your NFT. You may also have the option to set royalty percentages that entitle you to a percentage of the future sales of your NFT. Consider the value of your digital asset and the market demand when determining the pricing and royalty structure.
- Review and Confirm: Carefully review all the details of your NFT, including the digital asset, metadata, pricing, and royalty settings. Ensure that everything is correct and to your satisfaction. Once you are ready, confirm the minting process.
- Pay Minting Fee: Minting an NFT typically incurs a small fee, known as a minting fee. The fee covers the cost of storing your NFT on the Ethereum blockchain and verifying its authenticity. Ensure that you have the required Ethereum balance in your connected wallet to cover the minting fee.
- Wait for Confirmation: Once you have confirmed the minting process and paid the required fee, you will need to wait for the transaction to be processed and confirmed on the Ethereum blockchain. This can take a few seconds to a few minutes, depending on network congestion. Once the transaction is confirmed, your NFT will be officially minted.
Congratulations! You have successfully minted your NFT, and it is now officially stored on the Ethereum blockchain. Your unique NFT is ready to be listed and sold on the NFT platform, offering collectors the opportunity to own and trade your digital asset.
In the next step, we will guide you through the process of listing and selling your NFT on the chosen NFT platform.
Step 6: Listing and Selling Your NFT
Now that you have minted your NFT, it’s time to list it for sale and potentially sell it to interested collectors. Follow these steps to list and sell your NFT on the chosen NFT platform:
- Access the NFT platform: Log in to the NFT platform where you minted your NFT and navigate to your collection or NFT manager.
- Choose the NFT to list: Select the NFT you want to list for sale from your collection. Ensure that you have the necessary ownership rights and permissions to sell the NFT.
- Add listing details: Provide information and details about your NFT’s listing. This may include a title, description, additional images or videos, and any special features or attributes associated with your NFT.
- Set the sale price: Determine the desired sale price for your NFT. Consider market trends, the uniqueness of your digital asset, and any royalty percentages you wish to include. Some platforms allow for immediate fixed pricing, while others may support auction-style listings or accepting bids from potential buyers.
- Choose a selling method: Depending on the platform, you may have different options for selling your NFT. This could include options such as fixed-price listings, auctions, or even fractional ownership.
- Review and confirm: Carefully review all the listing details, including the title, description, images, videos, price, and selling method. Once everything is accurate, confirm the listing to make your NFT available for sale.
- Promote your NFT: Take advantage of social media, online communities, and your existing network to promote your NFT. Share details about your NFT, highlight its uniqueness and the story behind it, and provide links to the platform listing. Engage with potential buyers and answer any questions they may have about your NFT.
- Manage inquiries and offers: Monitor your NFT listing and stay engaged with potential buyers. Respond to inquiries promptly, provide additional details or clarification if needed, and consider negotiating offers. Follow the platform’s guidelines for accepting an offer or closing a sale transaction.
- Transfer ownership: Once a buyer has successfully purchased your NFT, follow the platform’s instructions to transfer the ownership rights to the buyer. This typically involves initiating a secure transaction that transfers the NFT from your wallet to the buyer’s wallet.
- Complete the sale: Once the transfer of ownership is confirmed, the transaction is complete. Double-check that the buyer has received the NFT and confirm that the payment has been successfully processed before considering the sale finalized. Some platforms may require a waiting period before funds are fully released to the seller.
Congratulations! You have successfully listed and potentially sold your NFT. Make sure to communicate with the buyer, provide any additional materials or deliverables associated with the NFT, and maintain good customer relationships. As the creator, you may continue to earn royalties on future resales if you have set up royalty percentages during the minting process.
Keep in mind that the selling process can vary slightly depending on the chosen NFT platform. Follow the platform’s guidelines and instructions throughout the listing and selling process.
With this final step complete, you have successfully navigated the process of creating, minting, listing, and selling an NFT on the chosen platform. Embrace the growing NFT ecosystem and continue to explore opportunities to showcase and monetize your digital creations.
Conclusion
Congratulations on completing the journey of creating, minting, listing, and potentially selling your NFT on the Ethereum blockchain. By following the step-by-step process outlined in this guide, you have taken advantage of the exciting possibilities offered by the world of NFTs.
NFTs have revolutionized the way we think about ownership and value in the digital realm. They have opened up new avenues for artists, content creators, and collectors to showcase, sell, and invest in unique digital assets. Through Ethereum’s decentralized infrastructure and smart contract functionality, NFTs have gained traction as a secure and transparent means of expressing creativity and engaging with a global audience.
We explored the definition of NFTs, their significance, and why Ethereum has emerged as the leading platform for NFT creation. Ethereum’s established infrastructure, global reach, and smart contract capabilities make it the platform of choice for artists and creators looking to tokenize their digital assets.
We guided you through setting up a wallet, acquiring Ethereum, choosing an NFT platform, creating and minting your NFT, and listing it for sale. Each step was essential in successfully entering the world of NFT creation and trading.
Remember, the NFT space is continuously evolving, with new platforms, trends, and opportunities emerging rapidly. Keep yourself informed about the latest developments in the NFT ecosystem and explore additional resources, such as online communities and forums, to stay engaged with fellow artists, collectors, and enthusiasts.
As you continue your NFT journey, embrace experimentation, creativity, and community engagement. Explore different types of digital assets, collaborate with other artists, and continue to refine and showcase your unique talents. Utilize social media and marketing strategies to expand your reach and connect with potential buyers and collectors.
Lastly, always prioritize authenticity, quality, and transparency in your NFT creations. While the NFT market offers opportunities for financial gain, it is the genuine link between creators and collectors that truly drives the value of an NFT.
Now, armed with the knowledge and steps outlined in this guide, go forth and continue to shape the exciting and transformative world of NFTs on the Ethereum blockchain. Happy creating and may your NFTs find their rightful place in the digital art and collectibles space!