Introduction
Welcome to the world of cryptocurrencies, where digital assets like Ethereum have taken the financial industry by storm. As the second-largest cryptocurrency by market capitalization, Ethereum offers investors and enthusiasts a decentralized platform for smart contracts and decentralized applications (DApps). If you’re eager to join the Ethereum community but unsure how to get started, this guide will walk you through the process of buying Ethereum with a credit card.
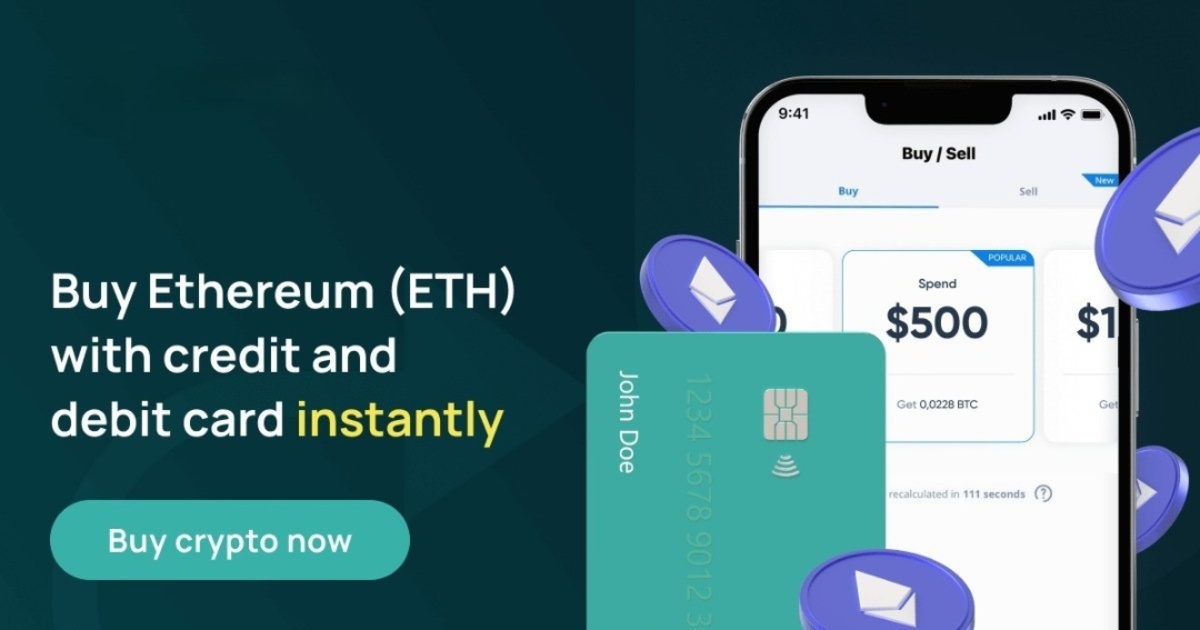
Purchasing Ethereum with a credit card is one of the most straightforward ways to acquire this popular cryptocurrency. It allows you to enter the world of Ethereum without the complexities involved in mining or using a cryptocurrency exchange wallet. By using your credit card, you can quickly and conveniently add Ethereum to your digital asset portfolio, whether you’re planning to hold it for the long term or utilize it for other transactions.
However, it’s important to note that not all cryptocurrency exchanges accept credit card payments. That’s why it’s essential to find a reliable and reputable exchange that supports credit card purchases for Ethereum. Additionally, keep in mind that buying Ethereum using a credit card may involve transaction fees and potentially higher exchange rates compared to other payment methods. Nevertheless, the convenience and accessibility of using a credit card often outweigh these drawbacks for many individuals entering the cryptocurrency market.
In this step-by-step guide, we will explore the process of buying Ethereum with a credit card. We will cover finding a reliable cryptocurrency exchange, signing up and verifying your account, adding a credit card as a payment method, selecting Ethereum as the cryptocurrency to buy, specifying the amount of Ethereum you want to purchase, reviewing and confirming your purchase, verifying your Ethereum wallet address, completing the transaction, and waiting for confirmation.
By the end of this guide, you will have a clear understanding of how to buy Ethereum with a credit card, allowing you to embark on your journey into the world of decentralized finance and blockchain technology.
Step 1: Find a Reliable Cryptocurrency Exchange
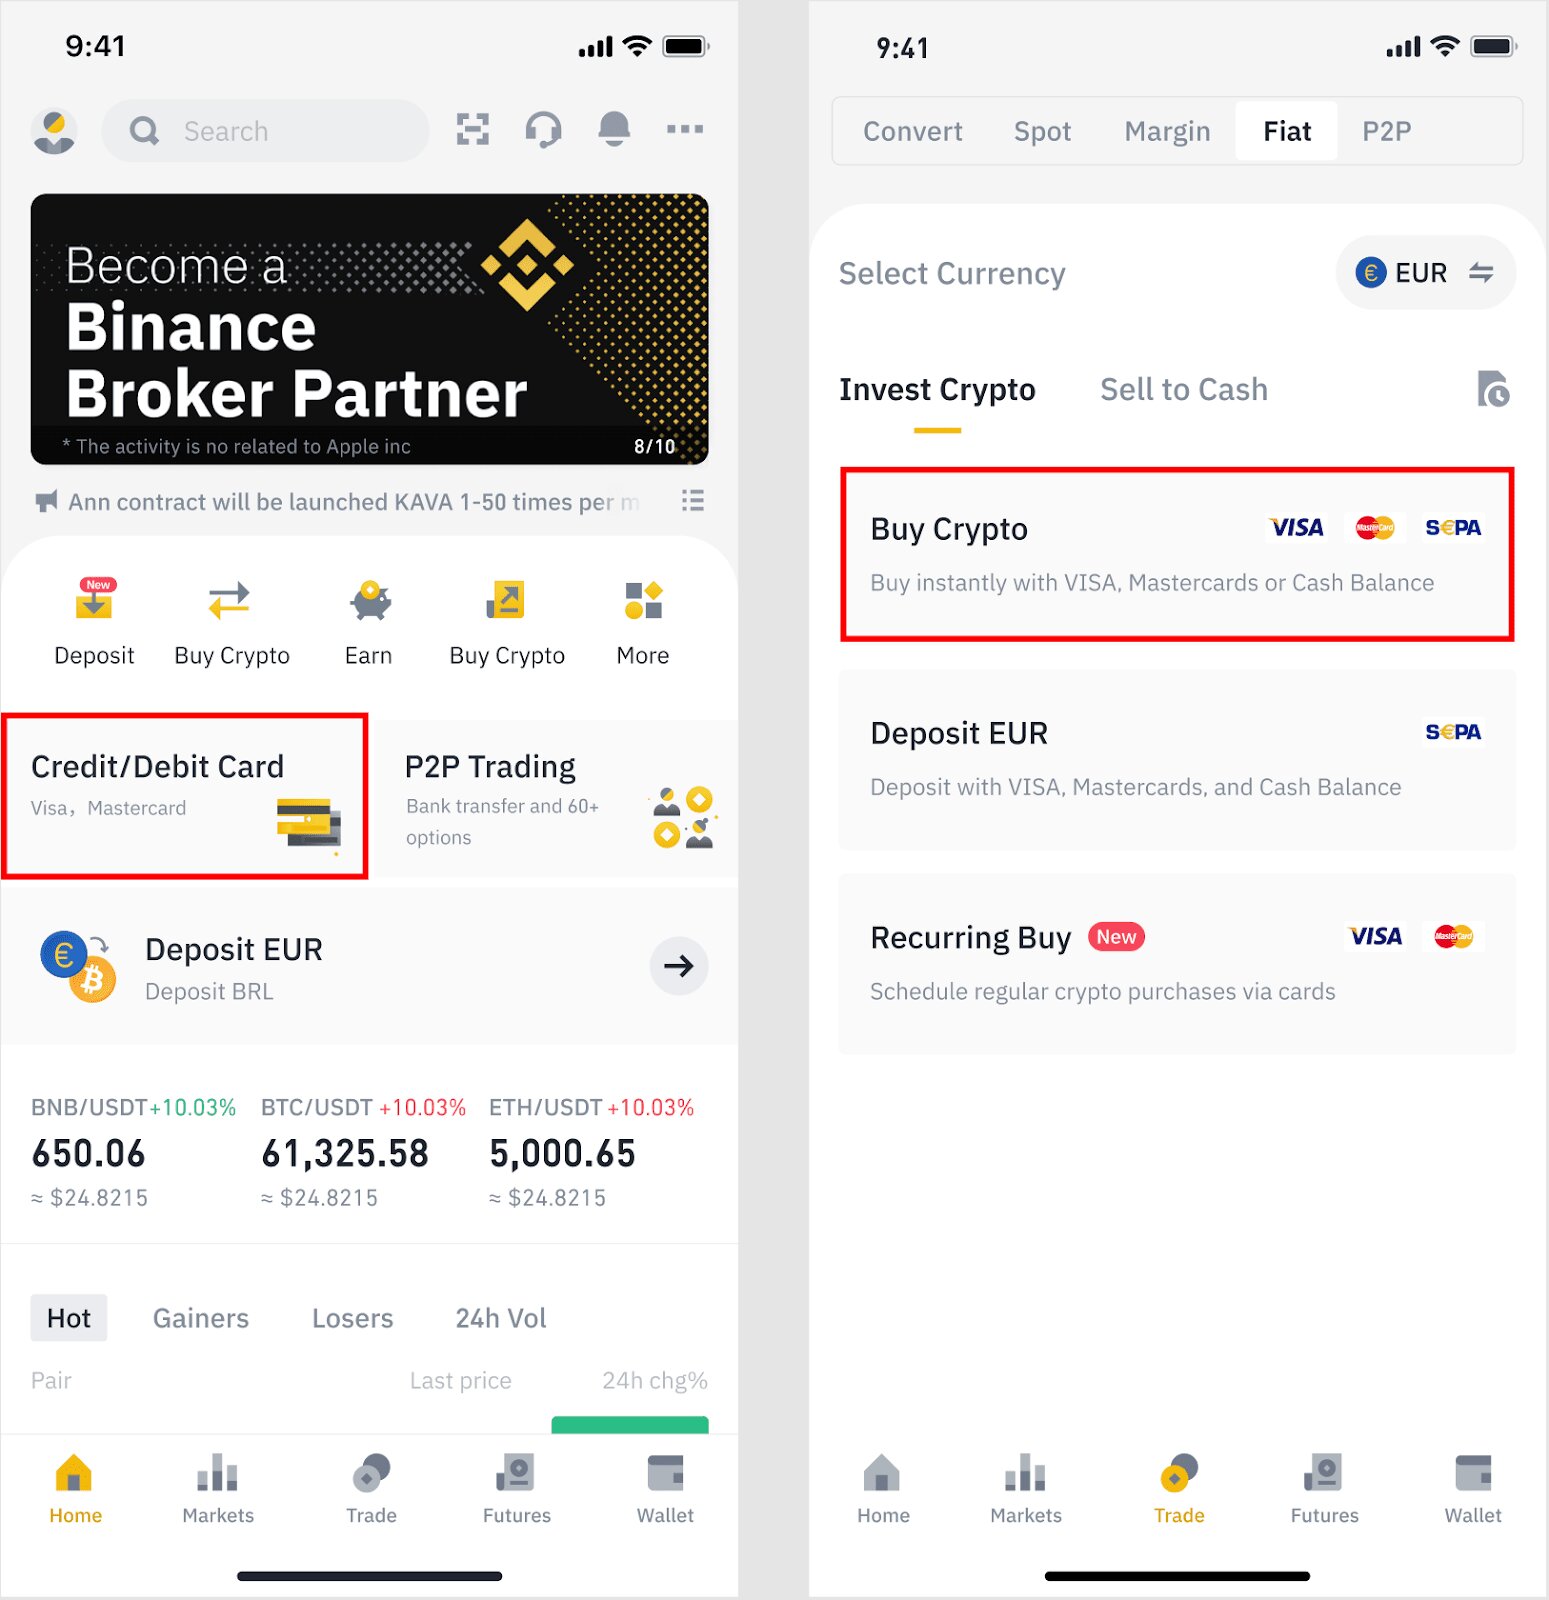
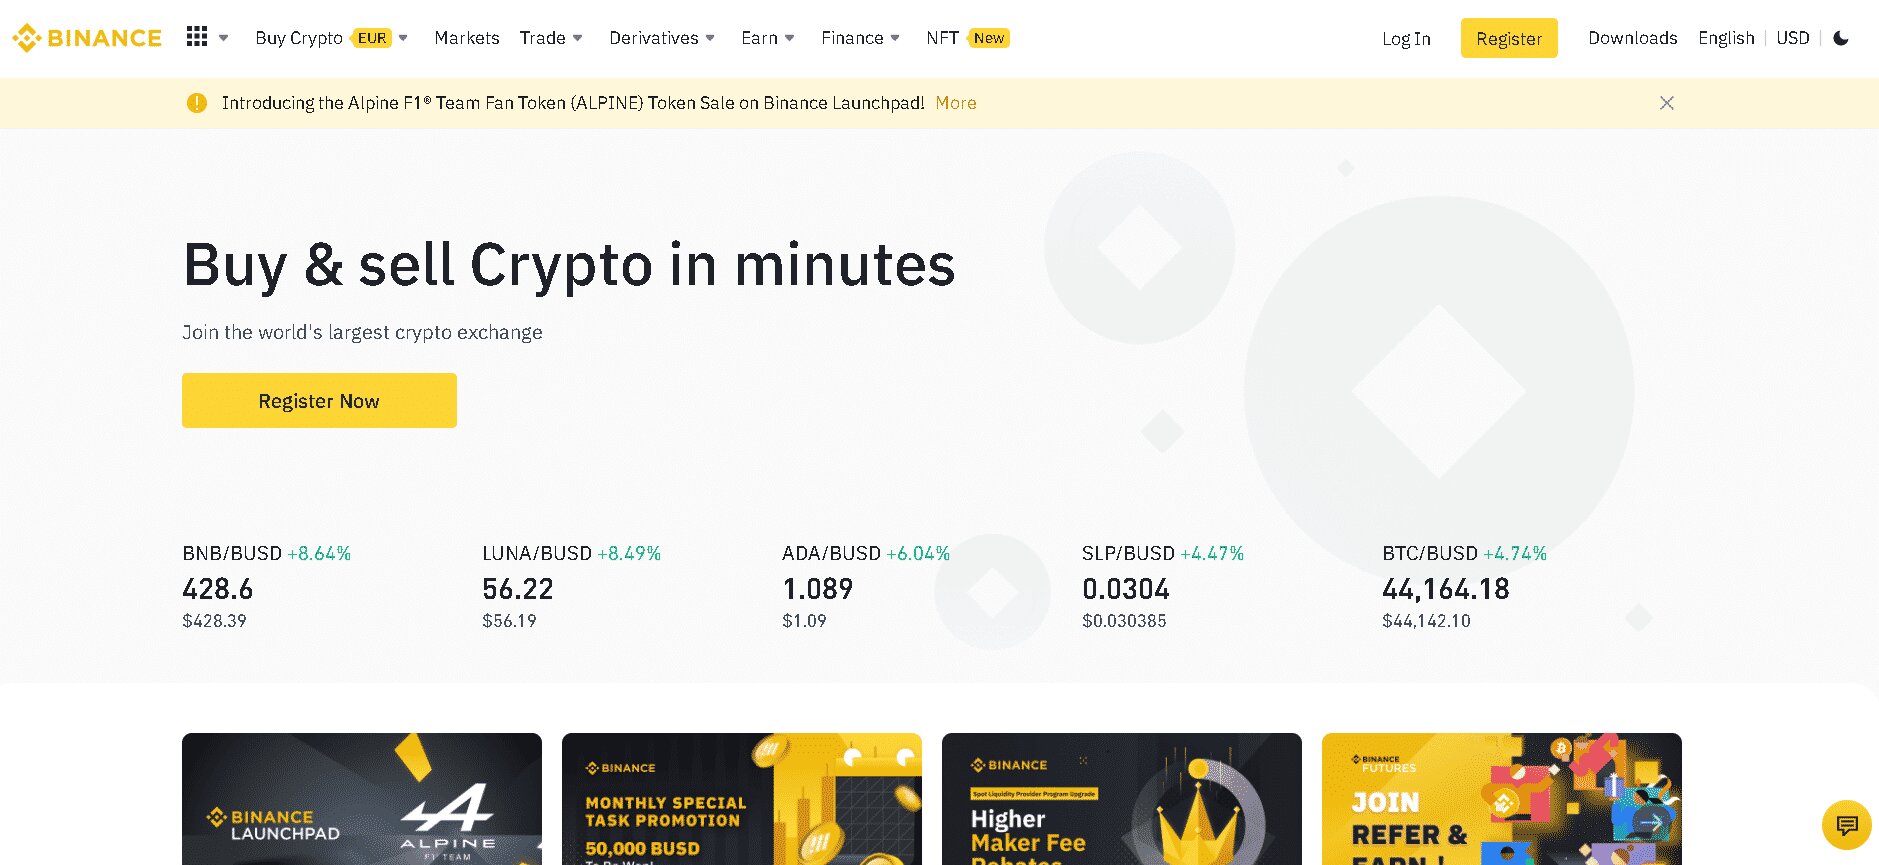
When it comes to buying Ethereum with a credit card, the first step is to find a reliable cryptocurrency exchange. Not all exchanges support credit card payments or offer Ethereum as a trading option, so it’s crucial to conduct thorough research and choose a platform that meets your needs.
Here are some key factors to consider when selecting a cryptocurrency exchange:
- Reputation and Security: Look for exchanges with a solid reputation and a strong focus on security. Read reviews, check for any past security breaches, and ensure that your funds and personal information will be safe.
- Currency Support: Ensure that the exchange supports credit card payments and offers Ethereum as a trading option. Some exchanges may only offer Bitcoin or a limited selection of cryptocurrencies, so it’s essential to choose one that supports Ethereum.
- User-Friendly Interface: Consider the user experience and interface of the exchange. A user-friendly platform will make it easier for you to navigate, buy Ethereum, and manage your account.
- Transaction Fees: Compare the transaction fees charged by different exchanges. Keep in mind that credit card purchases may incur higher fees compared to other payment methods, so factor this into your decision-making process.
- Customer Support: Look for exchanges that offer reliable customer support. In case you encounter any issues or have questions, it’s important to have access to responsive and helpful support.
Once you have identified a reputable and suitable cryptocurrency exchange, proceed to the next step: signing up and verifying your account.
Step 2: Sign Up and Verify Your Account
After finding a reliable cryptocurrency exchange, the next step is to sign up for an account and complete the verification process. This step is important to ensure the security and compliance of the exchange.
Here’s a general outline of the sign-up and verification process:
- Create an Account: Visit the website of the chosen cryptocurrency exchange and locate the “Sign Up” or “Register” button. Provide the required information, such as your name, email address, and password. Make sure to use a strong and unique password to protect your account.
- Verify Your Email: Once you’ve completed the registration process, you will receive a verification email. Access your email inbox and click on the verification link provided by the exchange to verify your email address. This step confirms that the email you provided during sign-up is valid.
- Submit Identity Verification Documents: Most reputable exchanges require users to complete identity verification to comply with Know Your Customer (KYC) and Anti-Money Laundering (AML) regulations. This step involves submitting identification documents, such as a copy of your passport or driver’s license, to confirm your identity. Follow the instructions provided by the exchange to submit the necessary documents.
- Complete Identity Verification Process: The exchange will review the information and documents you submitted for verification. This process may take some time, as the exchange ensures the accuracy and validity of the provided information. Once your account is successfully verified, you can proceed to the next steps of buying Ethereum with a credit card.
It’s important to note that the verification process may vary slightly between different cryptocurrency exchanges. Some exchanges may have additional verification steps or requirements, while others may offer different levels of verification depending on the amount of Ethereum you plan to purchase.
Now that your account is verified, you’re ready to move on to the next step: adding a credit card as a payment method.
Step 3: Add a Credit Card as a Payment Method
With your verified account, you can now add a credit card as a payment method to facilitate the purchase of Ethereum on the cryptocurrency exchange. Adding a credit card allows you to conveniently and securely make transactions using funds from your credit card account.
Here’s a step-by-step guide on how to add a credit card as a payment method:
- Login to Your Account: Access your cryptocurrency exchange account using your credentials.
- Navigate to Payment Settings: Locate the “Payments” or “Settings” section of your account dashboard. Look for an option to “Add Payment Method” or “Manage Payment Options.”
- Select Credit Card: Choose the option to add a credit card. You may be redirected to a secure payment gateway or an integrated payment processing service.
- Enter Credit Card Details: Provide the necessary information for your credit card, such as the card number, expiry date, CVV/CVC code, and billing address. Make sure to double-check the accuracy of the details before submitting.
- Verify Credit Card Details: Depending on the exchange’s requirements, you may need to verify your credit card by providing additional information or completing a verification process. This step helps ensure the legitimacy and security of the payment method.
- Save Credit Card as Preferred Payment Method: Once the credit card is successfully added and verified, you can choose to save it as your preferred payment method. This simplifies future transactions, as the exchange will automatically use the saved credit card for purchases unless you choose to use a different payment method.
It’s important to note that different cryptocurrency exchanges may have variations in their payment setup process. Some exchanges may require you to link your credit card directly to your account, while others may utilize third-party payment processors for credit card transactions.
Now that you have successfully added a credit card as a payment method, it’s time to move on to the next step: choosing Ethereum as the cryptocurrency to buy.
Step 4: Choose Ethereum (ETH) as the Cryptocurrency to Buy
With a verified account and a credit card set up as a payment method, it’s time to select Ethereum as the cryptocurrency you want to buy on the cryptocurrency exchange. Since Ethereum is a popular digital asset, it is commonly available on most exchanges that support credit card transactions.
Here’s how to choose Ethereum as the cryptocurrency to buy:
- Login to Your Account: Access your cryptocurrency exchange account using your credentials.
- Navigate to the Trading or Buy/Sell Section: Look for the section of your account dashboard where you can initiate a new transaction.
- Choose Ethereum (ETH): In the list of available cryptocurrencies, locate Ethereum (ETH) and select it as the cryptocurrency you want to buy. Some exchanges may display Ethereum by its ticker symbol, ETH.
- Specify the Currency: Select the currency you want to use to purchase Ethereum. This would typically be your local currency or the currency associated with your credit card.
- Review the Exchange Rate: Take note of the current exchange rate between your chosen currency and Ethereum. This will help you determine the amount of Ethereum you will receive based on your desired purchase amount.
- Additional Purchase Options: Depending on the exchange, you may have additional options such as buying Ethereum with a set amount of your chosen currency or specifying the amount of Ethereum you want to purchase.
Once you have chosen Ethereum as the cryptocurrency to buy, reviewed the exchange rate, and selected your preferred purchase options, you’re ready to proceed to the next step: specifying the amount of Ethereum you want to purchase.
Step 5: Specify the Amount of Ethereum You Want to Purchase
After selecting Ethereum (ETH) as the cryptocurrency you want to buy, the next step is to specify the amount of Ethereum you wish to purchase. This step allows you to indicate the quantity of Ethereum you want to add to your digital asset portfolio.
Here’s how to specify the amount of Ethereum you want to purchase:
- Login to Your Account: Access your cryptocurrency exchange account using your credentials.
- Navigate to the Buying Section: Look for the section of your account dashboard where you can specify the amount of Ethereum you want to purchase. This is typically found in the trading, buy/sell, or purchase section of the exchange.
- Enter the Amount: Input the quantity or amount of Ethereum you want to purchase. You can either specify the amount in Ethereum or your chosen currency, depending on the exchange’s interface.
- Review the Total: Take note of the total cost of your Ethereum purchase. It will be calculated based on the current exchange rate and the amount you specified.
- Verify the Details: Double-check the quantity of Ethereum and the total cost to ensure accuracy. This step is essential to avoid any mistakes that could result in purchasing more or less Ethereum than intended.
Keep in mind that some exchanges may have minimum or maximum limits for Ethereum purchases using credit cards. Be sure to consider any limitations or restrictions imposed by the exchange when specifying the amount of Ethereum you want to purchase.
Once you have specified the desired amount of Ethereum and reviewed the details, you can proceed to the next step: reviewing and confirming your purchase.
Step 6: Review and Confirm Your Purchase
After specifying the amount of Ethereum you want to purchase, it is important to review and confirm your transaction details before finalizing the purchase. This step ensures that the purchase aligns with your intentions and that you are comfortable with the terms and conditions set by the cryptocurrency exchange.
Here’s how to review and confirm your Ethereum purchase:
- Login to Your Account: Access your cryptocurrency exchange account using your credentials.
- Review the Transaction Details: Take a moment to carefully review all the transaction details. This includes the quantity of Ethereum you are purchasing, the total cost in your chosen currency, any applicable fees, and the current exchange rate.
- Check the Payment Method: Verify that your credit card is selected as the payment method for this specific transaction. If you have multiple payment methods on file, ensure that the correct credit card is chosen.
- Confirm the Purchase: If you are satisfied with the transaction details, proceed to the confirmation step. This may involve clicking a “Confirm” or “Buy” button to initiate the purchase.
- Double-Check the Ethereum Wallet Address: Some exchanges will ask you to confirm the Ethereum wallet address where your purchased coins will be sent. Ensure the address is accurate to avoid any potential loss of funds.
- Enter Two-Factor Authentication (if applicable): For added security, some exchanges may require you to enter a two-factor authentication (2FA) code generated by an authenticator app or sent to your registered email or phone number.
It is highly recommended to take the time to carefully review the transaction details and confirm your purchase. This ensures that there are no errors or discrepancies that could lead to unintended transactions or financial losses.
Once you have reviewed and confirmed your purchase, you can move on to the next step: verifying your Ethereum wallet address.
Step 7: Verify Your Ethereum Wallet Address
After confirming your purchase, the next step is to verify your Ethereum wallet address. This crucial step ensures that the Ethereum coins you have purchased are securely transferred to your designated wallet and are under your control.
Here’s how to verify your Ethereum wallet address:
- Login to Your Account: Access your cryptocurrency exchange account using your credentials.
- Locate the Withdrawal or Send Section: Look for the section in your account dashboard that allows you to initiate a withdrawal or send Ethereum to an external wallet.
- Enter Your Ethereum Wallet Address: Provide the Ethereum wallet address where you want to receive the purchased coins. This is typically a long string of alphanumeric characters.
- Confirm the Wallet Address: Double-check the wallet address you have entered to ensure its accuracy. Mistakenly entering an incorrect address can result in the loss of funds, so it is crucial to verify the address before proceeding.
- Complete Any Additional Verification Steps: Depending on the exchange’s security measures, you may be required to complete additional verification steps, such as confirming your email address or entering a two-factor authentication code.
Verifying your Ethereum wallet address is a critical step in the buying process, as it ensures that your purchased Ethereum coins are securely delivered to your personal wallet. Remember to always double-check the wallet address to avoid any unintended transfers or potential loss of funds.
Once you have successfully verified your Ethereum wallet address, you can proceed to the final step: completing the transaction and waiting for confirmation.
Step 8: Complete the Transaction and Wait for Confirmation
Once you have verified your Ethereum wallet address, it’s time to complete the transaction and wait for confirmation. This final step in the buying process involves initiating the transfer of Ethereum from the cryptocurrency exchange to your personal wallet.
Here’s how to complete the transaction and wait for confirmation:
- Login to Your Account: Access your cryptocurrency exchange account using your credentials.
- Navigate to the Withdrawal or Send Section: Locate the section in your account dashboard that allows you to withdraw or send Ethereum.
- Specify the Amount to Transfer: Enter the quantity or amount of Ethereum you want to transfer from the exchange to your personal wallet. Make sure to double-check the amount to avoid any errors.
- Review Additional Transaction Details: Take a moment to review any additional details related to the Ethereum transfer, such as transaction fees, processing times, or minimum withdrawal limits. Familiarize yourself with the exchange’s policies to ensure a smooth and timely transfer.
- Confirm the Transaction: If all the details are accurate and you are ready to proceed, confirm the transaction to initiate the transfer of Ethereum from the exchange to your personal wallet. This action may involve clicking a “Withdraw” or “Send” button.
- Wait for Confirmation: After completing the transaction, you will need to wait for confirmation. The length of time required for confirmation may vary depending on the exchange and the Ethereum network’s congestion. Typically, it takes a few minutes to process the transfer, but during high network activity, it may take longer.
- Monitor Your Wallet for Arrival: Keep an eye on your personal Ethereum wallet to check for the arrival of the transferred coins. Once the transaction is confirmed on the Ethereum network, you will see the coins reflected in your wallet balance.
Remember to exercise patience during the confirmation process, as the speed of network confirmations can vary. It’s also a good practice to keep an eye on any email or notification updates from the exchange regarding the status of your transaction.
Once the Ethereum coins have arrived in your personal wallet, you have successfully completed the transaction. You can now access, manage, or utilize your Ethereum as desired within the Ethereum ecosystem.
Conclusion
Congratulations! You have successfully learned how to buy Ethereum with a credit card. By following the step-by-step guide outlined in this article, you have gained the knowledge and confidence to enter the exciting world of cryptocurrencies and add Ethereum to your digital asset portfolio.
Throughout the process, it is important to remember a few key points. First, finding a reliable cryptocurrency exchange is crucial to ensure the security of your transactions and the safety of your funds. Take the time to research and select an exchange that supports credit card payments and offers Ethereum as a trading option.
Second, sign up and verify your account on the exchange to comply with regulatory requirements and enhance the security of your transactions. Be prepared to provide the necessary identification documents and complete the verification process to access all the features and benefits of the exchange.
Next, adding a credit card as a payment method simplifies the process of purchasing Ethereum. Make sure to enter your credit card details accurately and verify them to ensure a smooth transaction experience.
Once you have chosen Ethereum as the cryptocurrency to buy, specify the amount you wish to purchase, review the transaction details, and confirm your purchase. Double-check the wallet address where your Ethereum will be sent to avoid any losses or errors.
Finally, complete the transaction and patiently wait for confirmation. The Ethereum network may take some time to process and confirm the transaction, but soon you will see your purchased Ethereum coins in your personal wallet.
Now that you are a proud Ethereum holder, you can explore the exciting possibilities within the Ethereum ecosystem. Whether you plan to hold Ethereum as a long-term investment or utilize it for various transactions and decentralized applications (DApps), you are a part of the innovative world of decentralized finance.
Remember to stay updated on the latest developments in the cryptocurrency industry and practice good security measures to protect your digital assets. Enjoy your journey into the world of Ethereum and the revolutionary potential it offers!