Introduction
Getting a new Chime card is an exciting moment, as it opens up a world of convenient and secure financial transactions. However, before you can start using your new Chime card, you need to go through the activation process. Activating your Chime card is quick and easy, and can be done right from the Chime mobile app. In this guide, we’ll take you through the step-by-step process of activating your new Chime card, so you can start enjoying the benefits right away.
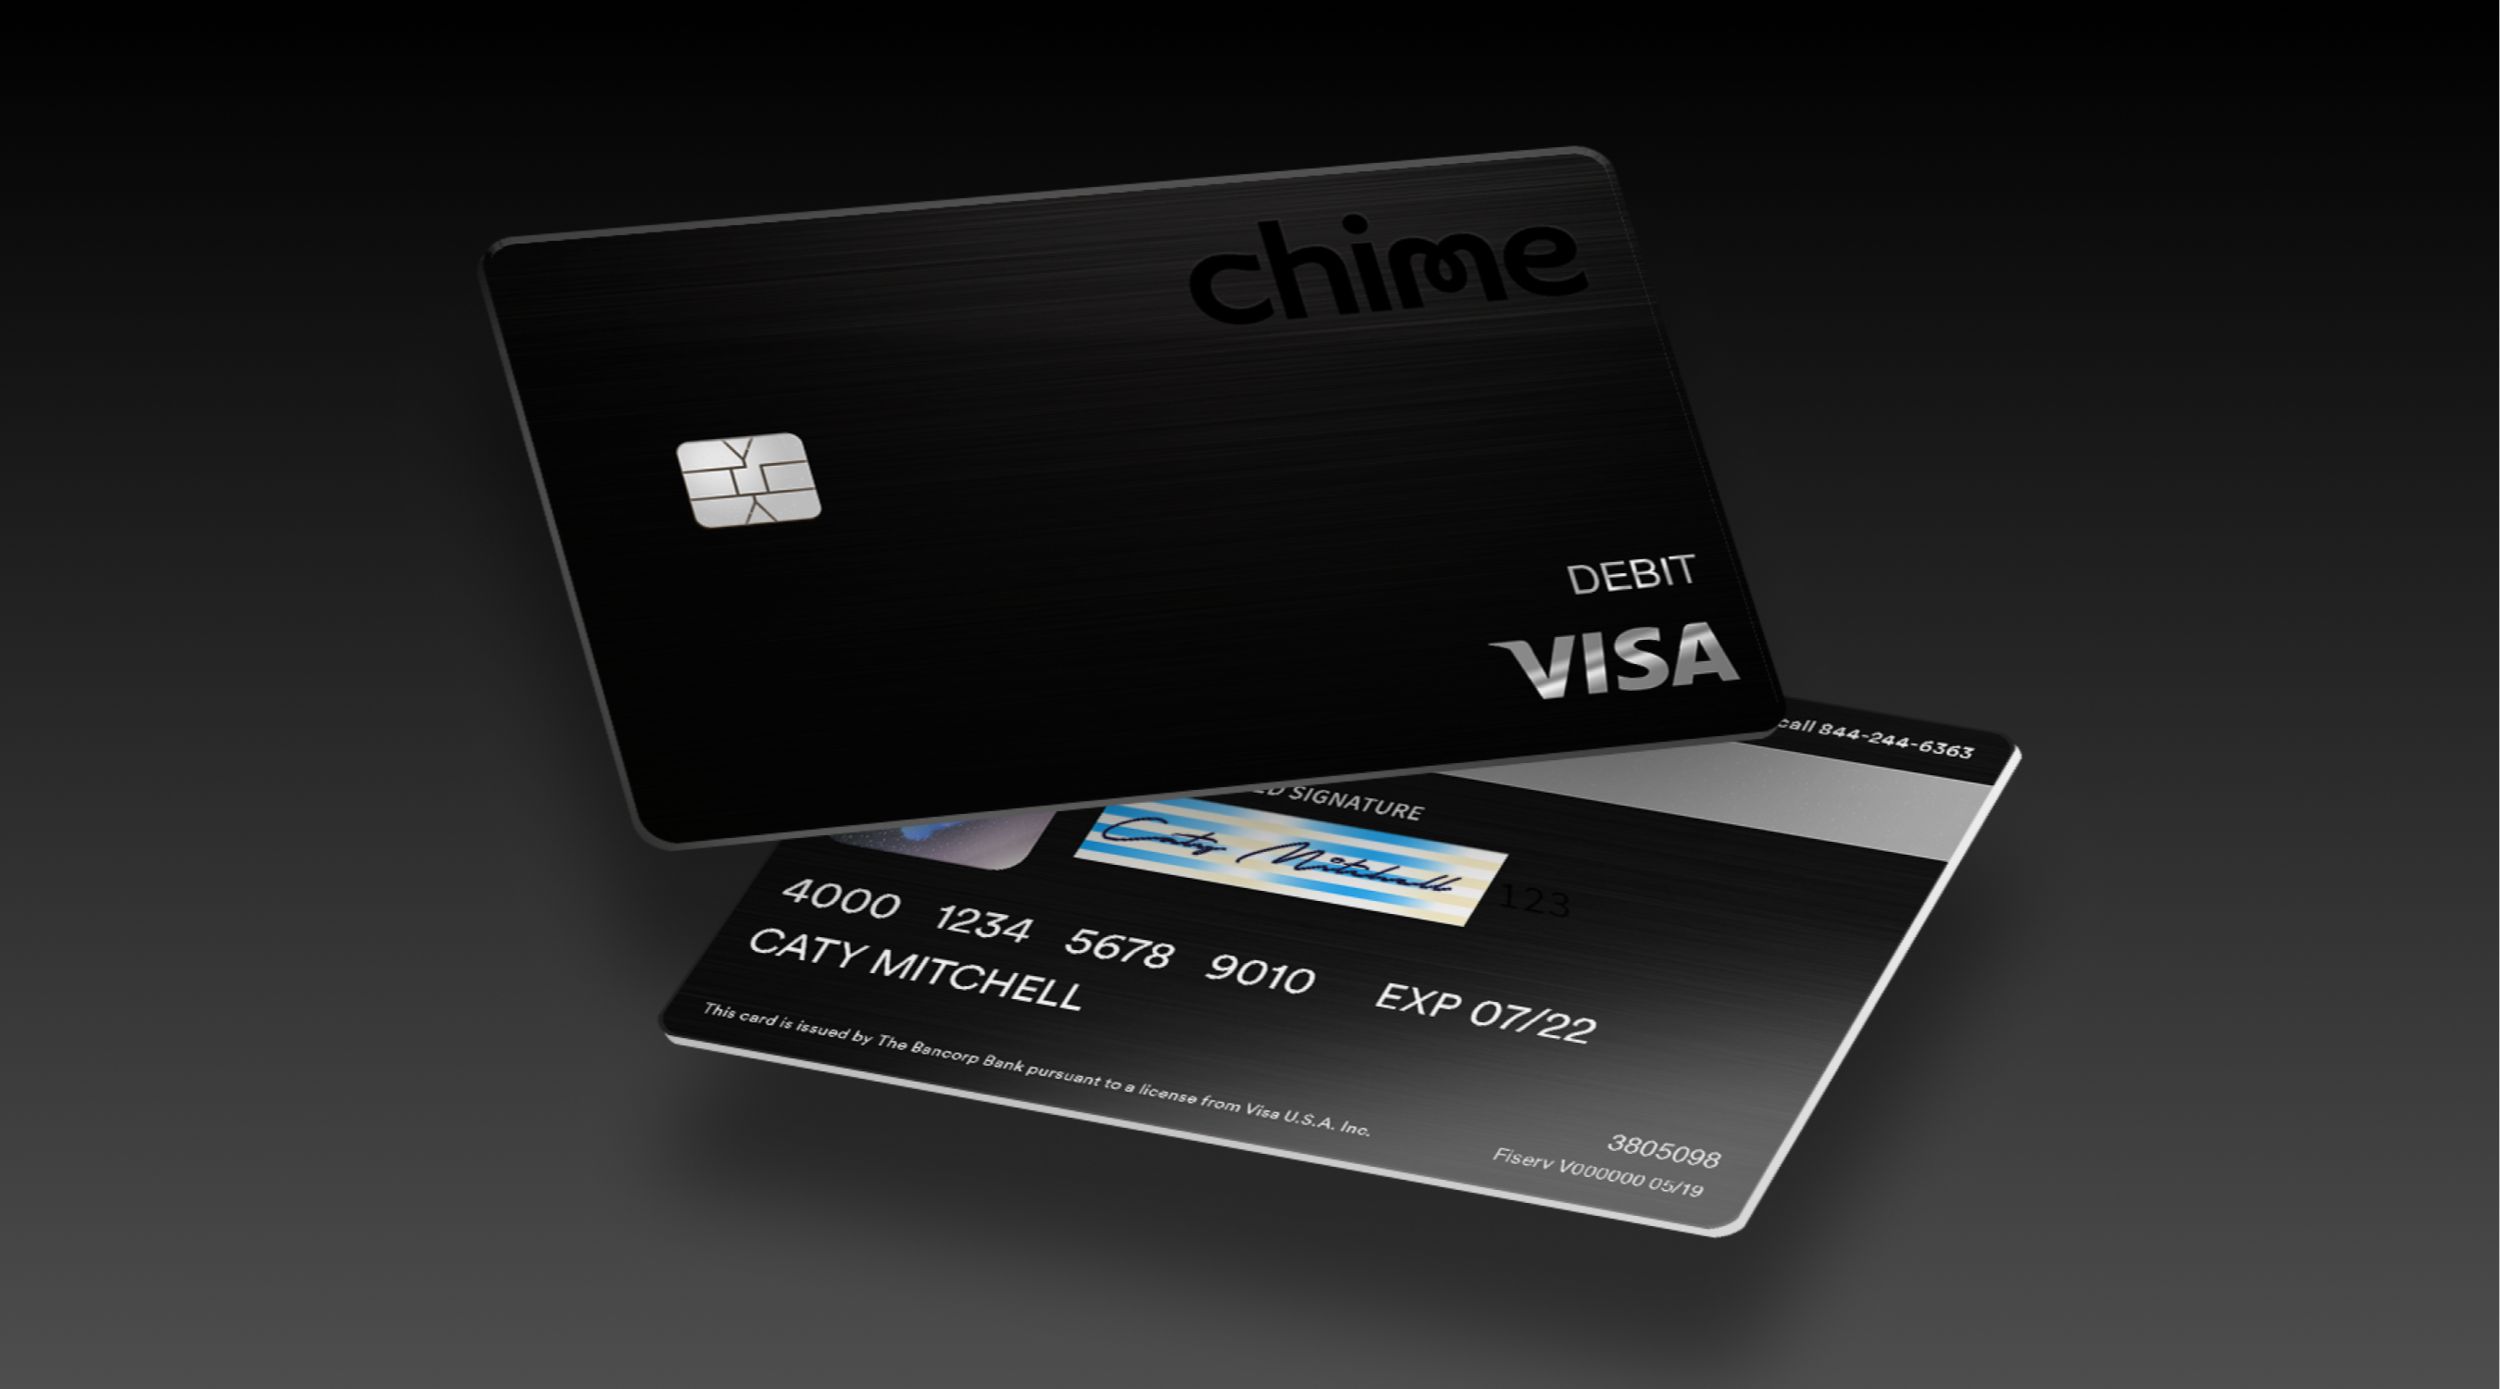
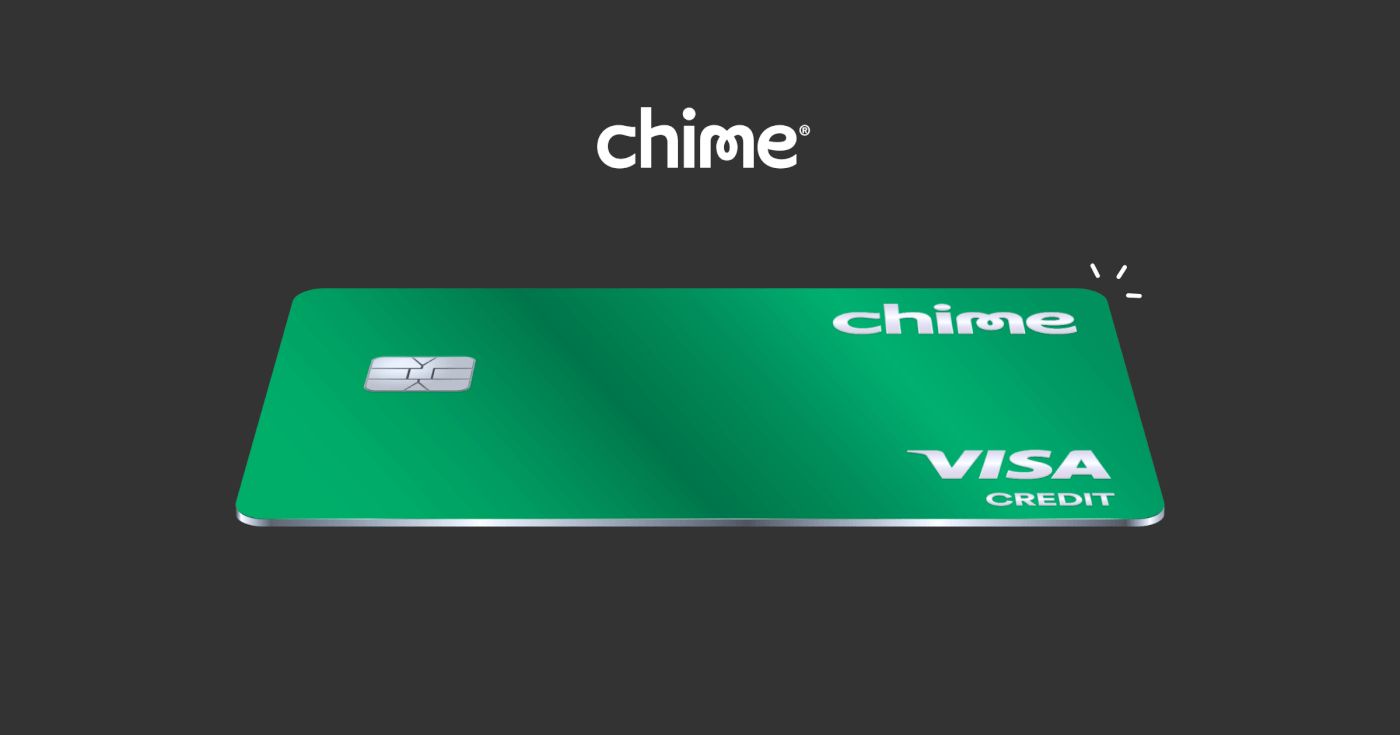
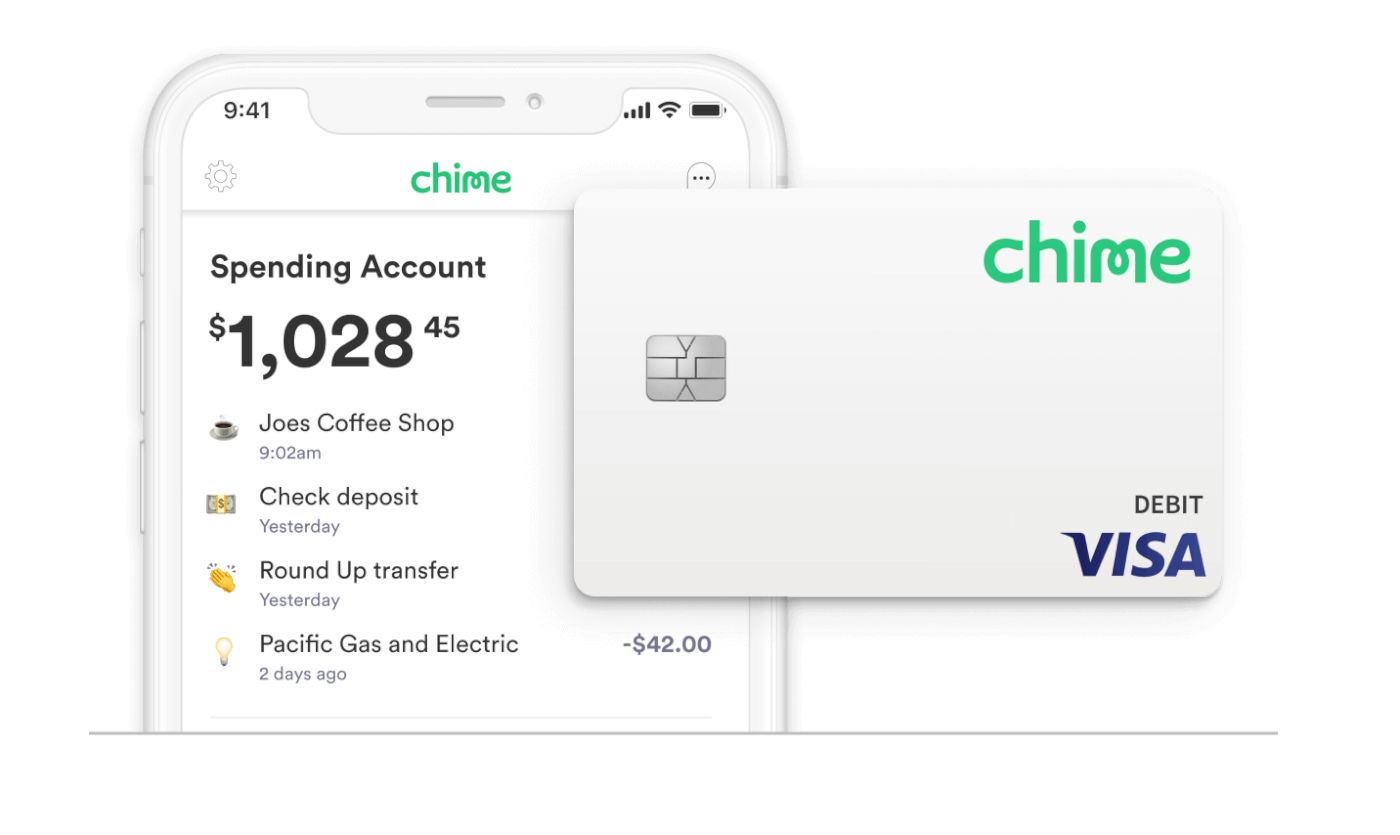
Chime is a modern, online banking platform that offers a range of innovative features and benefits. With Chime, you can manage your money on the go, track your spending, save automatically, and even get paid up to two days early with direct deposit. The Chime card is linked to your Chime account and can be used anywhere that accepts Visa or Mastercard.
Activating your new Chime card not only ensures that it’s ready for use but also adds an extra layer of security to your account. Once your card is activated, you can set up card preferences and notifications, further customizing your Chime card experience to suit your needs. So, let’s get started and activate your new Chime card in just a few simple steps.
Step 1: Download the Chime Mobile App
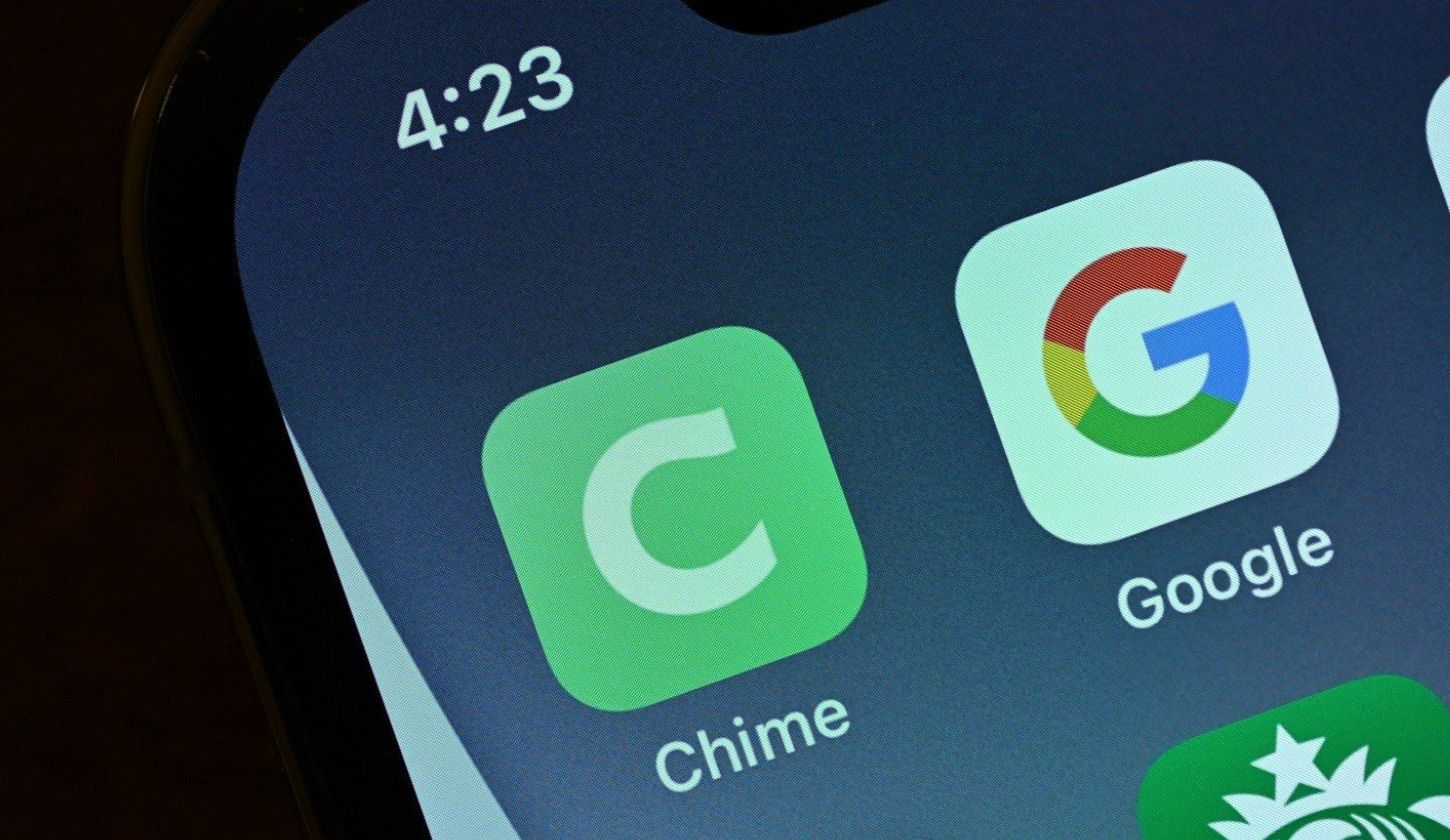
The first step to activating your new Chime card is to download the Chime mobile app. The app is available for both iOS and Android devices and can be found on the App Store or Google Play Store. Simply search for “Chime” and look for the app with the blue and white icon.
Once you’ve found the Chime app, tap on the “Install” or “Get” button to download and install it on your device. The app is free to download, so you won’t have to worry about any additional charges.
After the app is downloaded and installed, locate the Chime app icon on your device’s home screen or app drawer, and tap on it to open the app.
If you already have the Chime app installed on your device, ensure that it’s up to date by checking for any available updates through the App Store or Google Play Store. Running the latest version of the app will ensure that you have access to all the features and improvements.
Once you have the Chime app up and running, you’re ready to move on to the next step in the activation process. So, let’s move on to step 2 and sign in to your Chime account.
Step 2: Sign in to Your Chime Account
Now that you have the Chime mobile app installed on your device, it’s time to sign in to your Chime account. If you don’t have an account, you can easily create one by following the prompts in the app.
Open the Chime app on your device and you’ll be presented with the login screen. Enter your email address or username and password that you used to create your Chime account, then tap on the “Log In” button.
If you forgot your password, you can tap on the “Forgot Password?” link to initiate the password reset process. You’ll receive an email with instructions on how to reset your password.
Once you’re logged in to your Chime account, you’ll have access to your account dashboard and all the features and settings available to you. Take some time to explore the app and familiarize yourself with the various options.
If you’re unable to log in to your Chime account, ensure that you have a stable internet connection and that you’re entering the correct credentials. If you’re still encountering issues, you can reach out to Chime customer support for assistance.
With step 2 completed, you’re now ready to move on to step 3 and link your new Chime card to your account. Let’s continue with the activation process and get your Chime card up and running.
Step 3: Link Your New Chime Card to Your Account
Now that you’ve successfully signed in to your Chime account, it’s time to link your new Chime card to your account. This step ensures that your card is connected to your account and can be activated for use.
In the Chime mobile app, navigate to the “Settings” or “Account” section. Look for an option like “Card Management” or “Add Card” to initiate the process of linking your new Chime card.
Once you’ve located the appropriate option, you’ll be prompted to provide some information. This typically includes the card number, expiration date, and CVV (Card Verification Value), which can be found on the back of your card. Enter the required details accurately and double-check for any errors before proceeding.
After you’ve entered the necessary information, tap on the “Link Card” or “Add Card” button to complete the linking process. The Chime app will then verify the card details and establish the connection between your new Chime card and your account.
It’s important to note that only one Chime card can be linked to your account at a time. If you already have a Chime card linked and want to replace it with your new card, you’ll need to follow the same steps to link the new card and remove the old one.
If you encounter any difficulties while linking your new Chime card, ensure that you’re entering the correct card information and that your card is not expired. Additionally, make sure that your device is connected to the internet and that the Chime app is up to date. If the issue persists, don’t hesitate to reach out to Chime customer support for further assistance.
With step 3 completed, you’re one step closer to activating your new Chime card. Let’s move on to step 4 and activate your Chime card so you can start using it.
Step 4: Activate Your Chime Card
Now that you have linked your new Chime card to your account, it’s time to activate it. Activating your Chime card is a crucial step that ensures your card is ready for use and can be securely associated with your Chime account.
In the Chime mobile app, navigate to the “Card Management” or “Activate Card” section. Look for an option that specifically mentions card activation.
Once you’ve found the activation option, you’ll be prompted to follow a series of steps to complete the process. These steps may include confirming your identity with personal information, such as your name, date of birth, or the last four digits of your Social Security number.
Some banks may also require you to verify your card by calling a toll-free number or visiting a specific website. However, with Chime, the activation process can typically be completed directly within the mobile app.
During the activation process, it’s important to pay close attention to the instructions provided and provide accurate information. Failure to do so may result in an unsuccessful activation or delays in being able to use your Chime card.
Once you have successfully completed the activation process, you will receive a confirmation message or notification indicating that your Chime card is now active and ready for use. You can also check the “Card Management” section in the app to confirm the activation status of your card.
If you encounter any issues or have questions during the activation process, don’t hesitate to contact Chime customer support for assistance. They will be able to guide you through the necessary steps or troubleshoot any problems that may arise.
With step 4 accomplished, you’re almost there! You have successfully activated your new Chime card. Now, let’s move on to step 5 and set up your card preferences and notifications.
Step 5: Set Up Your Card Preferences and Notifications
Now that your Chime card is activated, it’s time to personalize your card settings and notifications. By customizing these preferences, you can enhance your Chime card experience and stay informed about your transactions and account activity.
In the Chime mobile app, navigate to the “Settings” or “Card Management” section. Look for options like “Card Preferences,” “Notifications,” or “Alerts.”
Once you’ve found the appropriate section, you’ll be presented with a range of options to choose from. These options may include:
1. Transaction notifications: You can choose to receive notifications for various types of transactions, such as purchases, ATM withdrawals, or deposits. This allows you to stay updated on your account activity in real-time.
2. Spending limits: You can set spending limits on your Chime card to control your expenses and prevent overspending. This feature is especially useful if you’re managing a budget or trying to stick to a specific spending plan.
3. Blocked merchants: If you want to restrict your card usage at specific merchants or categories, you can block them from accepting transactions made with your Chime card. This gives you greater control over where your card can be used.
4. Safety and security settings: Chime provides additional security measures, such as blocking international transactions or enabling transaction alerts for suspicious activity. Review these settings and adjust them according to your preferences and needs.
Take your time to review and select the preferences that align with your requirements. Remember, these settings can always be updated and modified later on if needed.
Once you have configured your card preferences and notifications, be sure to save your changes. This will ensure that your selected settings are applied to your Chime card immediately.
By personalizing your card preferences and notifications, you can have more control over your Chime card usage and stay informed about any account activity. With step 5 completed, you’re almost ready to start fully utilizing your new Chime card. Let’s move on to the final step.
Step 6: Start Using Your New Chime Card
Congratulations! You have successfully activated your new Chime card and customized your card preferences. Now it’s time to start using your Chime card for all your financial transactions.
Your Chime card can be used wherever Visa or Mastercard is accepted. Whether you’re making purchases at your favorite stores, shopping online, or withdrawing cash at ATMs, your Chime card is ready to accompany you.
When making purchases in-store, simply swipe or insert your Chime card into the card reader, and follow the prompts on the screen. If a PIN is required, enter your unique four-digit PIN, which you can create in the Chime mobile app.
For online transactions, enter the card details, including the card number, expiration date, and CVV, as you would with any other debit or credit card during the checkout process.
If you need to withdraw cash from an ATM, look for ATMs that display the Visa or Mastercard acceptance logo. Insert your card, enter your PIN, and follow the instructions on the screen. Keep in mind that some ATMs may have additional fees depending on the terms of the ATM operator.
Remember to keep track of your transactions and regularly review your account activity through the Chime app. This will help you stay on top of your spending and identify any unauthorized charges or discrepancies.
In addition to using your Chime card, don’t forget to explore the other features and benefits of the Chime platform. Chime offers features like automatic savings, early direct deposit, and a spending account designed to simplify your banking experience and help you achieve your financial goals.
If you encounter any issues while using your Chime card or have any questions, Chime customer support is available to assist you. They can address any concerns or provide guidance to ensure a smooth and hassle-free experience.
Congratulations once again on activating your new Chime card! By following these steps, you are now equipped to enjoy the convenience, security, and flexibility of using your Chime card for all your financial needs.
Conclusion
Activating your new Chime card is a simple and straightforward process that can be done right from the Chime mobile app. By following the step-by-step guide outlined in this article, you can successfully activate your Chime card, link it to your account, customize your preferences, and start using your card for all your financial transactions.
Chime offers a modern and convenient banking experience, allowing you to manage your money on the go and take advantage of various features like automatic savings and early direct deposit. With your Chime card, you can make purchases online or in-store, withdraw cash from ATMs, and enjoy the security and benefits of using a trusted banking platform.
Remember to take advantage of the card management features available in the Chime app, such as setting spending limits, enabling transaction notifications, and blocking merchants if needed. These options give you greater control over your card usage and enhance your overall banking experience.
If you have any questions or encounter any issues during the activation process or while using your Chime card, don’t hesitate to reach out to Chime customer support. They are available to assist you and provide any necessary guidance or troubleshooting.
Congratulations on activating your new Chime card! Enjoy the convenience, security, and flexibility that Chime offers as you embark on your financial journey.