Introduction
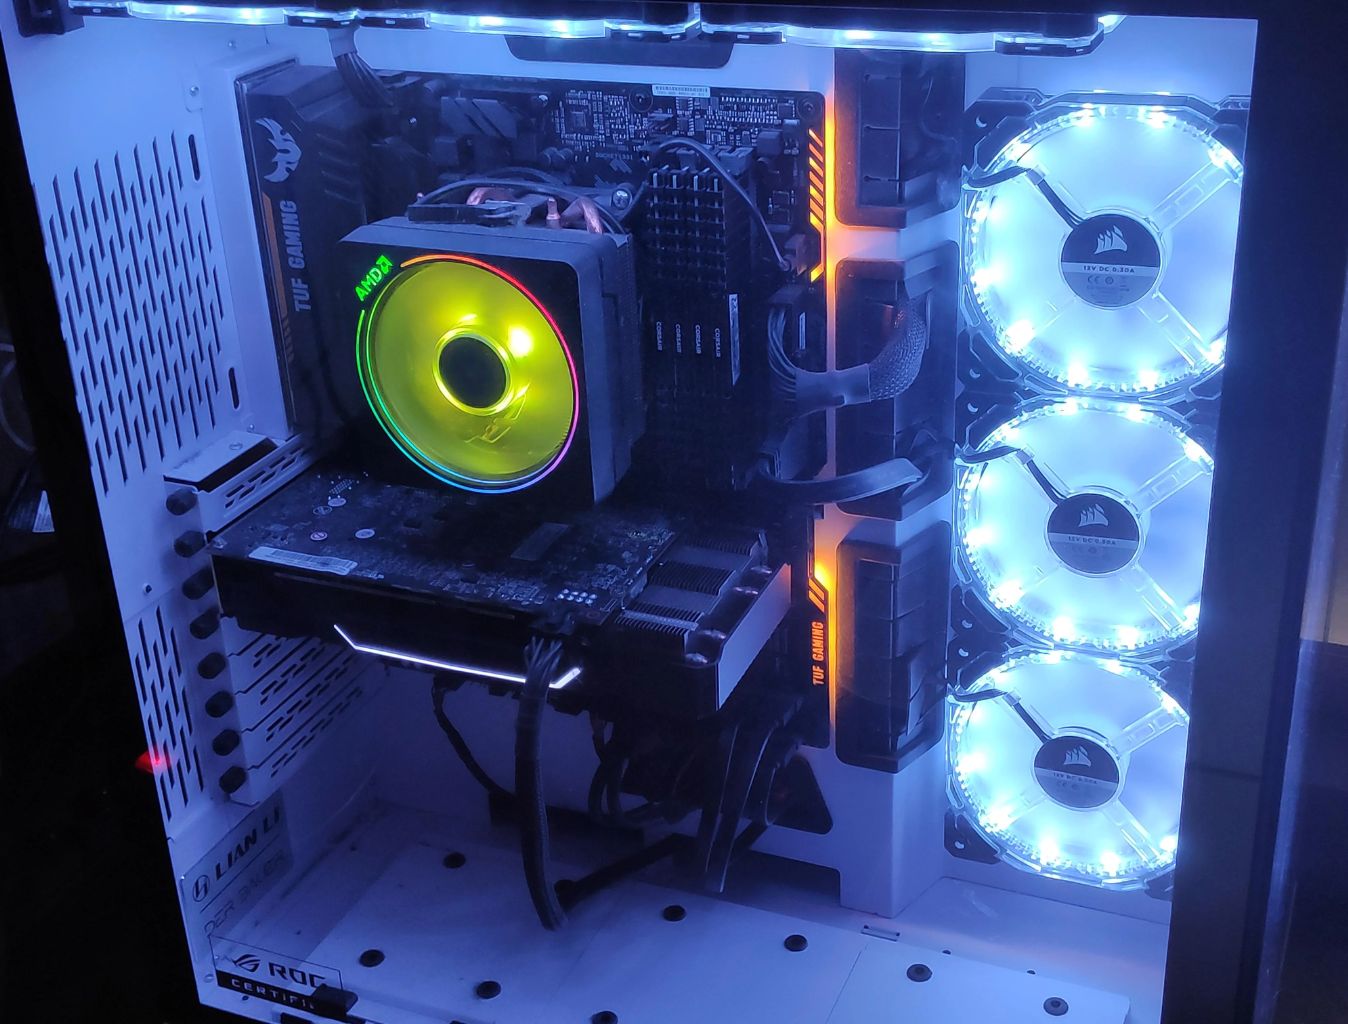
Welcome to our guide on the correct way to install case fans. If you’re a computer enthusiast or a DIY computer builder, you know that maintaining proper cooling inside your computer case is crucial for optimal performance and longevity. That’s where case fans come in. Case fans are essential components that ensure proper airflow, helping to dissipate heat and prevent overheating.
Whether you’re building a new system or upgrading your existing one, understanding the basics of fan placement is important. Installing case fans in the correct direction can make a significant difference in cooling efficiency. In this guide, we’ll break down the different types of case fans, their importance, and provide easy-to-follow instructions on how to properly install them.
Proper fan placement is not just about randomly installing fans in your computer case. It involves strategically determining the airflow direction and considering factors like intake and exhaust placement. By configuring your case fans correctly, you can ensure a well-ventilated system, resulting in improved performance and reduced risk of component damage due to excessive heat.
So, if you’re ready to learn the best practices for case fan installation, keep reading. We’ll guide you through the process step-by-step, helping you make informed decisions about the placement and direction of your case fans.
The Importance of Case Fans
Case fans play a crucial role in maintaining the overall health and performance of your computer system. They provide vital airflow, which helps dissipate heat generated by various components, including the CPU, graphics card, and power supply. Here are some key reasons why case fans are essential:
- Heat dissipation: High-performance components generate a significant amount of heat during operation. Without proper cooling mechanisms, temperatures can soar, leading to reduced performance and potential damage to sensitive components. Case fans help to remove hot air from the system, ensuring stable operating temperatures.
- Prevent thermal throttling: When a computer component reaches a certain temperature threshold, it may automatically reduce its performance to prevent overheating. This is known as thermal throttling. By installing case fans, you can effectively manage temperatures, reduce the chances of thermal throttling, and maintain optimal performance.
- Extend component lifespan: Heat is one of the main enemies of electronic components. Excessive heat can cause premature wear and decrease the lifespan of components like the CPU, GPU, and motherboard. With proper airflow provided by case fans, you can help extend the lifespan of your components and protect your investment.
- Improved system stability: Overheating can lead to system instability, causing frequent crashes, freezes, or unexpected shutdowns. By maintaining proper temperatures through case fans, you can ensure a stable system, reducing the risk of frustrating and disruptive issues during your computing sessions.
- Dust reduction: Case fans not only help with heat dissipation but also aid in reducing the accumulation of dust in your computer case. By creating airflow, they can push out dust particles, preventing them from settling and clogging up your system. This can improve overall system cleanliness and reduce maintenance efforts.
Without efficient case fans, your computer’s performance, reliability, and durability can be compromised. Therefore, investing in good-quality case fans and understanding their proper installation is crucial for any computer enthusiast or builder.
Fan Placement and Airflow
Proper fan placement and airflow management are key factors of effective cooling inside your computer case. Understanding the fundamentals of fan placement will help you optimize cooling performance. Here’s what you need to know:
Airflow Direction: A typical computer case has two main types of airflow: intake and exhaust. Intake fans draw in cool air from the outside, while exhaust fans expel hot air from the case. It’s important to generate a clear and unobstructed path for this airflow.
Optimal Configuration: The most common setup for fan placement involves having intake fans at the front or bottom of the case and exhaust fans at the rear or top. This configuration creates a front-to-back or bottom-to-top flow pattern, allowing cool air to move across the components and hot air to be expelled efficiently.
Positive and Negative Pressure: When assessing airflow, you’ll often come across the terms positive pressure and negative pressure. Positive pressure occurs when the intake fans generate more air than the exhaust fans can expel. This can help minimize dust buildup inside the case. Negative pressure, on the other hand, occurs when exhaust fans generate more air than the intake fans can supply. While it can improve cooling efficiency, it may also draw in dust from unfiltered areas. Achieving a slightly positive pressure is often recommended to maintain a balance between cooling and dust prevention.
Consider Component Layout: When placing fans, you’ll want to consider the layout of your components. Ensure that fans are positioned to provide adequate cooling to hotspots such as the CPU, GPU, and hard drives. Some cases may have specific fan mounting points near these components, allowing for better targeted airflow.
Observe Cable Management: Proper cable management is crucial for maintaining good airflow. Ensure that cables are neatly organized and do not obstruct the intake or exhaust areas of the fans. Tangled cables can impede airflow, leading to higher temperatures and reduced cooling performance.
Utilize Fan Filters: To minimize dust accumulation, consider using fan filters. These filters can be attached to the intake fans to help trap dust particles before they enter the case. Regularly clean or replace these filters to ensure maximum effectiveness.
By understanding fan placement and airflow principles, you can create an efficient cooling setup that maximizes performance, extends component lifespan, and keeps your system running smoothly.
How to Determine the Direction of the Fan
Knowing the direction in which a fan should be installed is crucial for optimal cooling and airflow management. Here are some steps to help you determine the correct direction of your case fans:
1. Check the Fan Labels: Most case fans have labels indicating the direction of airflow. Look for arrows or text that specify whether the fan is an intake or exhaust fan. These labels can usually be found on the fan’s frame or motor housing.
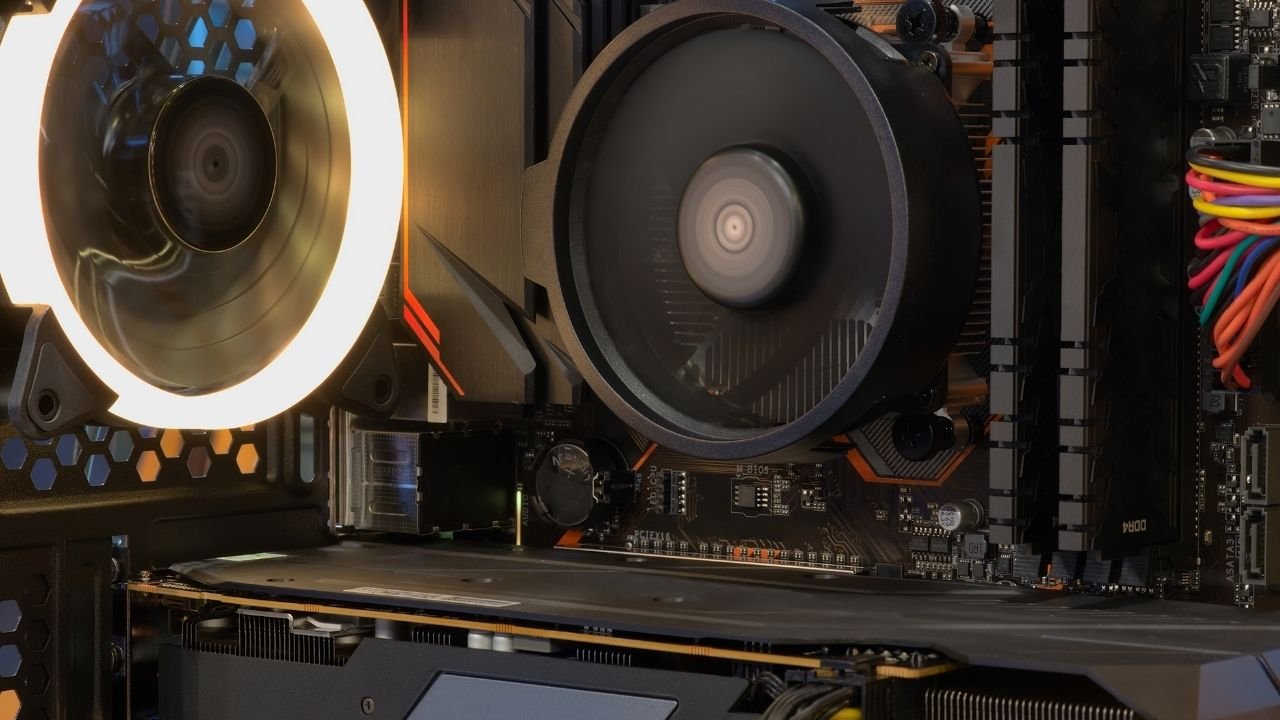
2. Observe the Fan Blades: Take a closer look at the fan blades. In most cases, the rounded side of the blades indicates the direction of airflow. If you’re unsure, compare the blades to the fan label to confirm the direction.
3. Examine the Fan Frame: The design of the fan frame can also provide clues about the airflow direction. Look for features like curved grills or vents on one side of the frame. These are often indicators of the direction in which the air is being pushed or pulled.
4. Check the Fan Motor Direction: In some cases, the direction of the fan can be determined by examining the motor orientation. Look for any arrows or markings on the motor housing that indicate the flow direction. This method is particularly useful if the fan labels or blade design are not clearly visible.
5. Consider the Positioning of the Fan in the Case: The location of the fan within the case can also be a clue to its direction. In a typical front-to-back airflow configuration, fans positioned at the front or bottom of the case are usually intake fans, while fans at the rear or top are exhaust fans.
Once you’ve determined the direction of the fan, keep in mind that it is essential to align the airflow according to the case’s overall airflow design. This will ensure that the fan is effectively helping with heat dissipation and maintaining a consistent temperature inside the case.
If you’re still uncertain about the direction or have a specific fan model that doesn’t have clear labels or markings, referring to the manufacturer’s documentation or contacting their support can provide you with accurate information.
The Correct Way to Install an Intake Fan
Installing an intake fan properly is essential for ensuring that cool air is efficiently drawn into your computer case. Here are the steps to follow when installing an intake fan:
1. Identify the Intake Fan Location: Determine the ideal position for the intake fan. Typically, intake fans are placed at the front or bottom of the case, where they can draw in cool air from outside the case.
2. Remove the Front Panel: If your case has a removable front panel, carefully remove it to access the area where the intake fan will be installed. Refer to your case manual for specific instructions on removing the front panel.
3. Prepare the Fan: Ensure that the fan is oriented correctly for intake airflow. The fan label, arrows, or blade design should indicate the direction of airflow. If necessary, refer back to the previous section on determining the direction of the fan.
4. Mount the Fan: Align the mounting holes on the fan with the corresponding holes on the front or bottom of the case. Insert screws or use a tool such as zip ties or rubber mounts to secure the fan in place. Ensure that the fan is securely mounted and doesn’t wiggle or vibrate excessively.
5. Connect the Fan: Locate the fan header or power connector on the motherboard or fan controller. Connect the fan’s power cable to the corresponding connector, ensuring a secure connection. If your fan requires additional power, connect it to a suitable power source using the appropriate cable or adapter.
6. Reattach the Front Panel: Once the intake fan is securely installed, reattach the front panel of your case. Ensure that it fits properly and is secured in place according to your case design. Pay attention to any clips, screws, or latches that may be involved in reattaching the panel.
7. Test the Fan: Power on your computer and verify that the intake fan is functioning correctly. Listen for any unusual noises or vibrations and ensure that the fan is spinning smoothly. If the fan is not working or exhibiting any issues, double-check the connections and troubleshoot if necessary.
By properly installing an intake fan, you can direct cool air into your computer case, aiding in heat dissipation and maintaining lower component temperatures. This can result in improved system performance and longevity.
The Correct Way to Install an Exhaust Fan
Installing an exhaust fan correctly is essential for expelling hot air from your computer case, maintaining a stable and well-ventilated environment. Here are the steps to follow when installing an exhaust fan:
1. Determine the Exhaust Fan Location: Identify the ideal position for the exhaust fan. Typically, exhaust fans are placed at the rear or top of the case, where they can effectively expel hot air from the system.
2. Remove the Rear or Top Panel: If your case has a removable rear or top panel, carefully remove it to access the area where the exhaust fan will be installed. Refer to your case manual for specific instructions on removing the appropriate panel.
3. Prepare the Fan: Ensure that the fan is oriented correctly for exhaust airflow. The fan label, arrows, or blade design should indicate the direction of airflow. If needed, refer back to the section on determining the direction of the fan for guidance.
4. Mount the Fan: Align the mounting holes on the fan with the corresponding holes on the rear or top of the case. Insert screws or use a tool such as zip ties or rubber mounts to secure the fan in place. Make sure the fan is tightly and securely mounted to prevent any vibrations or excessive movement.
5. Connect the Fan: Locate the fan header or power connector on the motherboard or fan controller. Connect the fan’s power cable to the appropriate connector, ensuring a secure connection. If additional power is required, connect the fan to a suitable power source using the appropriate cable or adapter.
6. Reattach the Rear or Top Panel: Once the exhaust fan is securely installed, reattach the rear or top panel of your case. Ensure that it fits properly and is secured in place according to your case’s design. Pay attention to any clips, screws, or latches involved in reattaching the panel.
7. Test the Fan: Power on your computer and check if the exhaust fan is functioning correctly. Listen for any unusual noises or vibrations and ensure that the fan is spinning smoothly. If you encounter any issues, double-check the connections and troubleshoot if necessary.
By correctly installing an exhaust fan, you can effectively expel hot air from your computer case, helping to maintain lower component temperatures and ensure a well-ventilated system. This promotes optimal performance and prolongs the lifespan of your computer components.
The Correct Way to Install a Side Panel or Supplemental Fan
Installing a side panel or supplemental fan can provide additional airflow and cooling to specific areas of your computer case. Here are the steps to follow when installing a side panel or supplemental fan:
1. Identify the Mounting Area: Determine the location on the side panel or inside the case where the fan will be installed. Consider areas that require additional cooling, such as near the graphics card or hard drive bays.
2. Remove the Side Panel: If your case has a removable side panel, carefully remove it to access the interior. Refer to your case manual for specific instructions on removing the side panel.
3. Prepare the Fan: Make sure the fan is oriented correctly for the desired airflow direction. The fan label, arrows, or blade design should indicate the airflow direction. If needed, refer back to the section on determining the direction of the fan for guidance.
4. Mount the Fan: Align the mounting holes on the fan with the corresponding holes on the side panel or inside the case. Insert screws or use a tool such as zip ties or rubber mounts to secure the fan in place. Ensure that the fan is tightly and securely mounted to prevent any vibrations or excessive movement.
5. Connect the Fan: Locate the fan header or power connector on the motherboard or fan controller. Connect the fan’s power cable to the appropriate connector, ensuring a secure connection. If additional power is required, connect the fan to a suitable power source using the appropriate cable or adapter.
6. Reattach the Side Panel: Once the side panel or supplemental fan is securely installed, reattach the side panel to the case. Ensure that it fits properly and is secured in place according to your case’s design. Pay attention to any clips, screws, or latches involved in reattaching the panel.
7. Test the Fan: Power on your computer and verify that the side panel or supplemental fan is functioning correctly. Listen for any unusual noises or vibrations and make sure that the fan is spinning smoothly. If you encounter any issues, double-check the connections and troubleshoot if necessary.
Installing a side panel or supplemental fan can provide targeted cooling to specific areas of your case, improving overall airflow and helping to lower temperatures in critical components. This can contribute to improved performance, stability, and longevity of your computer system.
Tips for Optimizing Fan Placement and Airflow
Optimizing fan placement and airflow is crucial for efficient cooling inside your computer case. Here are some tips to help you maximize the effectiveness of your fan setup:
1. Balance Intake and Exhaust: Ensure a balanced ratio of intake and exhaust fans. This helps maintain positive pressure and prevents dust buildup. Aim to have slightly more intake airflow to create a slight positive pressure inside the case.
2. Use High-Quality Fans: Invest in high-quality fans that offer good airflow and performance. Choose fans with low noise levels to maintain a quiet system, especially if noise is a concern for you.
3. Consider Fan Placement for Specific Components: Pay attention to component-specific cooling needs. For example, if you have a high-performance CPU or graphics card, consider placing additional fans near these components to provide targeted cooling.
4. Utilize Fan Filters: Install fan filters on intake fans to prevent dust from entering the case. Regularly clean or replace the filters to maintain optimal airflow and reduce the risk of dust buildup on components.
5. Mind Cable Management: Keep cables organized and away from fan paths. Proper cable management allows for unobstructed airflow and prevents interference with the cooling process. Use cable ties, clips, or routing channels to tidy up cables.
6. Monitor and Adjust Fan Speeds: Use fan control software or motherboard BIOS to monitor and adjust fan speeds as needed. This flexibility helps you find the right balance between cooling performance and noise levels.
7. Test and Optimize: Regularly monitor the temperatures of your components and use stress tests or benchmarking tools to assess cooling performance. Based on the results, adjust fan configurations if necessary to achieve optimal cooling efficiency.
8. Ensure Proper Ventilation: Keep the surroundings of your computer case well-ventilated. Ensure that the case is positioned in an area with good airflow. Avoid placing the case directly against a wall or in an enclosed space that restricts ventilation.
9. Clean Your System Regularly: Regularly clean your computer case, fans, and filters to remove dust buildup. Dust can obstruct airflow and impact cooling performance. Use compressed air or a soft brush to gently clean the components.
By following these tips, you can optimize fan placement and airflow within your computer case, resulting in improved cooling efficiency, lower temperatures, and enhanced overall system performance.
Conclusion
Properly installing case fans and optimizing airflow is crucial for maintaining optimal performance and extending the lifespan of your computer components. By following the correct procedures and considering factors such as fan placement, airflow direction, and balanced intake and exhaust ratios, you can effectively manage temperatures and prevent overheating.
Remember to determine the direction of the fan based on labels, blade design, and motor orientation. Install intake fans at the front or bottom of the case to draw in cool air, while exhaust fans should be placed at the rear or top to expel hot air. Supplemental fans, like side panel fans, can be installed to target specific components or areas that require additional cooling.
To optimize fan placement and airflow, consider factors such as positive pressure, cable management, fan filters, and fan speed adjustment. Regularly monitor temperatures, clean your system, and ensure proper ventilation to maintain optimal cooling performance.
By implementing these guidelines, you can create a well-cooled and ventilated computer system that operates at its best, providing a stable and efficient computing experience. So, take the time to install your case fans correctly, optimize airflow, and keep your system running cool and healthy.


