Introduction
When setting up a projector, one of the first questions that comes to mind is where to place it. The placement of the projector can significantly impact the viewing experience and ensure optimal image quality. Whether you’re using the projector for home theater, presentations, or outdoor events, choosing the right location is crucial. In this article, we will explore various options for projector placement and discuss the pros and cons of each method.
Before we delve into the specific mounting options, it’s important to consider a few factors when choosing the placement for your projector. Firstly, think about the size of the room and the distance between the projector and the screen. This will determine the throw distance required for your projector model. Additionally, consider the amount of ambient light in the room and the screen size you desire. These factors will help you make an informed decision regarding the placement of your projector.
Now, let’s take a closer look at the different options for projector placement:
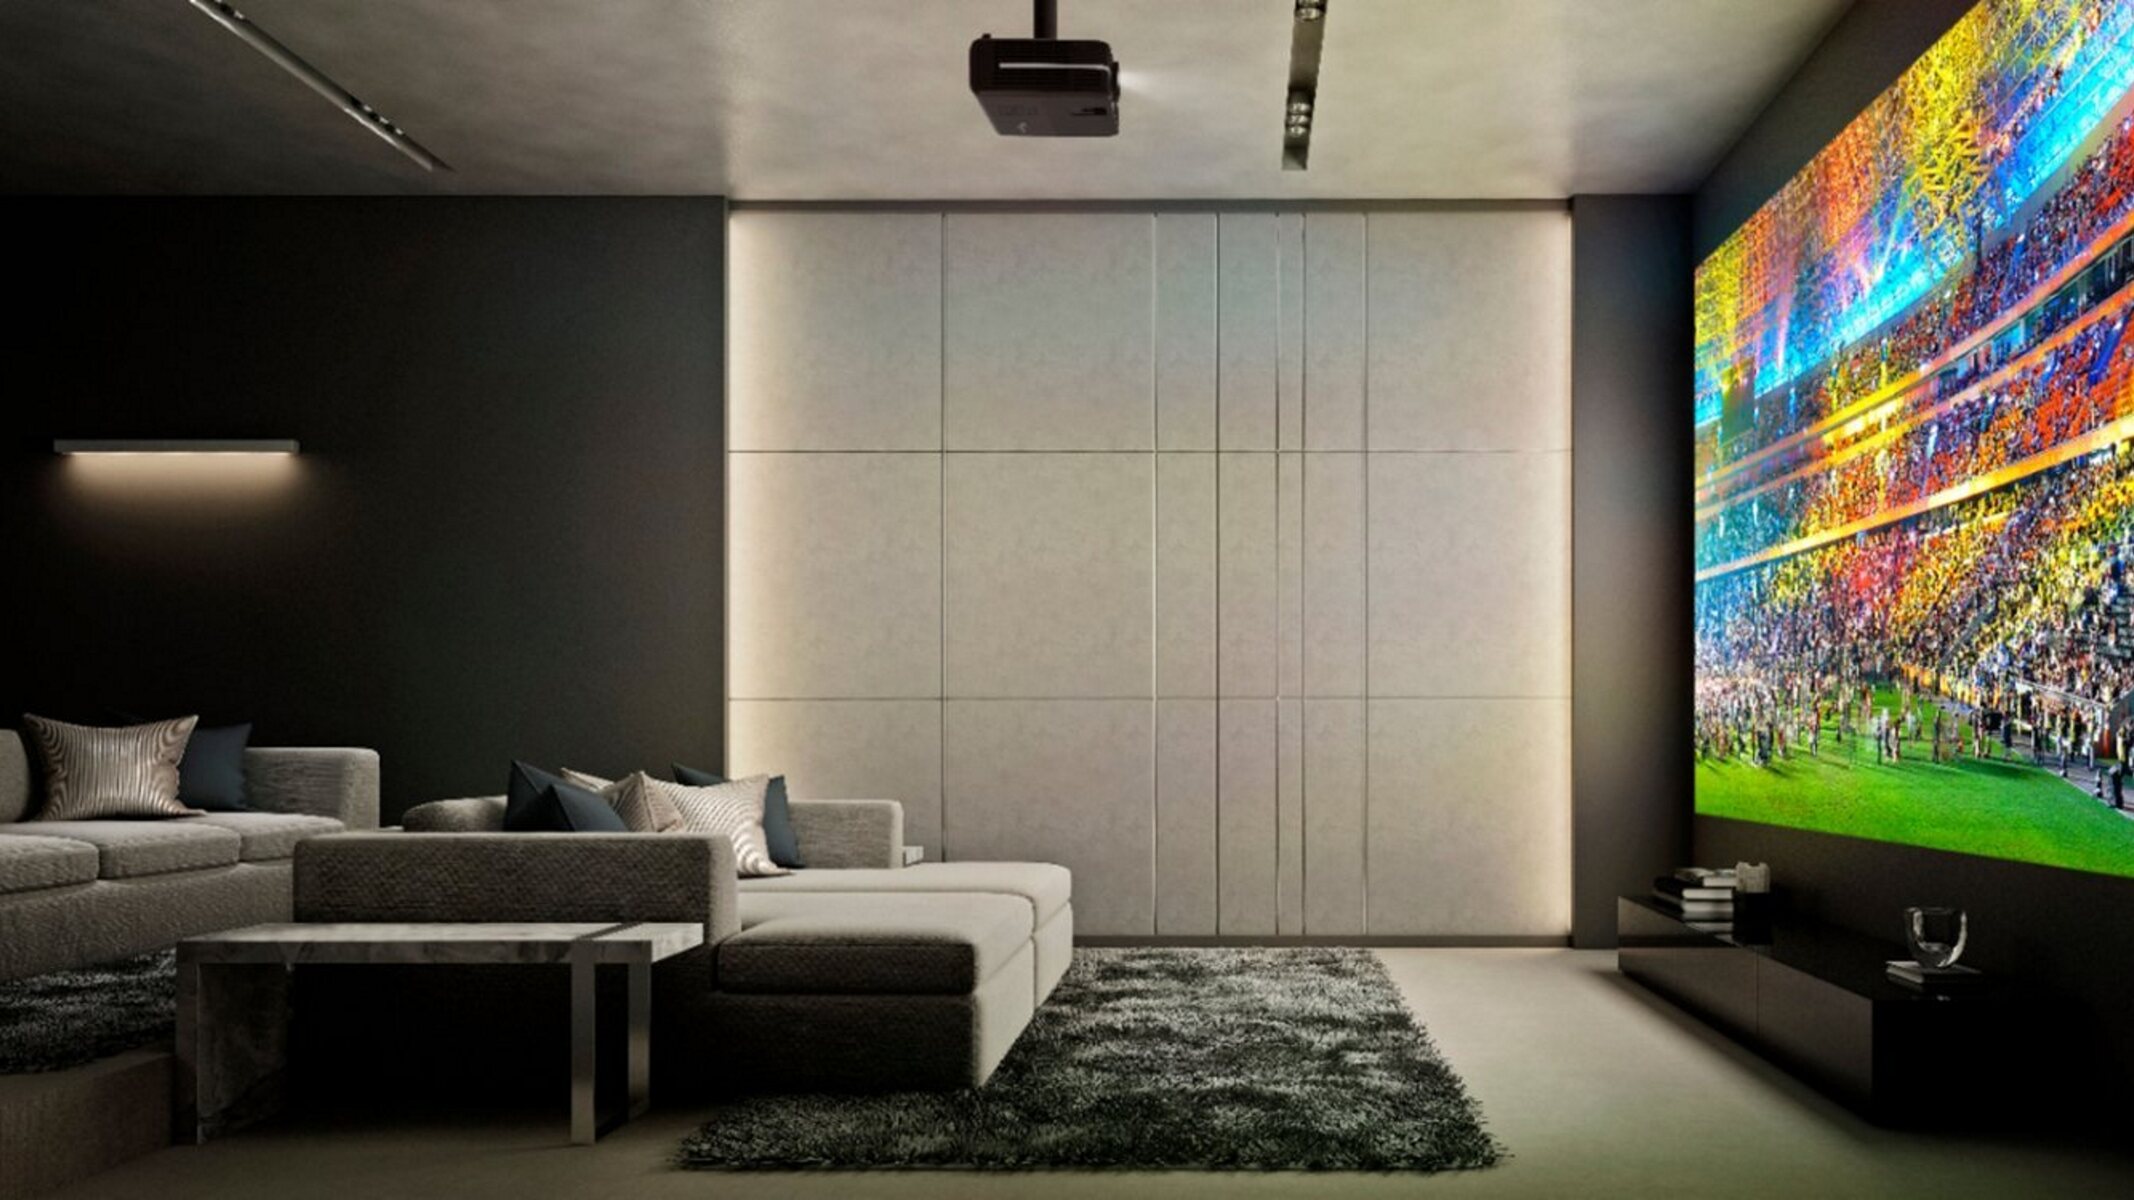
Ceiling Mount
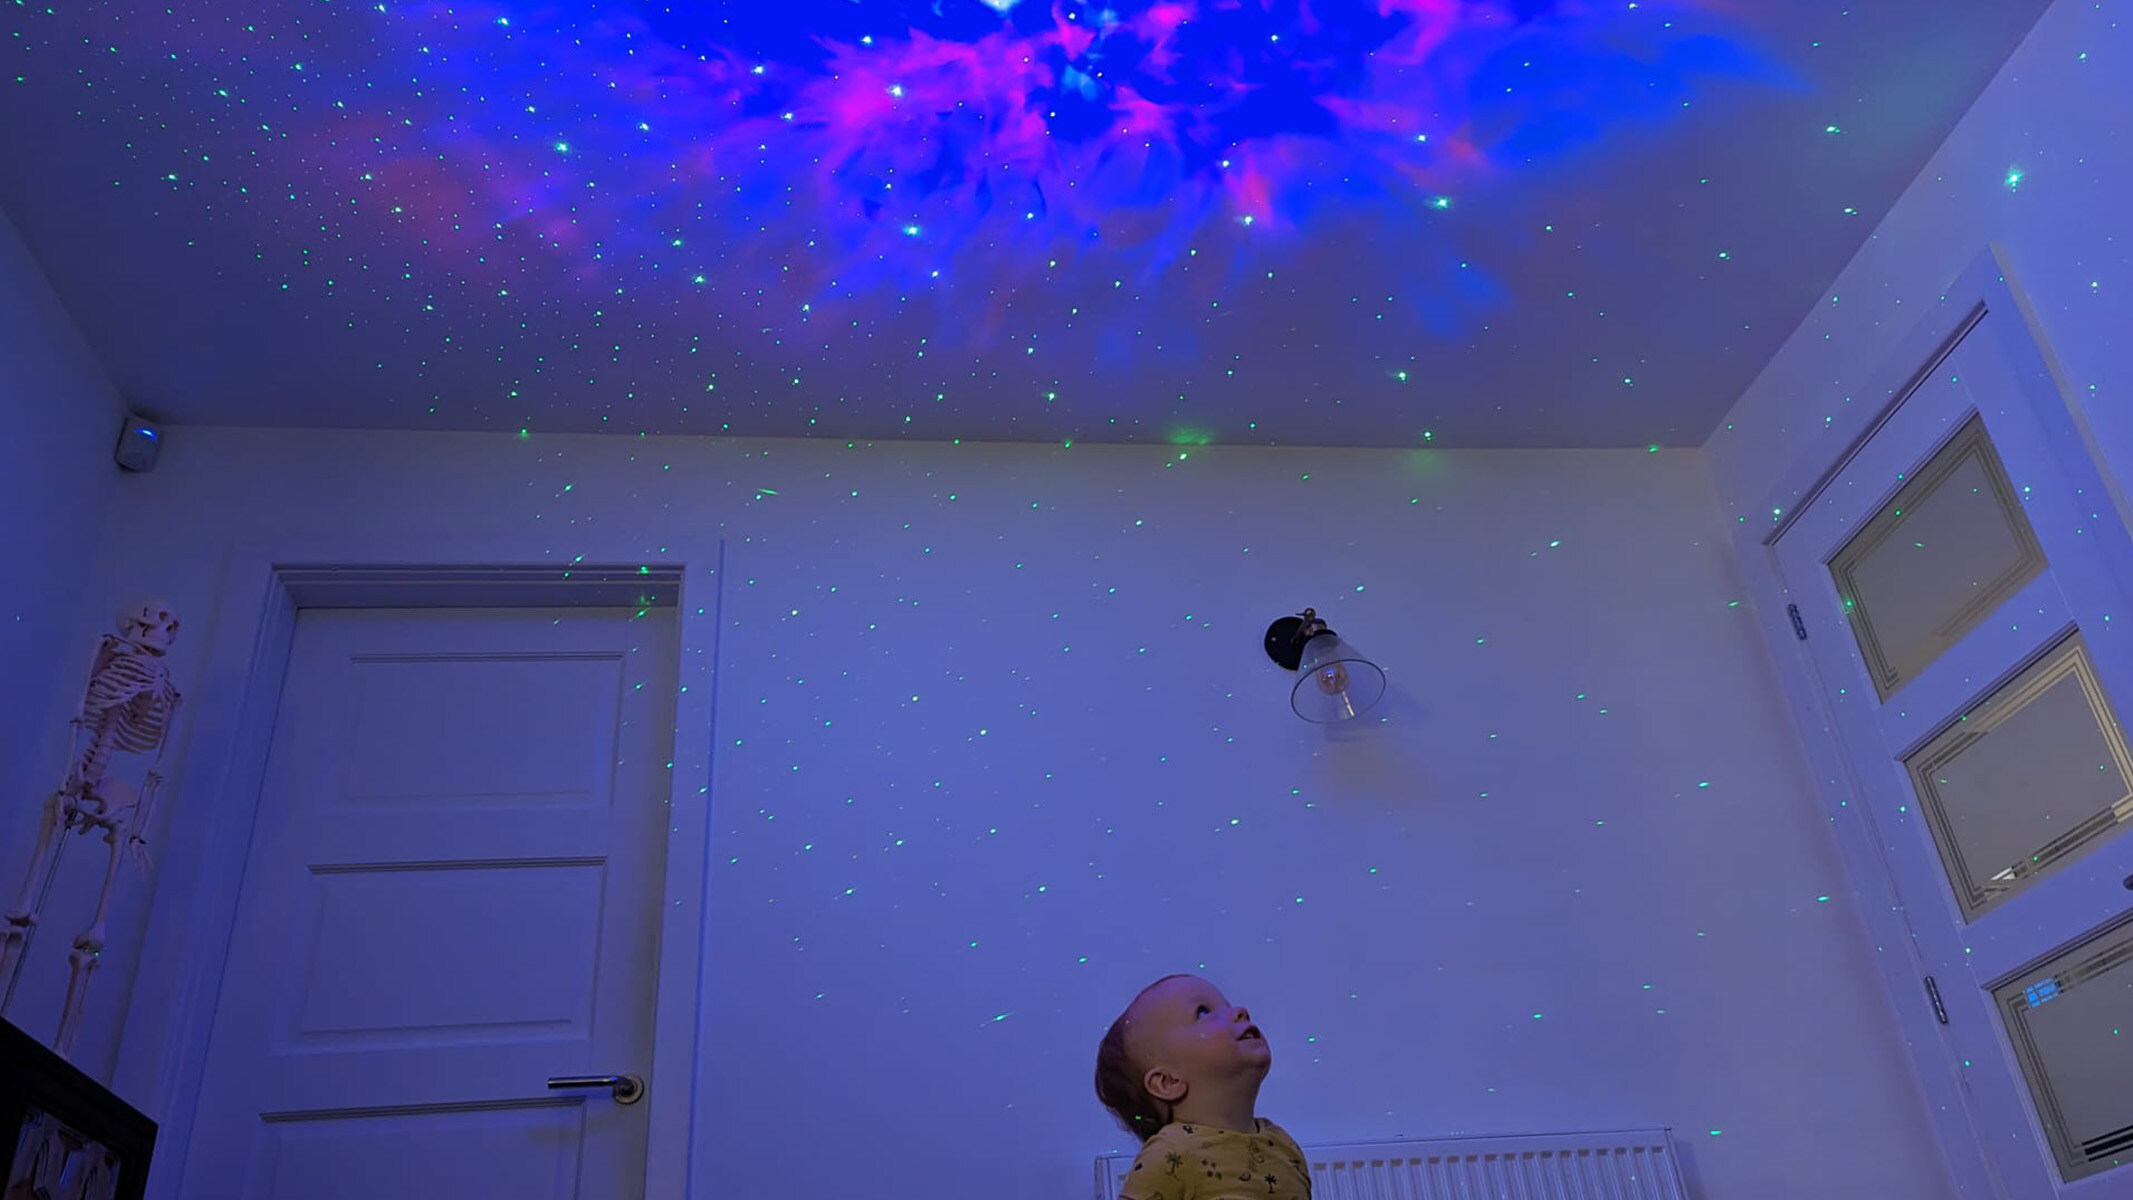
Ceiling mount is one of the most popular choices when it comes to projector placement. By mounting the projector on the ceiling, you can achieve a clean and uncluttered look in your space. This method also maximizes floor space and eliminates the risk of people obstructing the projector’s line of sight.
To install a ceiling mount, you will need a sturdy projector mount kit that includes all the necessary hardware. The mount should be compatible with your projector model and capable of supporting its weight. Ideally, it should allow for easy adjustment of tilt, swivel, and height to achieve the desired projection angle.
When installing the ceiling mount, make sure to place it in a location that provides a clear line of sight to the screen without any obstructions. It’s essential to take into account the throw distance required for your projector model and ensure that the image size and focus are adjusted correctly.
One advantage of ceiling mounting is that it provides a permanent setup. Once installed, you won’t need to worry about moving the projector or readjusting its position for future use. This is particularly beneficial for home theater setups or conference rooms where the projector is frequently used.
However, ceiling mounting does have a few drawbacks. The installation process can be more complex compared to other mounting options, requiring drilling into the ceiling and running cables through the walls. It may also require professional assistance if you’re not comfortable with DIY installations.
Furthermore, if you live in a rental property or don’t have the option to make permanent modifications to your space, ceiling mounting may not be suitable for you. In such cases, consider alternative mounting options like wall mounts or portable stands.
Overall, ceiling mount is an excellent choice for those looking for a convenient and permanent projector setup. It offers a clean and unobstructed projection space, maximizing floor space and ensuring optimal viewing angles. Just make sure to carefully plan and execute the installation process to achieve the best results.
Wall Mount
Another popular option for projector placement is wall mounting. This method offers flexibility and versatility, allowing you to easily adjust the position and height of the projector. Wall mounting is particularly suitable for rooms where ceiling mounting is not feasible or desired.
To mount a projector on the wall, you will need a projector mount designed for wall installation. Similar to ceiling mounts, ensure that the mount is compatible with your projector model and can support its weight. Look for a mount that allows for easy adjustment of tilt and swivel, enabling you to find the optimal projection angle.
When choosing the location for your wall-mounted projector, consider factors such as the distance to the screen, throw distance, and image size. It’s important to position the projector in a place that provides a clear line of sight to the screen and minimizes obstructions.
One advantage of wall mounting is that it can be a relatively straightforward installation process. Unlike ceiling mounts that may require drilling into the ceiling and running cables, wall mounts often involve attaching the mount to a sturdy wall and connecting cables through conduits or cable management systems.
Additionally, wall mounting allows for more flexibility in terms of projector placement. You can easily adjust the height and position of the projector to achieve the desired projection angle and image size. This can be particularly useful if you need to accommodate different screen sizes or seating arrangements.
However, it’s important to note that wall mounting may not be suitable for all spaces. If your walls are not sturdy enough to support the weight of the projector and mount, or if the walls have limited available wall space, you may need to consider alternative mounting options.
Overall, wall mounting provides a flexible and adjustable solution for projector placement. It allows you to achieve the desired projection angle and image size while keeping the floor space clear. With proper planning and installation, wall mounting can be an effective way to set up your projector in a variety of spaces.
Shelf Mount
If you’re looking for a simple and cost-effective way to mount your projector, a shelf mount may be the perfect solution. This method involves placing the projector on a sturdy shelf or surface that is specifically designed to support the weight and provide stability.
Shelf mounts are available in various sizes and designs to accommodate different projector models. It’s crucial to choose a shelf mount that matches the dimensions and weight of your projector to ensure a secure and stable setup.
One of the key advantages of using a shelf mount is the ease of installation. Unlike ceiling or wall mounts, shelf mounts typically do not require any complex mounting or drilling. You simply need to find a suitable shelf or surface and place the projector on it.
When positioning the shelf mount, consider the distance to the screen, throw distance, and image size. Ensure that the projector is placed at the correct height and angle to achieve optimal image projection. You may also need to adjust the zoom and focus settings to achieve the desired image clarity.
Another benefit of shelf mounting is the flexibility it offers in terms of mobility. Since the projector is not permanently fixed to a ceiling or wall, you can easily move it to different locations or rooms as needed. This makes it a suitable option for those who may have limited space or frequent changes in their projector setup.
However, it’s important to note that shelf mounting may have some limitations. It may not provide the same level of stability and security as ceiling or wall mounts, especially if the shelf is not specifically designed for projector use. Additionally, there may be a slight risk of the projector being knocked over or accidentally bumped, so it’s important to ensure the shelf is stable and secure.
In summary, shelf mounting offers a simple and flexible solution for projector placement. It provides an easy installation process and allows for mobility and versatility. By finding a sturdy and suitable shelf or surface, you can enjoy the benefits of a projector setup without the need for complex mounting solutions.
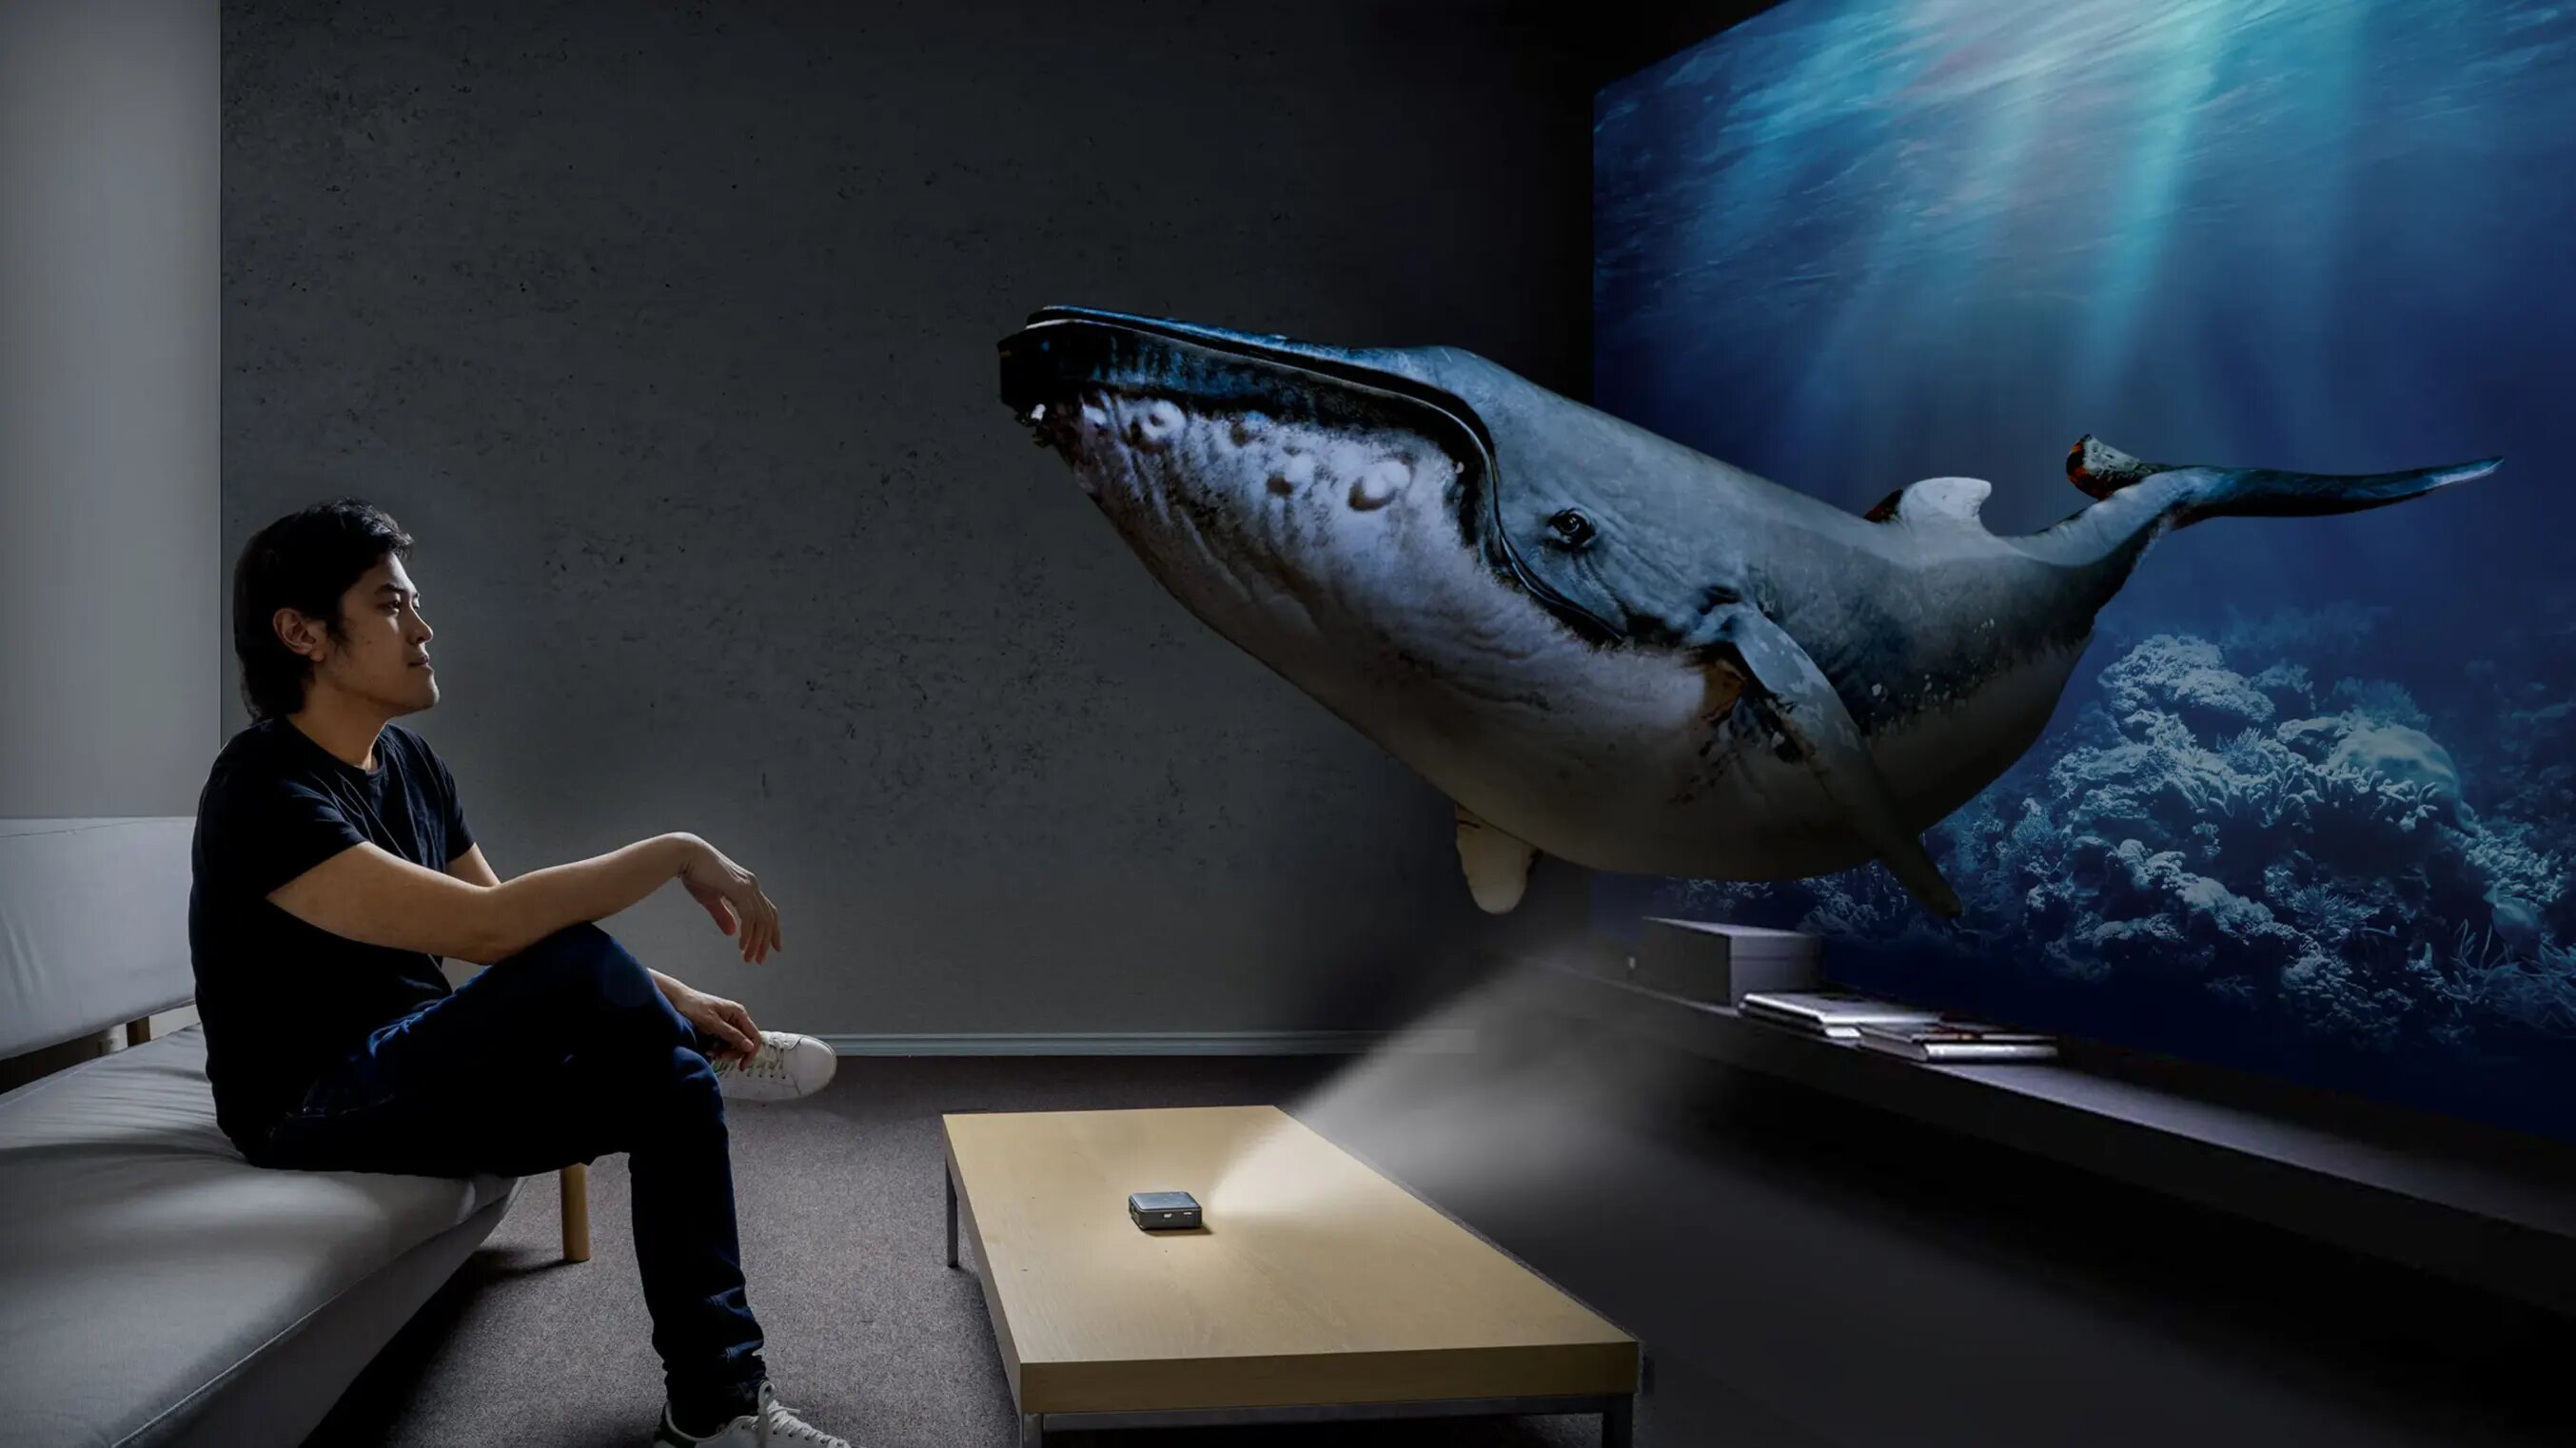
Table Mount
If you’re looking for a portable and flexible option for projector placement, a table mount can be a convenient choice. This method involves placing the projector on a sturdy table or surface to achieve the desired projection angle and image quality.
Table mounts are simple and easy to set up. You can place the projector on a table or desk and adjust its position to achieve the optimal image projection. This method is particularly suitable for small rooms or temporary setups, such as presentations or meetings.
When using a table mount, consider the distance to the screen, throw distance, and image size. Position the projector at the correct height and angle for optimal viewing. Adjust the zoom and focus settings to ensure the image is clear and sharp.
One of the advantages of table mounting is the flexibility it offers. Since the projector is not permanently affixed to a surface, you can easily move it to different locations or adjust its position as needed. This makes it a versatile option for those who may have changing projection requirements or need to move the setup to different rooms or venues.
Table mounting is also a cost-effective option compared to ceiling or wall mounts. It eliminates the need for additional mounting hardware and installation costs. You can simply place the projector on an existing table or surface, reducing the overall setup expenses.
However, it’s important to consider a few limitations of table mounting. The stability of the surface is crucial, as any movement or vibrations can affect the image quality. Additionally, there may be limitations in achieving optimal viewing angles or image size, especially in larger rooms or venues.
In summary, table mounting is a portable and flexible solution for projector placement. It offers simplicity in setup and allows for easy adjustment and mobility. While it may have limitations in terms of stability and optimal viewing angles, it can be a convenient option for small rooms, temporary setups, or situations where a permanent mount is not feasible or necessary.
Floor Stand Mount
When it comes to projector placement, floor stand mounts offer a versatile and portable solution. This method involves using a sturdy stand or tripod specifically designed to hold projectors. Floor stand mounts are particularly useful for situations where ceiling or wall mounting is not possible or desired.
To set up a floor stand mount, you will need a stand or tripod that is compatible with your projector model and capable of supporting its weight. Look for a stand that offers adjustable height and tilt options for optimal projection angles. Some floor stand mounts also come with additional features like cable management and stability locks.
The advantage of floor stand mounts is their flexibility and portability. You can easily move the stand to different locations or adjust its position for optimal image projection. This makes them ideal for events, trade shows, or venues where a permanent setup is not required.
When positioning the floor stand mount, consider the throw distance, screen size, and ambient lighting in the room. Adjust the height and tilt of the stand to achieve the desired projection angle and image quality. Additionally, ensure that the stand is placed on a flat and stable surface to prevent any wobbling or movement during use.
One important consideration with floor stand mounts is cable management. Since the projector is not permanently mounted, you will need to carefully route and manage the cables to prevent any tripping hazards or tangled wires. Many floor stand mounts come with built-in cable management systems to help keep the setup organized.
While floor stand mounts offer flexibility, they may have limitations in terms of stability compared to ceiling or wall mounts. In situations where there may be heavy foot traffic or crowded spaces, there is a risk of the stand being bumped or knocked over. It’s important to ensure that the stand is securely locked and positioned in a safe area.
In summary, floor stand mounts provide a versatile and portable option for projector placement. They offer flexibility in adjusting the height and position of the projector and can be easily moved to different locations. However, it’s essential to consider the stability of the stand and properly manage the cables for a safe and optimal setup.
Back of Rear Projection Screen
When considering projector placement, the back of a rear projection screen can provide a unique and immersive viewing experience. Instead of projecting the image onto the front of the screen, as with traditional setups, rear projection creates a visually stunning effect by projecting from behind the screen.
To set up a rear projection screen, you will need a translucent screen specifically designed for rear projection. The screen material allows the projected image to pass through and be visible from the front, while maintaining high-quality image clarity and brightness.
One of the key advantages of using the back of a rear projection screen is the ability to create a seamless and immersive viewing experience. Since the projector is mounted behind the screen, there are no shadows or obstructions on the image, resulting in a smooth and visually appealing display.
To achieve the best results with rear projection, it’s important to consider the ambient light conditions in the room. A controlled lighting environment is ideal to enhance the contrast and clarity of the projected image. You may also need to adjust the projector settings to optimize the image quality for rear projection.
Rear projection can be particularly useful in large event spaces, theaters, or home theater setups where a high-quality display is desired. It can create a cinematic feel and provide a wide viewing angle for everyone in the room.
One limitation of rear projection is the space required behind the screen. The projector needs to be positioned at a suitable distance to achieve the desired screen size and image clarity. Additionally, there may be limitations in terms of flexibility and adjustability in projector placement.
Another consideration is that rear projection may require additional equipment and installation effort compared to traditional front projection setups. You will need a dedicated space behind the screen for the projector, and the setup may involve running cables and ensuring proper ventilation for the projector.
In summary, using the back of a rear projection screen can create a visually stunning and immersive viewing experience. It eliminates shadows and obstructions on the image, providing a seamless display. However, it requires careful consideration of the space behind the screen and may involve additional installation requirements compared to traditional front projection setups.
Portable Tripod Stand
A portable tripod stand is a flexible and convenient option for projector placement, especially in situations where you need mobility or temporary setups. This method involves using a tripod stand specifically designed to hold projectors, providing stability and adjustability in positioning.
To set up a portable tripod stand, you will need a stand that is compatible with your projector model and can support its weight. Look for a tripod stand that offers adjustable height and tilt options to achieve the desired projection angle. Many tripod stands also feature quick-release mechanisms for easy setup and breakdown.
The advantage of using a portable tripod stand is its versatility and portability. It allows you to easily move and adjust the position of the projector as needed. This makes it a suitable option for presentations, events, or situations where a permanent mounting solution is not practical or desired.
When setting up the tripod stand, consider the distance to the screen, throw distance, and image size. Adjust the height and tilt of the stand to achieve the optimal projection angle and ensure the image is clear and sharp. The tripod legs should be placed on a stable surface to prevent any wobbling during use.
One of the benefits of a portable tripod stand is its compact size and ease of transportation. Most tripod stands are lightweight and can be easily folded down for convenient storage and transportation. This makes them ideal for those who frequently travel or need to set up projectors in different locations.
However, it’s important to consider the limitations of using a portable tripod stand. Compared to ceiling or wall mounts, the stability of a tripod stand may not be as robust, especially in high-traffic areas or unstable surfaces. It’s crucial to ensure that the stand is properly set up and securely positioned to prevent any accidents or damage.
Furthermore, cable management may be a consideration when using a portable tripod stand. You will need to carefully route and manage the cables to prevent any tripping hazards or tangled wires. Some tripod stands come with integrated cable management features to help keep the setup organized.
In summary, a portable tripod stand offers a versatile and convenient option for projector placement. It provides flexibility in positioning and easy transportation, making it an excellent choice for temporary setups or situations that require mobility. Just ensure that the tripod stand is stable, properly set up, and takes into account cable management for a safe and optimal setup.
Outdoor Projection
Outdoor projection offers a unique and exciting way to enjoy movies, sports events, or presentations in an open-air setting. With the right equipment and setup, you can transform your backyard, patio, or outdoor space into a captivating outdoor theater experience.
To set up an outdoor projection, you will need a projector specifically designed for outdoor use. Outdoor projectors are built to withstand various weather conditions and provide adequate brightness for outdoor viewing. Additionally, you will need a compatible outdoor projection screen or a suitable flat surface for projecting the image.
When choosing the location for outdoor projection, consider factors such as ambient light, positioning of the screen, and seating arrangement. It’s crucial to minimize any light pollution that can impact the quality of the projected image. Select an area with good visibility and ensure that the screen is positioned at a suitable height and angle for optimal viewing.
In terms of setting up the projector, you may need to consider additional equipment such as extension cords, power sources, and outdoor speakers for audio. It’s important to ensure that all the necessary connections and power supply are properly set up and protected from outdoor elements.
One of the advantages of outdoor projection is the immersive and social experience it provides. It allows you to enjoy movies or events with family and friends in a spacious and relaxed outdoor environment. You can create a cozy seating area with outdoor furniture, blankets, and snacks for a memorable movie night under the stars.
However, it’s important to note that outdoor projection may have some limitations. The viewing experience can be impacted by factors such as weather conditions, ambient light, and potential distractions from the surroundings. It’s crucial to plan the outdoor projection event accordingly and consider backup options in case of adverse weather conditions.
Additionally, outdoor projection requires special attention to the setup and proper protection of the equipment. Outdoor projectors and screens may be more exposed to dust, moisture, and potential damage from outdoor elements. Taking the necessary precautions and investing in weather-resistant equipment can help prolong the lifespan of your outdoor projection setup.
In summary, outdoor projection offers a unique and enjoyable way to experience movies, sports events, or presentations in an outdoor setting. It provides a social and immersive experience, allowing you to create memorable moments with family and friends. With proper planning, equipment selection, and protection, outdoor projection can be a fantastic addition to your outdoor entertainment options.
Conclusion
Choosing the right placement for your projector is essential to achieve optimal image quality and create an immersive viewing experience. Whether you opt for ceiling mounts, wall mounts, shelf mounts, table mounts, floor stand mounts, rear projection screens, portable tripod stands, or outdoor projections, each option has its advantages and considerations.
Ceiling mounts provide a clean and uncluttered look, maximizing floor space, but may require professional installation and permanent modifications to your space. Wall mounts offer flexibility and adjustability, while shelf mounts are a cost-effective and easy-to-install option. Table mounts provide portability and simplicity, while floor stand mounts offer mobility and versatility.
Rear projection screens create a seamless and immersive viewing experience, but require additional space behind the screen and potentially more complex installation. Portable tripod stands are convenient for temporary setups and offer easy transportation, but stability may be a concern in certain environments. Outdoor projections provide a unique and social experience, but are subject to weather conditions and require special equipment.
When choosing the placement for your projector, consider factors such as room size, distance to the screen, throw distance, image size, ambient light, and the level of flexibility or permanence you require. Carefully evaluate the pros and cons of each option based on your specific needs and preferences.
It’s worth mentioning that proper cable management, image adjustment, and stability are critical for any projector placement method you choose. Ensure your cables are organized to prevent hazards, adjust the image settings to achieve clarity, and ensure the stability and security of the mounting or placement method.
Ultimately, the ideal projector placement will depend on your specific setup, preferences, and limitations of the space. By carefully considering your options and making informed decisions, you can create an outstanding projector setup that enhances your viewing experience and brings your content to life.