Introduction
When it comes to securing the power supply unit (PSU) in your Corsair Obsidian case, using the right screws is crucial. The PSU is a vital component of your computer, providing the necessary power to all the other hardware. To ensure proper installation and stability, it’s important to know which screws to use for different parts of the PSU.
In this guide, we will discuss the different types of screws commonly used to secure the PSU in a Corsair Obsidian case. We will cover the screws used for motherboard installation, PSU mounting, fan installation, and cable management. By understanding the specific screws needed for each task, you can avoid potential issues such as loose connections or damage to the components.
Using the correct screws will not only ensure a secure and stable installation, but it will also make future upgrades or maintenance easier. It’s important to note that different models of Corsair Obsidian cases may have slight variations in screw sizes, so it’s always recommended to consult your specific case’s manual or manufacturer’s website for precise information.
Now, let’s take a closer look at the different types of screws you will need to secure your PSU in a Corsair Obsidian case.
Screw Types
When it comes to securing your PSU in a Corsair Obsidian case, there are several types of screws you need to be familiar with. Each screw serves a specific purpose and ensures a secure and stable installation. Let’s explore the different screw types commonly used in Corsair Obsidian cases:
1. Motherboard Installation Screws: These screws are used to secure the motherboard to the case. They typically have a coarse thread and come in various sizes to accommodate different motherboard mounting holes. These screws are essential for establishing a solid connection between the motherboard and the case.
2. PSU Mounting Screws: These screws are specifically designed to secure the PSU to the case. They are usually larger in size with a fine thread. Depending on the Corsair Obsidian case model, you may need either standard Phillips head screws or thumb screws for easy installation and removal of the PSU.
3. Fan Mounting Screws: Corsair Obsidian cases often feature multiple fan mounts for optimal airflow. To install case fans, you will need fan mounting screws. These screws are shorter in length and have a coarse thread. They allow you to securely attach the fans to the designated mounting points on the case.
4. Cable Management Screws: Cable management is essential for maintaining a clean and organized interior. Many Corsair Obsidian cases offer cable management options, such as routing holes, grommets, or cable tie-down points. Cable management screws are used to secure cable management accessories and ensure tidy cable routing.
It’s important to note that the screws mentioned above are the most common types used in Corsair Obsidian cases. However, depending on the specific case model or any additional accessories, there may be other specialized screws included.
Remember to take extra care when installing the screws, ensuring that they are not overtightened or cross-threaded, as this can cause damage to the components or the case itself.
Now that we have covered the various screw types used in securing the PSU in a Corsair Obsidian case, let’s move on to the next section to explore the specific screws needed for motherboard installation.
Motherboard Installation Screws
When it comes to securing the motherboard in a Corsair Obsidian case, using the appropriate screws is vital. These screws ensure a secure and stable connection between the motherboard and the case. The specific screw type needed may vary depending on the Corsair Obsidian case model, so always refer to the case’s manual for accurate information.
Typically, motherboard installation screws have a coarse thread and come in different sizes to accommodate the mounting holes on the motherboard. The most common type of screw used for motherboard installation is the standard Phillips head screw. These screws are easy to handle and tighten securely.
To begin the installation process, first, identify the motherboard standoff holes on the Corsair Obsidian case. These are usually marked with a small circular depression or have a designated area for motherboard placement. Align the motherboard with the standoff holes and make sure it’s properly seated.
Now, take the motherboard installation screws and insert them through the motherboard mounting holes into the corresponding standoff holes on the case. Use a screwdriver to tighten the screws gently, ensuring they are snug but not overtightened. Over-tightening can damage the motherboard or strip the threads, so exercise caution.
Make sure to install screws in all the available mounting holes, following the recommended pattern in the case manual. This ensures that the motherboard is evenly secured to the case, reducing the risk of bending or flexing.
It’s important to note that Corsair Obsidian cases may include additional screws or accessories for motherboard installation, such as washers or spacers. These components help provide additional stability and prevent the motherboard from making direct contact with the case, minimizing the risk of electrical shorts or grounding issues.
By using the correct motherboard installation screws, you can ensure a secure and stable foundation for your computer build. This not only enhances the longevity and performance of your components but also facilitates future upgrades or maintenance.
Now that we have covered the motherboard installation screws, let’s move on to the next section to explore the screws needed for mounting the PSU in a Corsair Obsidian case.
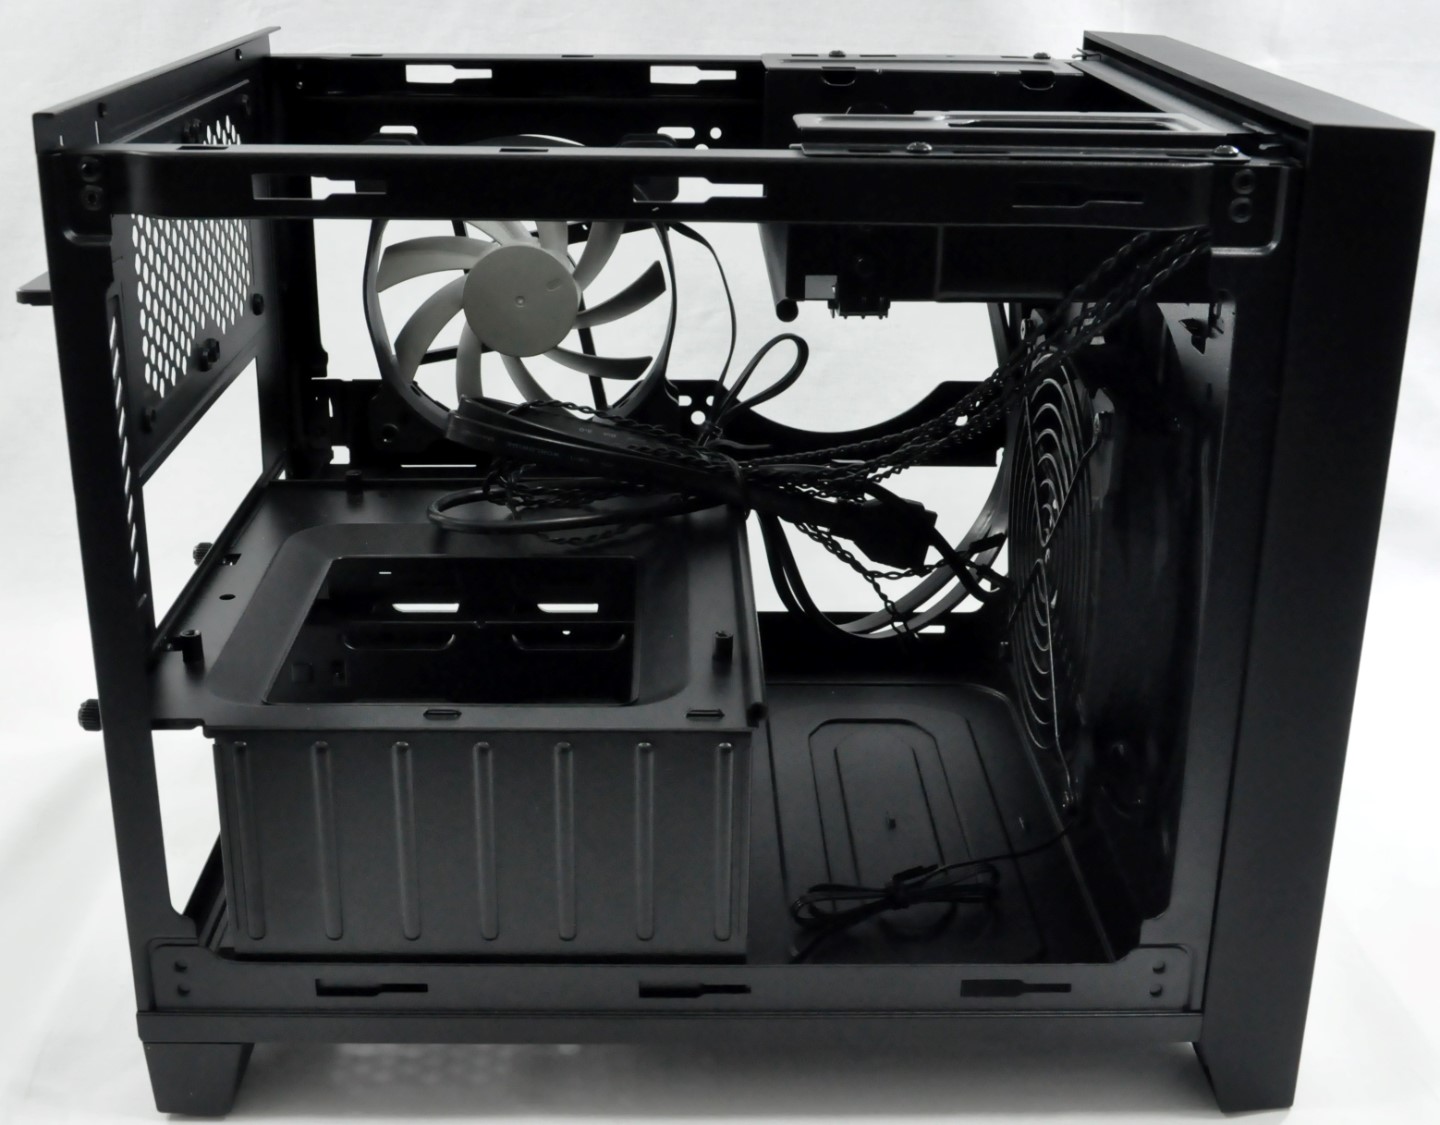
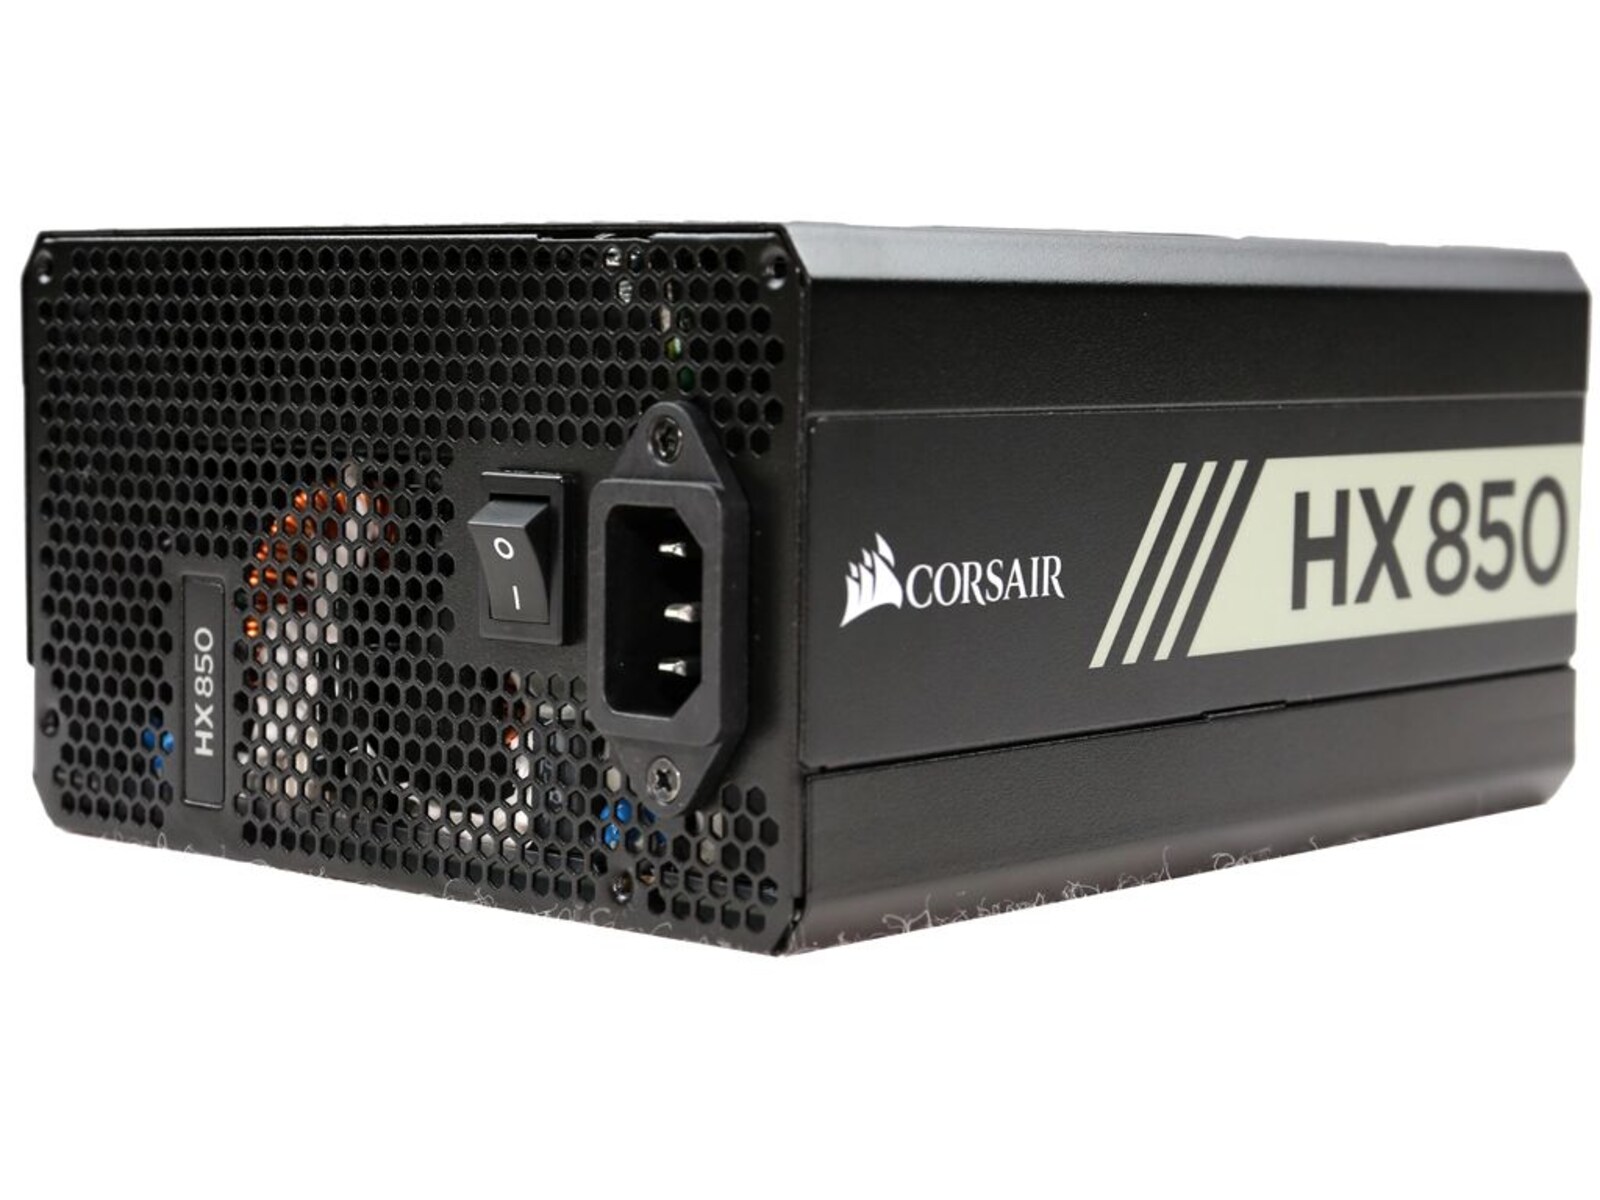
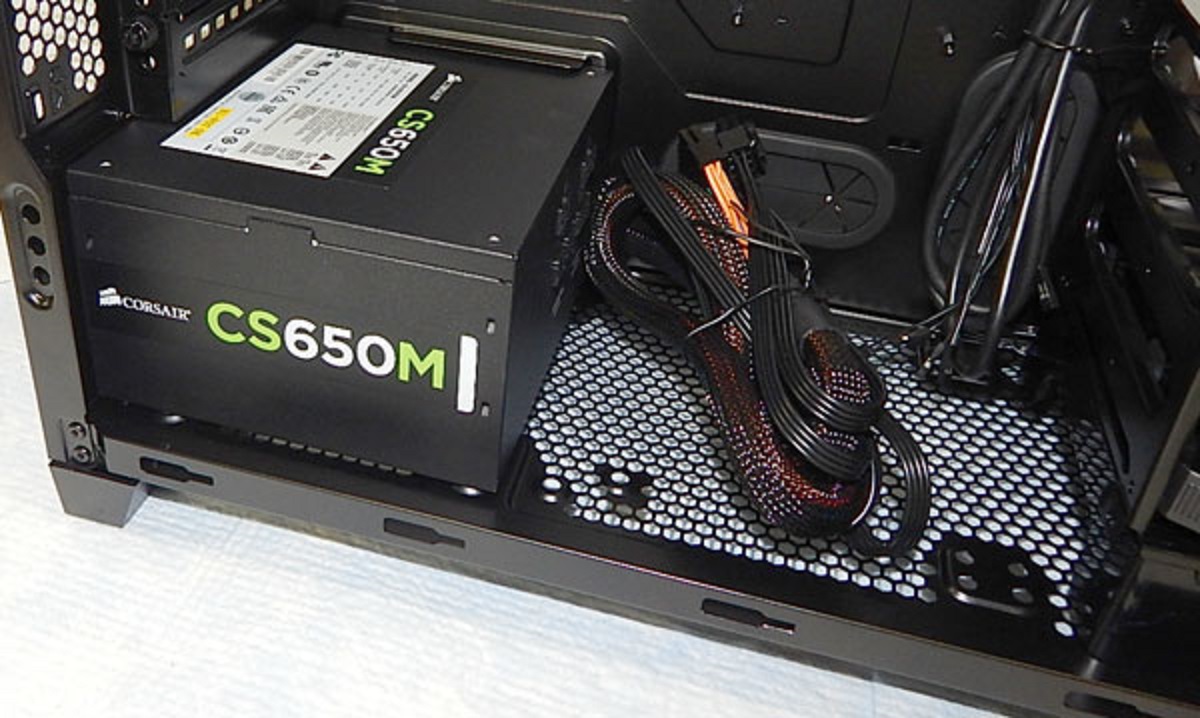
PSU Mounting Screws
Securing the power supply unit (PSU) in a Corsair Obsidian case is crucial for proper functionality and stability. The PSU mounting screws play a pivotal role in safely securing the PSU in place. The specific screws required may vary based on the Corsair Obsidian case model, so it’s important to refer to the case’s manual for accurate information.
Corsair Obsidian cases typically utilize either standard Phillips head screws or thumb screws for PSU mounting. These screws are generally larger in size with a fine thread to securely fasten the PSU to the case. The choice between using Phillips head screws or thumb screws depends on personal preference and ease of installation.
To begin the PSU installation process, locate the PSU mounting area in the Corsair Obsidian case. This is usually situated at the top or bottom of the case, with designated screw holes for PSU attachment. Ensure that the PSU fan faces in the correct direction for proper airflow.
Next, align the screw holes on the PSU with the corresponding holes on the case. Insert the PSU mounting screws through the designated holes and use a screwdriver or your fingers to tighten them gently. Be careful not to overtighten, as this can damage the PSU or strip the screw threads. The screws should be snug enough to hold the PSU securely in place.
It’s important to note that some Corsair Obsidian cases may feature a PSU bracket or cage for added stability. In such cases, follow the case manual’s instructions on installing the PSU bracket or cage correctly before securing the PSU with the mounting screws.
Securely mounting the PSU ensures proper alignment of the power connectors and reduces the risk of accidental dislodging or short circuits. Additionally, a securely mounted PSU enhances cable management by keeping the cables neatly organized and away from sensitive components.
By using the appropriate PSU mounting screws for your Corsair Obsidian case, you can effectively secure the power supply unit, guaranteeing a stable and reliable power source for your computer system.
Now that we have covered the PSU mounting screws, let’s proceed to the next section to explore the screws needed for fan installation in a Corsair Obsidian case.
Fan Mounting Screws
Proper fan installation is crucial for optimal airflow and cooling in a Corsair Obsidian case. To securely attach case fans, you’ll need the appropriate fan mounting screws. These screws are specifically designed for fan installation and come in various sizes and designs to accommodate different fan types.
Corsair Obsidian cases often feature multiple fan mounts, allowing you to customize your cooling setup. When selecting fan mounting screws, consider the size and thickness of your fans. It’s recommended to refer to the case’s manual or manufacturer’s website for the specific screw type and size needed for your case model.
Fan mounting screws are generally shorter in length compared to other screws used in computer assembly. They typically have a coarse thread to securely hold the fans in place. The screw head design may vary, but most commonly, they feature a standard Phillips head or a small flat head for easy installation.
To install fans in your Corsair Obsidian case, determine the desired location for each fan. Align the mounting holes on the fan with the corresponding holes on the case’s fan mount. Insert the fan mounting screws through the screw holes on the fan and into the designated holes on the case. Use a screwdriver to tighten the screws gently, ensuring the fans are securely in place.
It’s important to avoid overtightening the fan mounting screws, as this can damage the fan or strip the screw holes. Tighten them just enough to hold the fan securely without deforming the fan frame. Be mindful of the fan orientation, ensuring that the airflow direction aligns with the desired airflow pattern in your case.
In some cases, Corsair Obsidian cases may also include rubber or silicone fan mounts as an alternative to screws. These mounts reduce vibration and noise and provide a more secure and flexible mounting option for fans.
Properly installing fans using the appropriate mounting screws promotes efficient cooling, prevents overheating, and maintains a quiet operation. It’s also important to regularly clean the fans and remove any accumulated dust to maintain optimal performance.
Now that we’ve covered the fan mounting screws, let’s move on to the next section to explore the screws needed for cable management in a Corsair Obsidian case.
Cable Management Screws
Achieving neat and organized cable management is essential for a clean and efficient build in a Corsair Obsidian case. To keep your cables organized and out of the way, you may need cable management screws. These screws are used to secure cable management accessories, such as cable tie-down points, routing clips, or cable grommets, in the case.
Corsair Obsidian cases often offer various provisions for cable management, providing routing holes, grommets, or dedicated spaces for cable management accessories. Cable management screws are typically small in size, designed to fit through the screw holes or attachments on cable management accessories.
To install cable management accessories, identify the specific cable management points in your Corsair Obsidian case. These can include holes or openings in the case or designated areas with built-in cable management features. Follow the case’s manual or manufacturer’s instructions to locate and utilize these cable management options effectively.
Take the cable management screws and insert them through the appropriate holes or attachments on the cable management accessories. Align the accessories with the desired cable routing points or grommets in the case. Use a screwdriver or your fingers to tighten the screws gently, ensuring the accessories are securely in place.
Proper cable management not only improves the overall aesthetics of your build but also enhances airflow and reduces the risk of cable interference with other components. Neatly organized cables facilitate better cooling and contribute to the overall efficiency and longevity of your system.
In addition to cable management screws, Corsair Obsidian cases may include other cable management solutions, such as Velcro straps, zip ties, or adjustable cable clamps. These accessories provide further options to organize and secure your cables in the most efficient and visually appealing manner.
Remember to plan your cable management route before installing components in your Corsair Obsidian case. By strategically routing and securing cables with the appropriate screws and accessories, you’ll have a tidier and more manageable build.
Now that we have covered the cable management screws, let’s wrap up this guide by summarizing the essential points discussed.
Conclusion
In this guide, we have explored the different types of screws commonly used to secure the PSU in a Corsair Obsidian case. We discussed the motherboard installation screws, PSU mounting screws, fan mounting screws, and cable management screws. Understanding the specific screws needed for each task is crucial to ensure a secure and stable installation while maintaining proper cable management.
Using the correct screws not only ensures the stability and longevity of your computer system but also facilitates future upgrades or maintenance. It’s important to consult the Corsair Obsidian case’s manual or manufacturer’s website for precise information on screw sizes and types required for your specific case model.
When installing motherboard screws, make sure to align them with the corresponding standoff holes and secure them gently to avoid damage. For mounting the PSU, choose the appropriate screws and attach them securely but without overtightening. When installing fans, use the designated fan mounting screws, tightening them just enough to hold the fan in place. And for effective cable management, utilize cable management screws to secure accessories and neatly organize your cables.
By following these guidelines, you can ensure a well-organized and efficient build in your Corsair Obsidian case, promoting optimal airflow, cooling, and overall performance.
Remember to exercise caution and refer to the case’s manual for any specific instructions or variations regarding screw sizes and installation methods. Taking the time to properly install and secure screws will not only enhance the aesthetics of your build but also improve the functionality and longevity of your components.
We hope this guide has been helpful in understanding the different screws needed to secure the PSU in a Corsair Obsidian case. Enjoy your hassle-free and well-organized computer build!