Introduction
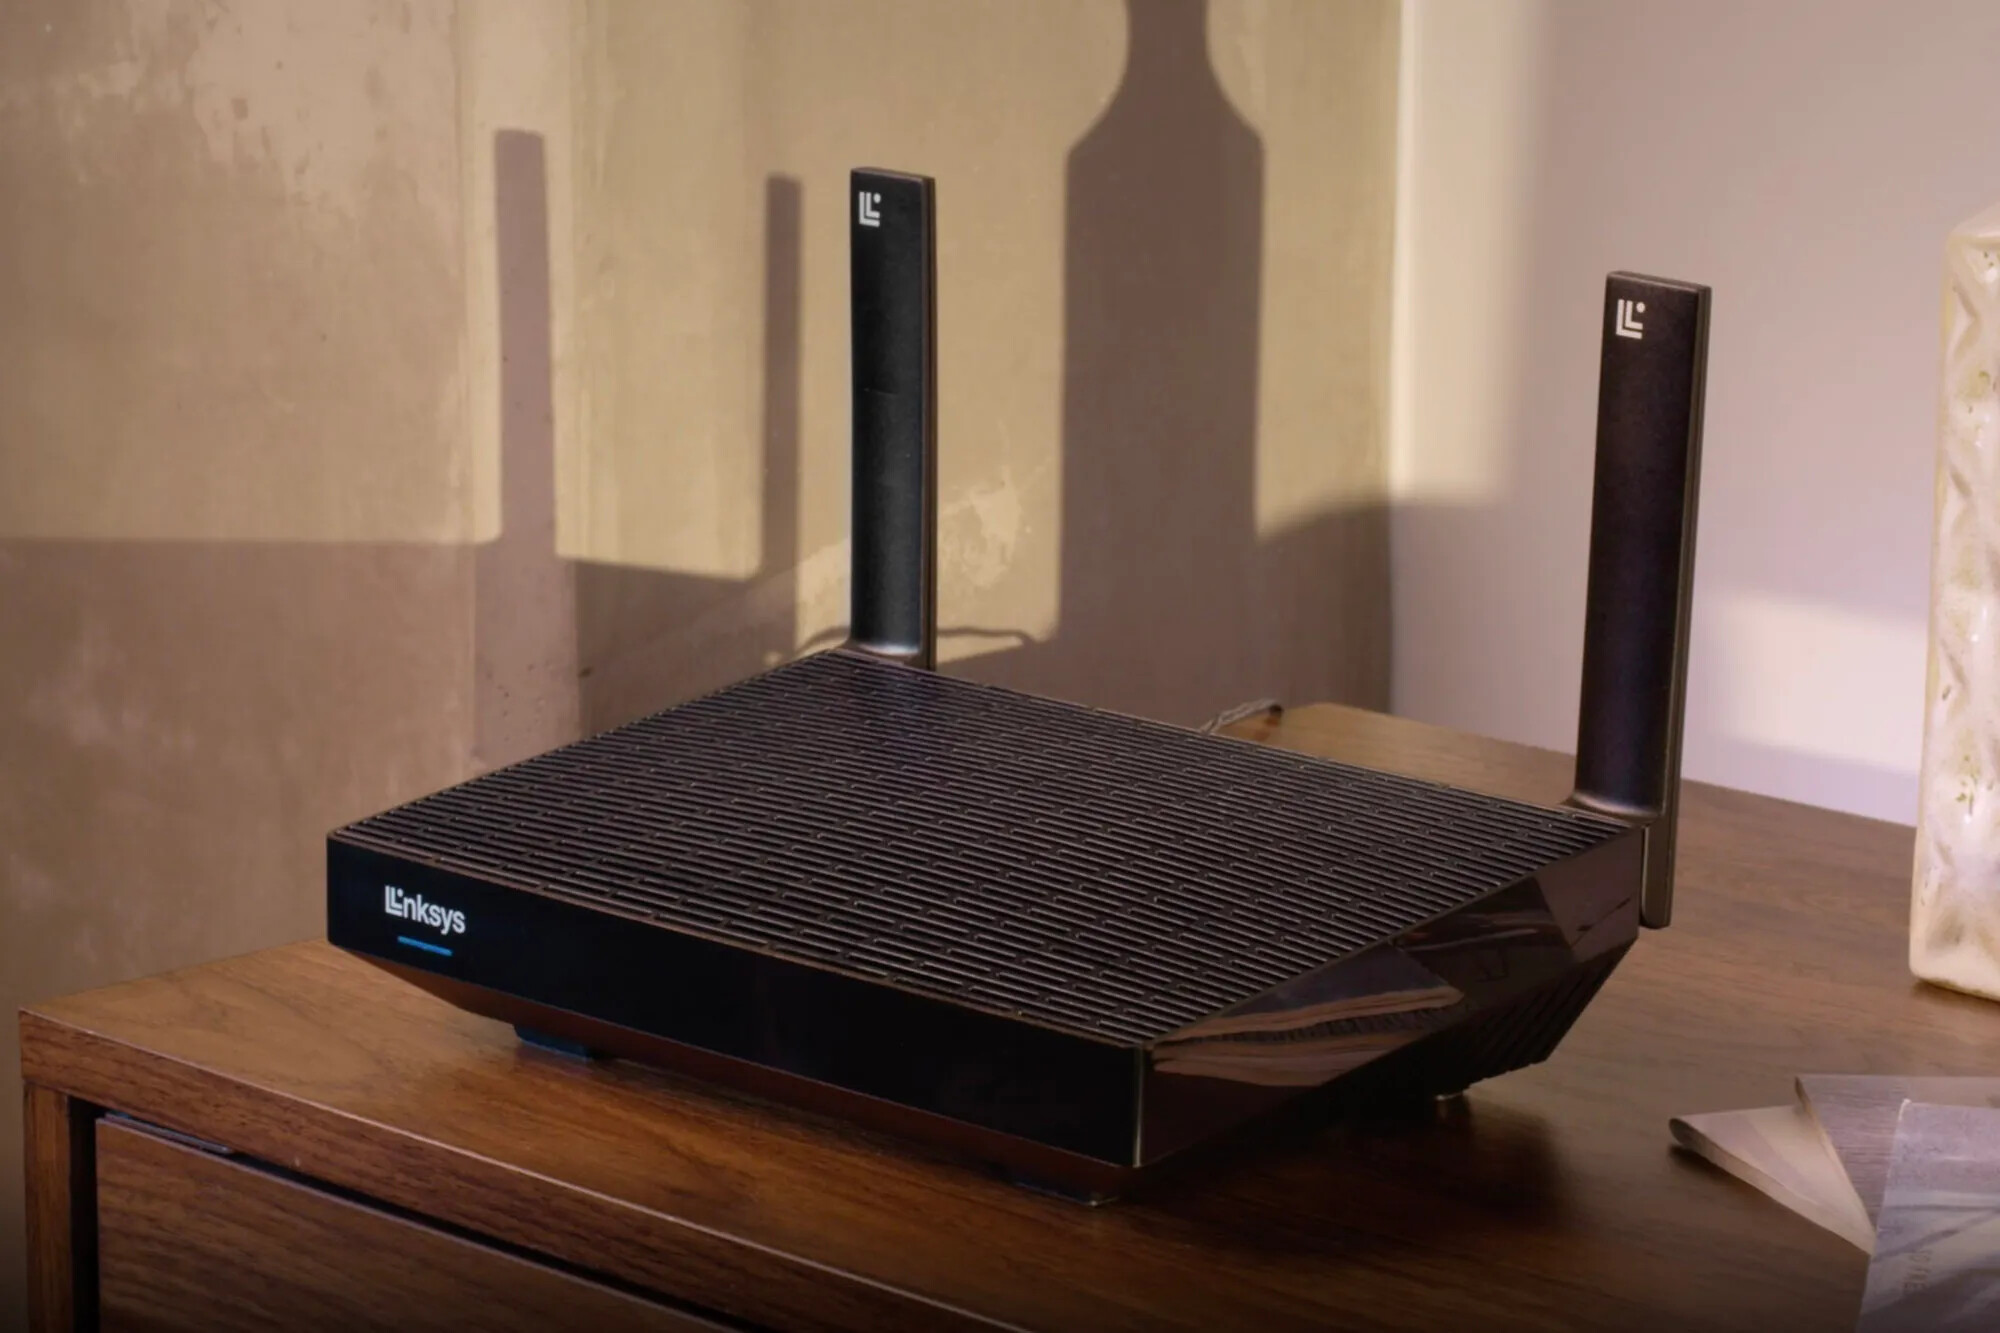
Welcome to our guide on how to use a wireless router as a range extender. If you’re having trouble with Wi-Fi signals in certain areas of your home or office, a range extender can help boost signal strength and expand your network coverage. Instead of investing in a separate range extender device, you can repurpose your existing wireless router to serve this purpose.
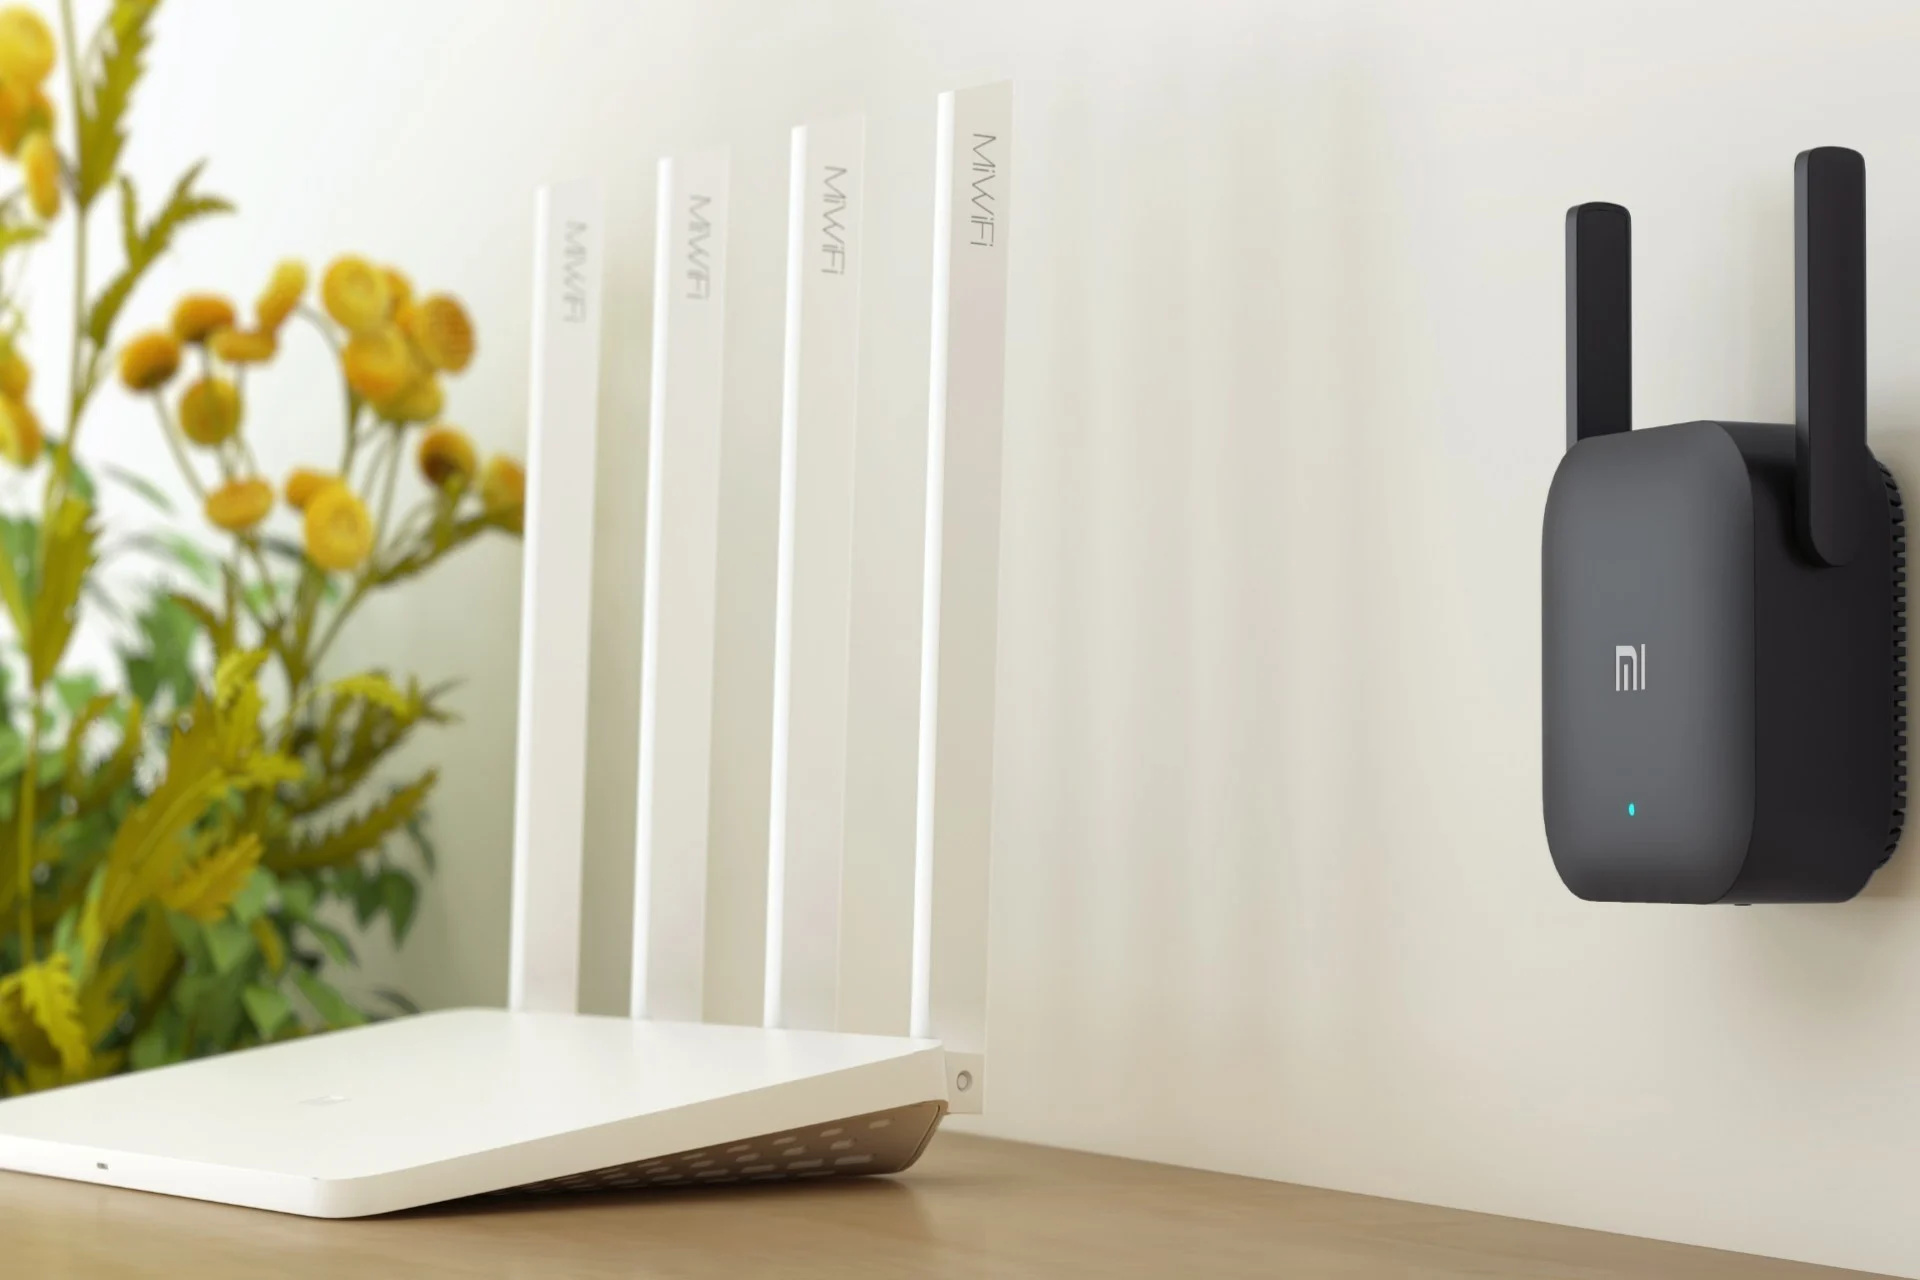
A wireless router range extender, also known as a wireless repeater or a Wi-Fi extender, is a device that amplifies and extends the coverage of your wireless network. It receives the existing Wi-Fi signal from your main router and rebroadcasts it, effectively increasing the range and improving the signal quality. This allows you to access the internet or connect devices in areas that were previously out of Wi-Fi range.
By repurposing your wireless router as a range extender, you can save money and make the most out of your existing hardware. This DIY approach offers a cost-effective solution for improving Wi-Fi coverage in larger areas or overcoming obstructions that may hinder signal strength, such as thick walls or multiple floors.
In this guide, we will walk you through the step-by-step process of setting up your wireless router as a range extender. We’ll cover everything from checking router compatibility to configuring the settings and testing the connection. Whether you’re a tech-savvy individual or a beginner, this guide is designed to be easy to follow and help you achieve better Wi-Fi coverage.
Before we dive into the setup process, it’s important to note that not all routers are capable of being used as range extenders. In the next section, we’ll discuss how to check the compatibility of your router to ensure it can be repurposed for this function.
What is a Wireless Router Range Extender?
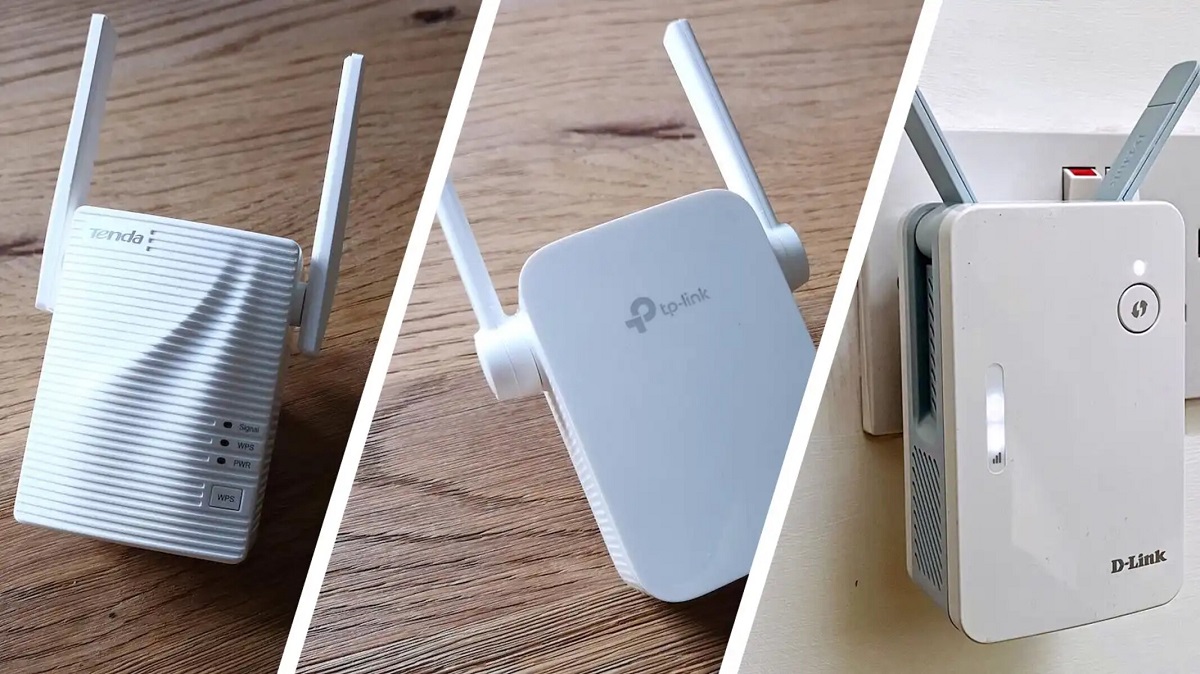
A wireless router range extender, also known as a wireless repeater or Wi-Fi extender, is a device that helps expand the coverage of your wireless network. It works by receiving the existing Wi-Fi signal from your main router and rebroadcasting it, effectively increasing the range and improving signal strength in areas that were previously out of Wi-Fi reach.
Think of a wireless router range extender as a middleman between your main router and the devices that are located too far away to receive a strong Wi-Fi signal. It picks up the signal from the main router and amplifies it, allowing devices to connect and access the internet in previously dead zones or areas with weak Wi-Fi coverage.
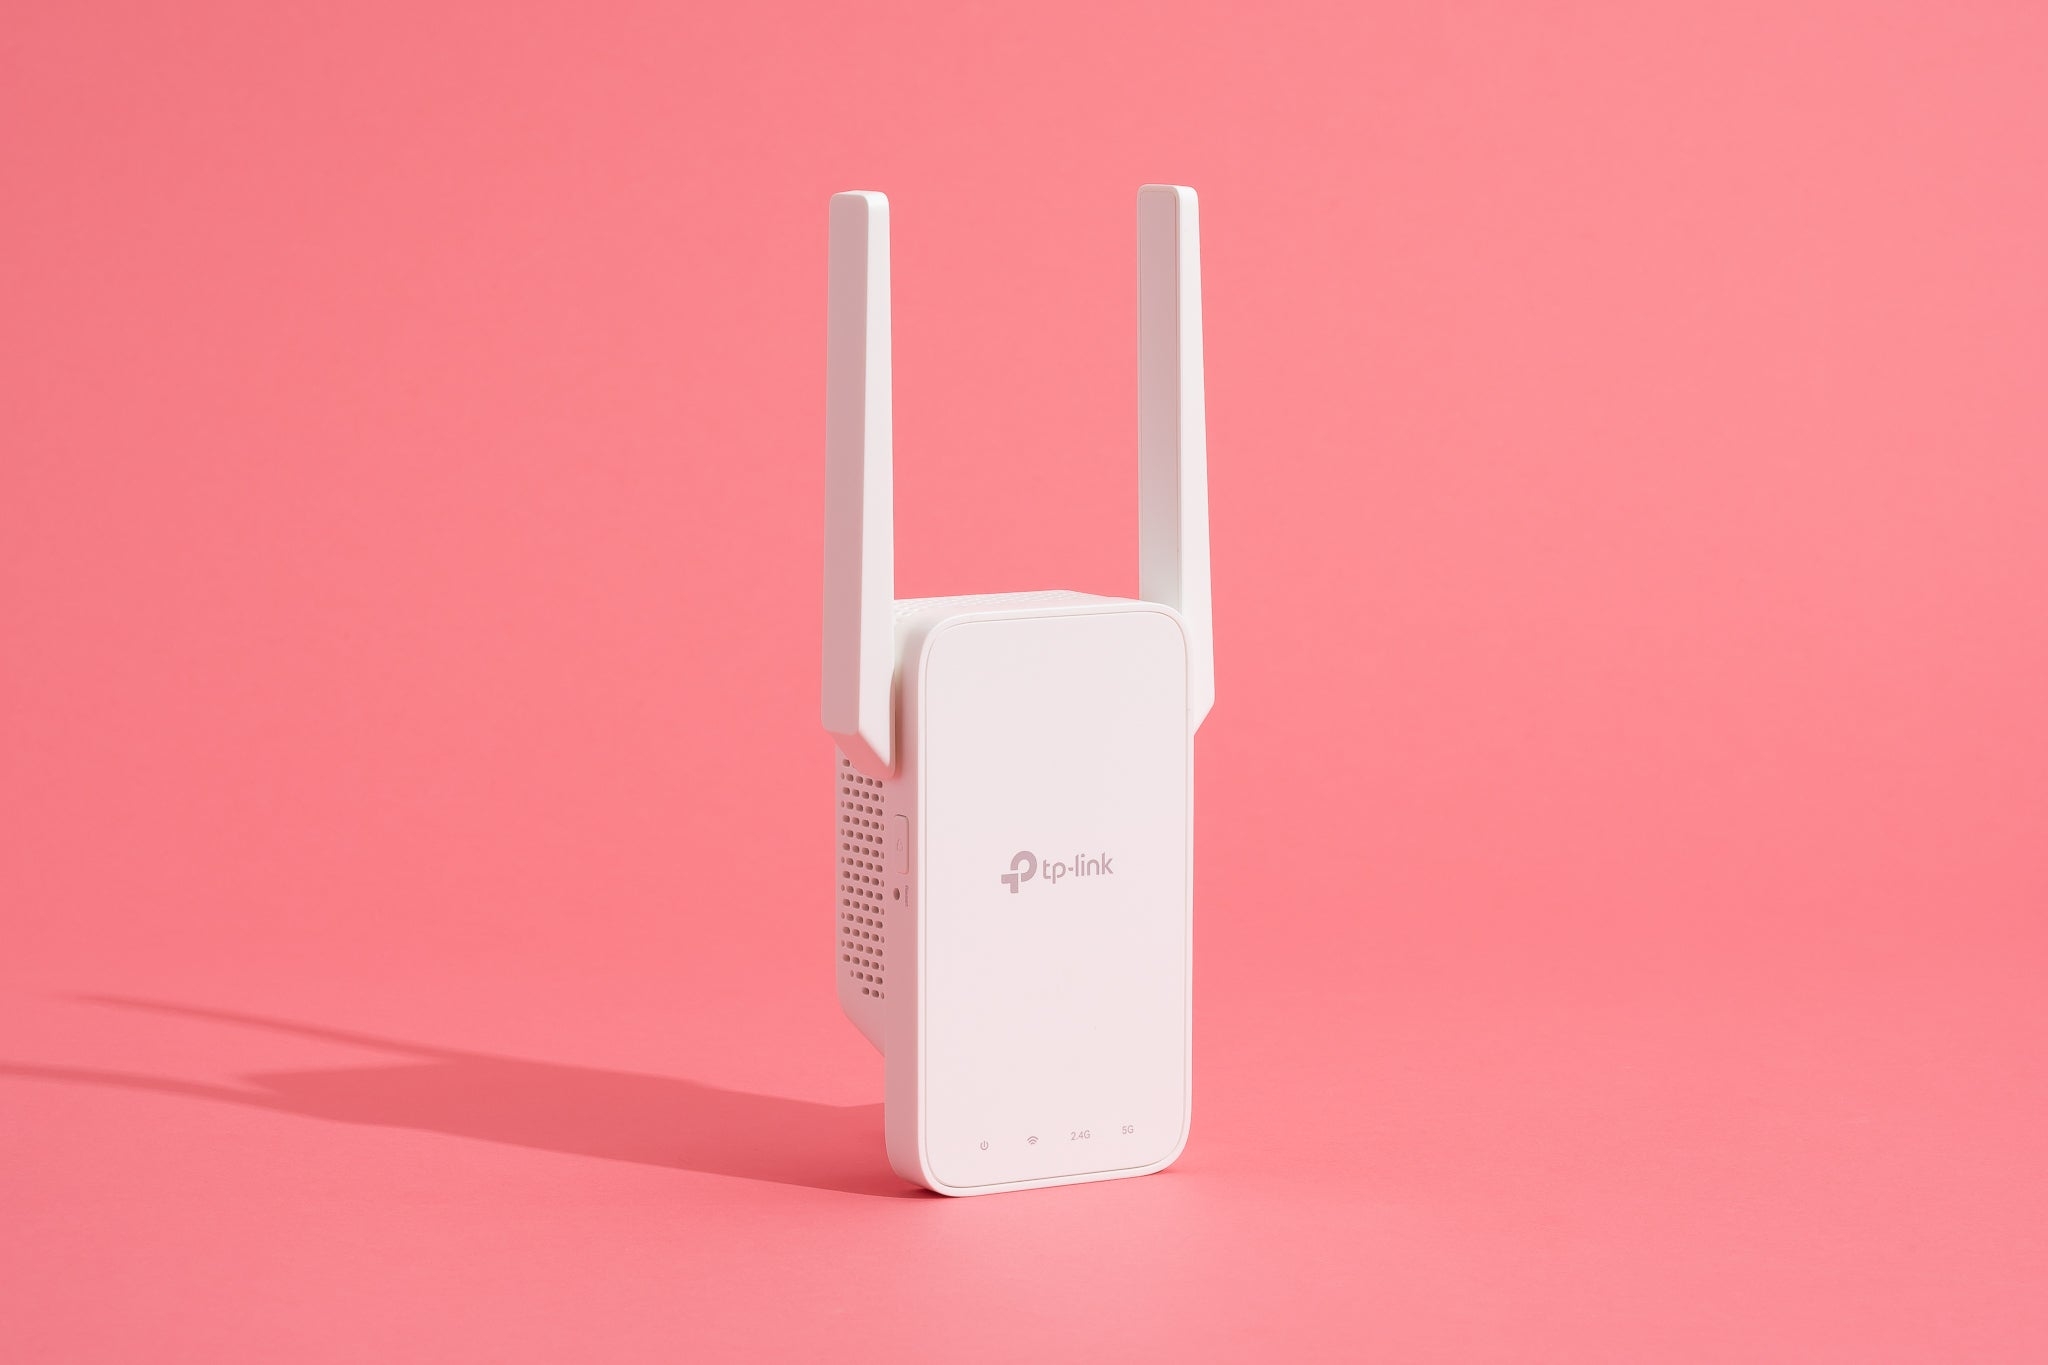
The range extender looks like a smaller version of a router and is typically connected to a power outlet. It acts as a bridge, creating a connection between your main router and the devices that are located further away. This eliminates Wi-Fi dead spots and ensures a consistent and reliable connection throughout your home or office.
There are various types of wireless router range extenders available on the market, including single-band and dual-band devices. Single-band extenders operate on the 2.4 GHz frequency band, while dual-band extenders offer the option to connect to both the 2.4 GHz and 5 GHz bands, providing better speed and more stable connections.
Range extenders are a popular choice for individuals who experience connectivity issues in certain areas of their home or office. They are especially useful in larger spaces, houses with multiple floors, or buildings with thick walls that can obstruct the Wi-Fi signal.
It’s important to note that while range extenders can improve Wi-Fi coverage, they may not deliver the same performance as a dedicated router. The rebroadcasted signal may experience some degradation in terms of speed and latency compared to the original signal from the main router. However, for general internet browsing, streaming, and light online activities, a range extender can provide a satisfactory solution.
In the next section, we will explore the benefits of using a wireless router as a range extender and why it is a cost-effective option for enhancing your Wi-Fi network.
Benefits of Using a Wireless Router as a Range Extender
Using a wireless router as a range extender offers several benefits that make it a cost-effective and convenient option for improving Wi-Fi coverage. Let’s take a closer look at some of these advantages:
- Utilizes Existing Hardware: Repurposing your existing wireless router as a range extender allows you to make the most out of your current hardware investment. Instead of purchasing a separate range extender device, you can save money by repurposing a router you already own.
- Easy Setup Process: Setting up a wireless router as a range extender is typically straightforward and user-friendly. Most routers have built-in settings and features that allow you to configure them as repeaters without the need for advanced technical knowledge. This makes the setup process accessible to users of all skill levels.
- Expands Wi-Fi Coverage: The main advantage of using a range extender is the ability to extend the range of your wireless network. By placing the range extender in an area with weak or no Wi-Fi signal, you can amplify and rebroadcast the signal, effectively expanding the coverage to previously inaccessible areas of your home or office.
- Seamless Roaming: When you set up a wireless router as a range extender, your devices can seamlessly move between the main router and the range extender without manual reconnection. This allows for uninterrupted internet access as you move throughout your living or working space.
- No Additional Cables: Using a range extender eliminates the need for additional Ethernet cables to connect devices that are out of range. Your devices can connect wirelessly to the range extender, reducing clutter and providing more flexibility in device placement.
- Improved Signal Strength: With a range extender, you can enjoy stronger signal strength in areas that previously had weak or unstable connections. This translates to better download and upload speeds, smoother streaming, and a more reliable internet experience.
By repurposing your wireless router as a range extender, you can benefit from improved Wi-Fi coverage without incurring the extra cost of purchasing a separate device. The next section will walk you through the step-by-step process of setting up your wireless router as a range extender.
How to Set Up a Wireless Router as a Range Extender
Setting up a wireless router as a range extender involves a few simple steps. By following these steps, you can repurpose your existing router and enhance your Wi-Fi coverage. Let’s dive into the process:
Step 1: Check Router Compatibility
Not all routers are capable of being used as range extenders. Check the manufacturer’s website or user manual to verify if your router supports this feature. Look for terms like “bridge mode” or “repeater mode.” If your router is compatible, move on to the next step.
Step 2: Reset the Router to Factory Settings
Before configuring your router as a range extender, it’s best to reset it to its factory settings. This ensures that any previous configurations are cleared, providing a clean slate for the setup process. Refer to your router’s user manual to find instructions on how to perform a factory reset.
Step 3: Connect the Router to the Main Router
Position your range extender in a location where it can receive a strong Wi-Fi signal from your main router. Connect the range extender to your computer using an Ethernet cable. Access the router’s settings by typing its IP address into your web browser. This address is usually found on the back of the router or in the user manual.
Step 4: Configure the Router’s Settings
In the router’s settings interface, navigate to the wireless settings. Look for options related to “repeater mode” or “wireless bridge mode.” Enable this mode and select your main router’s network from the available network list. Provide the necessary login credentials if prompted.
Step 5: Test the Range Extender Connection
Once the configuration is complete, disconnect the Ethernet cable between your computer and the range extender. Place the range extender in the desired location, preferably in an area with weak Wi-Fi coverage. Power on the range extender and wait for it to establish a connection with your main router. Connect your devices to the range extender’s network and test the signal strength and performance.
It’s worth noting that the specific steps and options may vary slightly depending on your router’s make and model. Consult your router’s user manual or the manufacturer’s website for detailed instructions specific to your device.
If you encounter any issues during the setup process, refer to the troubleshooting tips in the next section for common problems and possible solutions.
Step 1: Check Router Compatibility
Before setting up your wireless router as a range extender, it’s crucial to ensure that your router is compatible with this functionality. Not all routers have the capability to act as range extenders, so it’s important to check the manufacturer’s specifications or the user manual for information on whether your router supports this feature.
To check the compatibility of your router, look for terms such as “bridge mode,” “repeater mode,” or “access point mode.” These modes indicate that the router can be configured to act as a range extender. If your router supports any of these modes, you’re on the right track.
If you’re unable to locate this information in the user manual or on the manufacturer’s website, you can also search online forums and community discussions related to your specific router model. Often, users who have experimented with different router configurations will share their experiences and provide insight into whether a particular router can be used as a range extender.
Additionally, some router manufacturers offer dedicated firmware or software updates that enable range extender functionality for compatible models. Check the manufacturer’s website or support resources to see if any such updates are available for your router model.
Keep in mind that even if your router is listed as compatible, the process and options for setting it up as a range extender may vary. Familiarize yourself with the specific steps outlined in the manufacturer’s documentation or user manual to ensure successful configuration.
If your router doesn’t support range extender functionality, you may need to consider alternative solutions, such as purchasing a dedicated range extender device. However, if your router is compatible, you can proceed to follow the other steps outlined in this guide to convert your wireless router into a range extender and extend the coverage of your Wi-Fi network.
In the next section, we will discuss the importance of resetting the router to its factory settings before proceeding with the setup process.
Step 2: Reset the Router to Factory Settings
Before configuring your wireless router as a range extender, it is essential to reset it to its factory settings. This step ensures that any previous configurations are cleared and provides a clean slate for the setup process.
The process of resetting a router to its factory settings may vary depending on the manufacturer and model. Here are the general steps:
1. Locate the Reset Button:
On the back or bottom of your router, there should be a small reset button. It is usually recessed and may require a pointed object, such as a paperclip, to press it.
2. Power Off the Router:
Ensure that the router is powered off by disconnecting the power cable from the back of the device.
3. Hold Down the Reset Button:
Using a pointed object, press and hold down the reset button. Keep it pressed for about 10-15 seconds.
4. Power On the Router:
While still holding down the reset button, plug the power cable back into the router. Continue to hold the reset button for another 10 seconds or until the router’s lights start flashing, indicating that the reset process is underway.
5. Release the Reset Button:
After the flashing lights indicate that the reset is completed, release the reset button. The router will restart and revert to its original factory settings.
After the router has been reset, it is advisable to connect to the router’s default network settings using a computer or mobile device. This will allow you to access the router’s settings interface and set it up as a range extender.
Refer to your router’s user manual or the manufacturer’s website for specific instructions on how to perform a factory reset for your particular router model. Following these steps will ensure that any previous configurations are cleared, and you can proceed with the setup process without any conflict.
In the next section, we will discuss how to connect the router to the main router to establish the range extender functionality.
Step 3: Connect the Router to the Main Router
Now that you have reset your wireless router to factory settings, it’s time to connect it to your main router to establish the range extender functionality. Follow these steps:
1. Position the Range Extender:
Find a suitable location for your range extender, preferably in an area where the Wi-Fi signal from your main router is still strong but coverage is limited. This will help ensure optimal signal strength and coverage in the extended areas of your network.
2. Connect the Range Extender to Your Computer:
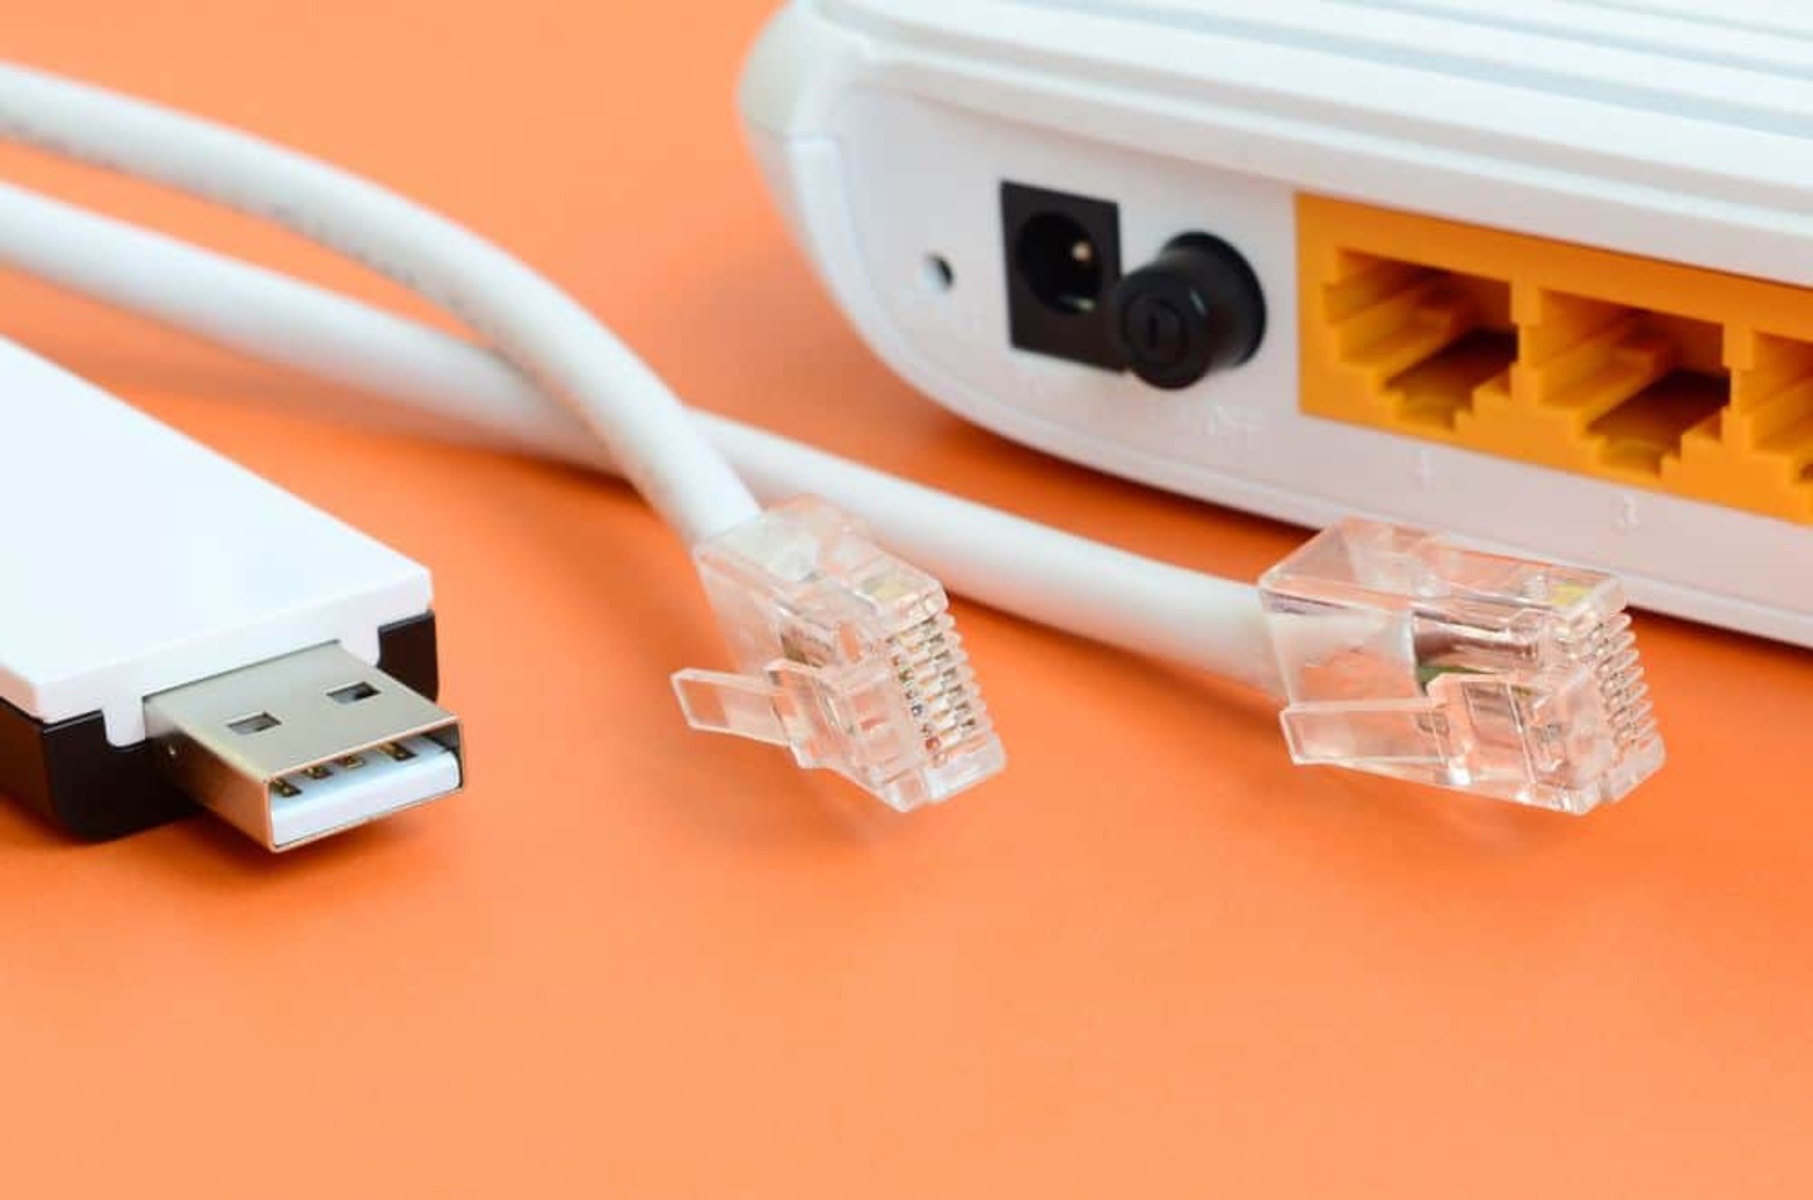
Using an Ethernet cable, connect your computer to one of the LAN (Local Area Network) ports on the range extender. This temporary connection will allow you to access the router’s settings and configure it as a range extender.
3. Access the Router’s Settings:
Open a web browser on your computer and enter the router’s IP address into the address bar. The IP address can usually be found on the back or bottom of the router or in the user manual. This will open the login page for the router’s settings.
4. Log in to the Router:
Enter the default username and password for your router. This information can also be found on the back of the router or in the user manual. If you have changed the login credentials in the past, use your custom username and password.
5. Enable Bridge or Repeater Mode:
Once logged in, navigate to the wireless settings section of the router’s settings interface. Look for options related to “bridge mode,” “repeater mode,” or “access point mode.” Enable this mode to configure the router as a range extender.
6. Select the Main Router’s Network:
In the range extender settings, look for the available network list and select the Wi-Fi network of your main router. Provide the necessary login credentials if prompted. This step establishes a connection between the range extender and the main router’s network.
7. Save and Apply the Settings:
Once you have selected the main router’s network, save and apply the settings in the range extender’s settings interface. This will finalize the configuration process.
After following these steps, disconnect the Ethernet cable between your computer and the range extender. This will allow the range extender to wirelessly connect to your main router and extend the Wi-Fi coverage to the desired areas.
In the next section, we will discuss how to configure the settings of the router turned range extender for optimal performance.
Step 4: Configure the Router’s Settings
Now that you have connected your wireless router to the main router, it’s time to configure the settings of the router turned range extender. Follow these steps:
1. Access the Range Extender’s Settings:
Using a web browser on your computer or mobile device, enter the IP address of the range extender into the address bar. This IP address can usually be found in the range extender’s user manual or on the device itself. Press Enter to access the settings interface of the range extender.
2. Login to the Range Extender:
When the range extender’s settings page loads, you will be prompted for a username and password. Refer to the user manual or the default login credentials provided by the manufacturer. If you have changed the login credentials, use your custom username and password to proceed.
3. Adjust Wireless Settings:
In the settings interface of the range extender, navigate to the wireless settings section. Here, you may be able to modify the network name (SSID) or the wireless channel. It is recommended to keep the SSID the same as your main router’s network for seamless device roaming.
If you are experiencing interference from neighboring networks, consider changing the wireless channel to a less congested one. This can help improve performance and reliability.
4. Configure Security Settings:
To ensure the security of your extended Wi-Fi network, configure the same security settings as your main router. This includes selecting the appropriate security protocol (such as WPA2) and setting a strong password.
Using the same security settings as your main router ensures that devices connected to the range extender are protected and have a seamless experience when transitioning between the main router and the range extender.
5. Save the Settings:
Once you have adjusted the necessary wireless and security settings, save the changes made to the range extender’s configuration. This will ensure that the new settings take effect.
After saving the settings, the range extender will reboot to apply the changes. Allow a few moments for the reboot process to complete and for the range extender to establish a stable connection with the main router.
Now, your wireless router has been successfully configured as a range extender, ready to extend your Wi-Fi coverage to areas previously out of reach. In the next step, we will discuss how to test the range extender to ensure that it is functioning correctly.
Step 5: Test the Range Extender Connection
After configuring your wireless router as a range extender, it’s important to test the connection to ensure that it is functioning correctly. Follow these steps to test the range extender:
1. Disconnect from the Main Router’s Network:
On your device (e.g., laptop, smartphone), disconnect from the Wi-Fi network of the main router and search for available networks.
2. Connect to the Range Extender’s Network:
Look for the network name (SSID) of the range extender that you configured during the setup process. Connect your device to this network by selecting it and entering the respective password if prompted.
3. Check Signal Strength and Internet Connectivity:
Once connected to the range extender’s network, check the signal strength indicator on your device. Ensure that it shows a strong signal. You can also use internet speed testing tools to determine if the connection speed corresponds to the expected speed from your main router.
4. Test Coverage in Previously Weak Areas:
Move your device to areas that previously had weak or no Wi-Fi coverage. Test the range extender’s signal by accessing the internet, streaming videos, or performing any other online tasks. Verify if the signal strength and performance in these areas have improved.
5. Roaming Test:
While connected to the range extender’s network, move throughout your home or office. Ensure that your device seamlessly transitions between the range extender and the main router’s network, maintaining a consistent and stable connection.
If the range extender is providing satisfactory Wi-Fi coverage and performance, congratulations! Your wireless router has successfully been set up as a range extender. Enjoy your extended Wi-Fi network in previously hard-to-reach areas.
If you encounter any issues during testing, refer to the troubleshooting tips in the next section for common problems and possible solutions.
It’s important to note that range extenders may experience some signal degradation compared to the original signal from the main router. However, with optimal placement and configuration, a range extender can significantly improve coverage and provide a reliable Wi-Fi connection in areas that were once unreachable.
In the next section, we will explore some troubleshooting tips to help you address any issues that may arise during the setup or testing process.
Troubleshooting Tips
Setting up a wireless router as a range extender may sometimes come with challenges. If you encounter issues during the setup or testing process, here are some troubleshooting tips to help you address common problems:
1. Weak Signal or Limited Coverage:
- Ensure that the range extender is positioned in an optimal location, preferably within range of the main router but close to the areas requiring extended coverage.
- Minimize interference from physical obstructions like walls, furniture, or appliances that may obstruct the signal. Make sure there are no large metal objects nearby that can interfere with the Wi-Fi signal.
- Experiment with different placements and orientations of the range extender to find the best configuration for optimal signal strength.
2. Inconsistent Connection or Signal Dropout:
- Check if the range extender and the main router are using different Wi-Fi channels. If they are the same, try changing the range extender’s channel to reduce interference.
- Ensure that the firmware or software of the range extender is up to date. Visit the manufacturer’s website to check for any available updates.
- Consider reducing the distance between the range extender and the main router to maintain a stable connection.
3. Incorrect Configuration:
- Double-check that you have followed all the steps correctly during the setup process, including selecting the correct mode (bridge mode, repeater mode, or access point mode).
- Verify that you have entered the correct login credentials (username and password) when accessing the range extender’s settings interface.
- If necessary, consult the user manual or the manufacturer’s support resources for additional guidance specific to your router model.
4. Interference from Other Networks:
- Use a Wi-Fi analyzer app or software to identify any neighboring networks operating on the same channel. Change your range extender’s channel to a less congested one to minimize interference.
- Consider using the 5 GHz band if your range extender and compatible devices support it, as it typically offers less interference compared to the crowded 2.4 GHz band.
5. Inadequate Range:
- If the range extender’s coverage is still not sufficient, you may need to consider alternative solutions such as adding additional range extenders strategically placed throughout your space or investing in a mesh Wi-Fi system for broader coverage.
- Contact the manufacturer’s support team or consult online forums for further assistance and troubleshooting specific to your router model.
By following these troubleshooting tips, you can overcome common obstacles and ensure optimal performance from your wireless router range extender. Remember to be patient and persistent in identifying and resolving any issues that arise.
In the next section, we will provide a brief summary of the key steps and highlights from this guide on using a wireless router as a range extender.
Conclusion
In this guide, we have explored the process of using a wireless router as a range extender to enhance Wi-Fi coverage. By repurposing your existing router, you can save money and make the most out of your hardware investment.
We started by understanding what a wireless router range extender is and the benefits it offers, including cost savings, easy setup, and improved signal strength. We then walked through each step of the setup process, from checking router compatibility to configuring the settings and testing the range extender connection. Troubleshooting tips were provided to address common issues that may arise during the setup or testing process.
Remember to check the compatibility of your router and to reset it to factory settings before proceeding with the setup. Connect the range extender to the main router, configure the settings, and test the connection to ensure optimal performance. If any issues occur, refer to the troubleshooting tips for guidance.
While using a wireless router as a range extender can significantly improve your Wi-Fi coverage, it’s important to note that range extenders may experience some signal degradation compared to the main router’s signal. For the best performance, place the range extender in an optimal location and follow the recommended positioning and configuration guidelines.
By following the steps and tips provided in this guide, you can effectively extend your Wi-Fi network and enjoy reliable internet connectivity throughout your home or office. If you encounter any challenges along the way, don’t hesitate to consult the manufacturer’s support resources or reach out to online communities for additional assistance.
We hope that this guide has been informative and helpful in improving your Wi-Fi coverage. Now, it’s time to get started and transform your wireless router into a range extender!


