Introduction
Welcome to this guide on how to use a WD external hard drive on your Mac. If you’re a Mac user and have recently acquired a WD external hard drive, you may be wondering how to connect and use it efficiently with your Mac. With the right steps, you can seamlessly integrate your WD external hard drive into your Mac workflow, expanding your storage and backing up important files.
WD (Western Digital) external hard drives are widely recognized for their reliability, performance, and storage capacity. They are compatible with both Windows and Mac operating systems, making them a versatile choice for users with different computers. However, before you can start using your WD external hard drive on your Mac, there are a few steps you need to take to ensure smooth compatibility and functionality.
In this guide, we will walk you through the process of connecting your WD external hard drive to your Mac, formatting it for Mac use, transferring files, and safely ejecting it to prevent data loss. We will also touch on some common issues you may encounter and provide troubleshooting tips to help you resolve them.
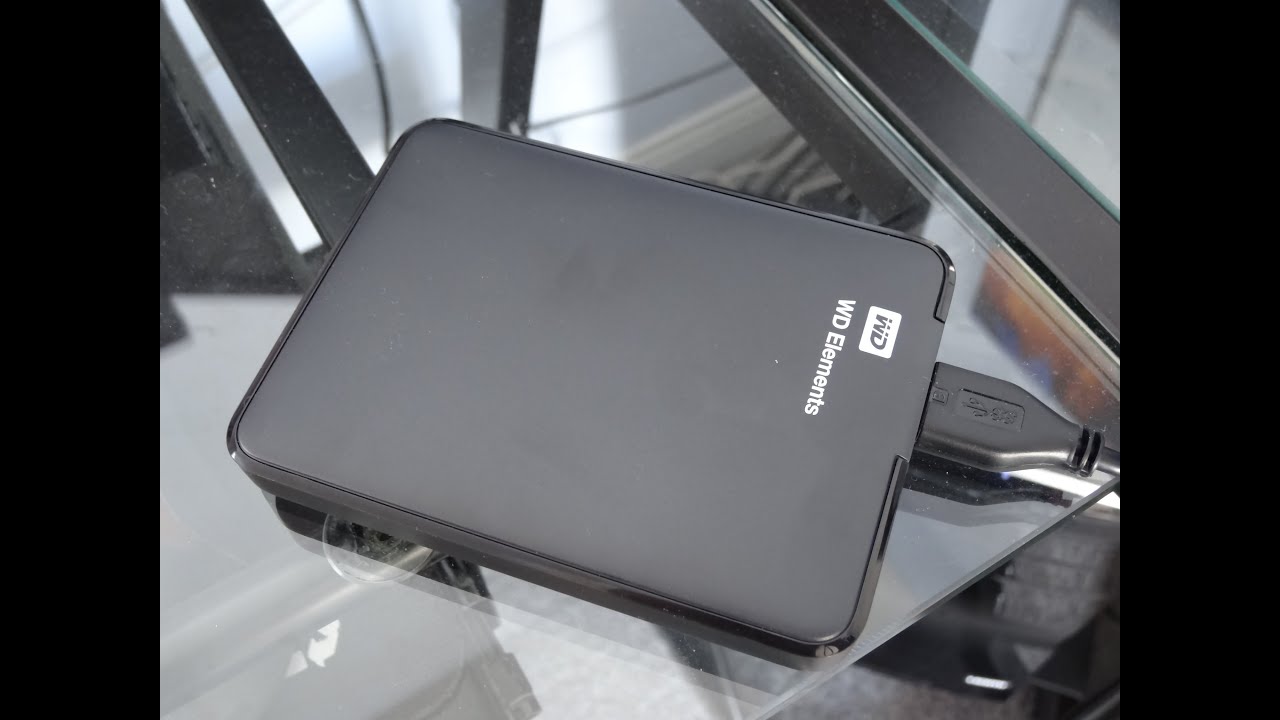
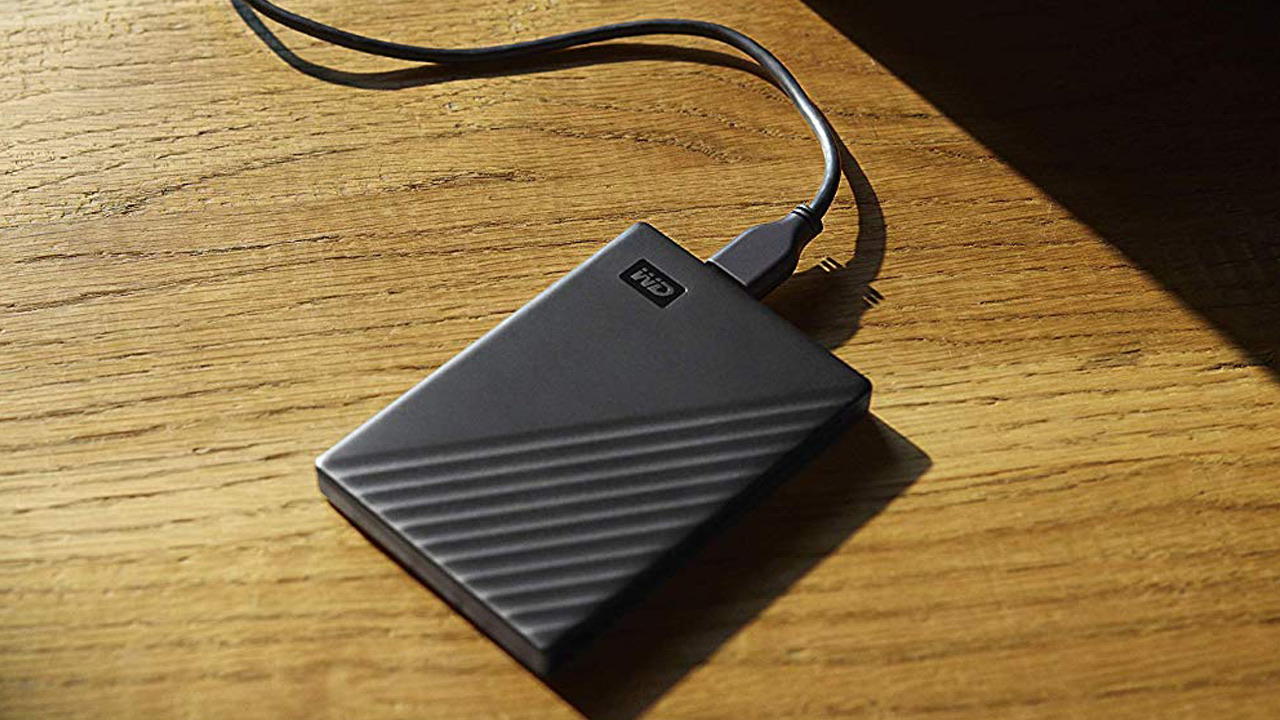
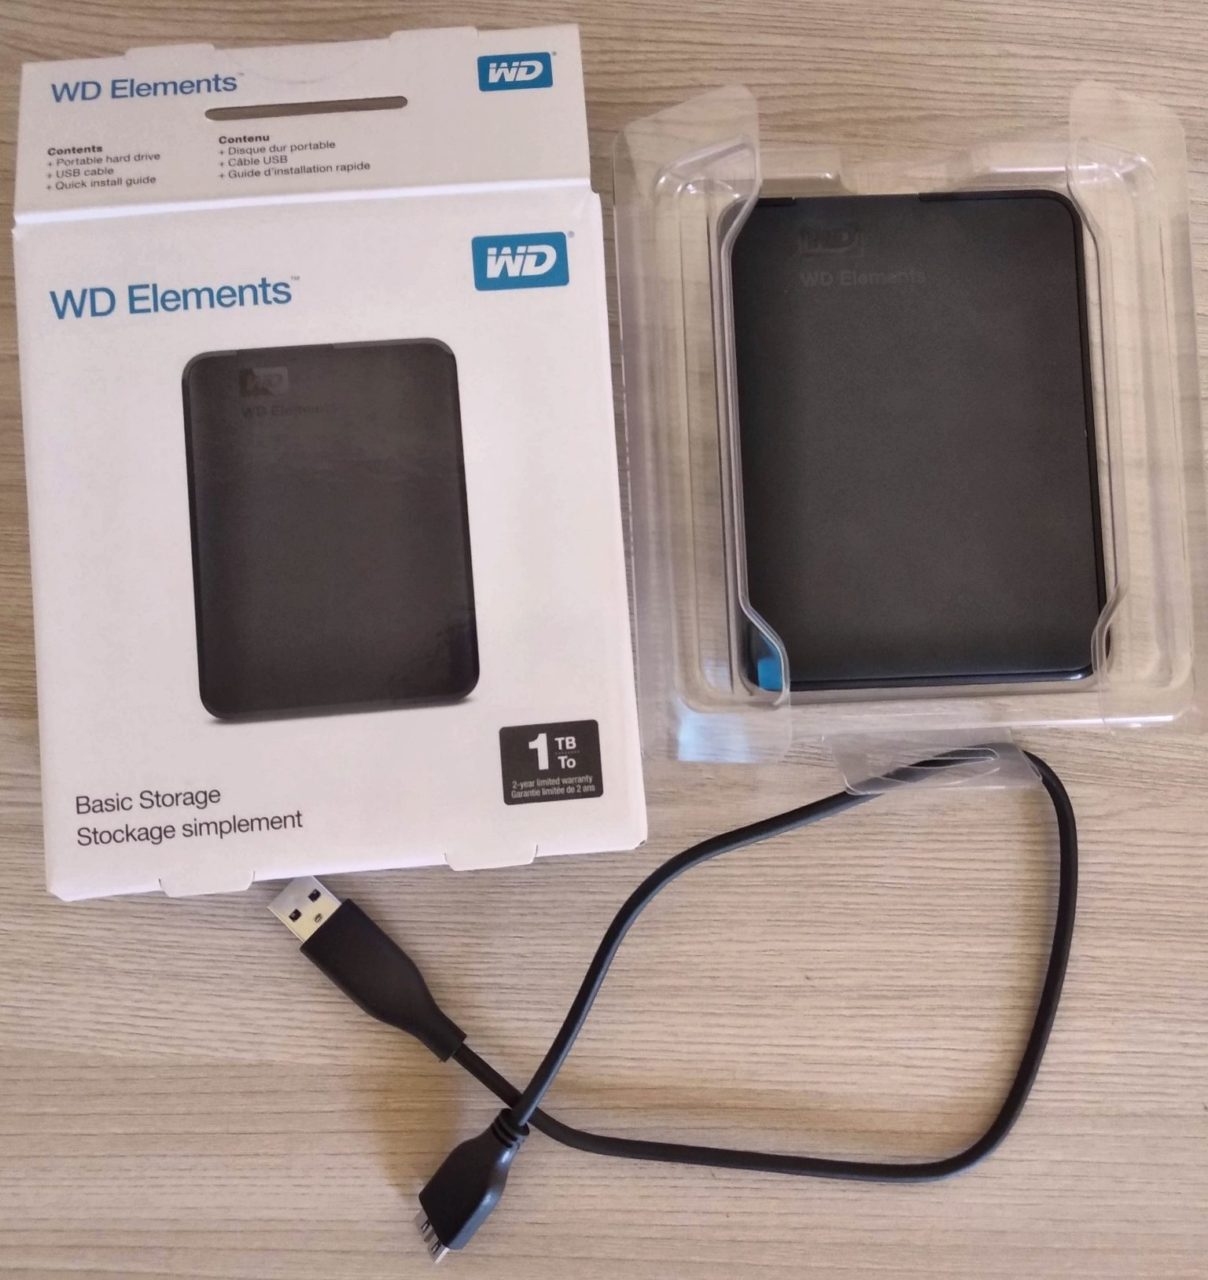
So, whether you’re using a WD My Passport, WD Elements, or any other WD external hard drive model, this guide will equip you with the necessary knowledge to make the most of your storage device on your Mac.
Compatibility of WD External Hard Drive with Mac
Before you begin using your WD external hard drive on your Mac, it’s essential to ensure that it is compatible with the Mac operating system. Fortunately, WD external hard drives are designed to work seamlessly with Mac computers, providing reliable storage solutions and easy file transfers.
WD external hard drives are compatible with both Windows and Mac systems, as they come preformatted in the exFAT file system. This file system allows for cross-platform compatibility, meaning you can use the hard drive on both Windows and Mac computers without any issues.
When you connect a WD external hard drive to your Mac, it will be recognized by the macOS system, and you will be able to access and manage files stored on it. You can use it to store documents, photos, videos, music, and any other files you may need, effectively expanding your Mac’s storage capacity.
Furthermore, WD includes compatibility and software for Mac users. The WD Drive Utilities software provides additional features and functionality for your WD external hard drive, such as drive diagnostics, formatting options, and firmware updates. The software is available for download from the WD website and is compatible with macOS.
It’s important to note that if you have an older WD external hard drive with a different file system, such as NTFS, you may experience compatibility issues when connecting it to your Mac. In this case, you will need to reformat the hard drive to a compatible file system that works with macOS, such as exFAT or macOS Extended (Journaled).
Overall, WD external hard drives offer excellent compatibility with Mac computers, allowing you to seamlessly integrate them into your Mac workflow. Whether you’re using a MacBook, iMac, Mac mini, or Mac Pro, you can rely on WD external hard drives to provide reliable storage and file management solutions.
Connecting WD External Hard Drive to Mac
Connecting your WD external hard drive to your Mac is a straightforward process. Just follow these steps:
- Start by locating the USB or Thunderbolt port on your Mac.
- Take the USB cable that came with your WD external hard drive and connect one end to the hard drive and the other end to the appropriate port on your Mac.
- Once the connection is made, your Mac will recognize the WD external hard drive and mount it as a new storage device.
- To confirm that the connection was successful, go to the Finder on your Mac and look for the WD external hard drive listed under the “Devices” section.
- Click on the WD external hard drive icon to open it and access the files stored on it.
If the WD external hard drive does not appear in the Finder, or if you encounter any issues during the connection process, try the following troubleshooting steps:
- Check the USB cable for any damage or loose connections. Try using a different USB cable to ensure it’s not the cable causing the problem.
- Test the USB or Thunderbolt port on your Mac by connecting another device to it, such as a USB flash drive or another external hard drive. If the port is working fine with other devices, the issue may be specific to the WD external hard drive.
- Restart your Mac and reconnect the WD external hard drive. Sometimes, a simple restart can resolve connectivity issues.
- If none of the above steps work, try connecting the WD external hard drive to another Mac or a Windows computer to see if it is recognized there. This can help determine if the issue is with the hard drive itself or with your Mac.
By following these steps, you should be able to connect your WD external hard drive to your Mac without any problems. Once connected, you can begin using the hard drive to store and transfer your files conveniently.
Formatting WD External Hard Drive for Mac
When you first connect your WD external hard drive to your Mac, you may need to format it to ensure compatibility with the macOS system. Formatting will erase all the data on the hard drive, so make sure to back up any important files before proceeding.
Here’s how you can format your WD external hard drive for Mac:
- Open the Finder on your Mac by clicking on the Finder icon in the Dock.
- In the Finder menu, click on “Applications” and then open the “Utilities” folder.
- Look for and open the “Disk Utility” application.
- In the Disk Utility window, you should see a list of all the connected storage devices. Locate your WD external hard drive in the list and select it.
- Click on the “Erase” button at the top of the Disk Utility window.
- A new window will appear where you can configure the format options. Choose either “Mac OS Extended (Journaled)” or “APFS” as the format.
- Give your WD external hard drive a new name in the “Name” field.
- Finally, click on the “Erase” button to start the formatting process.
Once the formatting process is complete, your WD external hard drive will be ready to use with your Mac. It will now appear in the Finder and can be accessed like any other storage device on your Mac.
Keep in mind that by formatting the WD external hard drive for Mac, you may lose any data previously stored on it. Therefore, it’s crucial to back up important files before proceeding with the formatting process.
If you have multiple partitions on your WD external hard drive, you can choose to format only a specific partition while leaving the others intact. In the Disk Utility window, select the partition you want to format, and then follow the same steps mentioned above.
Formatting your WD external hard drive to a compatible format for Mac will ensure seamless integration with your Mac system and efficient file management.
Transferring Files to WD External Hard Drive
Once you’ve connected and formatted your WD external hard drive for Mac, you’re ready to start transferring files to it. Whether you want to back up important documents, store media files, or free up space on your Mac, transferring files to your WD external hard drive is a simple process.
Here’s how you can transfer files to your WD external hard drive on a Mac:
- Open a Finder window on your Mac by clicking on the Finder icon in the Dock.
- In the Finder window, locate the files or folders you want to transfer to your WD external hard drive.
- Click and drag the selected files or folders to the WD external hard drive icon in the sidebar of the Finder window.
- Alternatively, you can right-click on the files or folders and select “Copy.” Then, navigate to the WD external hard drive in the Finder window and right-click again, selecting “Paste Item.”
- The files will start transferring to your WD external hard drive. The time it takes will depend on the size of the files and the speed of your Mac and the hard drive.
You can transfer multiple files and folders simultaneously by selecting them at once before dragging or copying/pasting them to the WD external hard drive. This way, you can efficiently organize your files on the external drive.
It’s important to note that once the files are transferred to your WD external hard drive, you can access and manage them from both your Mac and other compatible devices. This flexibility allows you to transfer files between different computers without compatibility issues.
Transferring large files or a large number of files may take some time, so be patient and avoid interrupting the transfer process. It’s also a good practice to periodically back up your WD external hard drive to ensure data security and prevent accidental loss.
By following these steps, you can easily transfer files to your WD external hard drive and free up valuable space on your Mac, ensuring that your important files are safely stored and easily accessible.
Safely Ejecting WD External Hard Drive from Mac
When you’re finished using your WD external hard drive on your Mac, it’s important to properly eject it to prevent data loss and ensure the safety of your files. Follow these steps to safely eject your WD external hard drive:
- Make sure all file transfer operations or other activities involving the WD external hard drive have completed.
- Close any open files or applications that are using the WD external hard drive.
- Locate the WD external hard drive icon on the desktop or in the Finder sidebar.
- Click on the eject icon (an upward-pointing arrow) next to the WD external hard drive name.
- Wait for your Mac to complete the eject process, indicated by the disappearance of the WD external hard drive icon from the desktop or Finder sidebar.
- Once the WD external hard drive icon has disappeared, it is safe to physically disconnect the USB or Thunderbolt cable from your Mac and the hard drive.
It’s important to always safely eject your WD external hard drive before disconnecting it from your Mac. This ensures that all the data has been written to the hard drive, preventing potential file corruption or data loss.
Forgetting to eject before disconnecting the WD external hard drive can result in data loss or even damage to the drive. Therefore, it’s a good practice to make sure you eject the drive every time you’re finished using it, even if it’s just for a short period.
In some cases, you may encounter a message stating that a file is in use and cannot be ejected. In this situation, make sure all files and applications related to the WD external hard drive are closed and try ejecting again. If the issue persists, restarting your Mac and then attempting to eject the drive usually resolves the problem.
By following the steps above to safely eject your WD external hard drive, you can ensure the integrity of your files and maintain the overall health of the hard drive, allowing for a seamless and reliable user experience.
Troubleshooting Common Issues
While using a WD external hard drive on your Mac, you may come across some common issues. Here are a few troubleshooting tips to help you resolve them:
1. Drive not recognized: If your WD external hard drive is not being recognized by your Mac, try the following:
- Check the USB or Thunderbolt cable connections to ensure they are secure.
- Test the drive on another USB or Thunderbolt port on your Mac.
- Try connecting the drive to a different Mac or Windows computer to see if it is recognized.
2. Slow transfer speeds: If you’re experiencing slow transfer speeds when copying files to or from the WD external hard drive, consider the following:
- Make sure both your Mac and the WD external hard drive are connected to USB 3.0 ports for faster data transfer speeds.
- Check for any software or background processes on your Mac that might be slowing down the transfer speeds.
- If the drive is nearly full, freeing up some space can improve transfer speeds.
3. File system compatibility: If you have an older WD external hard drive with a file system that is not compatible with macOS, you may encounter issues. In such cases:
- Reformat the drive using the Disk Utility on your Mac, choosing a compatible file system like exFAT or macOS Extended (Journaled).
- Note that reformatting the drive will erase all data, so make sure to back up important files before proceeding.
4. Drive not ejecting: If you’re unable to safely eject your WD external hard drive from your Mac, try the following:
- Make sure all files and applications related to the drive are closed.
- Restart your Mac and attempt to eject the drive again.
- If the issue persists, manually power off your Mac and disconnect the drive while it’s powered off.
5. Power-related issues: If your WD external hard drive is not receiving power or not turning on, consider the following:
- Check the power cable and make sure it is securely connected to both the drive and the power source.
- Try using a different power outlet or USB port on your Mac to rule out any issues with the power source.
- If possible, try connecting the drive to another power supply or using a different USB cable to eliminate potential cable-related issues.
If the above troubleshooting steps do not resolve the issue with your WD external hard drive, it’s recommended to consult the WD support website or reach out to their customer support for further assistance. They can provide specific troubleshooting steps tailored to your WD external hard drive model and help resolve any persistent issues.
Conclusion
Using a WD external hard drive on your Mac can greatly enhance your storage, backup, and file management capabilities. By following the steps outlined in this guide, you can easily connect, format, transfer files to, and safely eject your WD external hard drive from your Mac.
Remember to ensure compatibility by formatting the drive to a compatible file system such as exFAT or macOS Extended (Journaled). This will allow for seamless integration with your Mac system while retaining cross-platform accessibility.
If you encounter any common issues, such as the drive not being recognized, slow transfer speeds, or the inability to eject the drive, try the troubleshooting tips provided to resolve them. Often, simple steps like checking connections, testing different ports, or restarting your Mac can help resolve these issues.
It’s important to properly eject your WD external hard drive before physically disconnecting it from your Mac to avoid data loss or damage to the drive. Safely ejecting the drive ensures that all data is written and no active processes are interrupted.
Lastly, if you encounter persistent issues that cannot be resolved through troubleshooting, don’t hesitate to reach out to WD support for guidance and assistance tailored to your specific WD external hard drive model. Their expertise can help resolve any advanced issues you may face.
With the knowledge gained from this guide, you can now confidently use your WD external hard drive on your Mac, whether it’s for backing up important files, expanding storage capacity, or organizing your digital assets. Take full advantage of the reliable performance and versatility of WD external hard drives to enhance your Mac experience.