Introduction
Welcome to our guide on how to use a Toshiba external hard drive on a Mac! Toshiba external hard drives are popular storage devices that offer a convenient way to expand your Mac’s storage capacity and backup important files. Whether you’re an avid photographer, a content creator, or simply need extra storage space for your files, Toshiba external hard drives are a reliable and portable solution.
Using a Toshiba external hard drive on a Mac is typically a straightforward process, but it does require a few steps to ensure compatibility and optimal performance. In this guide, we will walk you through the necessary steps to connect, format, transfer files, and safely eject the Toshiba external hard drive from your Mac.
It’s important to note that the steps outlined in this guide are specific to Mac users. If you’re using a Windows computer, the process may be slightly different. So without further ado, let’s get started and make the most out of your Toshiba external hard drive on your Mac!
Step 1: Connecting the Toshiba External Hard Drive to your Mac
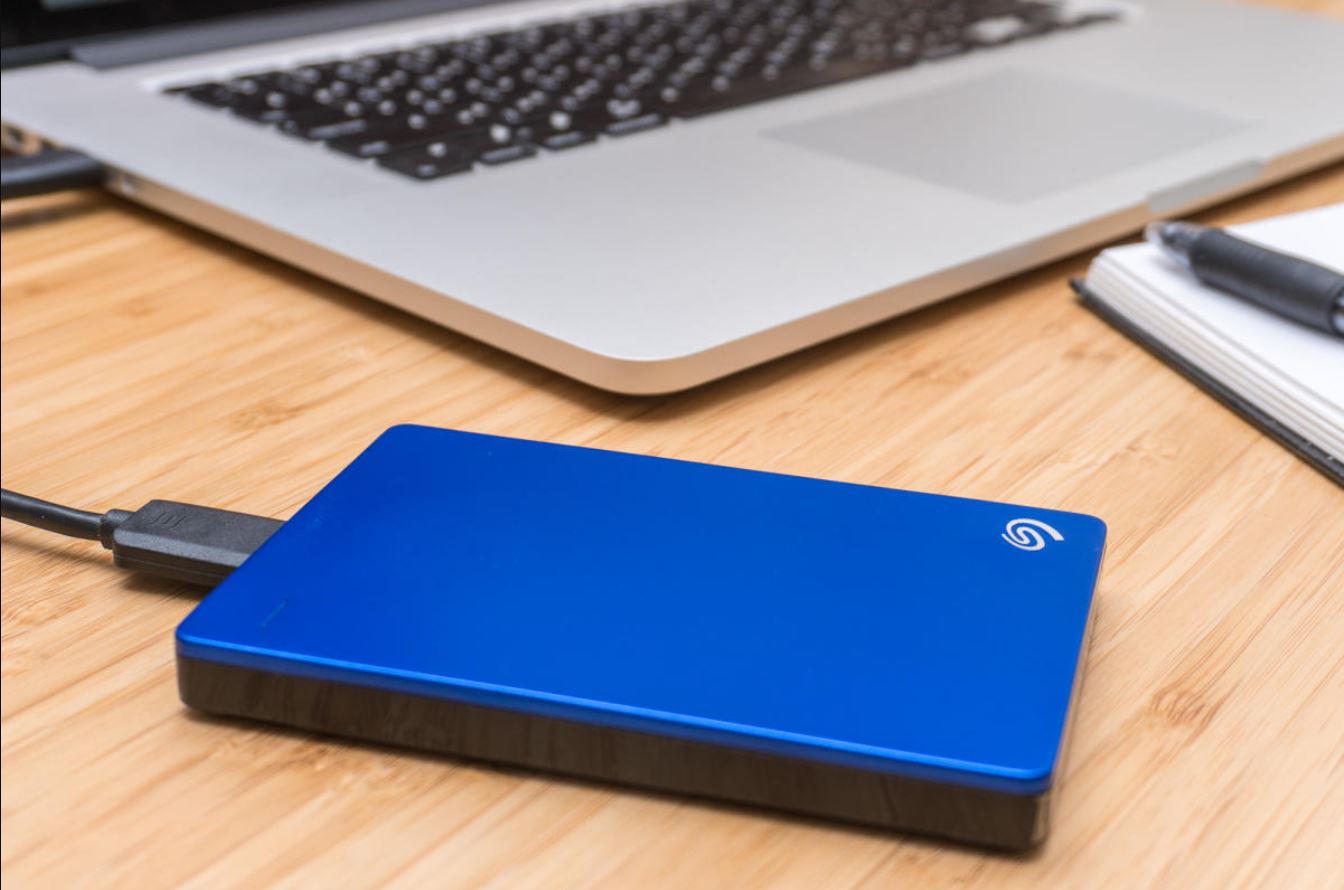
Before you can start using your Toshiba external hard drive on your Mac, the first step is to make sure it is properly connected. Follow these simple steps to connect your Toshiba external hard drive to your Mac:
- Locate the USB or Thunderbolt port on your Mac. This is where you will connect your Toshiba external hard drive.
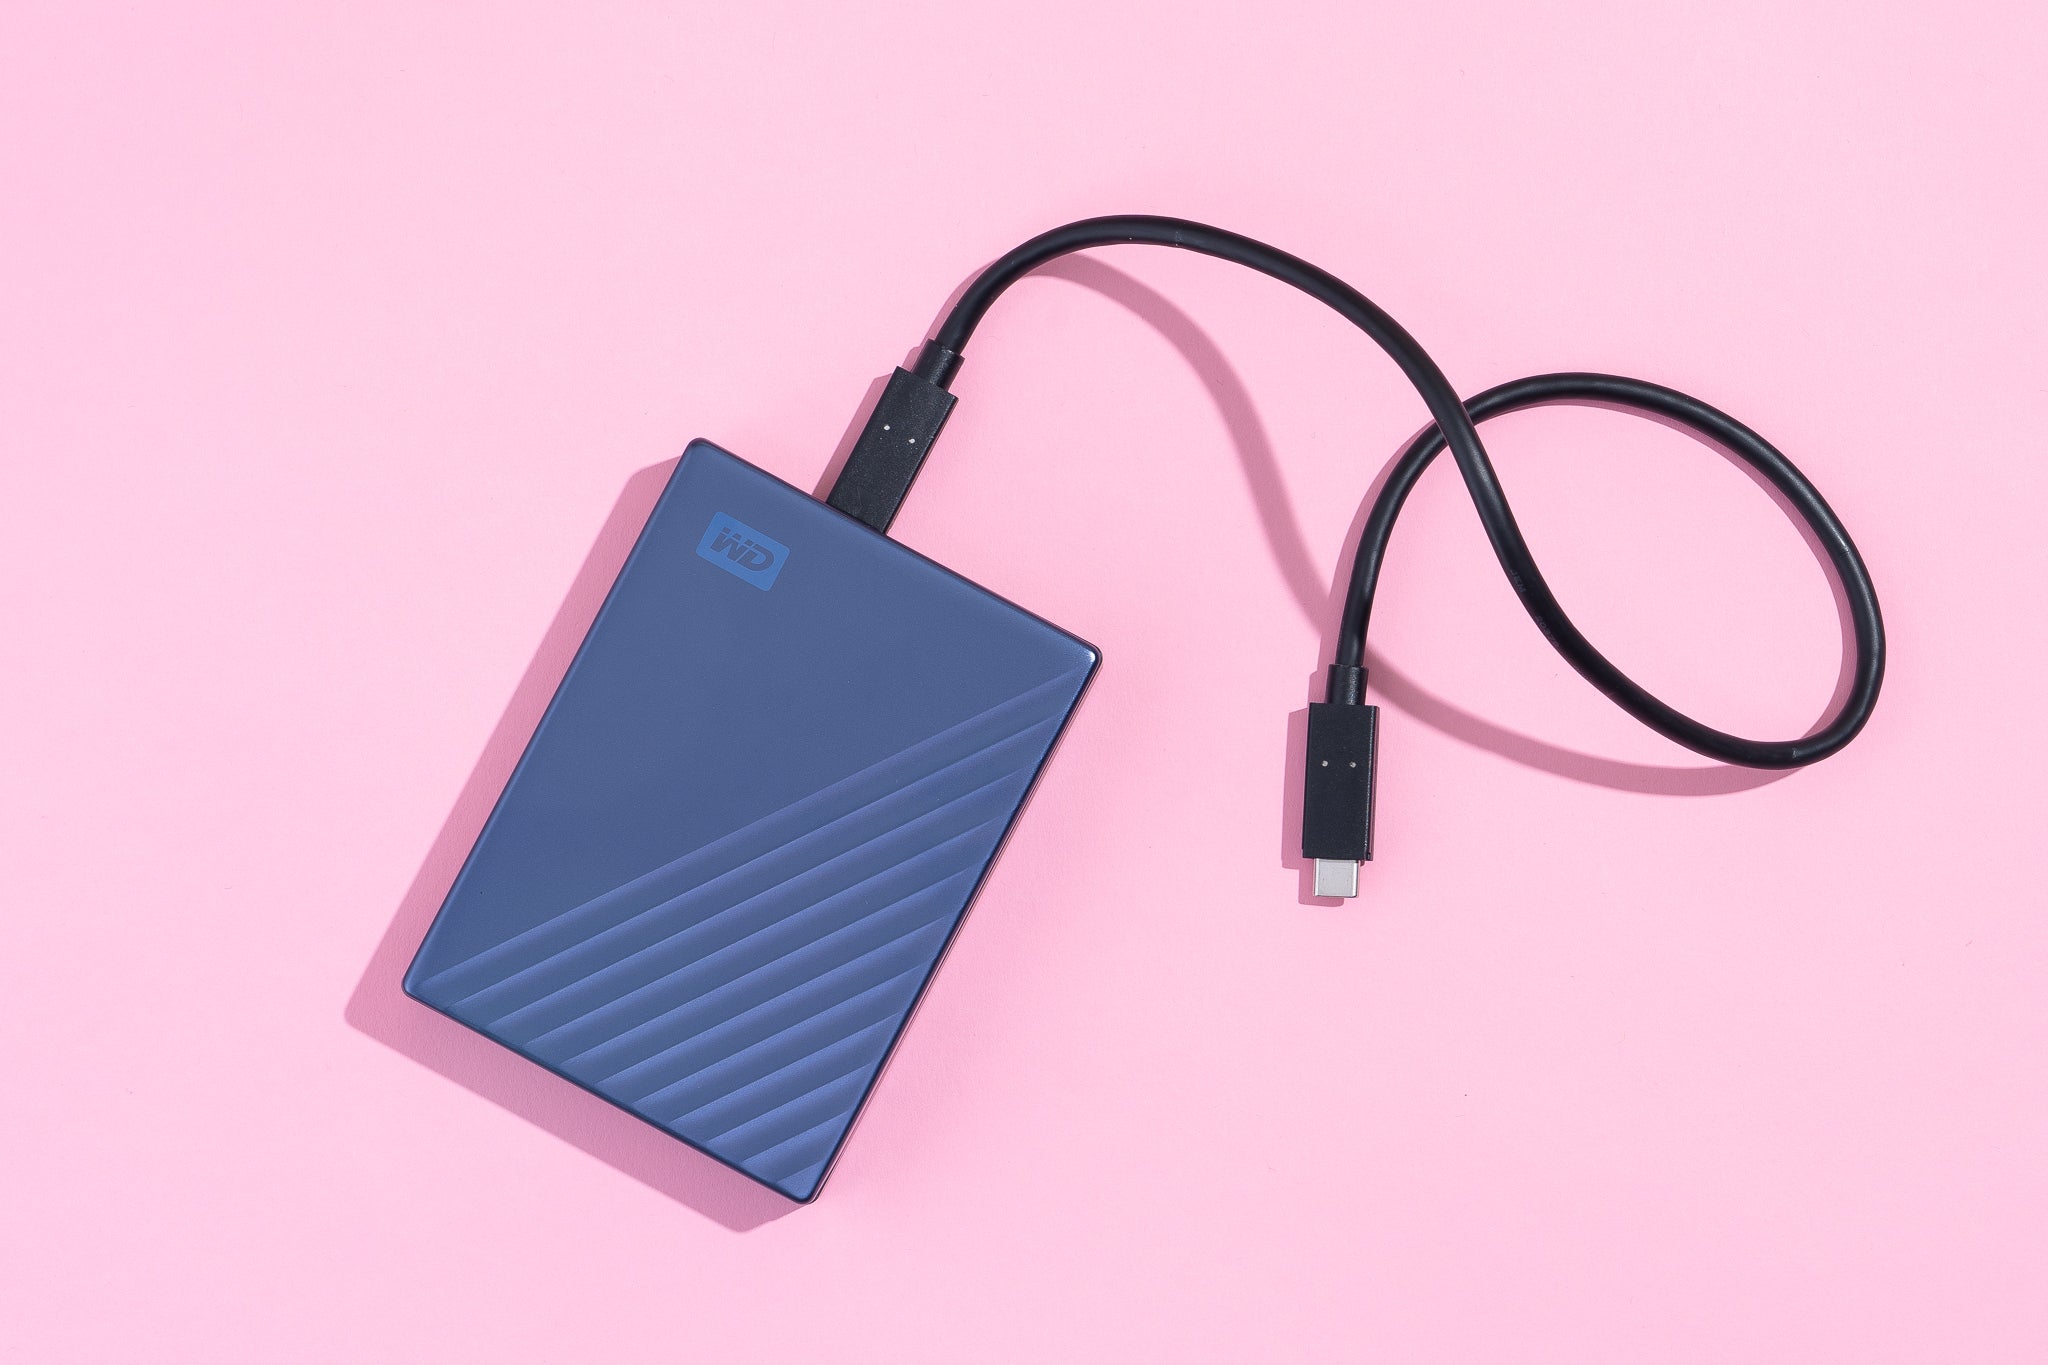
- Take the USB cable that came with your Toshiba external hard drive and plug one end into the port on your Mac.
- Take the other end of the USB cable and connect it to the USB port on your Toshiba external hard drive.
- Once the Toshiba external hard drive is connected, you should see it appear on your Mac’s desktop or in the Finder sidebar. It may take a few moments for your Mac to recognize the device.
That’s it! Your Toshiba external hard drive is now successfully connected to your Mac. In the next step, we will discuss how to format the Toshiba external hard drive to ensure compatibility with your Mac’s operating system.
Step 2: Formatting the Toshiba External Hard Drive for Mac
In order to use your Toshiba external hard drive on your Mac, it needs to be formatted to a compatible file system. Follow these steps to format your Toshiba external hard drive for Mac:
- Open the Finder on your Mac by clicking on the Finder icon in the Dock.
- Locate the Toshiba external hard drive in the Finder sidebar or on your desktop.
- Right-click (or Control-click) on the Toshiba external hard drive and select “Get Info” from the drop-down menu.
- In the Info window that appears, make sure you are on the “General” tab.
- Under the “Format” section, click on the drop-down menu and select “Mac OS Extended (Journaled)”. This is the recommended format for Mac users.
- Click on the “Erase” button located at the top of the Info window.
- A confirmation prompt will appear. Click on the “Erase” button to proceed with the formatting process.
- Wait for the formatting process to complete. This may take a few minutes, depending on the size of your Toshiba external hard drive.
- Once the formatting is done, you will see a notification indicating that the Toshiba external hard drive has been formatted successfully.
Your Toshiba external hard drive is now formatted to work seamlessly with your Mac. In the next step, we will discuss how to transfer files to the Toshiba external hard drive.
Step 3: Transferring Files to the Toshiba External Hard Drive
Now that your Toshiba external hard drive is properly connected and formatted for your Mac, you can start transferring files to it. Follow these steps to transfer your files:
- Open a new Finder window on your Mac by clicking on the Finder icon in the Dock.
- Locate the files or folders that you want to transfer to the Toshiba external hard drive.
- Select the files or folders by clicking on them while holding down the Command key. You can select multiple files or folders at once.
- With the files or folders selected, drag and drop them onto the Toshiba external hard drive icon in the Finder sidebar or on your desktop.
- The files or folders will start copying to the Toshiba external hard drive. Depending on the size and number of files, this process may take a few minutes.
- Once the copying process is complete, you can verify that the files are successfully transferred by navigating to the Toshiba external hard drive and checking if the files are present.
It’s important to note that while the files are being transferred, it’s best to avoid disconnecting the Toshiba external hard drive or shutting down your Mac to prevent any data loss or corruption.
With these simple steps, you can easily transfer your files to the Toshiba external hard drive and ensure that your important data is safely stored. In the next step, we will discuss how to safely eject the Toshiba external hard drive from your Mac.
Step 4: Safely Ejecting the Toshiba External Hard Drive from your Mac
Once you have finished using your Toshiba external hard drive on your Mac, it’s important to properly eject it to prevent any data loss or damage. Follow these steps to safely eject the Toshiba external hard drive:
- Make sure all file transfers or operations involving the Toshiba external hard drive are complete.
- Locate the Toshiba external hard drive icon on your desktop or in the Finder sidebar.
- Right-click (or Control-click) on the Toshiba external hard drive icon and select “Eject” from the drop-down menu.
- Wait for a few seconds until the Toshiba external hard drive icon disappears from your desktop or the Finder sidebar.
- You can now safely disconnect the USB cable from your Mac and the Toshiba external hard drive.
It’s important to always eject the Toshiba external hard drive before physically disconnecting it from your Mac. This ensures that all data has been written and cached properly, reducing the risk of data corruption or loss.
Remember, abruptly unplugging the Toshiba external hard drive without ejecting it first can lead to data corruption and may require time-consuming recovery processes.
By following these simple steps, you can safely disconnect your Toshiba external hard drive from your Mac without any issues. In the next step, we will discuss some common issues users may encounter and how to troubleshoot them.
Step 5: Troubleshooting Common Issues
While using a Toshiba external hard drive on your Mac is generally a smooth experience, you may encounter some common issues. Here are a few troubleshooting tips to help resolve these issues:
1. Toshiba External Hard Drive Not Recognized
If your Mac does not recognize the Toshiba external hard drive, try the following:
- Make sure the USB cable is securely connected to both the Toshiba external hard drive and your Mac.
- Try using a different USB port on your Mac to rule out any issues with the port.
- Restart your Mac and reconnect the Toshiba external hard drive.
2. Slow Transfer Speeds
If you notice that file transfers to or from the Toshiba external hard drive are slow, consider the following:
- Ensure that the USB cable you are using is compatible with USB 3.0 or higher for faster data transfer speeds.
- Check for any background processes or applications on your Mac that may be using excessive system resources.
- Consider freeing up space on your Toshiba external hard drive, as a nearly full drive can impact performance.
3. File System Compatibility
If you are encountering issues with file compatibility between your Mac and the Toshiba external hard drive, try the following:
- Ensure that the Toshiba external hard drive is formatted to a compatible file system for your Mac, such as Mac OS Extended (Journaled).
- If you need to transfer files between a Mac and a Windows computer, consider formatting the Toshiba external hard drive to exFAT, which is compatible with both operating systems.
If the above troubleshooting tips do not resolve your issues, it may be worth seeking further assistance from Toshiba support or consulting with an IT professional.
Congratulations! You have now successfully learned how to use your Toshiba external hard drive on your Mac. With the proper connection, formatting, file transfer, and ejection procedures in place, you can effectively utilize your Toshiba external hard drive for storage and backup purposes.
Conclusion
Using a Toshiba external hard drive on your Mac can greatly enhance your storage capabilities and provide a reliable backup solution for your important files. By following the steps outlined in this guide, you can seamlessly connect the Toshiba external hard drive to your Mac, format it for compatibility, transfer files, and safely eject it when necessary.
Remember to securely connect the Toshiba external hard drive to your Mac, ensuring that the USB cable is properly plugged in. Formatting the Toshiba external hard drive to a compatible file system, such as Mac OS Extended (Journaled), will optimize its performance on your Mac.
To transfer files to the Toshiba external hard drive, simply select and drag the files or folders from your Mac to the device. Once the transfer is complete, safely eject the Toshiba external hard drive before disconnecting it from your Mac.
In the event of any issues, refer to the troubleshooting tips provided in this guide. However, if you still encounter difficulties, it is advisable to seek assistance from Toshiba support or consult with a professional.
With your Toshiba external hard drive successfully set up on your Mac, you can enjoy the convenience of additional storage space and peace of mind knowing that your important files are securely backed up. Make the most out of your Toshiba external hard drive and leverage its capabilities for all your storage needs.


