Introduction
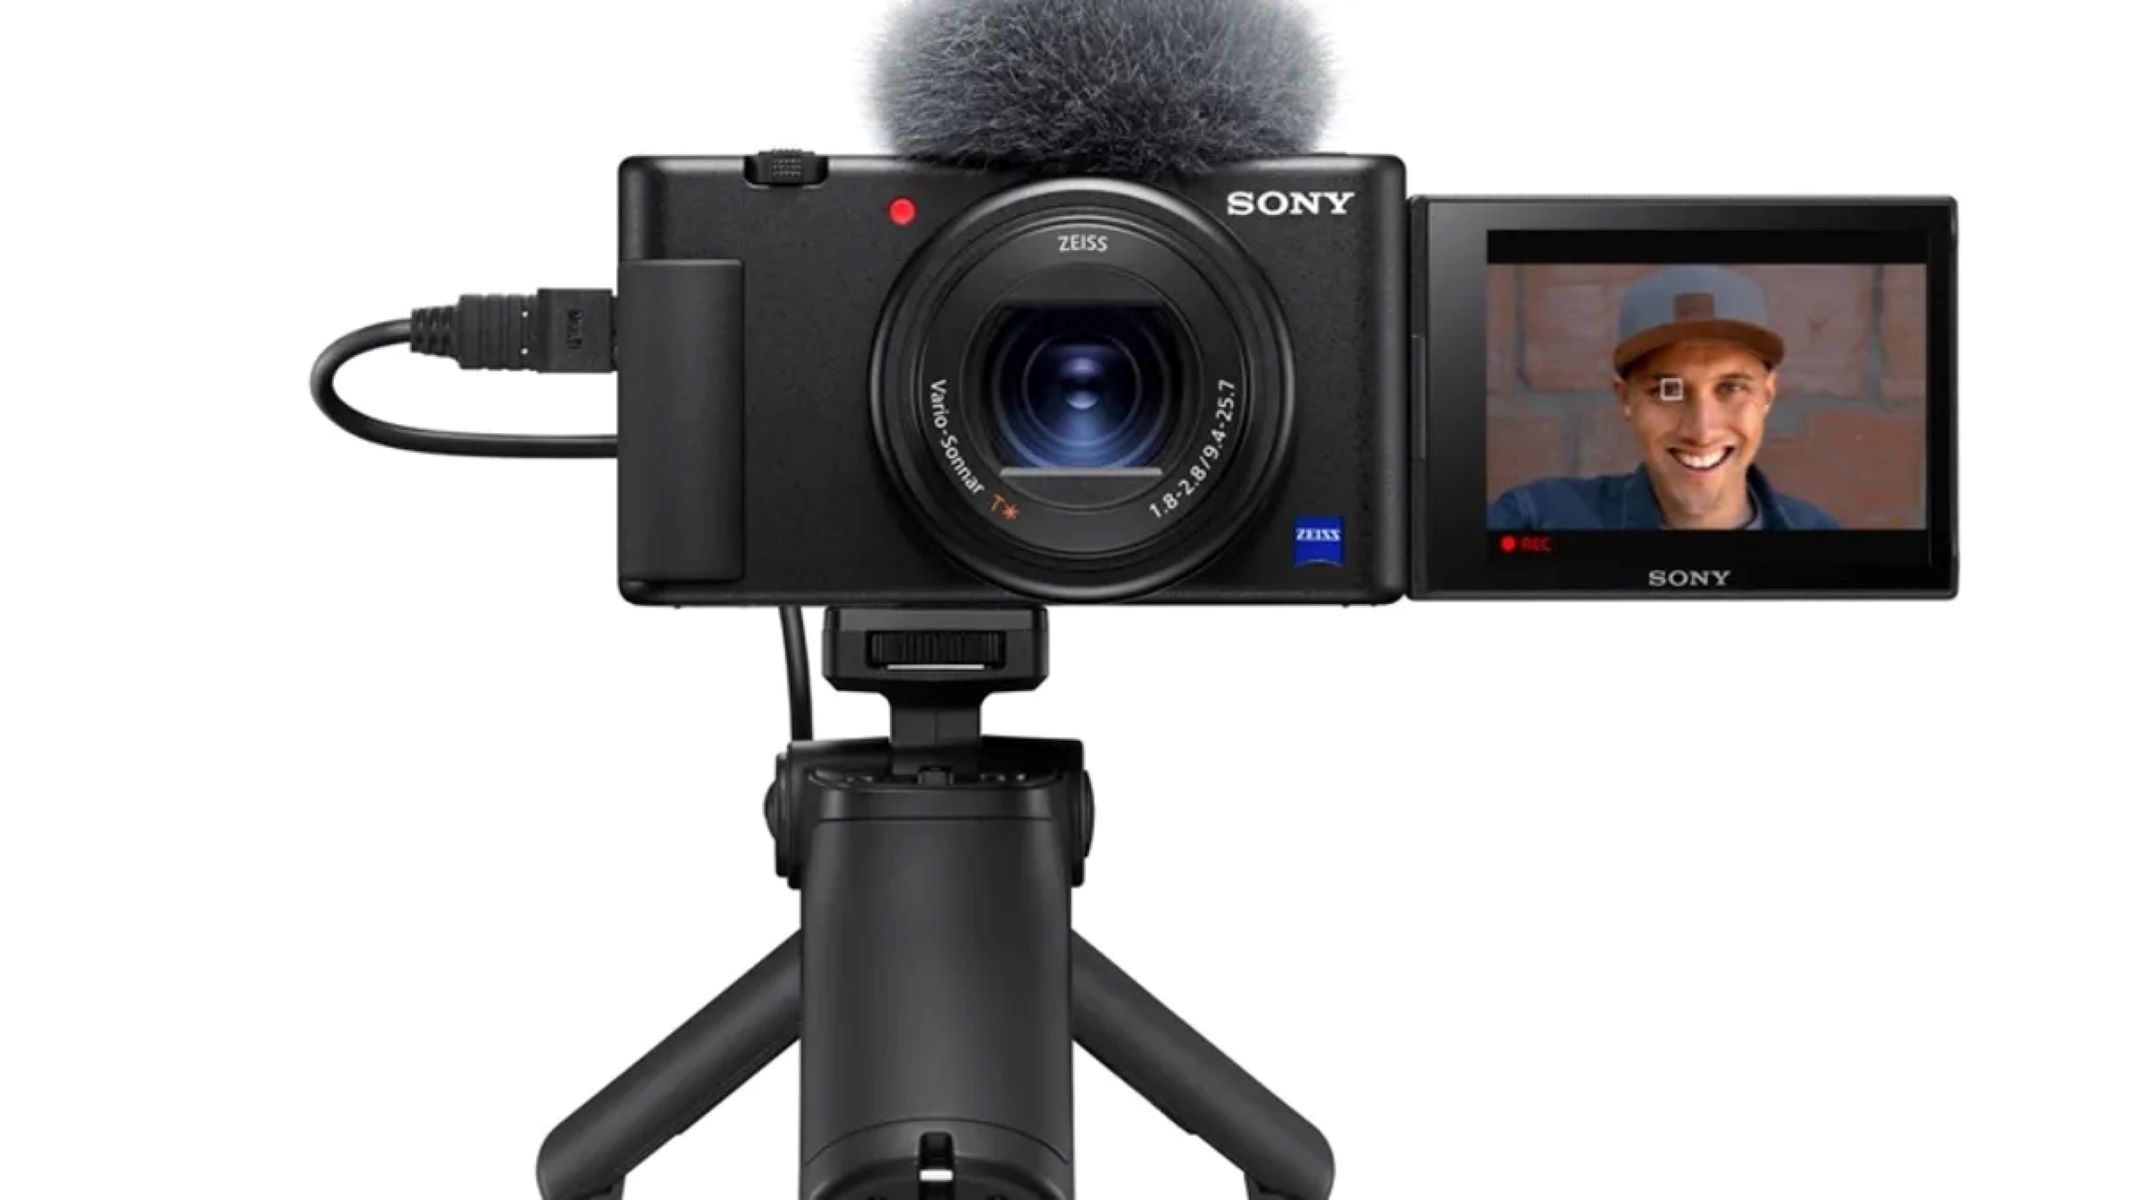
As video conferencing becomes the new norm for work meetings, online classes, and staying in touch with loved ones, having a high-quality webcam is essential. While many laptops come with built-in webcams, they often lack the resolution and image quality needed for professional use. That’s where the Sony ZV-1 comes in. Originally designed as a compact vlogging camera, the Sony ZV-1 can also be used as a webcam, providing crystal-clear video and excellent audio for all your online communication needs.
In this guide, we will walk you through the steps of using your Sony ZV-1 as a webcam, so you can elevate your video conferencing experience. Whether you’re a professional who needs to make a great impression during virtual meetings or a student attending online classes, the Sony ZV-1 can help you look and sound your best.
Before we get started, please ensure that you have the necessary requirements for using your Sony ZV-1 as a webcam:
- A Sony ZV-1 camera
- A compatible USB cable
- A computer running Windows or macOS
- The Sony Imaging Edge Webcam software (available for download from the official Sony website)
- A video conferencing software (such as Zoom, Microsoft Teams, or Google Meet)
With these requirements in place, let’s dive into the step-by-step process of setting up and using your Sony ZV-1 as a webcam.
Requirements
Before you can start using your Sony ZV-1 as a webcam, there are a few essential requirements that you need to meet:
- Sony ZV-1 camera: The first and most obvious requirement is the Sony ZV-1 camera itself. You need to have this camera in order to utilize its webcam functionality.
- Compatible USB cable: In order to connect your Sony ZV-1 camera to your computer, you will need a compatible USB cable. Make sure you have the proper cable that fits both your camera and computer’s USB ports.
- Computer running Windows or macOS: The Sony Imaging Edge Webcam software, which allows you to use your Sony ZV-1 as a webcam, is compatible with both Windows and macOS operating systems. Ensure that your computer meets the system requirements for running this software.
- Sony Imaging Edge Webcam software: To utilize the webcam functionality of your Sony ZV-1, you will need to download and install the Sony Imaging Edge Webcam software. You can find this software on the official Sony website, available for both Windows and macOS.
- Video conferencing software: Lastly, you will need video conferencing software installed on your computer. Popular options include Zoom, Microsoft Teams, Google Meet, and Skype. Ensure that you have the software of your choice installed and set up on your computer.
By meeting these requirements, you will have everything you need to transform your Sony ZV-1 camera into a high-quality webcam. The next steps will guide you through the process of setting up the camera and configuring the necessary settings to use it for video conferencing and other online communication.
Step 1: Camera Setup
Before using your Sony ZV-1 as a webcam, you need to set up the camera properly. Follow these steps to ensure your camera is ready to be used as a webcam:
- Make sure your Sony ZV-1 camera is charged or connected to a power source to avoid any issues during longer video calls.
- Insert a fully formatted and compatible memory card into your camera to allow for continuous recording and minimize storage limitations.
- Set your camera to the “Movie” mode by turning the mode dial to the corresponding setting. This will ensure the camera captures video instead of still images.
- Adjust the camera settings according to your preferences. You can modify settings such as resolution, white balance, and picture profile to achieve the desired video quality.
- To optimize audio quality during your video calls, attach an external microphone to your Sony ZV-1. This can be done by connecting it to the microphone input jack on the camera’s side panel.
Once you have completed these camera setup steps, your Sony ZV-1 is ready to be connected to your computer and used as a webcam. Proceed to the next step for instructions on installing the necessary software.
Step 2: Install Sony Imaging Edge Webcam
In order to use your Sony ZV-1 as a webcam, you need to install the Sony Imaging Edge Webcam software on your computer. Follow these steps to install the software:
- Visit the official Sony website and navigate to the support section.
- Search for the Sony Imaging Edge Webcam software and locate the download page.
- Choose the appropriate software version for your operating system (Windows or macOS) and click on the download link.
- Once the software download is complete, locate the downloaded file on your computer and run the installer.
- Follow the on-screen instructions to complete the installation process. Accept any terms and conditions if prompted.
- After the installation is finished, launch the Sony Imaging Edge Webcam software.
- Connect your Sony ZV-1 camera to your computer using the compatible USB cable.
By following these steps, you will have successfully installed the Sony Imaging Edge Webcam software and prepared your computer to recognize your Sony ZV-1 camera as a webcam. Now, you can proceed to the next step to establish the connection between your camera and computer.
Step 3: Connect Camera to Computer
To use your Sony ZV-1 as a webcam, you need to establish a connection between your camera and your computer. Follow these steps to connect your camera to your computer:
- Ensure that your Sony ZV-1 camera is turned off.
- Take the compatible USB cable and connect one end to the USB port on your Sony ZV-1 camera.
- Connect the other end of the USB cable to a free USB port on your computer.
- Once the camera is connected, you can turn it on by switching the power button to the ON position.
- Your computer should recognize the connected camera and automatically detect it as a webcam device.
Note that some computers may require you to install additional drivers or perform system updates to ensure proper recognition of the camera. Refer to your computer’s user manual or the manufacturer’s website for specific instructions.
With the camera successfully connected to your computer, you can now move on to the next step to configure the camera settings for optimal video conferencing performance.
Step 4: Configure Camera Settings
Once your Sony ZV-1 camera is connected to your computer, it’s time to configure the camera settings to ensure optimal performance as a webcam. Follow these steps to configure the settings:
- Open the Sony Imaging Edge Webcam software on your computer.
- In the software interface, you should see options to adjust camera settings. Click on the settings icon or navigate to the settings tab.
- Within the settings, you can adjust various parameters such as resolution, frame rate, autofocus settings, exposure, and image quality. Experiment with these settings to find the best combination for your needs.
- Ensure that the camera is set to the correct audio input source if you are using an external microphone.
- Take some time to familiarize yourself with the software preferences and customize them according to your preferences.
- Once you have configured the settings, you can exit the settings menu and proceed to the next step.
It’s important to note that the specific settings and their availability may vary depending on your camera model and the software version you are using. Refer to the software’s user manual or the Sony support website for detailed instructions and troubleshooting tips.
Once you have completed the configuration of the camera settings, you are ready to optimize the audio settings for clear and crisp sound during your video conferences. Move on to the next step for guidance on adjusting the audio settings.
Step 5: Adjust Audio Settings
In addition to ensuring high-quality video, adjusting the audio settings is crucial for optimal communication during your video conferences. Follow these steps to adjust the audio settings for your Sony ZV-1 webcam:
- Launch your preferred video conferencing software (e.g., Zoom, Microsoft Teams, Google Meet).
- Navigate to the audio settings within the video conferencing software. This may be under the general settings or preferences section.
- Locate the audio input settings and select your Sony ZV-1 camera as the preferred audio source. This will ensure that the audio captured by the camera’s built-in microphone or an external microphone is used for your conferences.
- Adjust the volume and microphone sensitivity levels based on your preferences and the environment you are in. Consider using headphones to prevent audio feedback or echo during the call.
- Test the audio settings by speaking into the camera or external microphone and adjusting the levels if necessary. Ensure that the sound quality is clear and free from distortion or background noise.
- Save the audio settings and close the settings window.
Remember, using an external microphone can significantly improve the audio quality of your video conferences. If you’re using one, make sure it is properly connected to the camera and configured in the camera settings as well as the video conferencing software.
With the audio settings adjusted, you are now ready to set up your preferred video conferencing software to start using your Sony ZV-1 as a professional-grade webcam. Continue to the next step for instructions on setting up the video conferencing software.
Step 6: Set Up Video Conferencing Software
Now that your Sony ZV-1 camera is ready to be used as a webcam and you have adjusted the audio settings, it’s time to set up your preferred video conferencing software. Follow these steps to configure the software:
- Launch the video conferencing software of your choice (e.g., Zoom, Microsoft Teams, Google Meet).
- Navigate to the settings or preferences section within the software.
- Select the audio and video settings.
- Choose the Sony ZV-1 as the preferred video input device. It should be recognized as a camera option in the software.
- Verify that the audio input is set to the correct source (the built-in microphone or an external microphone connected to the camera).
- Configure additional settings according to your preferences, such as video resolution, meeting controls, and screen sharing options.
- Join a test meeting or make a test call to ensure that your camera and audio settings are working as expected.
- Make any necessary adjustments to the video and audio settings within the software until you are satisfied with the quality.
Keep in mind that each video conferencing software may have different steps for setting up the camera and audio. Refer to the software’s user manual or online help resources for specific instructions tailored to your chosen platform.
Once you have completed the setup of your video conferencing software, you are ready to put your Sony ZV-1 camera to use and start enjoying professional-quality video calls. Proceed to the next step for a final test of your webcam setup.
Step 7: Test the Webcam
Before you start your important video conference or online meeting, it’s crucial to test your Sony ZV-1 webcam setup to ensure everything is working smoothly. Follow these steps to perform a quick test:
- Open your video conferencing software (e.g., Zoom, Microsoft Teams, Google Meet).
- Start a new meeting or join a test meeting specifically created for testing purposes.
- In the video settings of the software, select the Sony ZV-1 camera as the active video source.
- Check the video feed to ensure that your camera is displaying the desired image and the quality is meeting your expectations.
- Speak into the microphone or external microphone connected to your Sony ZV-1 to test the audio quality. Verify that the sound is clear and audible without any issues.
- Adjust the camera angle, lighting, and other settings if needed to enhance the overall video and audio quality.
- Ask a friend or colleague to join the meeting with you to perform a test call. This will give you an opportunity to get feedback on both video and audio performance.
- Make any necessary adjustments based on the feedback to further optimize your webcam setup.
By testing your Sony ZV-1 webcam, you can identify and resolve any potential issues before your important video conferences or online meetings. Double-check that your video feed and audio are functioning as expected to ensure a seamless and professional communication experience.
Congratulations! You have successfully set up and tested your Sony ZV-1 as a webcam. Now you can confidently use it for all your video conferencing needs, displaying high-quality video and clear audio during your online interactions.
Conclusion
Using the Sony ZV-1 as a webcam allows you to elevate your video conferencing experience to a whole new level. With its exceptional video quality, versatile features, and easy setup process, you can enjoy professional-grade video calls and online meetings.
In this guide, we covered the step-by-step process to set up your Sony ZV-1 as a webcam, from the initial camera setup to configuring the necessary settings. We also provided instructions on installing the Sony Imaging Edge Webcam software and connecting your camera to your computer. Additionally, we explored how to adjust the camera and audio settings, set up video conferencing software, and perform a thorough test to ensure optimal performance.
Having a high-quality webcam like the Sony ZV-1 not only improves the visual aspect of your video calls but also enhances the overall communication experience. Whether you are attending virtual meetings, teaching online classes, or staying connected with loved ones, using the Sony ZV-1 allows you to present yourself in the best possible light.
Remember to keep your camera firmware and software up to date by regularly checking for updates on the Sony support website. This ensures that you benefit from the latest improvements and features available.
Now that you have successfully set up your Sony ZV-1 as a webcam, it’s time to enjoy the benefits of high-quality video and audio during your video conferences. Embrace the power of this versatile camera and make a lasting impression with your professional appearance and clear communication.