Introduction
Welcome to our guide on how to use Afterpay on Nike, one of the most popular online retailers for athletic footwear and apparel. Afterpay is a convenient payment option that allows you to purchase products now and pay for them in installments, making it easier to get your hands on your favorite Nike products without breaking the bank.
With Afterpay, you can shop for the latest sneakers, clothing, and accessories on Nike’s website and split the cost into four equal payments, which are due every two weeks. This flexible payment plan gives you the freedom to enjoy your Nike purchases right away, while spreading out the cost over a period of time that suits your budget.
In this guide, we will walk you through the step-by-step process of using Afterpay on Nike. Whether you’re a sneakerhead looking to add the latest releases to your collection or a fitness enthusiast in need of new workout gear, Afterpay can help make your Nike shopping experience more affordable and accessible.
We’ll cover everything from creating an Afterpay account to completing the payment process, so you can start enjoying your Nike products in no time. By the end of this guide, you’ll have all the information you need to take advantage of Afterpay on Nike and make your shopping experience a breeze.
So, if you’re ready to shop for your favorite Nike items and pay for them in installments, let’s dive into the step-by-step process of using Afterpay on the Nike website.
Step 1: Creating an Afterpay Account
The first step in using Afterpay on Nike is to create an Afterpay account. If you don’t already have one, don’t worry – the process is quick and easy. Here’s how to get started:
- Visit the Afterpay website or download the Afterpay app from the App Store or Google Play Store.
- Click on the “Sign Up” or “Create Account” button to begin the registration process.
- Fill out the required information, including your email address, password, and personal details.
- Agree to the Afterpay terms and conditions, privacy policy, and consent to receiving communications from Afterpay.
- Verify your email address by clicking on the verification link sent to your inbox.
- Once your email is verified, your Afterpay account will be created and ready to use.
It’s important to note that creating an Afterpay account does not require a credit check, and there are no fees or interest charged if you make payments on time. However, it’s essential to read and understand Afterpay’s terms and conditions to ensure you’re aware of any potential fees or late payment penalties.
Now that you have your Afterpay account set up, you’re ready to start shopping for Nike products and take advantage of the convenient payment option. In the next step, we’ll guide you through adding Nike products to your cart.
Step 2: Adding Nike Products to Your Cart
Now that you have your Afterpay account set up, it’s time to start browsing and adding Nike products to your cart. Whether you’re looking for the latest sneakers, athletic apparel, or accessories, Nike offers a wide range of options to suit your style and needs. Here’s how to add items to your cart:
- Visit the Nike website and browse through their extensive collection of products. You can use the search bar or navigate through different categories to find what you’re looking for.
- Click on the desired product to view more details, including available sizes, colors, and product specifications.
- Once you’ve found the item you want to purchase, select the appropriate size and quantity, and click on the “Add to Cart” button.
- A confirmation message will appear, indicating that the item has been added to your cart. You can continue shopping and adding more items or proceed to checkout.
- If you want to remove an item from your cart, simply click on the “Remove” or “X” icon next to the product.
While adding items to your cart, keep in mind that Afterpay is only available for purchases within a specific price range. The eligible purchase amount may vary depending on your Afterpay account and other factors. Make sure to check the Afterpay terms and conditions for detailed information on eligible transactions.
Once you have added all the desired Nike products to your cart, you’re ready to move on to the next step: selecting Afterpay as the payment option. We’ll guide you through this process in the next section.
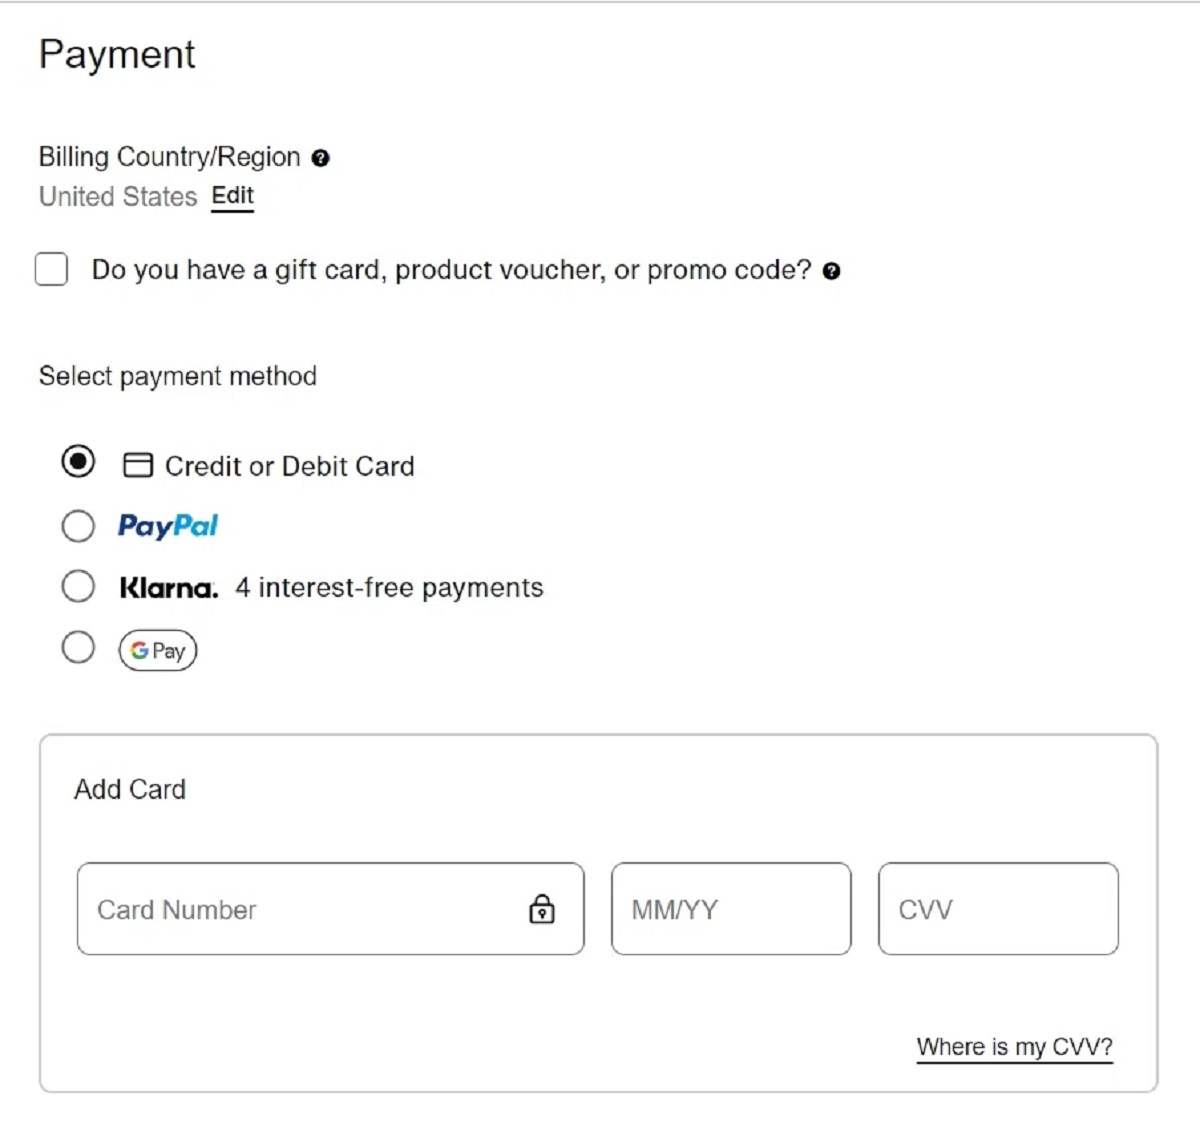
Step 3: Selecting Afterpay as the Payment Option
After adding all your desired Nike products to your cart, it’s time to proceed to the checkout process. During checkout, you’ll have the option to select Afterpay as your preferred payment method. Here’s how to do it:
- Click on the shopping cart icon or “Checkout” button to begin the checkout process.
- Review the items in your cart to ensure everything is correct. You can make any necessary changes, such as updating quantities or removing items.
- On the checkout page, you’ll see a list of available payment options. Look for the Afterpay logo or the option to “Pay with Afterpay.”
- Click on the Afterpay payment option to select it as your preferred method.
- If prompted, log in to your Afterpay account using your registered email address and password.
- After logging in, you’ll be redirected back to the Nike checkout page, where you can review your order and shipping details.
- Click on the “Complete Purchase” or “Place Order” button to proceed.
By selecting Afterpay as your payment option, you are committing to making the necessary installment payments over time. It’s important to ensure that you have the funds available in your nominated bank account or on your Afterpay virtual card to cover the first payment.
Once you’ve completed these steps, you’re ready to move on to the next portion of the payment process: applying for an Afterpay virtual card. We’ll guide you through this step in the next section.
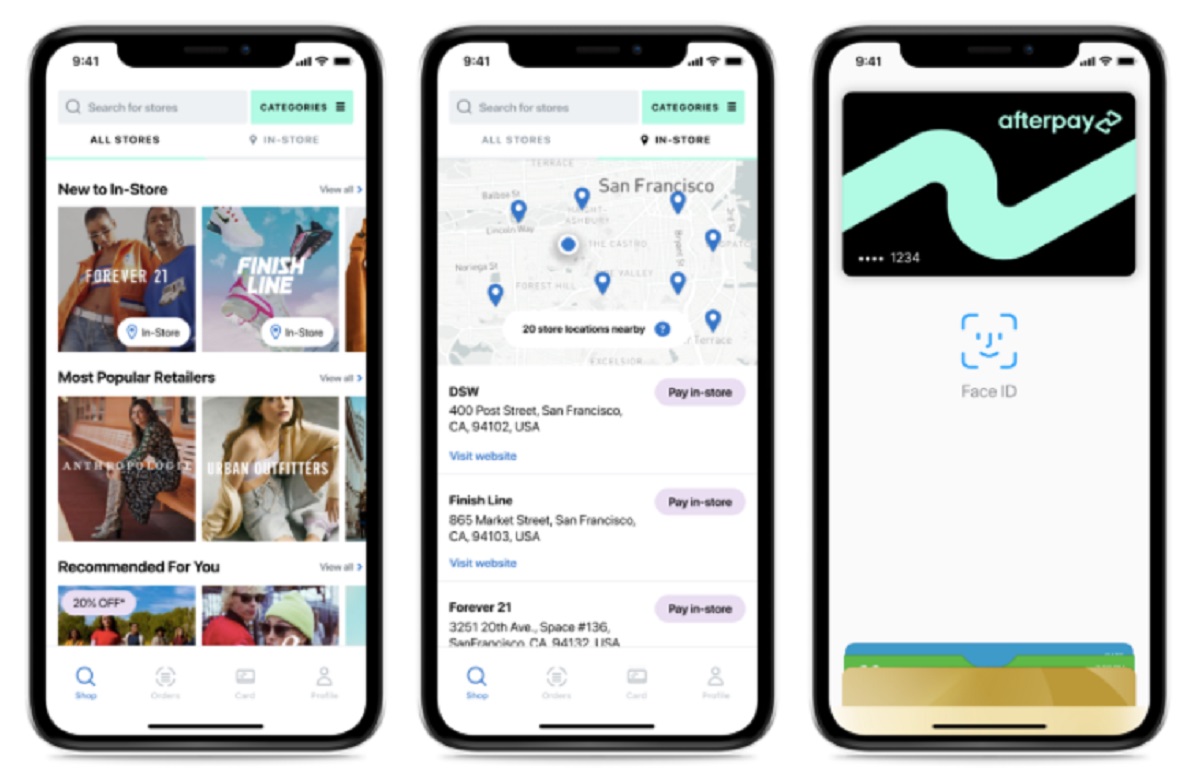
Step 4: Applying for an Afterpay Virtual Card
After selecting Afterpay as your payment option during the checkout process, you may be prompted to apply for an Afterpay virtual card. The virtual card acts as a payment method for your Afterpay transactions. Here’s how to apply for an Afterpay virtual card:
- If you’re prompted to apply for an Afterpay virtual card, click on the option to apply.
- Follow the on-screen instructions to complete the application process. You may be required to provide additional personal information, such as your full name, date of birth, and social security number.
- Once you’ve submitted your application, Afterpay will review it and determine your eligibility for a virtual card.
- If your application is approved, you’ll receive a virtual card number, expiration date, and security code.
- Make sure to save or make note of this information as you’ll need it for future purchases.
Applying for an Afterpay virtual card is usually a quick and straightforward process. However, it’s important to note that approval is not guaranteed, as it is subject to Afterpay’s discretion and assessment of your eligibility.
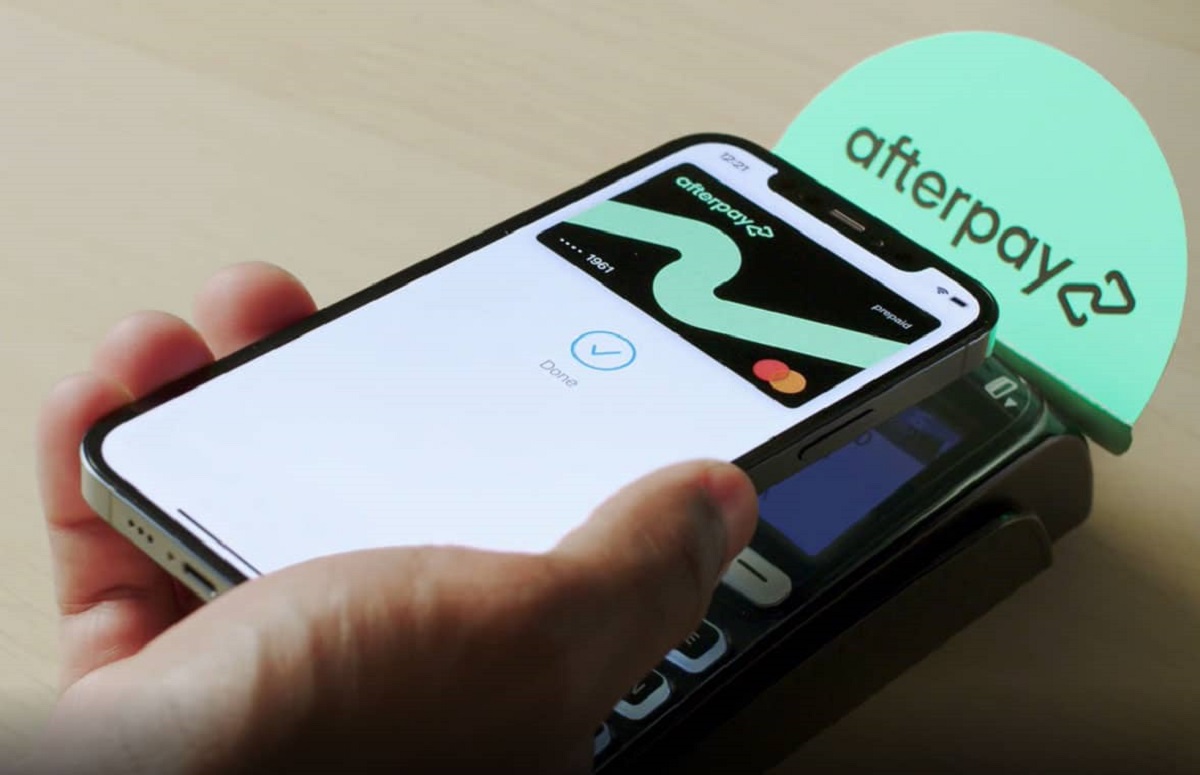
Once you have your Afterpay virtual card details, you can use it for future transactions on Nike or any other retailer that accepts Afterpay. The virtual card allows you to make installment payments for your purchases, which are automatically deducted from your nominated bank account or card.
With the virtual card in hand, you’re almost ready to complete your payment and finalize your Nike purchase. In the next and final step, we’ll guide you through the process of completing the payment and confirming your order.
Step 5: Completing the Payment Process
After applying for an Afterpay virtual card and receiving your card details, you’re now ready to complete the payment process and finalize your Nike purchase. Follow these steps to complete the payment:
- On the checkout page, review your order details, including the total amount due and any applicable taxes or shipping fees.
- Ensure that the shipping address is accurate and up to date. If necessary, you can edit the shipping address before proceeding.
- Enter your Afterpay virtual card details, including the card number, expiration date, and security code, in the designated fields.
- Double-check that the card details are correct and click on the “Submit” or “Place Order” button to proceed with the payment.
- After submitting your payment, you’ll receive a confirmation message indicating that your order has been successfully placed. You may also receive an email confirmation with the order details.
It’s important to ensure that you have sufficient funds in your nominated bank account or card linked to your Afterpay virtual card to cover the first installment payment. Failure to do so may result in additional fees or late payment penalties.
Once the payment process is complete, you can sit back and relax! Your Nike order will be processed and shipped to the specified address. You can track the status of your order through the Nike website or contact their customer support for any inquiries regarding your purchase.
Remember, it’s important to make timely payments for your Afterpay installments to avoid any penalties or fees. Afterpay will automatically deduct the subsequent installment payments from your nominated bank account or card at regular intervals, as specified in the payment schedule.
Congratulations! You’ve successfully completed the payment process and secured your Nike items using Afterpay. Now you can enjoy your new athletic sneakers, sportswear, or accessories, all while benefiting from the convenience and flexibility of Afterpay’s payment system.
It’s time to elevate your style and performance with the quality and innovation that Nike offers, without the burden of a lump sum payment. Happy shopping!
Conclusion
Using Afterpay on Nike is a great way to shop for your favorite athletic footwear and apparel while managing your budget effectively. With the ability to split your payments into four equal installments, you can enjoy your Nike products right away without the need to pay the full amount upfront.
In this guide, we’ve walked you through the step-by-step process of using Afterpay on Nike. From creating an Afterpay account to completing the payment process, we’ve covered all the necessary steps to make your Nike shopping experience more affordable and convenient.
Remember to familiarize yourself with Afterpay’s terms and conditions, as well as the eligibility criteria for using Afterpay. It’s essential to make timely payments to avoid any penalties or fees associated with late payments.
Now that you have the knowledge and tools to make use of Afterpay on Nike, it’s time to start browsing and adding your favorite Nike products to your cart. Enjoy the freedom to pay in installments and make your Nike shopping experience seamless and budget-friendly.
So, why wait? Get started with Afterpay on Nike today and elevate your style and performance with the iconic and innovative products Nike has to offer.