Introduction
Have you ever wanted to create stunning artwork by tracing your favorite images? If so, using a projector can be a game-changer. Projectors allow you to enlarge and project an image onto a surface, making it easier to trace and replicate. Whether you’re an artist looking to add details to your sketches or someone who enjoys creative hobbies, using a projector to trace art can take your creations to the next level.
Tracing with a projector not only saves time but also ensures accuracy and precision in your artwork. It allows you to reproduce intricate details, perfect proportions, and complex designs with ease. Plus, it opens up a world of possibilities by letting you trace different types of art, including drawings, photographs, and even hand-lettering. This technique is not only suitable for professionals but also beginners who want to enhance their artistic skills.
In this article, we will guide you through the process of using a projector to trace art. We will cover everything from choosing the right projector to the final touches on your traced artwork. So, let’s dive in and discover how you can unleash your creativity and bring your art to life using a projector.
Choosing the Right Projector
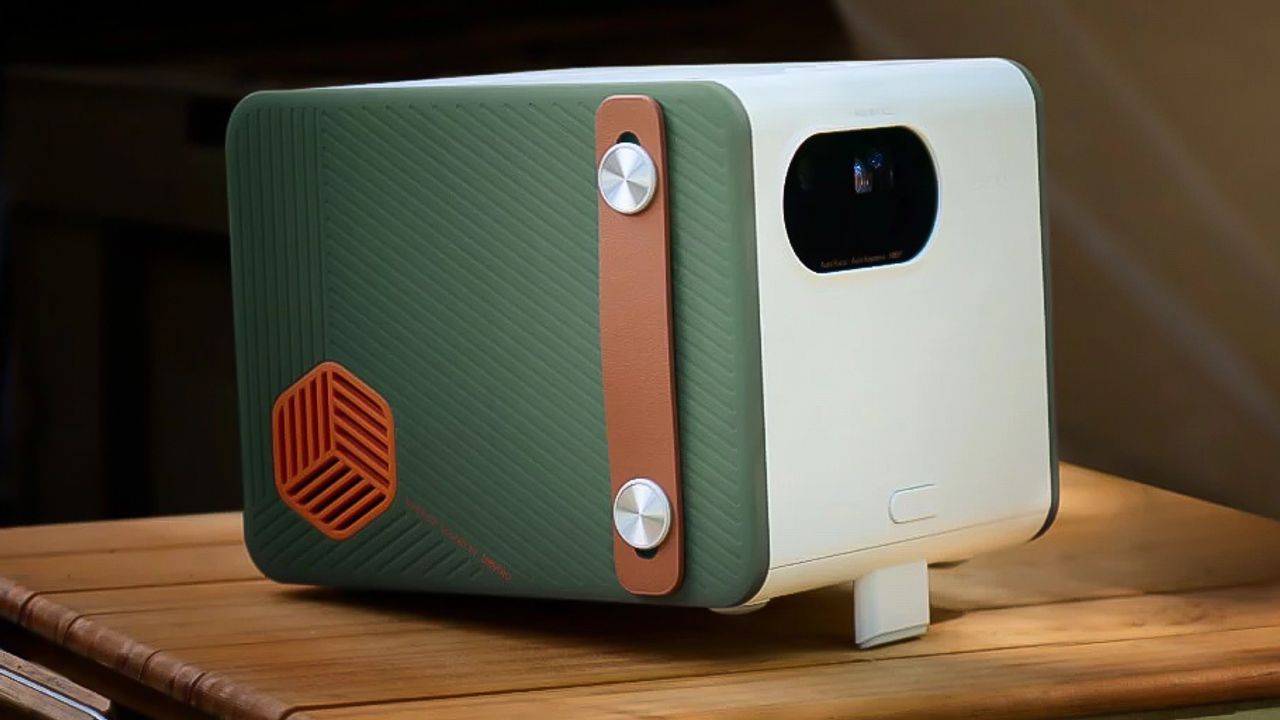
When it comes to using a projector for tracing artwork, selecting the right one is crucial. Here are some factors to consider when choosing a projector:
- Projection Quality: Look for a projector with high resolution and brightness to ensure clear and vibrant projections. This will help you accurately trace the details of your artwork.
- Size and Portability: Consider the size and weight of the projector, especially if you plan on using it for outdoor or on-the-go art projects. A compact and lightweight projector will be more convenient to carry.
- Connectivity Options: Check for projectors that offer multiple connectivity options such as HDMI, USB, or wireless connections. This will allow you to easily connect your devices and project your artwork.
- Adjustability: Look for a projector that offers adjustable focus, zoom, and keystone correction features. These adjustments will help you position and align the projected image correctly for tracing.
- Budget: Set a budget range before purchasing a projector. Consider your requirements and choose one that provides the necessary features within your budget.
Additionally, it can be helpful to read customer reviews and compare different projector models before making a final decision. This way, you can gather insights from other artists and users who have already tested and reviewed the projectors you are interested in.
Remember, the right projector for tracing art will depend on your specific needs and preferences. By considering these factors and doing thorough research, you can find a projector that will enhance your tracing experience and elevate your artwork.
Setting Up the Projector
Now that you have chosen the perfect projector for tracing art, it’s time to set it up for an optimal experience. Follow these steps to ensure a smooth setup:
- Choose a Stable Surface: Find a stable surface, such as a table or easel, to place the projector on. Make sure it’s sturdy enough to hold the weight of the projector and will remain stable during your tracing process.
- Position the Projector: Position the projector at a suitable distance from the surface where you want to project your artwork. This distance may vary depending on the desired size of the projected image. Experiment with different distances to achieve the desired result.
- Secure the Projection Surface: Ensure that the surface where you’ll project the image onto, whether it’s a canvas, paper, or other material, is securely fixed in place. This will prevent any movement or shifting during the tracing process.
- Connect the Power: Plug in the projector to a power source using the provided power cable. Make sure the power source is easily accessible and provides a stable supply of electricity.
- Connect Your Device: Depending on the type of projector you have, connect your device (such as a laptop, smartphone, or tablet) to the projector using the appropriate cable or wireless connection. This will allow you to project your desired image onto the surface.
- Adjust Projection Settings: Once your device is connected, navigate to the projector’s settings menu or the settings on your device. Adjust the projection settings such as brightness, contrast, and image orientation to achieve the desired projection quality.
Take your time to properly set up the projector and ensure that everything is secure and in the correct position. If needed, refer to the user manual that came with your projector for more specific instructions on setup.
With the projector successfully set up, you’re now ready to move on to the next steps of preparing your artwork and starting the tracing process.
Preparing Your Artwork
Before you begin tracing with the projector, it’s essential to properly prepare your artwork. Follow these steps to get your artwork ready for projection:
- Choose Your Image: Select the image you want to trace and ensure it is in a digital format that can be easily projected. You can use your own hand-drawn sketches, photographs, or even downloaded images.
- Edit and Adjust the Image: If necessary, use image editing software to make any desired adjustments to the image. This can include resizing, cropping, or enhancing the image to ensure it’s well-suited for projection and tracing.
- Create a Printable Version: Once your image is edited, print it out on a regular printer using high-quality paper. Make sure the print is clear, sharp, and accurately represents your desired image.
- Secure the Artwork: Secure your printed artwork onto a flat surface using tape or clips. Ensure that it is securely positioned and will stay in place during the tracing process.
- Consider Tracing Layers: If your artwork has multiple layers or elements that need to be traced separately, consider printing each layer individually. This will allow you to easily trace each component without any confusion.
Taking the time to properly prepare your artwork will ensure a clean and accurate tracing process. Remember to have multiple copies of your original artwork in case you need to start over or make adjustments during the tracing process.
Once your artwork is prepared, and the projector is set up, you’re ready to move on to the next steps of positioning the projector and adjusting its settings to achieve the desired tracing outcome.
Positioning the Projector
Now that your artwork is prepared, it’s time to position the projector for optimal projection and tracing. Follow these steps to ensure the projector is correctly positioned:
- Distance and Size: Determine the desired size of the projected image on your working surface. Measure the distance between the projector and the surface, and adjust it accordingly to achieve the desired size. Keep in mind that the further the projector is from the surface, the larger the image will be.
- Angle and Alignment: Position the projector directly facing the surface you will be tracing onto. Make sure the projector is parallel to the surface to prevent any distortion in the projected image. It’s often helpful to use a small level to check and ensure that the projector is level and aligned properly.
- Elevation and Stability: Adjust the height of the projector so that the projected image is centered on the surface. Ensure that the projector is stable and securely positioned to avoid any unintentional movement or tilting during the tracing process.
- Avoid Shadows: Check for any shadows that may be cast by the projector or your hand while tracing. Adjust the positioning or angle of the projector, along with the lighting in the room, to minimize shadows and maintain a clear view of the projected image.
Take the time to experiment with different positions and angles to achieve the best results. Consider using a tripod or mounting bracket to securely hold the projector in the desired position, especially if you plan on tracing for extended periods of time.
Once the projector is properly positioned, you’re ready to move on to the next step of adjusting the projector settings to ensure a clear and accurate projection of your artwork.
Adjusting the Projector Settings
After positioning the projector, it’s essential to adjust the settings to ensure a clear and accurate projection. Follow these steps to make the necessary adjustments:
- Brightness and Contrast: Adjust the brightness and contrast settings on the projector to achieve a balanced and well-illuminated projection. This will help you see the details of your artwork clearly while tracing.
- Focus: Use the focus adjustment on the projector to ensure a sharp and clear projection. Fine-tune the focus until the lines and details of the image are crisp and well-defined.
- Keystone Correction: If the projected image appears distorted or skewed due to the angle of the projector, use the keystone correction feature to adjust and align the image correctly. This will ensure that the projected image maintains the correct proportions.
- Image Orientation: If the projected image is upside down or mirrored, check the projector settings to adjust the image orientation. This will ensure that the projected image appears correctly on the tracing surface.
- Ambient Lighting: Consider the lighting conditions in the room where you’re tracing. Adjust the projector settings and room lighting to minimize glare and create a comfortable work environment. Natural daylight or adjustable light sources are usually preferred for tracing artwork.
- Test and Fine-tune: Take the time to test the projected image and make any necessary adjustments. Pay attention to the details of your artwork and continue making adjustments until you are satisfied with the quality and accuracy of the projection.
Remember, the specific settings and adjustments on your projector may vary depending on the model and brand. Refer to the user manual for your projector if you need further assistance or have any specific questions about adjusting the settings.
Once you have adjusted the projector settings, you’re ready to start tracing your artwork. Take a moment to prepare yourself and gather your tracing tools before beginning the tracing process.
Tracing Your Artwork
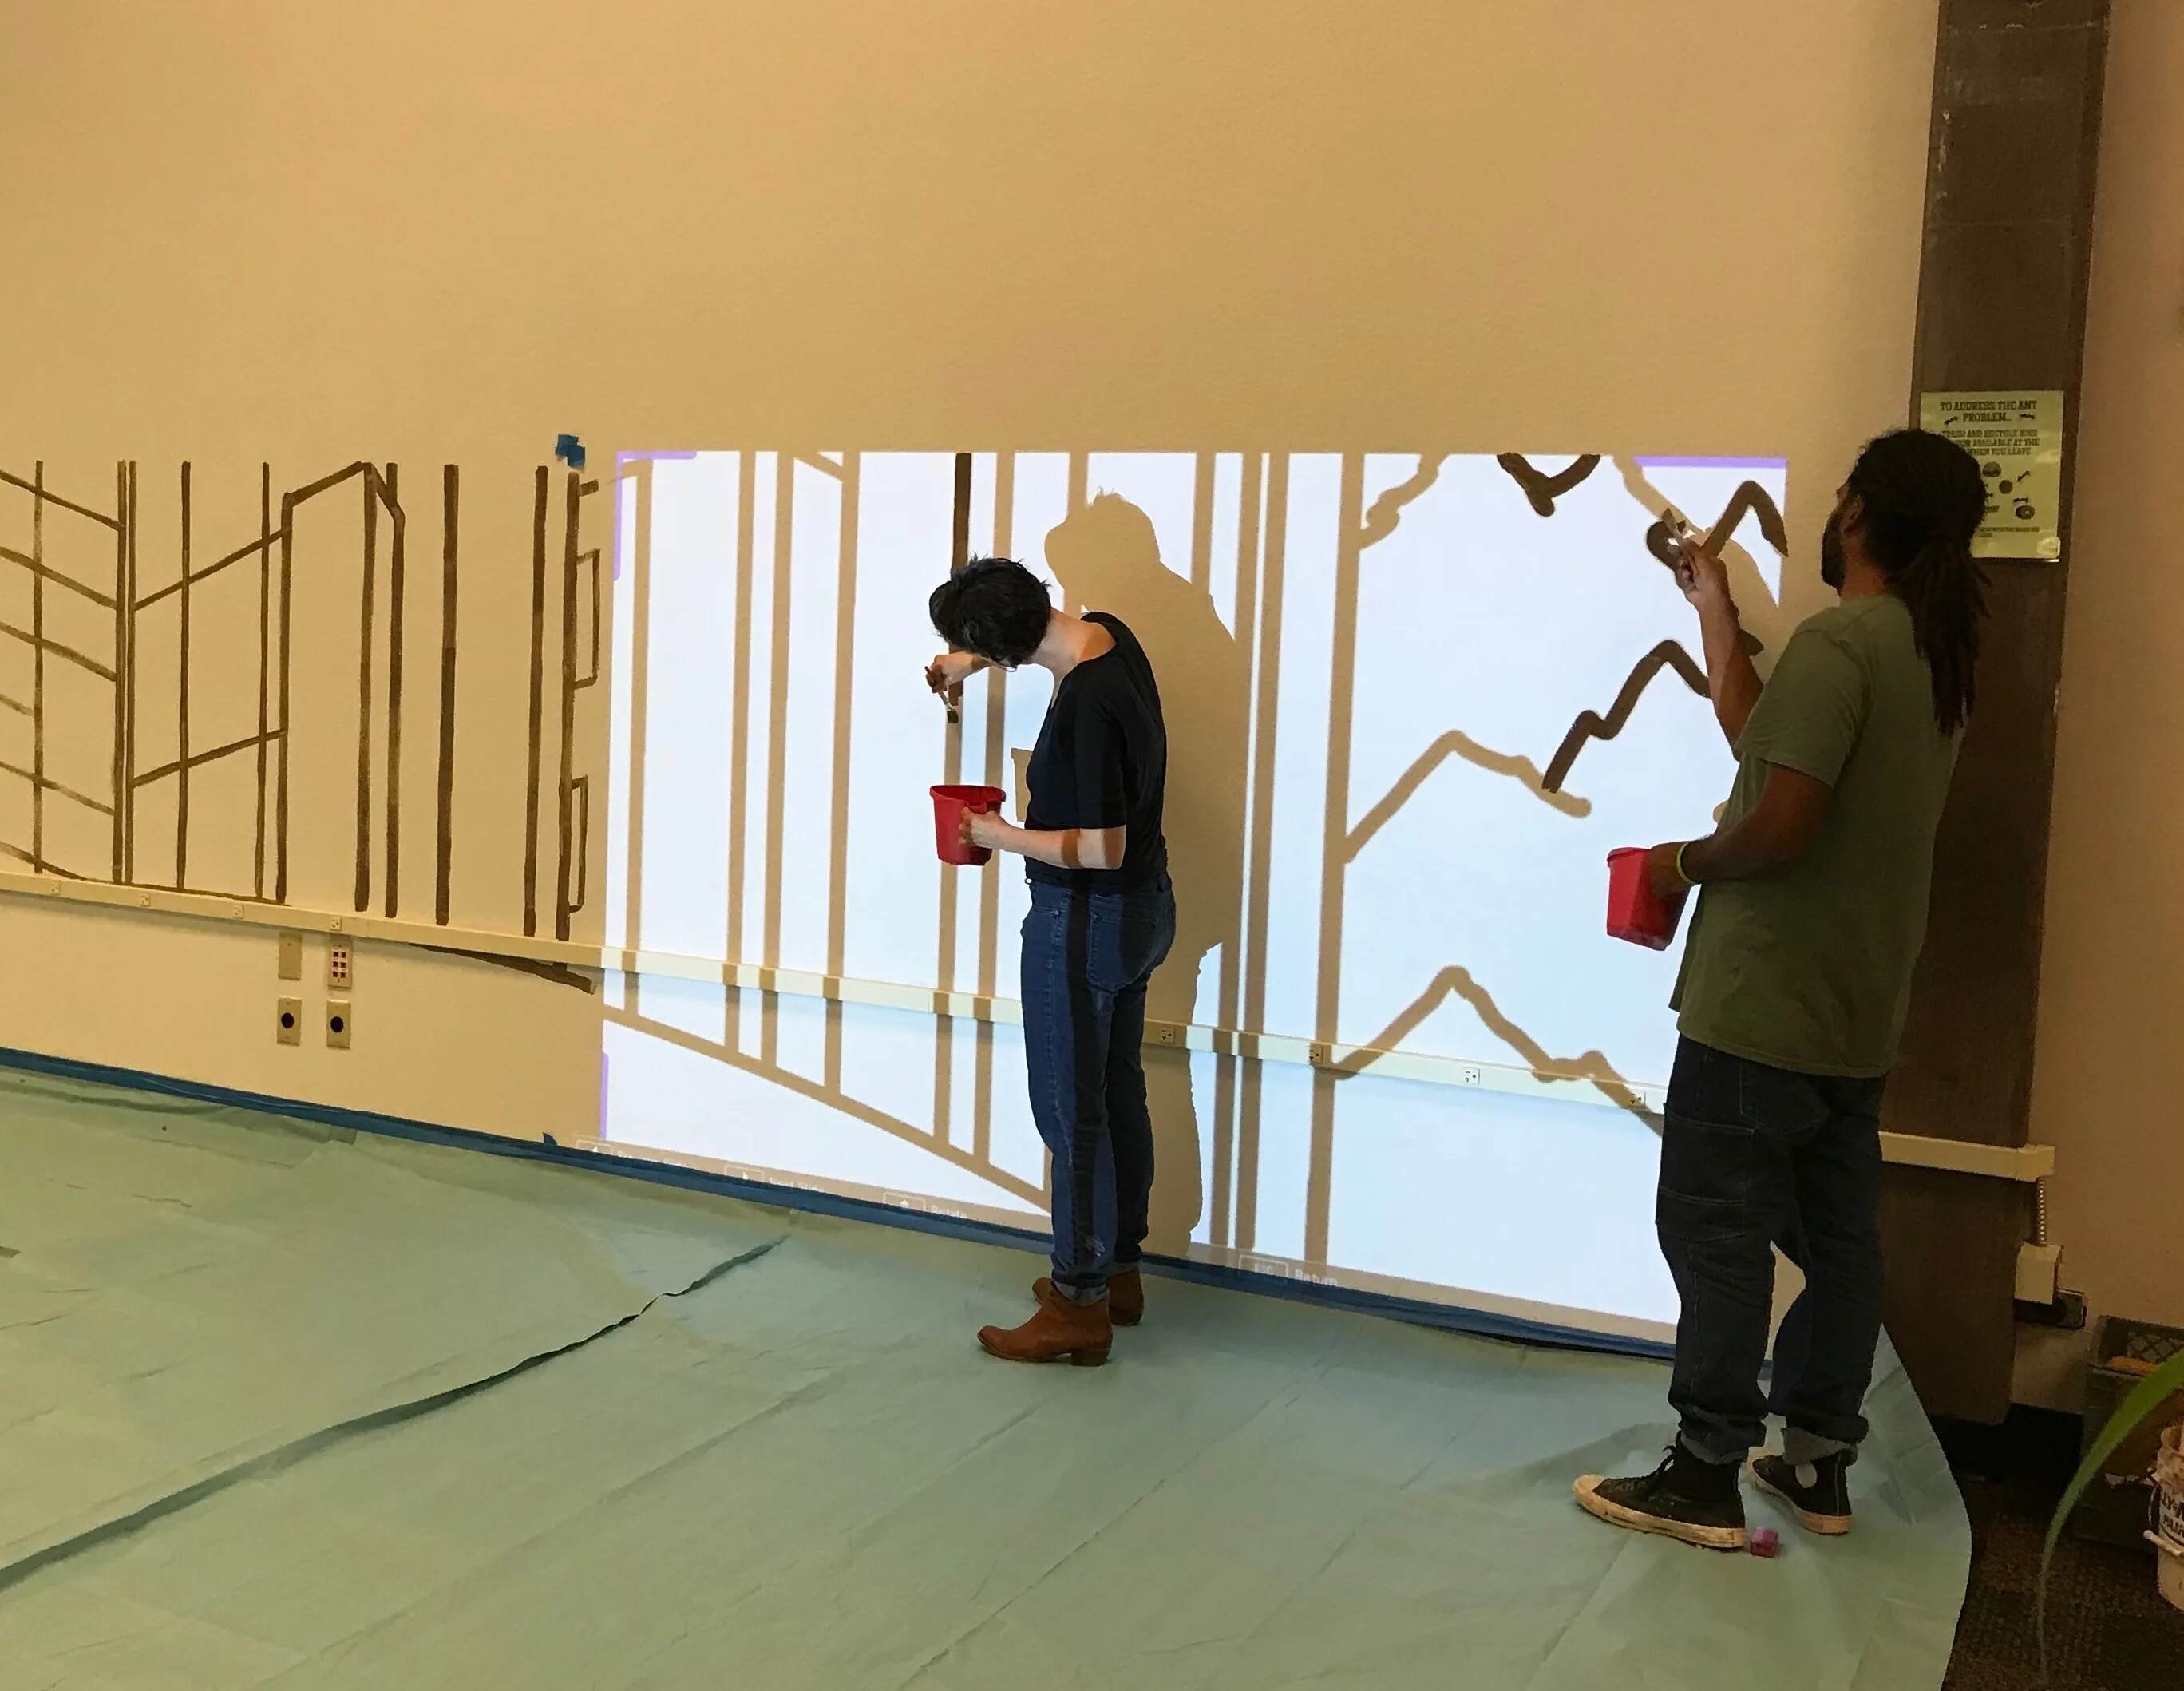
With the projector set up and adjusted, you’re now ready to start tracing your artwork. Follow these steps to effectively trace your artwork using the projected image:
- Turn Off the Lights: To enhance visibility and reduce distractions, dim the room lights or turn them off completely. This will allow you to focus more on the projected image and the tracing process.
- Position Yourself and Your Tracing Tools: Sit or stand in a comfortable position in front of the projected image. Arrange your tracing tools, such as pencils, pens, or markers, within easy reach to ensure smooth tracing without interruptions.
- Begin Tracing: Start by tracing the main outlines and shapes of your artwork. Use a light hand and follow the projected lines accurately. Take your time and pay attention to details as you gradually move through your artwork.
- Add Details and Shadows: Once the main outlines are traced, begin adding finer details and shading to your artwork. Use different pencil pressures or shading techniques to replicate the shading seen in the projected image. This will help bring depth and dimension to your traced artwork.
- Stay Organized: As you trace different sections or elements of your artwork, keep track of your progress. Use a light pencil or marker to lightly mark areas that you have already traced to avoid confusion and overlapping lines.
- Double Check Accuracy: Periodically step back and look at your traced artwork from a distance. Make sure the proportions, shapes, and details match the projected image and your original intent. Make any necessary adjustments or touch-ups as needed.
- Take Breaks as Needed: Tracing can be a meticulous process that requires concentration. Take short breaks to rest your eyes and hands, especially when working on intricate or detailed areas. This will help maintain your focus and prevent fatigue.
Remember, tracing with a projector is a tool to aid your artistic process. Use it as a guideline and reference, but feel free to add your own creative flair and personal touch to your traced artwork.
Once you have completed the tracing process, carefully remove the artwork from the surface and take a moment to admire and appreciate your traced masterpiece. You have successfully brought your artwork to life with the help of a projector!
Tips and Tricks for Tracing with a Projector
Tracing with a projector can be a fun and rewarding process. To make the most out of your experience, consider these helpful tips and tricks:
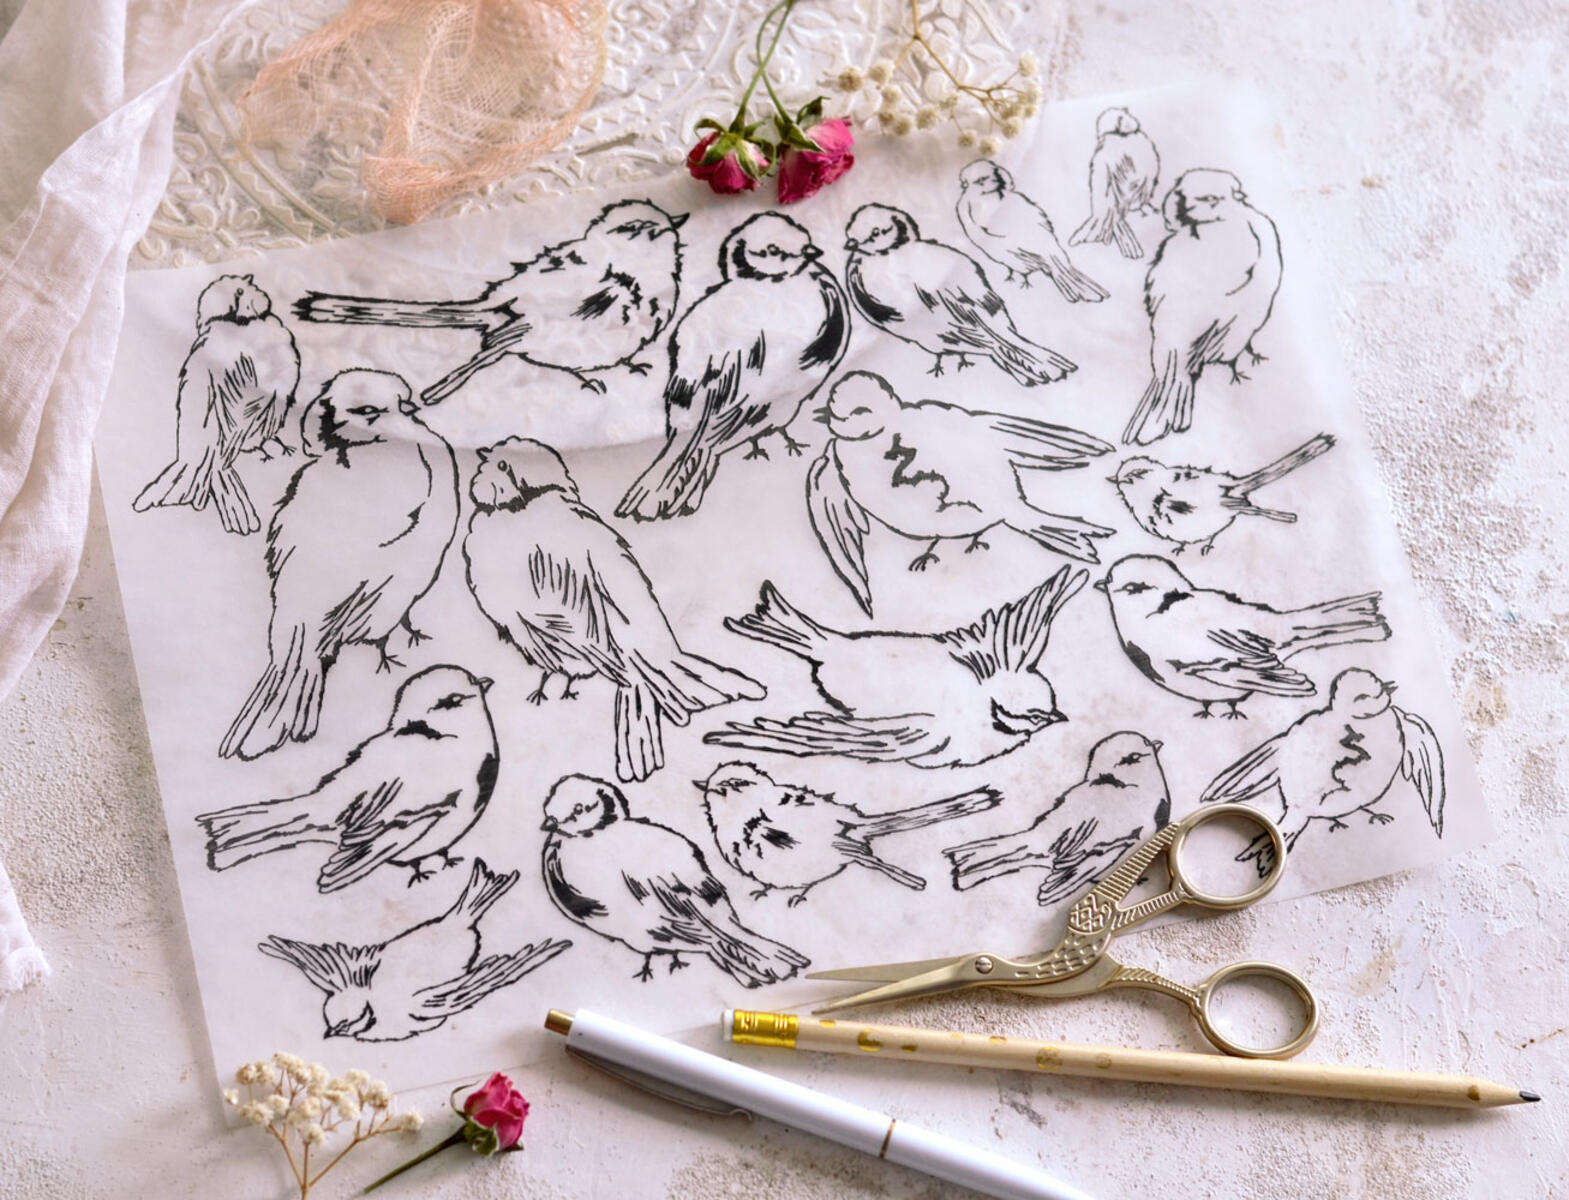
- Use Tracing Paper: Consider using tracing paper instead of directly tracing onto your final artwork. This way, you can preserve the originality of your artwork while using the projected image as a reference.
- Adjust Transparency: If you find the projected image too bright or distracting, adjust the transparency setting on your projector or use a translucent screen. This will make it easier to see your traced lines without getting overwhelmed by the brightness of the projection.
- Experiment with Pencil Colors: Instead of traditional graphite pencils, try using colored pencils or markers to trace your artwork. This can add an extra layer of creativity and vibrancy to your traced piece.
- Trace Different Elements Separately: If your artwork has multiple elements or layers, consider tracing them separately. This will allow you to have more control over each component and make adjustments if needed.
- Combine Tracing with Freehand Drawing: Don’t be afraid to incorporate your own hand-drawn elements or details into your traced artwork. This blend of tracing and freehand drawing can result in a unique and personalized piece.
- Experiment with Projection Angles: Depending on the type of artwork and the desired effect, try projecting the image at different angles. This can create interesting perspectives and dynamic compositions in your traced artwork.
- Practice Hand-Eye Coordination: Tracing is not just about following lines. It’s also an opportunity to improve your hand-eye coordination and fine motor skills. Embrace the process and enjoy the practice it provides.
- Use Gridlines or Guide Points: If you find it challenging to accurately trace the proportions or intricate details, use gridlines or guide points on your artwork and the projection surface. These visual aids can help you maintain accuracy and proportion throughout the tracing process.
- Explore Different Art Styles: Tracing with a projector allows you to experiment with different art styles and techniques. Challenge yourself to explore new artistic styles or recreate famous artworks using the projection as a guide.
Remember, tracing with a projector is a tool that can enhance your artistic process. Don’t be afraid to add your unique touch, experiment, and embrace the creativity it can bring to your artwork.
With these tips and tricks in mind, you’re ready to take your tracing ventures to new heights. Enjoy the process, get inspired, and let your creativity flow!
Finishing Touches
Once you have completed the tracing process, it’s time to add the finishing touches to your artwork. These final steps will help refine and enhance your traced piece:
- Erase Guidelines: If you used any light pencil or guide lines during the tracing process, carefully erase them using a soft eraser. Be gentle to avoid smudging or damaging the traced lines.
- Add Depth and Texture: Consider adding depth and texture to your traced artwork by using different shading techniques or adding highlights. This can bring dimension and realism to your piece.
- Color and Paint: If desired, consider adding color to your traced artwork using paints, colored pencils, or markers. This can further enhance your piece and bring it to life.
- Clean Up Traced Lines: Take a moment to go over your traced lines and make any necessary touch-ups or corrections. Ensure that the lines are clean, crisp, and accurately represent the original image.
- Sign and Date: Sign your artwork to mark it as your creation. Add the date as a reminder of when you completed the tracing process. This adds a personal touch and authenticity to your artwork.
- Protect and Preserve: Consider using a fixative or varnish to protect your traced artwork and prevent smudging or fading. Follow the instructions on the product carefully to ensure proper application.
- Showcase Your Artwork: Once your artwork is complete, find a suitable way to showcase and display it. Frame it, mount it, or organize an exhibition to share your talent and creativity with others.
Remember, the finishing touches on your traced artwork are an opportunity to add your personal style and artistic flair. Take the time to refine and perfect your piece until you are completely satisfied with the final result.
By adding these final touches, your traced artwork will become a unique representation of your skills and creativity. Embrace the process, trust your artistic instincts, and enjoy the satisfaction of completing a traced masterpiece.
Conclusion
Using a projector to trace art can be an exciting and practical technique for artists of all skill levels. It allows you to accurately replicate images, add intricate details, and bring your artwork to life with ease. Throughout this article, we’ve explored the various steps involved in using a projector for tracing, from choosing the right projector to adding the finishing touches to your traced artwork.
By carefully selecting a projector that meets your specific needs, ensuring proper setup and positioning, adjusting the settings for optimal projection, and following the tracing process, you can unlock a whole new level of creativity and precision in your artwork. Tracing with a projector provides a solid foundation from which you can add your personal touch, explore different art styles, and experiment with various techniques.
Remember, while tracing with a projector can aid in achieving accuracy and detail, it’s essential to add your artistic flair and creativity to each traced piece. Embrace the opportunity to refine, shade, and embellish your artwork, and let your unique style shine through.
So, now that you have learned the ins and outs of using a projector to trace art, it’s time to unleash your creativity and create stunning traced masterpieces. Embrace the process, experiment with different techniques, and enjoy the satisfaction of bringing your artistic visions to life. Happy tracing!