Introduction
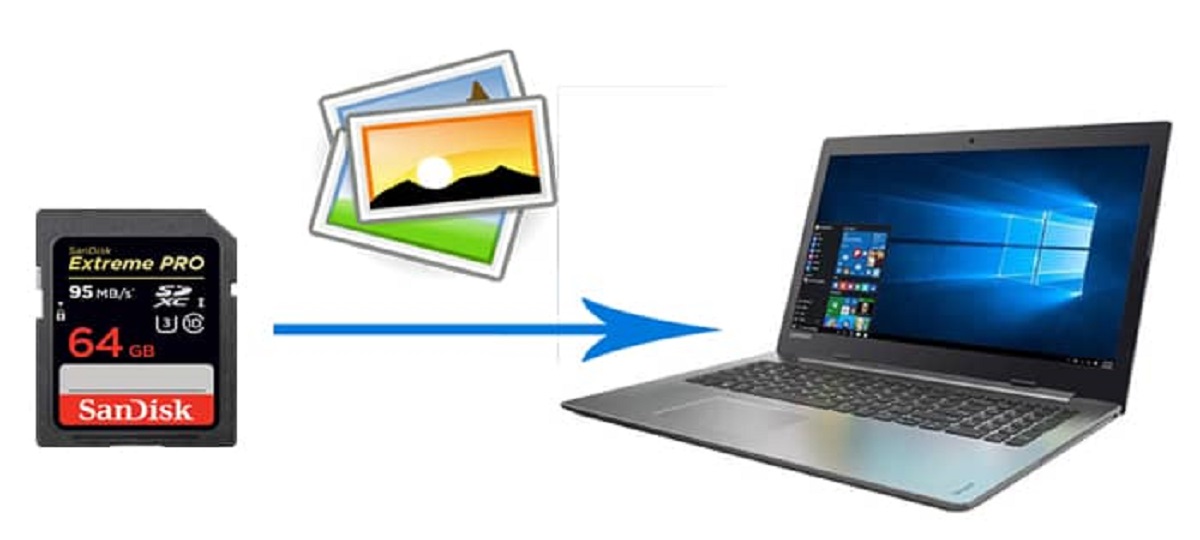
Welcome to our guide on how to upload an SD card to a MacBook! If you’re a MacBook user and have recently taken some amazing photos or captured important data on your camera’s SD card, you’ll need to know how to transfer those files onto your Macbook. Thankfully, the process is simple and straightforward, allowing you to effortlessly access and transfer your files.
Whether you’re a photography enthusiast looking to edit your high-resolution images on your MacBook or need to transfer important documents from your camera’s SD card to your computer, this step-by-step guide will walk you through the process. By following these instructions, you’ll be able to connect and transfer files from your SD card to your Macbook in no time.
In the next section, we’ll discuss the necessary equipment you’ll need to gather before you can begin the process. Make sure you have everything on hand to ensure a smooth transfer process. So, let’s dive in!
Step 1: Gathering the necessary equipment
Before you can begin uploading an SD card to your MacBook, it’s important to ensure that you have the necessary equipment. To successfully complete the process, you will need:
- A MacBook: Ensure that your MacBook is powered on and in good working condition.
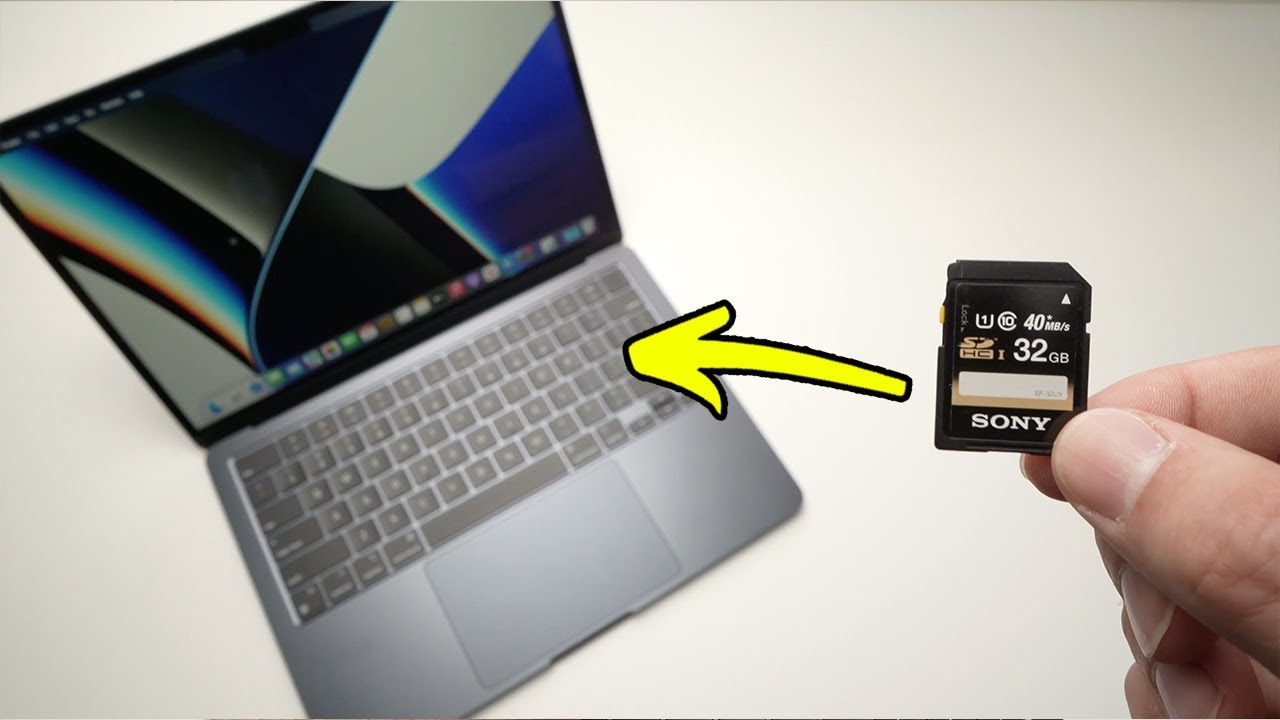
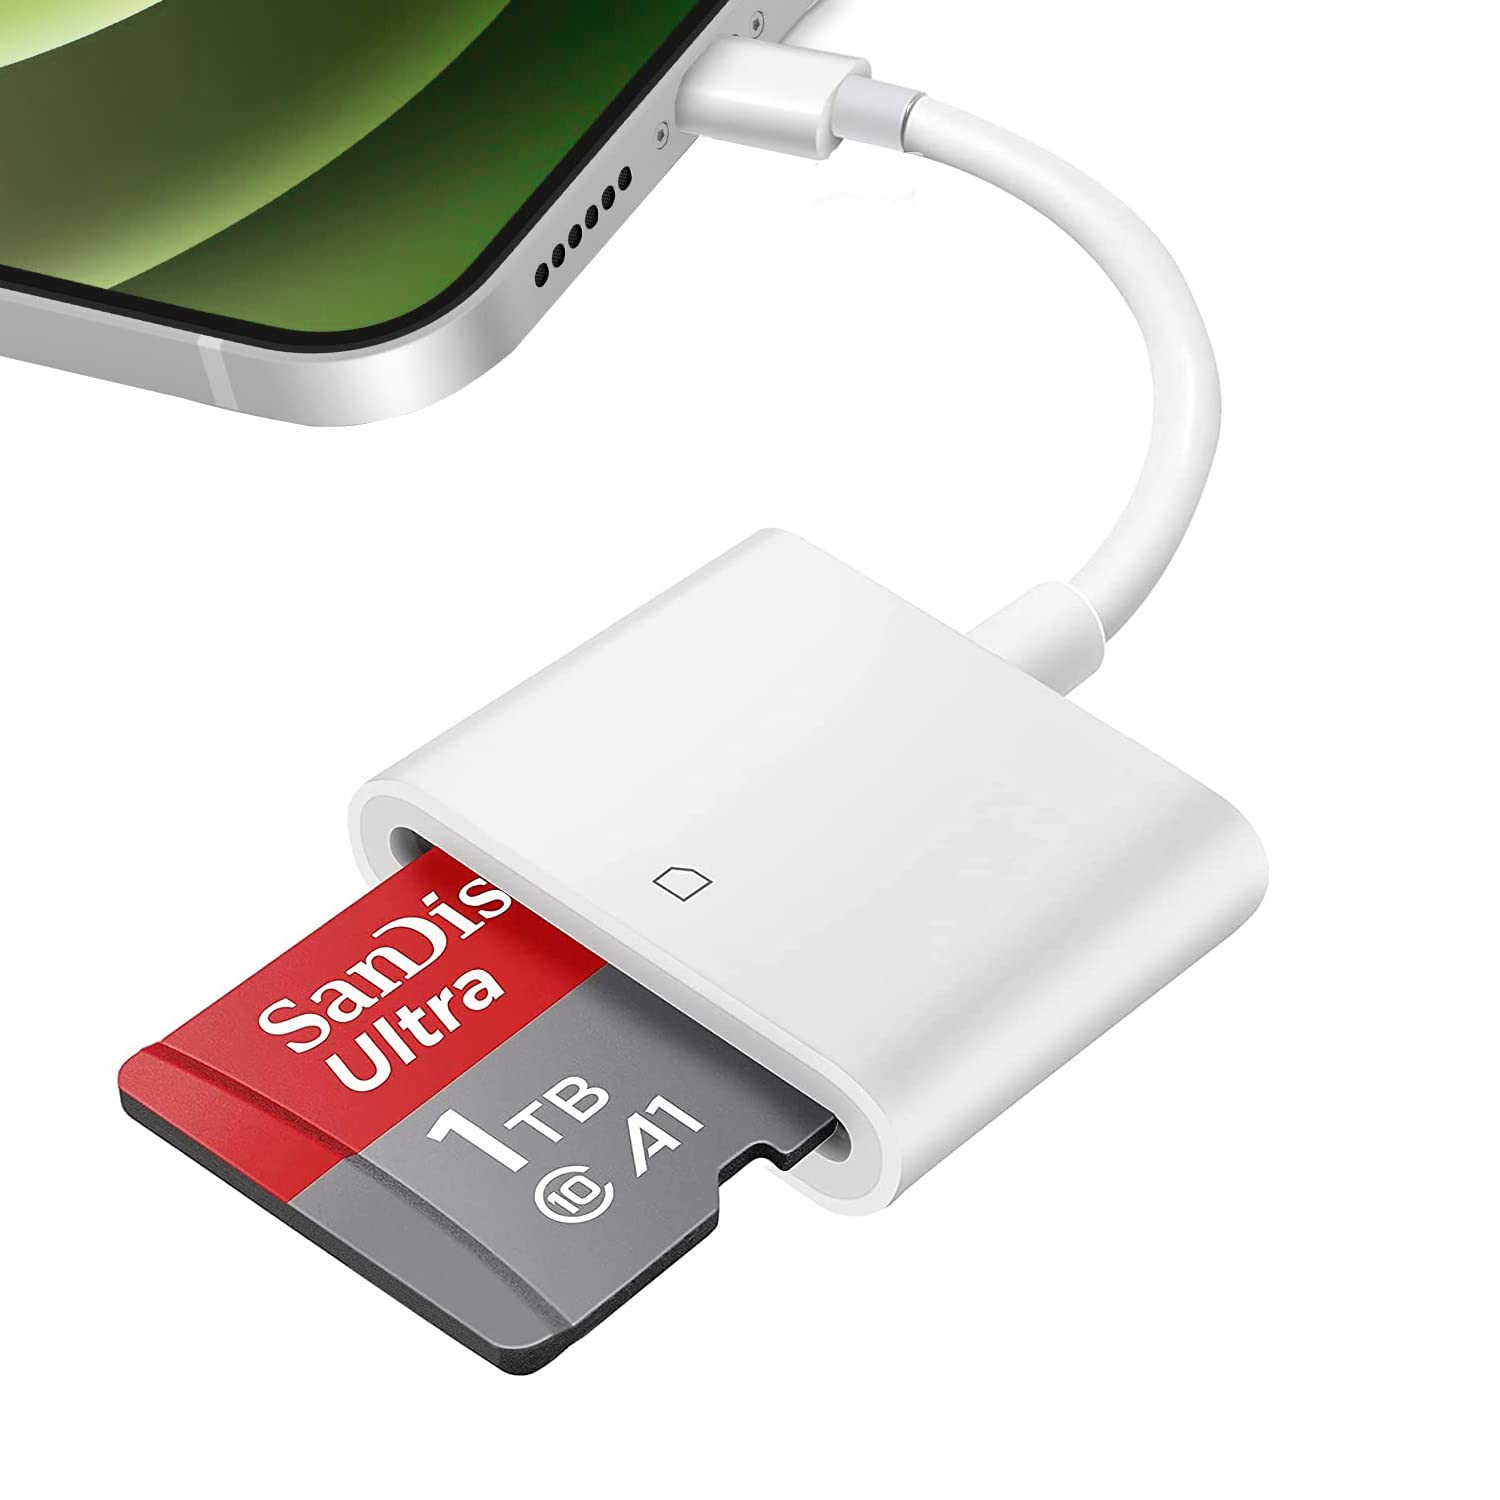
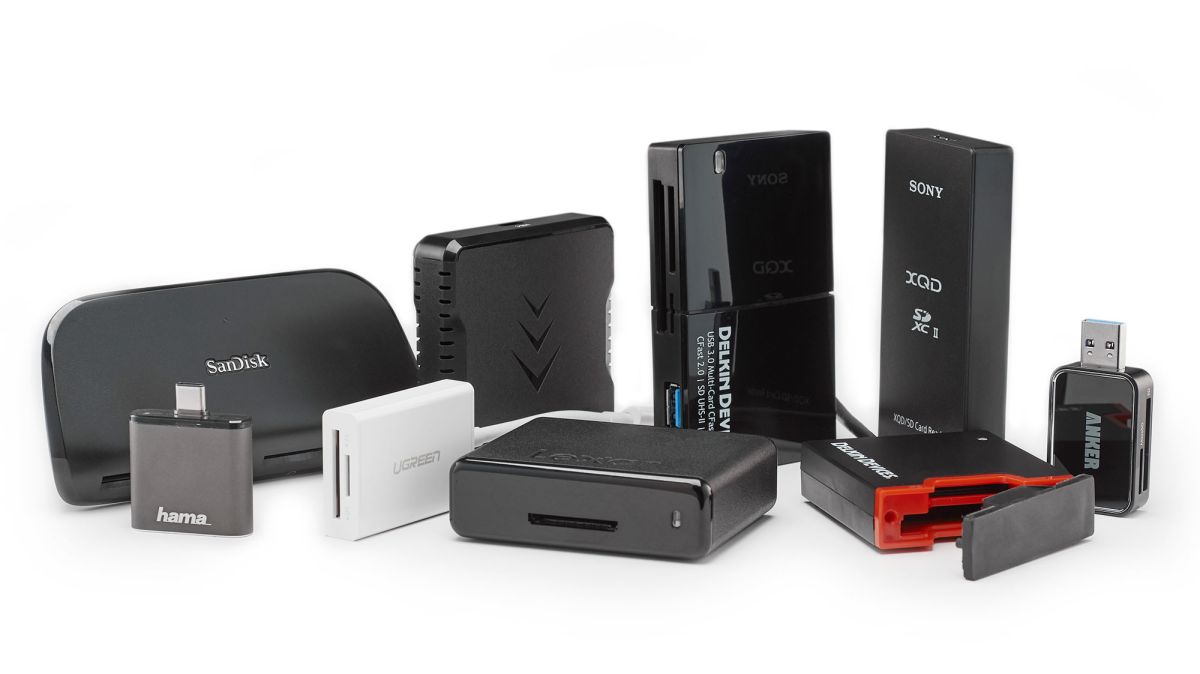
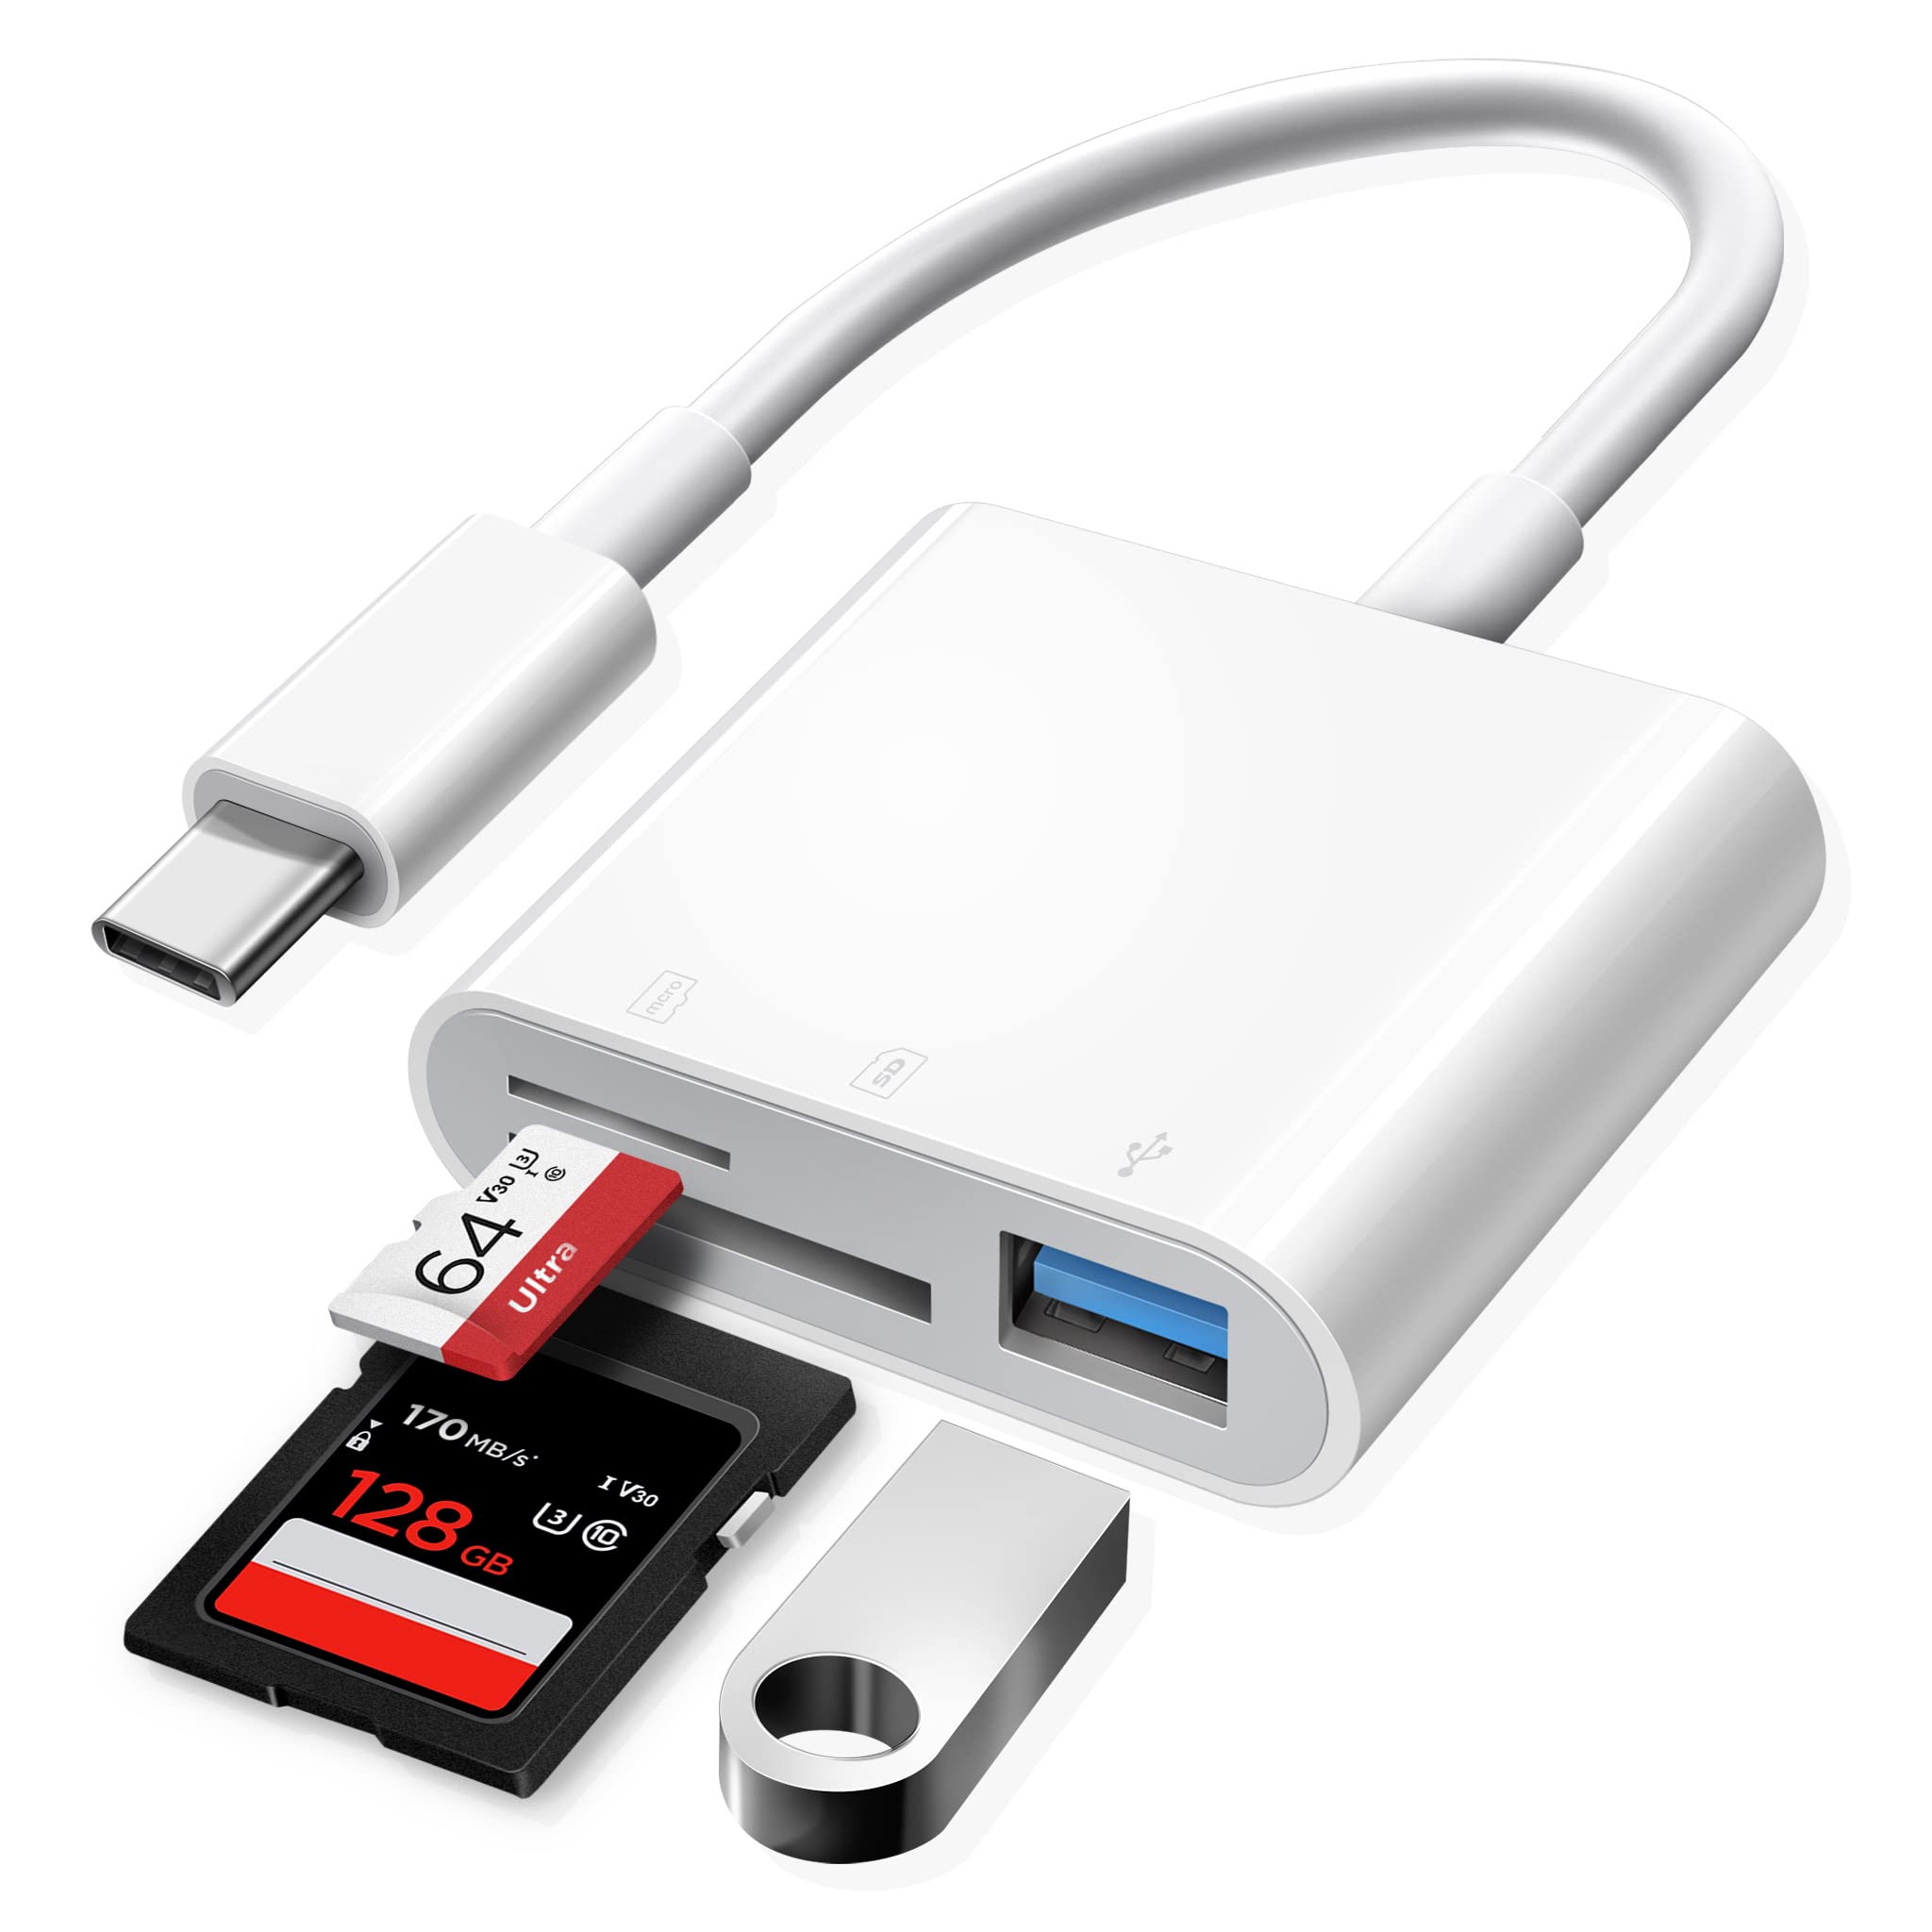
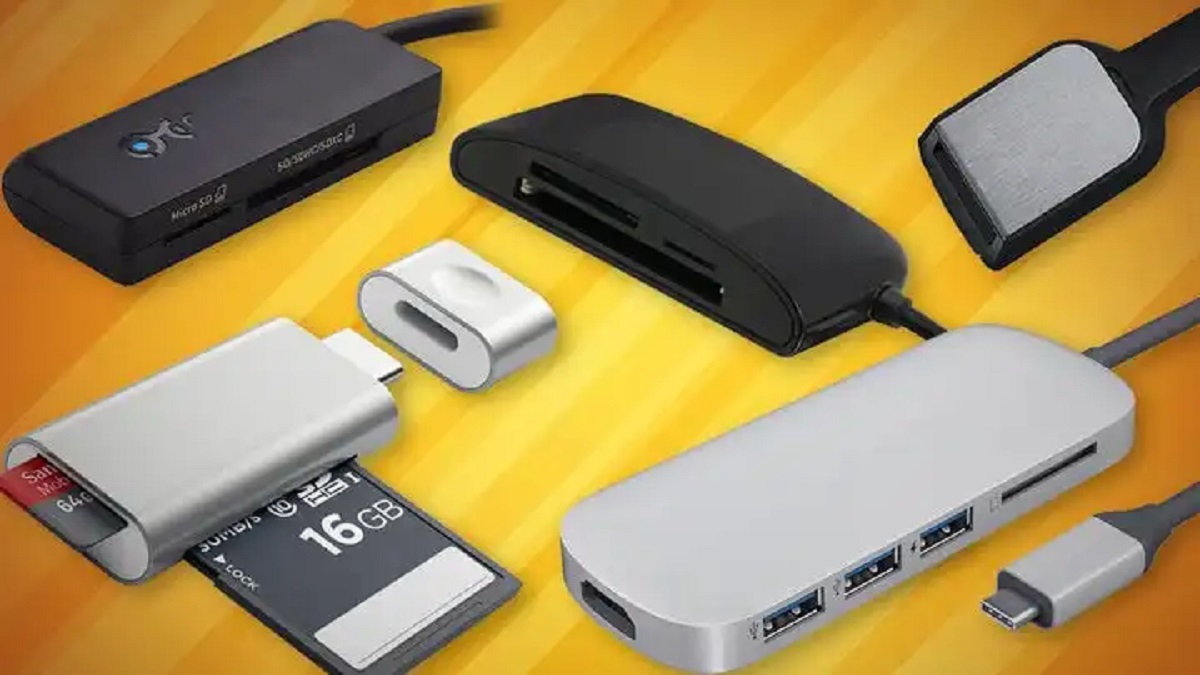
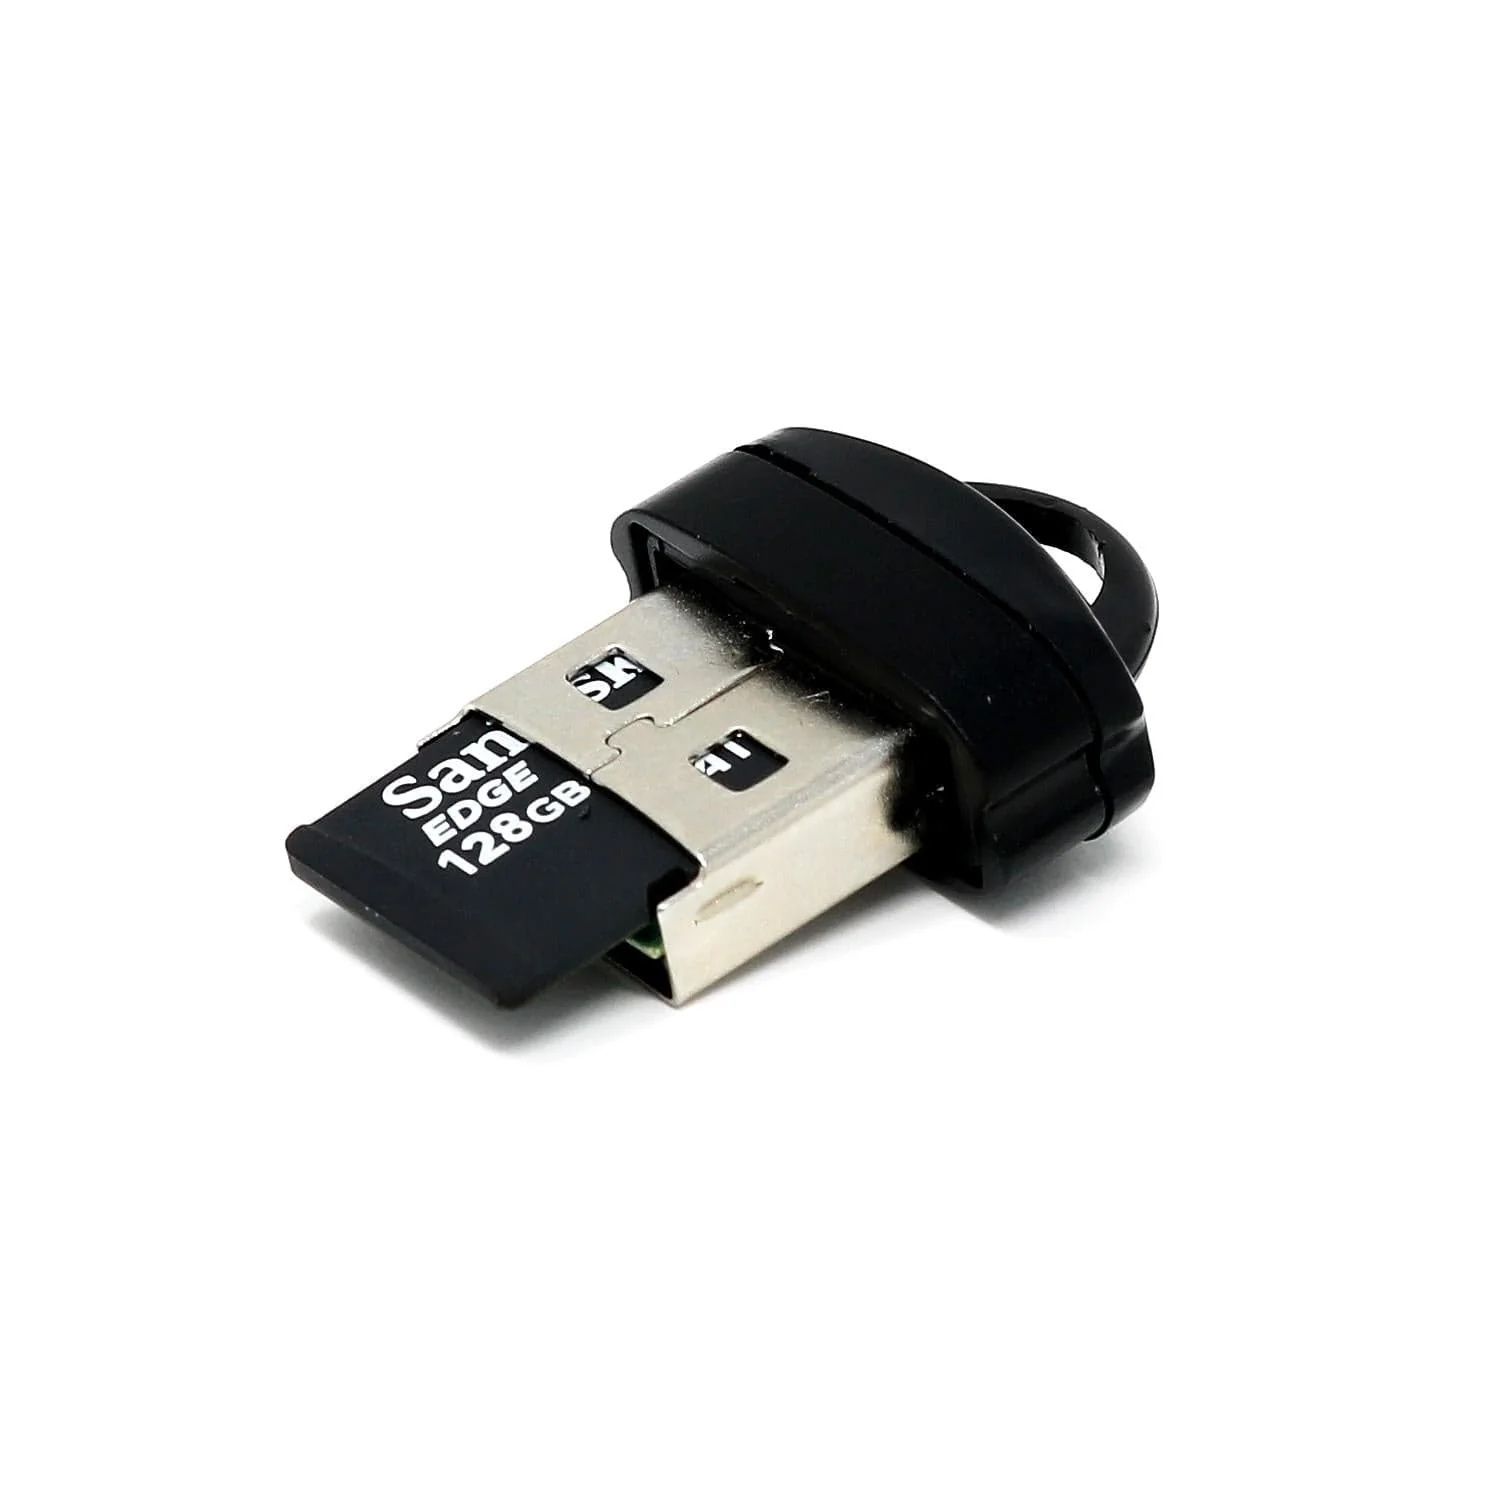
- An SD card reader: Most newer MacBook models come with built-in SD card slots. However, if your MacBook doesn’t have one, you will need an external SD card reader that is compatible with your MacBook’s connection ports (such as USB-C or Thunderbolt).
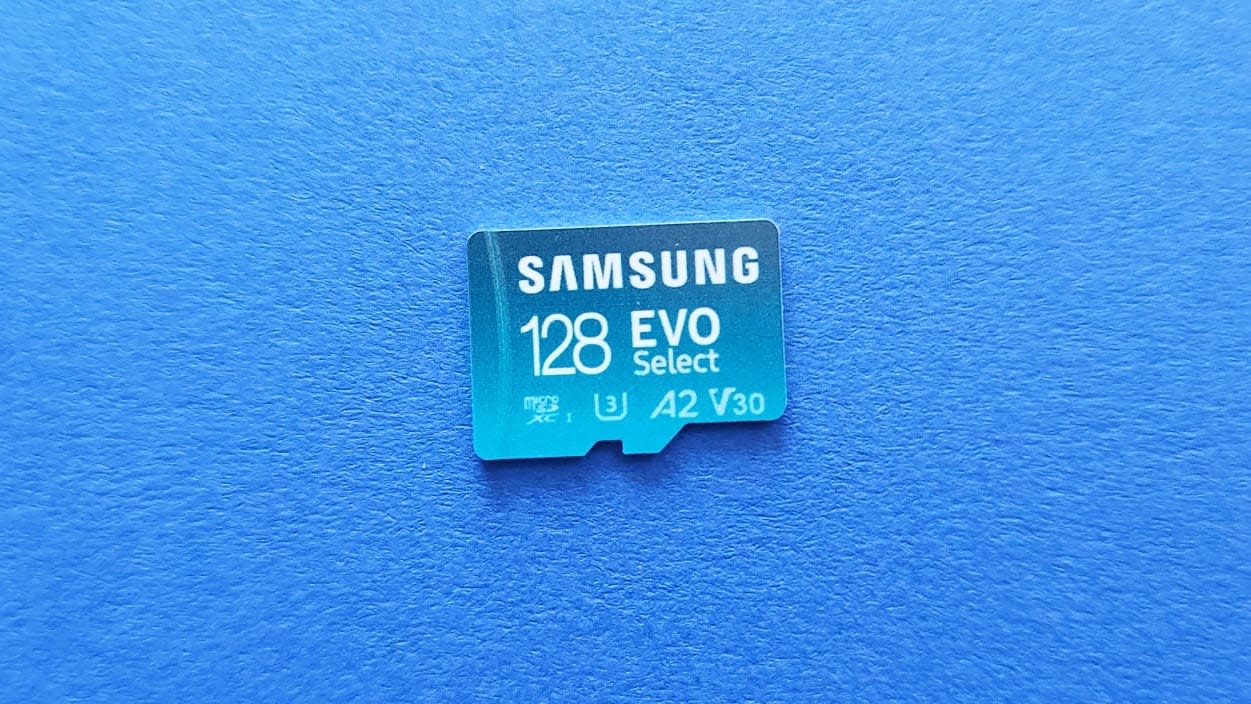
- An SD card: Insert the SD card into the SD card reader. Make sure the SD card contains the files you want to transfer to your MacBook.
Having these essential items ready will ensure a seamless process of uploading your SD card to your MacBook. Once you have everything in place, you’re ready to move on to the next step.
Step 2: Inserting the SD card into the MacBook
Now that you have gathered the necessary equipment, it’s time to insert the SD card into your MacBook. Follow these simple steps:
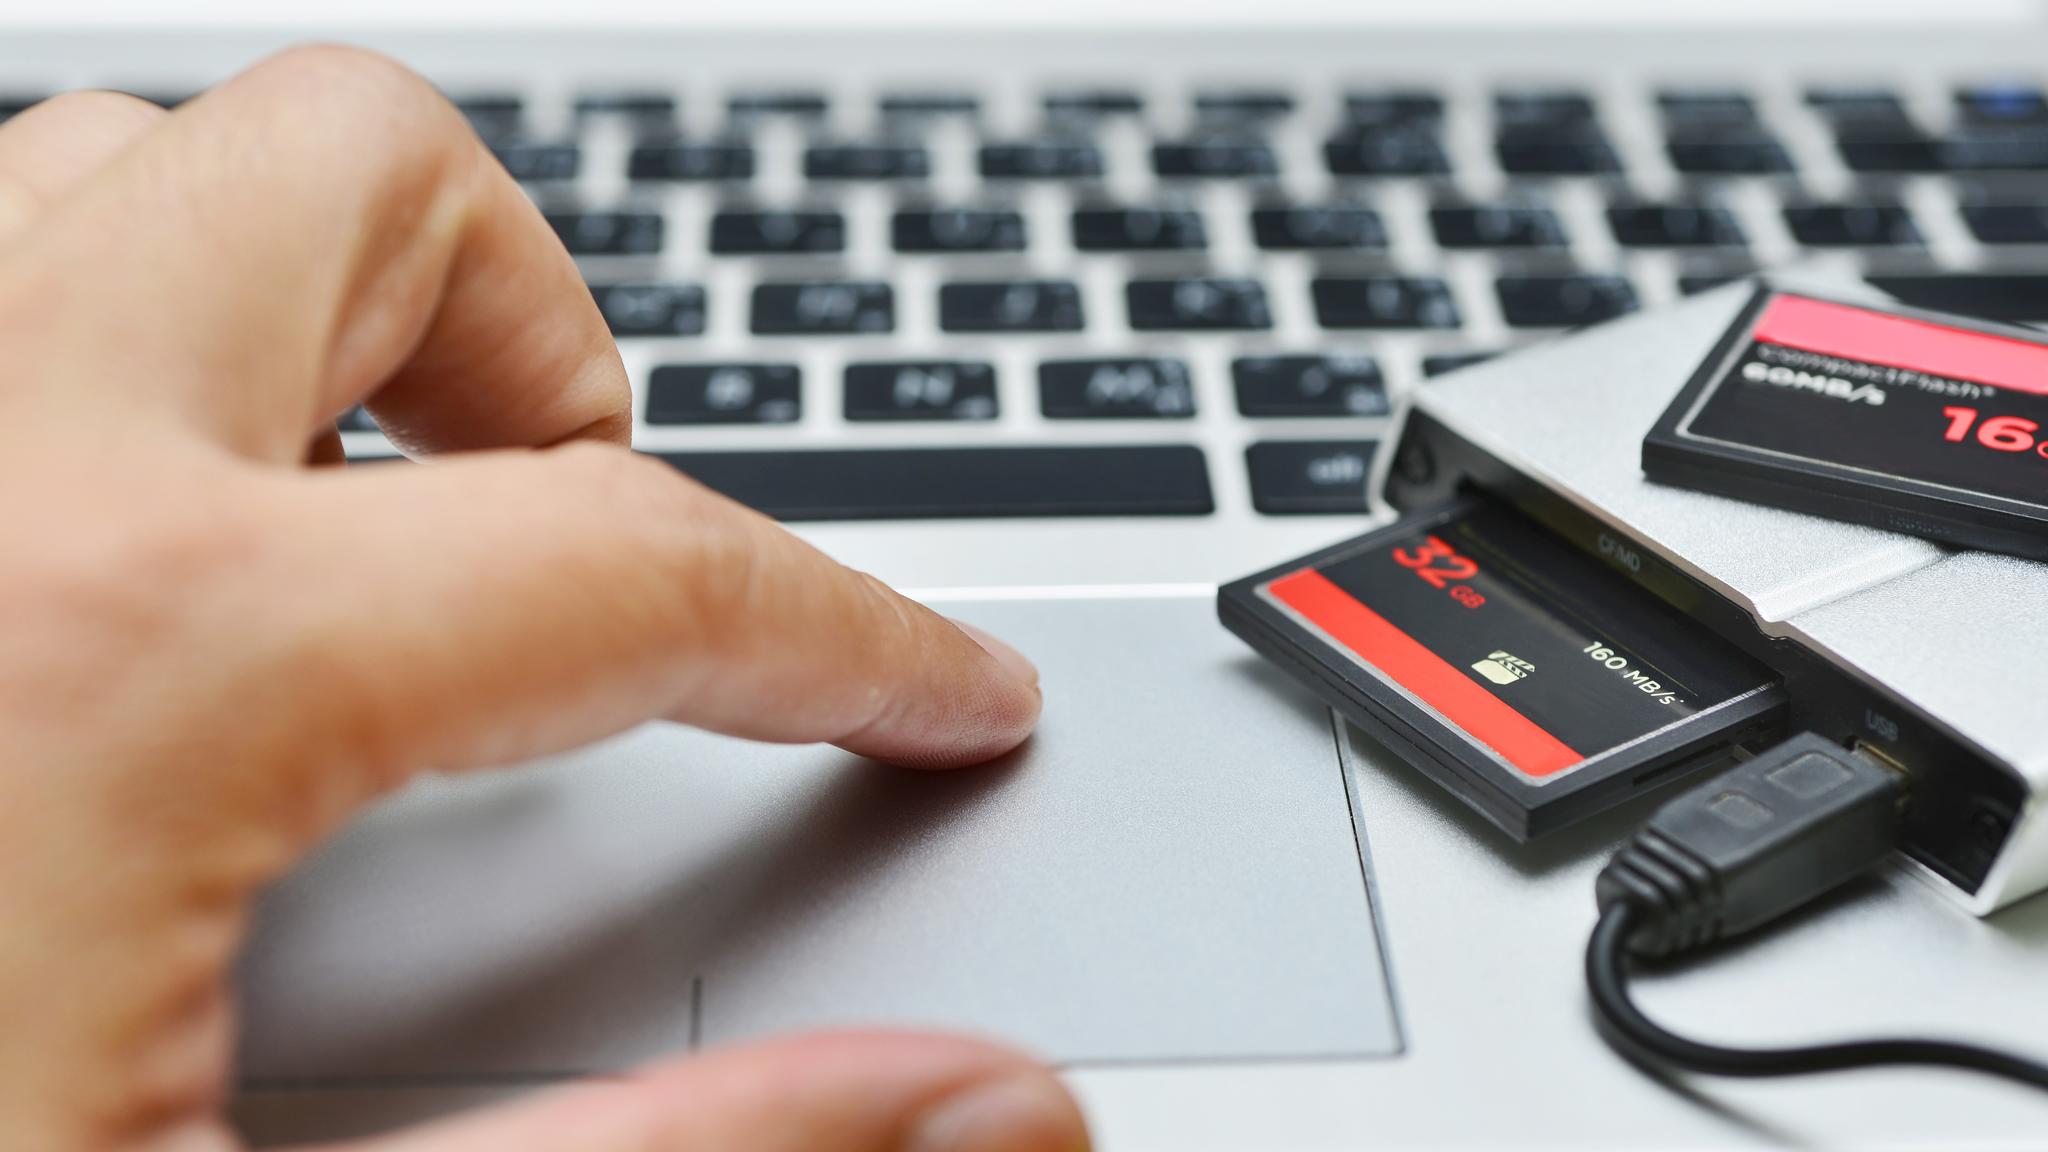
- Locate the SD card slot or the external SD card reader on your MacBook. If your MacBook has a built-in SD card slot, you can find it on the side or back of the device. If you are using an external SD card reader, connect it to your MacBook using the appropriate port (USB-C or Thunderbolt).
- Gently insert the SD card into the SD card slot or the external SD card reader. Ensure that the metal contacts on the SD card align with the corresponding contacts inside the slot or reader.
- Push the SD card in until you feel a slight resistance. Do not exert excessive force, as this could damage both the SD card and the MacBook.
Once the SD card is inserted correctly, your MacBook should recognize it and display it as a mounted volume. You are now ready to access the contents of the SD card and transfer files to your MacBook. Read on to the next step to find out how to open the SD card on your MacBook.
Step 3: Opening the SD card on the MacBook
Once you have successfully inserted the SD card into your MacBook, it’s time to open it and access the files stored on it. Follow these steps to open the SD card:
- Locate the SD card icon on your MacBook’s desktop or in the Finder sidebar. It is usually represented by a small icon that resembles an SD card.
- Double-click on the SD card icon to open it. This will open a new Finder window displaying the contents of the SD card.
- You can now navigate through the files and folders on the SD card, just like you would with any other folder on your MacBook.
If you are unable to find the SD card icon on your desktop or in the Finder sidebar, try the following:
- Open a new Finder window by clicking on the Finder icon in the Dock.
- In the Finder menu, click on the “Go” option at the top of the screen.
- From the dropdown menu, select “Computer” to view all connected devices and drives.
- Locate and click on the SD card icon to open it.
Once you have successfully opened the SD card, you can proceed to the next step to learn how to transfer files from the SD card to your MacBook.
Step 4: Transferring files from the SD card to the MacBook
Now that you have opened the SD card on your MacBook, you can begin transferring files from the SD card to your MacBook’s storage. Follow these steps to complete the transfer:
- Select the files or folders you want to transfer. To select multiple files, press and hold the Command key on your keyboard while clicking on the individual files. To select a range of files, click on the first file, hold the Shift key, and click on the last file in the range.
- Once the desired files are selected, right-click on any of the selected files and choose “Copy” from the contextual menu. Alternatively, you can press Command+C on your keyboard to copy the files.
- Navigate to the desired location on your MacBook where you want to save the copied files.
- Right-click on the destination folder or location and choose “Paste” from the contextual menu. You can also press Command+V on your keyboard to paste the copied files.
The selected files will now be transferred from the SD card to your MacBook’s storage. The transfer time may vary depending on the size of the files and the speed of your SD card and MacBook.
It’s worth noting that you can also drag and drop the selected files or folders directly from the SD card to the desired location on your MacBook. This method provides a more visual and intuitive way to transfer files.
Once the transfer is complete, you can safely eject the SD card from your MacBook. We’ll cover the proper method to do so in the next step.
Step 5: Safely ejecting the SD card from the MacBook
After you have successfully transferred the files from the SD card to your MacBook, it is important to properly eject the SD card to avoid any data loss or damage. Follow these steps to safely eject the SD card:
- Make sure all file transfers from the SD card to your MacBook are completed.
- Locate the SD card icon on your MacBook’s desktop or in the Finder sidebar.
- Right-click on the SD card icon and select “Eject” from the contextual menu. Alternatively, you can click and drag the SD card icon to the Trash bin located in the Dock.
- Wait for a few seconds until the SD card icon disappears from the desktop or Finder sidebar.
- Once the SD card icon disappears, it is safe to physically remove the SD card from your MacBook. Carefully pull it out from the slot or remove the external SD card reader from the port.
By following these steps, you ensure that any read or write processes are completed, and the SD card is properly dismounted from your MacBook. This minimizes the risk of data corruption or damage to the SD card.
It is advisable to always eject the SD card using the proper method to maintain the integrity of the files stored on the card and to prevent any potential issues in the future.
And there you have it! You have successfully uploaded your SD card to your MacBook and transferred the files you need. Enjoy accessing and working with your files directly on your MacBook without hassle!
Conclusion
Uploading an SD card to a MacBook is a straightforward process that allows you to access and transfer files quickly and conveniently. By following the steps outlined in this guide, you can easily transfer photos, videos, and other important data from your SD card to your MacBook.
Remember, before starting the process, ensure that you have the necessary equipment, including your MacBook, an SD card reader, and an SD card with the files you want to transfer. Insert the SD card into the appropriate slot or connect an external SD card reader to your MacBook’s port.
After inserting the SD card, open it on your MacBook by either double-clicking on the SD card icon on your desktop or using the Finder. From there, you can easily navigate the files and folders on the SD card.
To transfer files from the SD card to your MacBook, select the desired files, copy them, and paste them into your preferred location on your MacBook. Alternatively, you can drag and drop the files from the SD card to the desired location.
Once you have completed the file transfer, be sure to eject the SD card from your MacBook using the proper method. This ensures that all processes have been completed and protects the integrity of your data. You can safely remove the SD card from the slot or disconnect the external SD card reader.
By following these simple steps, you can seamlessly upload an SD card to your MacBook and access your files with ease. Whether you’re a photographer, videographer, or simply need to transfer data, this process allows you to efficiently manage your files and work with them directly on your MacBook.
Now that you have mastered the process of uploading an SD card to a MacBook, enjoy the convenience and flexibility it provides for organizing, editing, and backing up your valuable files!